
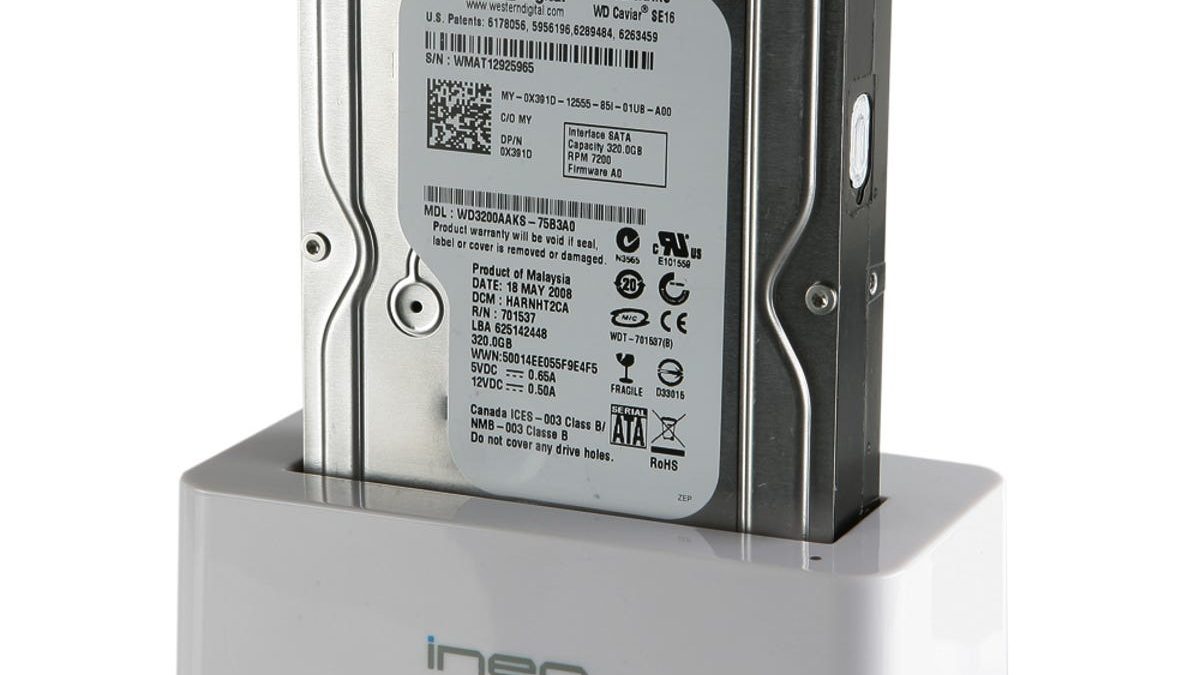
Connecting Your Docking Station to Your Computer
To view pictures from your hard drive using a docking station, you must first connect the docking station to your computer. This process is straightforward and requires minimal effort. Here are the quick tips for connecting your docking station to your computer:
-
Check Compatibility: Before connecting the docking station, ensure that it is compatible with your computer's operating system. Most docking stations are designed to work with a wide range of operating systems, including Windows, macOS, and Linux. However, it's always best to verify compatibility to avoid any potential issues.
-
Positioning the Docking Station: Place the docking station on a stable surface near your computer. Ensure that there is ample space around the docking station to allow for easy access to the ports and connections.
-
Connect the Power Adapter: Plug the power adapter into an electrical outlet and connect it to the docking station. This step is crucial to ensure that the docking station receives power for proper functionality.
-
Connect the Docking Station to Your Computer: Use the appropriate cable to connect the docking station to your computer. Depending on the type of docking station and your computer's available ports, you may use USB, Thunderbolt, or other compatible cables for the connection.
-
Install Any Required Drivers: In some cases, your computer may require specific drivers to recognize and utilize the docking station effectively. If prompted, follow the on-screen instructions to install the necessary drivers for seamless integration.
-
Verify the Connection: Once the docking station is connected, verify the connection by checking your computer's device manager or system preferences. Ensure that the docking station is recognized and listed as a connected device.
By following these quick tips, you can easily connect your docking station to your computer, setting the stage for accessing and viewing pictures stored on your hard drive with convenience and ease.
Locating the Pictures on Your Hard Drive
Once your docking station is successfully connected to your computer, the next step is to locate the pictures stored on your hard drive. Whether you have a collection of cherished memories or professional images, finding and accessing these files is essential for viewing and sharing them. Here are the steps to help you locate the pictures on your hard drive:
-
Open File Explorer or Finder: Depending on your computer's operating system, launch the appropriate file management application. In Windows, use File Explorer, while macOS users can utilize Finder to navigate through their files and folders.
-
Navigate to the Hard Drive: Locate and select the hard drive where your pictures are stored. This is typically labeled as "Local Disk (C:)" in Windows or may have a specific name assigned to it. Click on the hard drive to access its contents.
-
Access the Pictures Folder: Within the hard drive, look for the "Pictures" folder or the directory where your image files are organized. If you have a specific folder structure, navigate through the directories to find the desired pictures.
-
Organize by Date or Event: If your pictures are organized by date or event, use the sorting options within the file management application to arrange the images accordingly. This can make it easier to locate specific pictures based on when they were captured or the occasion they represent.
-
Preview the Pictures: Take advantage of the file management application's preview feature to view thumbnail images of your pictures. This can provide a quick glimpse of the contents of each file, helping you identify the images you wish to view in detail.
By following these steps, you can efficiently locate the pictures stored on your hard drive, preparing to use your docking station to view and enjoy your collection of images.
Using Your Docking Station to View the Pictures
With your docking station connected and the pictures located on your hard drive, you are now ready to use the docking station to view your images. This process allows you to conveniently access and enjoy your picture collection on a larger screen with enhanced clarity. Here are the steps for using your docking station to view the pictures:
-
Connect Your Monitor or Display: Attach your monitor or display to the docking station using the appropriate cable. Whether you have a high-definition monitor, a widescreen display, or a projector, ensure that it is securely connected to the docking station for optimal viewing.
-
Power On the Devices: Turn on your computer, docking station, and the connected monitor or display. This sequence ensures that all devices are powered up and ready to facilitate the viewing experience.
-
Select the Input Source: If using a monitor or display with multiple input sources, select the appropriate input that corresponds to the connection from your docking station. This allows the monitor to receive the signal from your computer through the docking station.
-
Open the Pictures: Using your computer, navigate to the folder where your pictures are stored. Open the desired image files to display them on the connected monitor or display. You can use your preferred image viewing application to access and showcase your pictures.
-
Adjust Display Settings: If necessary, adjust the display settings on your computer to optimize the viewing experience. This may include adjusting the screen resolution, brightness, or color settings to ensure that your pictures are presented with the desired visual quality.
By following these steps, you can effectively utilize your docking station to view the pictures from your hard drive on a larger screen, providing a more immersive and detailed viewing experience for your image collection.
Troubleshooting Common Issues
While using a docking station to view pictures from your hard drive can be a seamless process, encountering common issues may disrupt the experience. Understanding how to troubleshoot these issues ensures that you can address any potential setbacks effectively. Here are some common problems and their troubleshooting steps:
-
Connection Problems: If your docking station is not recognized by your computer, check the cable connections and ensure that the docking station is receiving power. Try using a different port on your computer or a different cable to rule out potential connectivity issues.
-
Display Not Detected: If the connected monitor or display is not detected, verify that the input source is correctly selected on the monitor. Additionally, check the display settings on your computer to confirm that the external display is enabled.
-
Driver Issues: In the event of driver-related issues, ensure that your computer has the latest drivers installed for the docking station. Visit the manufacturer’s website to download and install any updated drivers that may resolve compatibility or functionality issues.
-
Power or Charging Problems: If the docking station is not providing power to your computer or charging connected devices, double-check the power adapter connections and confirm that the power source is functioning correctly. Troubleshoot any power-related issues to ensure uninterrupted operation.
-
Performance and Compatibility: If you experience performance issues or compatibility concerns, review the specifications of your docking station and computer to ensure that they are compatible. Some features or functionalities may require specific hardware or software compatibility for optimal performance.
By addressing these common issues with the appropriate troubleshooting steps, you can overcome potential obstacles and enjoy a smooth and efficient experience when using your docking station to view pictures from your hard drive.
Backing Up Your Pictures from Your Hard Drive
Backing up your pictures from your hard drive is a critical step in ensuring the safety and preservation of your valuable image collection. By creating reliable backups, you can safeguard against data loss and unexpected hardware failures. Here are essential tips for backing up your pictures:
-
External Storage Devices: Utilize external storage devices such as portable hard drives, USB flash drives, or network-attached storage (NAS) devices to create backups of your picture files. These devices offer additional storage space and serve as a secure repository for your images.
-
Cloud Storage Services: Explore cloud storage services that offer secure and convenient backup solutions. Providers such as Google Drive, Dropbox, and Microsoft OneDrive allow you to store your pictures in the cloud, ensuring accessibility from any device with an internet connection.
-
Automated Backup Solutions: Consider using automated backup solutions that regularly synchronize your picture files with designated backup locations. This approach minimizes the risk of data loss by ensuring that your backups are consistently updated with the latest versions of your images.
-
Organize and Catalog: Before backing up your pictures, organize and catalog your image files to facilitate efficient backup processes. Create structured folders and directories that reflect the organization of your picture collection, making it easier to manage and retrieve backed-up images.
-
Verify Backup Integrity: After creating backups, verify the integrity of the backed-up files to confirm that the data has been successfully duplicated. Perform periodic checks to ensure that your backups are complete and free from errors or corruption.
By implementing these strategies, you can establish robust backup practices for your picture files, providing peace of mind and resilience against potential data-related challenges. Regularly review and update your backup procedures to adapt to evolving storage technologies and ensure the ongoing protection of your cherished image collection.