
What is White Balance?
White balance is a fundamental concept in photography that ensures accurate color representation in your images. It is the process of removing unwanted color casts caused by different light sources and ensuring that white objects appear truly white in your photos.
Light sources emit different color temperatures, measured in Kelvin (K), ranging from warm orange tones to cool blue tones. Daylight, for example, has a color temperature of around 5500K, while incandescent light bulbs have a warmer temperature of around 3000K.
When you take a photo, your camera’s sensor tries to adjust to the different color temperature of the light source. Without proper white balance, your images may appear overly warm, cool, or have an overall color cast that alters the natural colors of the scene.
By setting the correct white balance, you ensure that objects that we perceive as white in real life, such as a white piece of paper or a white wall, appear white in your photos, regardless of the lighting conditions. This accurate color representation is essential for conveying the desired mood, tone, and realism in your images.
White balance is especially crucial when shooting in different lighting environments. Different light sources, such as sunlight, fluorescent lights, or incandescent bulbs, have different color temperatures, and without adjusting the white balance, you risk capturing images that do not reflect the true colors of the scene.
Understanding and controlling white balance is essential for photographers who want to have full creative control over their images. Whether you are shooting portraits, landscapes, or still life, having the correct white balance ensures that the colors in your images are faithful to the scene and the intended mood of your photographs.
Why is White Balance Important?
White balance plays a crucial role in photography as it directly impacts the color accuracy and overall mood of your images. Here are several reasons why white balance is essential:
- Color Accuracy: White balance ensures that the colors in your photos are portrayed accurately. By setting the appropriate white balance, you can capture the true colors of the scene, making your images appear more natural and realistic.
- Mood and Tone: Different color temperatures evoke different moods. Adjusting the white balance allows you to control the overall tone of your photographs. For example, using a cooler white balance setting can create a serene and tranquil atmosphere, while a warmer white balance setting can give your images a cozy and intimate feel.
- Consistency: Consistent white balance is important, especially when shooting a series of images that will be displayed together. Maintaining consistent color throughout your photos helps in creating a cohesive visual narrative and ensures that they complement each other when viewed as a collection.
- Correcting Unwanted Color Casts: Different light sources can introduce color casts, such as a blue tint from fluorescent lights or an orange hue from incandescent bulbs. By adjusting the white balance, you can correct these undesirable color shifts, making your images look more natural and pleasing to the eye.
- Creative Expression: Understanding white balance allows you to manipulate the colors in your images to achieve your desired creative vision. You can intentionally use white balance adjustments to create artistic effects, such as adding a warm, golden tint to enhance the atmosphere of a sunset scene or cooling down the colors for a moody, stylized look.
By mastering white balance, you have more control over the visual impact of your images. It allows you to accurately portray colors, set the desired mood, and convey your creative vision effectively. Whether you are a professional photographer or an enthusiast, understanding the importance of white balance is essential for producing stunning and visually compelling photographs.
Automatic White Balance (AWB) Mode
Automatic White Balance (AWB) mode is a convenient feature found on most DSLR cameras that automatically adjusts the white balance settings based on the perceived color temperature of the scene. When in AWB mode, the camera’s sensor analyzes the colors in the frame and makes adjustments to ensure accurate color reproduction.
The AWB mode is great for beginners and situations where you need to quickly capture images without worrying about adjusting the white balance manually. The camera does the work for you, making it easier to focus on composition and other aspects of photography.
The advantage of AWB mode is its versatility across different lighting conditions. The camera can adapt to changes in color temperature, making it suitable for shooting in various environments throughout the day.
However, AWB mode is not foolproof and may not always provide the desired results. It relies on algorithms and pre-programmed settings to assess the scene, leading to occasional inaccuracies. Certain lighting conditions or different color characteristics of the scene can result in incorrect white balance adjustments.
In situations where precise color accuracy is critical, such as product photography or capturing scenes for professional purposes, using manual white balance modes or custom white balance is recommended.
Overall, the AWB mode can be a practical starting point for photographers, especially those new to white balance settings. It allows you to take photos quickly without worrying about adjusting the white balance manually. However, for more precise control and accurate color reproduction, exploring the other white balance modes available on your camera or manually adjusting the white balance settings is advisable.
Custom White Balance Mode
Custom White Balance mode allows you to manually set the white balance according to the specific lighting conditions of your scene. It enables the camera to accurately measure and adjust the white balance based on a reference point or a neutral color within the frame.
To set a custom white balance, you need to first capture a reference image of a neutral-colored object under the same lighting conditions as your intended scene. This could be a white or gray card specifically designed for white balance calibration or any other object with a neutral color tone.
Once you have your reference image, you can access the custom white balance settings in the camera menu. Select the reference image and use it to set the white balance for your current shooting environment. The camera will calibrate the white balance based on the color temperature of the reference image and apply it to the subsequent photos.
Custom white balance mode is particularly useful in situations where the lighting conditions are consistent and specific, such as in a studio or when shooting under artificial lighting sources. It ensures accurate color reproduction and eliminates any undesired color casts.
By setting a custom white balance, you have greater control over the final result of your images. This mode allows you to achieve precise color accuracy, ensuring that the white objects in your photos appear truly white and that the other colors are faithfully represented.
It is important to keep in mind that you will need to recalibrate the custom white balance whenever the lighting conditions change significantly. Every time you encounter a new lighting scenario, capturing a new reference image and setting the custom white balance accordingly will ensure the most accurate color reproduction.
Whether you’re shooting portraits, landscapes, or still life subjects, using custom white balance mode can elevate the quality of your images by providing consistent and accurate color representation. It is particularly beneficial when shooting in controlled lighting environments where precision is crucial and when you desire full creative control over the color palette of your photographs.
Daylight/ Sunny Mode
The Daylight or Sunny mode on your camera’s white balance settings is designed specifically for capturing photos in natural daylight conditions. It is optimized to produce accurate color representation under the bright, direct light of the sun.
When selecting the Daylight mode, your camera adjusts the white balance settings to compensate for the color temperature of daylight, which is typically around 5500K to 6500K. It adds warmth to the image to counteract the cool blue tones that can be present in certain lighting conditions.
This mode is ideal when shooting outdoors on a bright sunny day, capturing landscapes, and portrait photography in natural light. It helps preserve the natural colors of your subjects and ensures that shades of white appear neutral and not overly warm or cool.
Using the Daylight mode allows you to achieve accurate color reproduction without the need for manual adjustments. The camera’s automatic white balance algorithms are calibrated to provide the best results for typical daylight conditions.
However, it is important to note that the effectiveness of the Daylight mode depends on the specific lighting conditions of your scene and the time of day. Certain factors, such as the angle of sunlight, cloud cover, and the presence of other light sources, can affect the color temperature and may require manual adjustments or the use of other white balance modes.
Experimenting with the Daylight mode can help you understand how it impacts the color balance of your photos. You may find that it produces pleasing results in certain scenarios, while in others, you may need to make additional adjustments to fine-tune the white balance.
Overall, the Daylight or Sunny mode is a useful setting for capturing images in natural daylight conditions. It simplifies the process of achieving accurate color reproduction, making it convenient for photographers who want to focus on capturing the moment without the need for manual white balance adjustments.
Cloudy Mode
The Cloudy mode on your camera’s white balance settings is specifically designed for shooting in overcast or cloudy conditions. It compensates for the cool blue tones that can be present in such lighting situations and adds warmth to the image, resulting in more accurate color representation.
When you select the Cloudy mode, the camera adjusts the white balance settings to counteract the cool color temperature caused by excessive cloud cover. This helps to restore the natural colors of your subjects and prevents them from appearing washed out or overly cool.
In typical cloudy conditions, the color temperature can range from around 6500K to 7500K. The Cloudy mode is optimized to bring out the warmth in the scene, creating a pleasing and natural look in your photos.
This mode is particularly useful when shooting outdoors on an overcast or cloudy day, when the lighting can be diffused and lacks the strong direct sunlight found in the Daylight mode. It ensures that colors remain vibrant and accurate, even in lighting conditions that can be challenging for achieving balanced color reproduction.
While the Cloudy mode is designed for shooting in cloudy conditions, it can also be beneficial in other situations. For example, during sunrise or sunset, when the light is often softer and has warm golden tones, the Cloudy mode can help enhance those warm hues and create a more pleasing color balance.
It is important to note that the effectiveness of the Cloudy mode depends on the specific lighting conditions of your scene. Factors such as the thickness of cloud cover and the time of day can influence the color temperature. In some cases, you may still need to make manual adjustments or explore other white balance modes to achieve the desired results.
Experimenting with the Cloudy mode and comparing it to other white balance settings can help you determine the most appropriate option for capturing the colors accurately in different lighting conditions. Adjustments can always be made based on your creative vision and the specific characteristics of the scene you are photographing.
Shade Mode
The Shade mode on your camera’s white balance settings is specifically designed for shooting in shaded areas where the lighting conditions can result in a bluish color cast. It compensates for the cool tones and adds warmth to the image to ensure accurate color representation.
When you select the Shade mode, the camera adjusts the white balance settings to counteract the cool color temperature typically found in shaded areas. This helps to restore the natural colors of your subjects and prevents them from appearing overly cool or with a bluish tint.
Shaded areas often have a lower color temperature than direct sunlight, typically between 7500K to 9000K. The Shade mode is optimized to add warmth to the image, making it more visually appealing and accurate.
This mode is particularly useful when shooting in areas with dense tree cover, under canopies, or in situations where your subject is predominantly shaded. It ensures that the colors remain warm and vibrant, regardless of the lack of direct sunlight.
The Shade mode can also be advantageous when shooting portraits in open shade or during midday when the sunlight is harsh. It helps to soften the lighting and reduces the chance of unflattering shadows, providing a more pleasing and balanced color representation.
Keep in mind that the effectiveness of the Shade mode depends on the specific lighting conditions of your scene. Factors such as the density of the shade, the time of day, and the surrounding environment can influence the color temperature. In certain situations, manual adjustments or exploring other white balance modes may be necessary to achieve the desired results.
Experimenting with the Shade mode can help you understand how it impacts the color balance and choose the most appropriate setting for your specific shooting conditions. As with any white balance mode, adjustments can always be made to suit your creative vision and the specific characteristics of the scene you are capturing.
Incandescent Light Mode
The Incandescent Light mode, also known as the Tungsten mode, on your camera’s white balance settings is specifically designed for shooting under incandescent lighting, such as traditional tungsten or halogen bulbs. It compensates for the warm orange tones emitted by these light sources to ensure accurate color representation.
When you select the Incandescent Light mode, the camera adjusts the white balance settings to counteract the warm color temperature typically associated with incandescent lighting. This helps to neutralize the orange cast and maintain more accurate and natural colors in your photos.
Incandescent bulbs have a color temperature ranging from around 2500K to 3200K, and the Incandescent Light mode is calibrated to correct for this warm light source by introducing cooler tones.
This mode is especially useful when shooting indoors under household lighting, in restaurants, or any other setting where traditional incandescent bulbs are prevalent. It helps to eliminate the orange cast that can make subjects appear unnaturally warm and ensures that white objects in your photos appear neutral, rather than with a yellowish tint.
It is important to note that the Incandescent Light mode may not be suitable for other types of warm lighting sources, such as candlelight, as the color temperature may differ from traditional incandescent bulbs. In such cases, manual adjustments or exploring other white balance modes may be necessary.
Experimenting with the Incandescent Light mode can help you understand how it affects the color balance in your photos. Assess the results and make additional adjustments if needed, based on the specific characteristics of the scene and your creative vision.
Overall, the Incandescent Light mode is a valuable tool for achieving accurate color representation when shooting under incandescent lighting. By using this mode, you can overcome the warm color temperature of incandescent bulbs and ensure that your photos have natural and visually pleasing colors.
Fluorescent Light Mode
The Fluorescent Light mode on your camera’s white balance settings is specifically designed for shooting under fluorescent lighting conditions. It compensates for the greenish color cast often associated with fluorescent lights to ensure accurate and natural color representation in your photos.
When you select the Fluorescent Light mode, the camera adjusts the white balance settings to counteract the greenish color temperature typically emitted by fluorescent lights. This helps to neutralize the green cast and maintain more accurate and realistic colors.
Fluorescent lights have a color temperature that can vary depending on the specific type of bulbs used, but it generally falls around 4000K to 5000K. The Fluorescent Light mode is calibrated to correct for the green tint associated with these light sources.
This mode is particularly useful when shooting indoors under fluorescent lighting, such as in offices, retail spaces, or other environments where fluorescent bulbs are commonly used. It ensures that your photos have accurate color representation, without the undesirable green cast that can make skin tones appear unnatural or give a slight green hue to white objects in your images.
It’s important to note that the effectiveness of the Fluorescent Light mode may vary depending on the specific type of fluorescent bulbs used, as different bulbs may emit different color temperatures. In some cases, manual adjustments or exploring other white balance modes may be necessary to achieve the most accurate color reproduction.
Experimenting with the Fluorescent Light mode can help you understand how it affects the color balance in your photos under different types of fluorescent lighting. By reviewing the results and making additional adjustments if needed, you can ensure that the colors in your images appear realistic and pleasing to the eye.
Flash Mode
The Flash mode on your camera’s white balance settings is specifically designed for shooting with the built-in or external flash. It helps to ensure accurate and natural color representation when using artificial lighting to illuminate your subjects.
When you select the Flash mode, the camera adjusts the white balance settings to compensate for the color temperature of the flash. This helps to capture the true colors of your subjects, preventing them from appearing overly cool or warm due to the artificial light source.
Flash units typically produce a color temperature around 5500K to 6000K, which is close to daylight. The Flash mode is optimized to produce neutral and accurate colors under this specific lighting condition.
Using the Flash mode is essential when shooting in low-light conditions or when additional light is needed to properly expose your subjects. It ensures that the colors remain faithful and that details are accurately captured, even when using artificial light sources.
It’s important to note that the Flash mode also takes into account the ambient lighting conditions. The camera adjusts the white balance to create a balanced look between the flash and the existing lighting, ensuring that your subject appears well-lit and the overall colors in the frame are harmonious.
While the Flash mode is designed for flash photography, it may not always be the ideal setting in every situation. Depending on the specific lighting conditions and creative vision, you may want to experiment with other white balance modes or make manual adjustments to achieve different effects.
As with any white balance setting, it’s recommended to review the results and make any necessary adjustments based on your desired look and the specific characteristics of the scene you are photographing.
Overall, the Flash mode is a useful tool for achieving accurate color representation when using artificial lighting. It ensures that your photos have natural and visually pleasing colors, no matter the available lighting conditions.
Manual White Balance Mode
The Manual White Balance mode on your camera gives you complete control over setting the white balance based on your specific shooting conditions. It allows you to manually adjust the color temperature to ensure accurate and precise color representation in your photos.
In Manual White Balance mode, you have the option to set the white balance using a reference point or by manually inputting the desired color temperature value. This gives you the flexibility to fine-tune the white balance settings based on the lighting conditions and your creative vision.
To set the manual white balance using a reference point, you need to photograph a neutral-colored object, such as a white or gray card, within the same lighting conditions as your intended scene. The camera uses this reference image to determine the ideal white balance for your photos, ensuring accurate color representation.
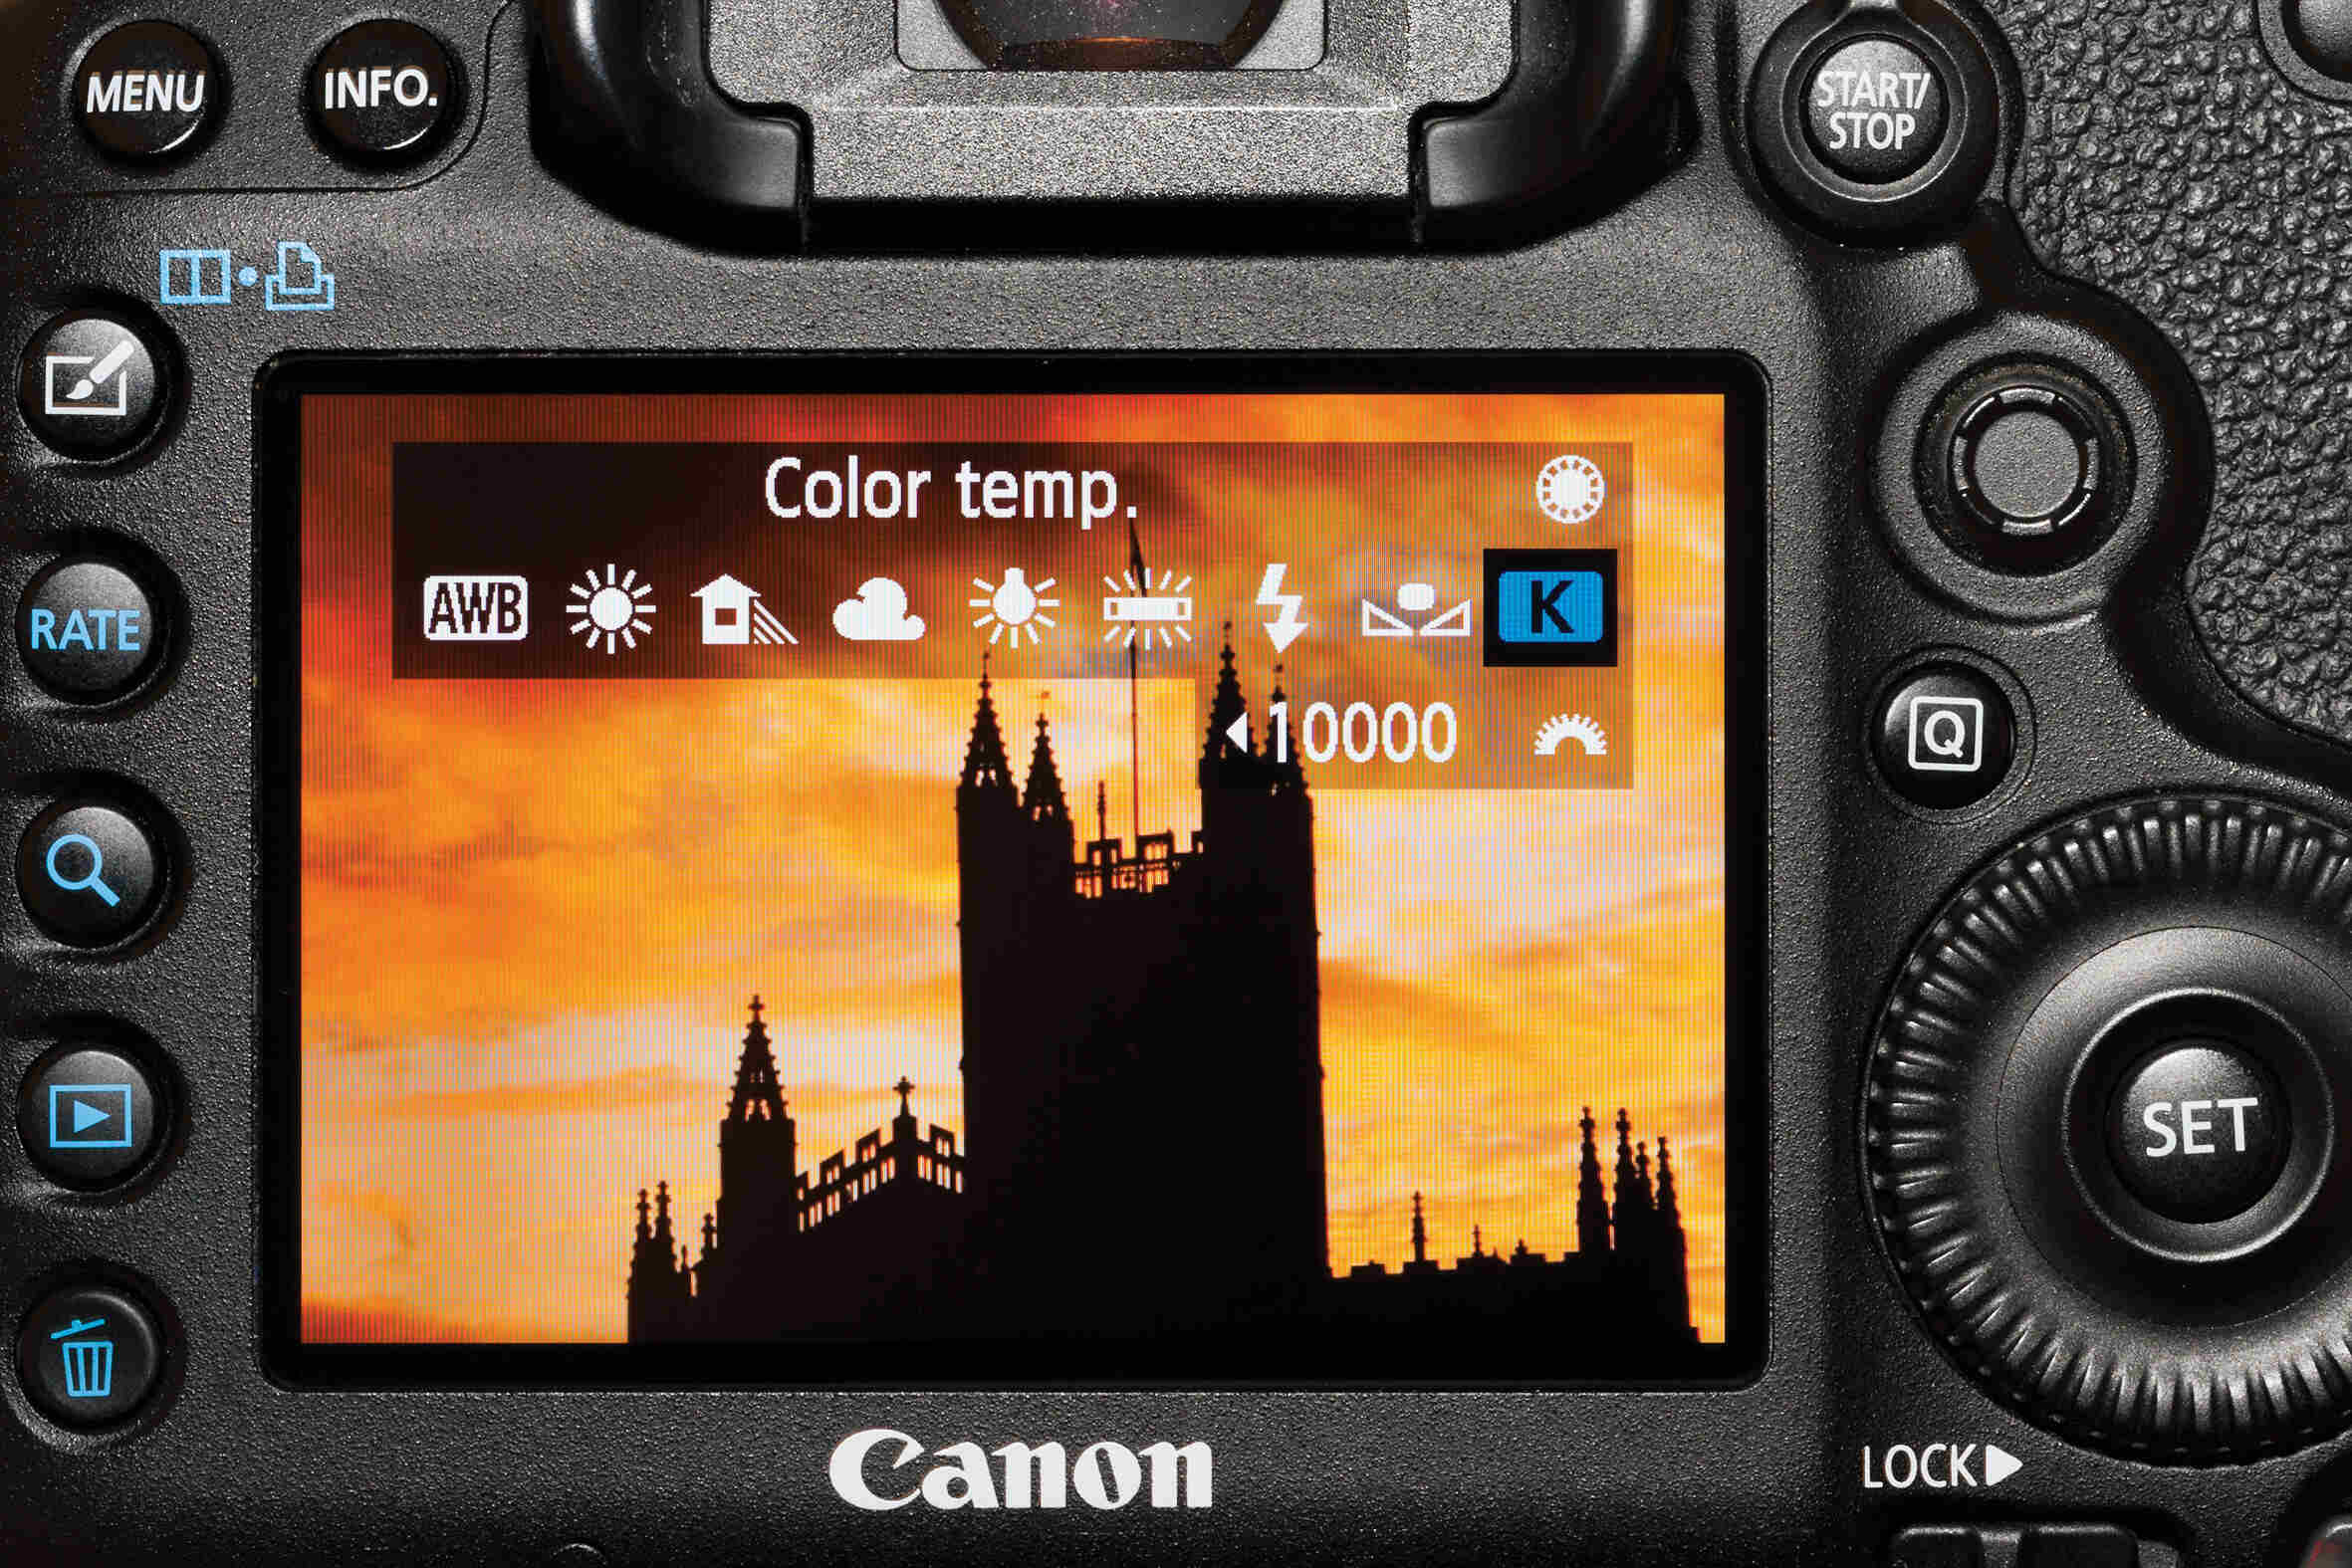
If you prefer to manually input the color temperature value, you can use the Kelvin scale to select the desired value that matches the lighting conditions or creative effect you want to achieve. Lower values such as 2500K produce warm, orange tones, while higher values like 8000K result in cooler, blue tones.
The Manual White Balance mode is particularly useful in situations where the lighting conditions are constant, such as in a studio or when shooting under controlled lighting setups. It provides precise control over the color temperature, ensuring that your photos have accurate and consistent colors from shot to shot.
By using the Manual White Balance mode, you have the ability to achieve specific creative effects by intentionally manipulating the color temperature. You can create warm and nostalgic images or cool and moody atmospheres by adjusting the white balance to suit your artistic vision.
While Manual White Balance mode provides great control, it does require some knowledge and experience to accurately set the white balance. It is important to take into account the characteristics of the lighting, such as the color temperature and any color cast, to achieve the desired outcome.
Experimenting with the Manual White Balance mode, both with a reference point and manually inputting temperature values, can help you gain a better understanding of how different settings impact the color balance in your photos. This allows you to achieve precise color accuracy and creative control over the final result of your images.
Adjusting White Balance in Post-Processing Software
While it is always best to achieve accurate white balance in-camera, there are instances where you may need to make adjustments during post-processing. Post-processing software provides powerful tools to fine-tune the white balance and correct any color casts that may be present in your photos.
Most photo editing software, such as Adobe Lightroom or Photoshop, offer various methods to adjust the white balance of your images. Here are some common techniques:
- White Balance Tools: Post-processing software typically provides tools like sliders or color picker to adjust the white balance. You can use the white balance dropper tool to select a neutral grey or white area in your photo, which the software will analyze and adjust the white balance accordingly.
- Temperature and Tint Sliders: These sliders allow you to manually adjust the color temperature and tint of your image. Moving the temperature slider to the right makes the image warmer, while moving it to the left makes it cooler. The tint slider helps correct any unwanted color shifts between green and magenta.
- White Balance Presets: Predefined settings in the software can help you quickly apply common white balance adjustments for specific lighting conditions, such as daylight, shade, or fluorescent light. These presets can be a good starting point before fine-tuning the white balance manually.
- Selective Color Adjustments: In some advanced editing software, you can selectively adjust the white balance for specific color ranges within your image. This allows you to target and correct any color casts in certain areas without affecting the overall balance of the image.
When adjusting the white balance in post-processing, it is important to refer to the original scene and your desired creative intent. Try to achieve a natural look that accurately represents the colors of the scene, or experiment with creative adjustments to evoke a specific mood or atmosphere.
However, it is worth noting that excessive manipulation of the white balance in post-processing can result in loss of detail or introduce artifacts. Therefore, it is always recommended to strive for accurate white balance in-camera as much as possible.
Adjusting the white balance in post-processing gives you the flexibility to correct any errors or deviations and fine-tune the color temperature and tint of your images. By utilizing the available tools and techniques in your editing software, you can ensure that your final photos have accurate and visually appealing colors.