
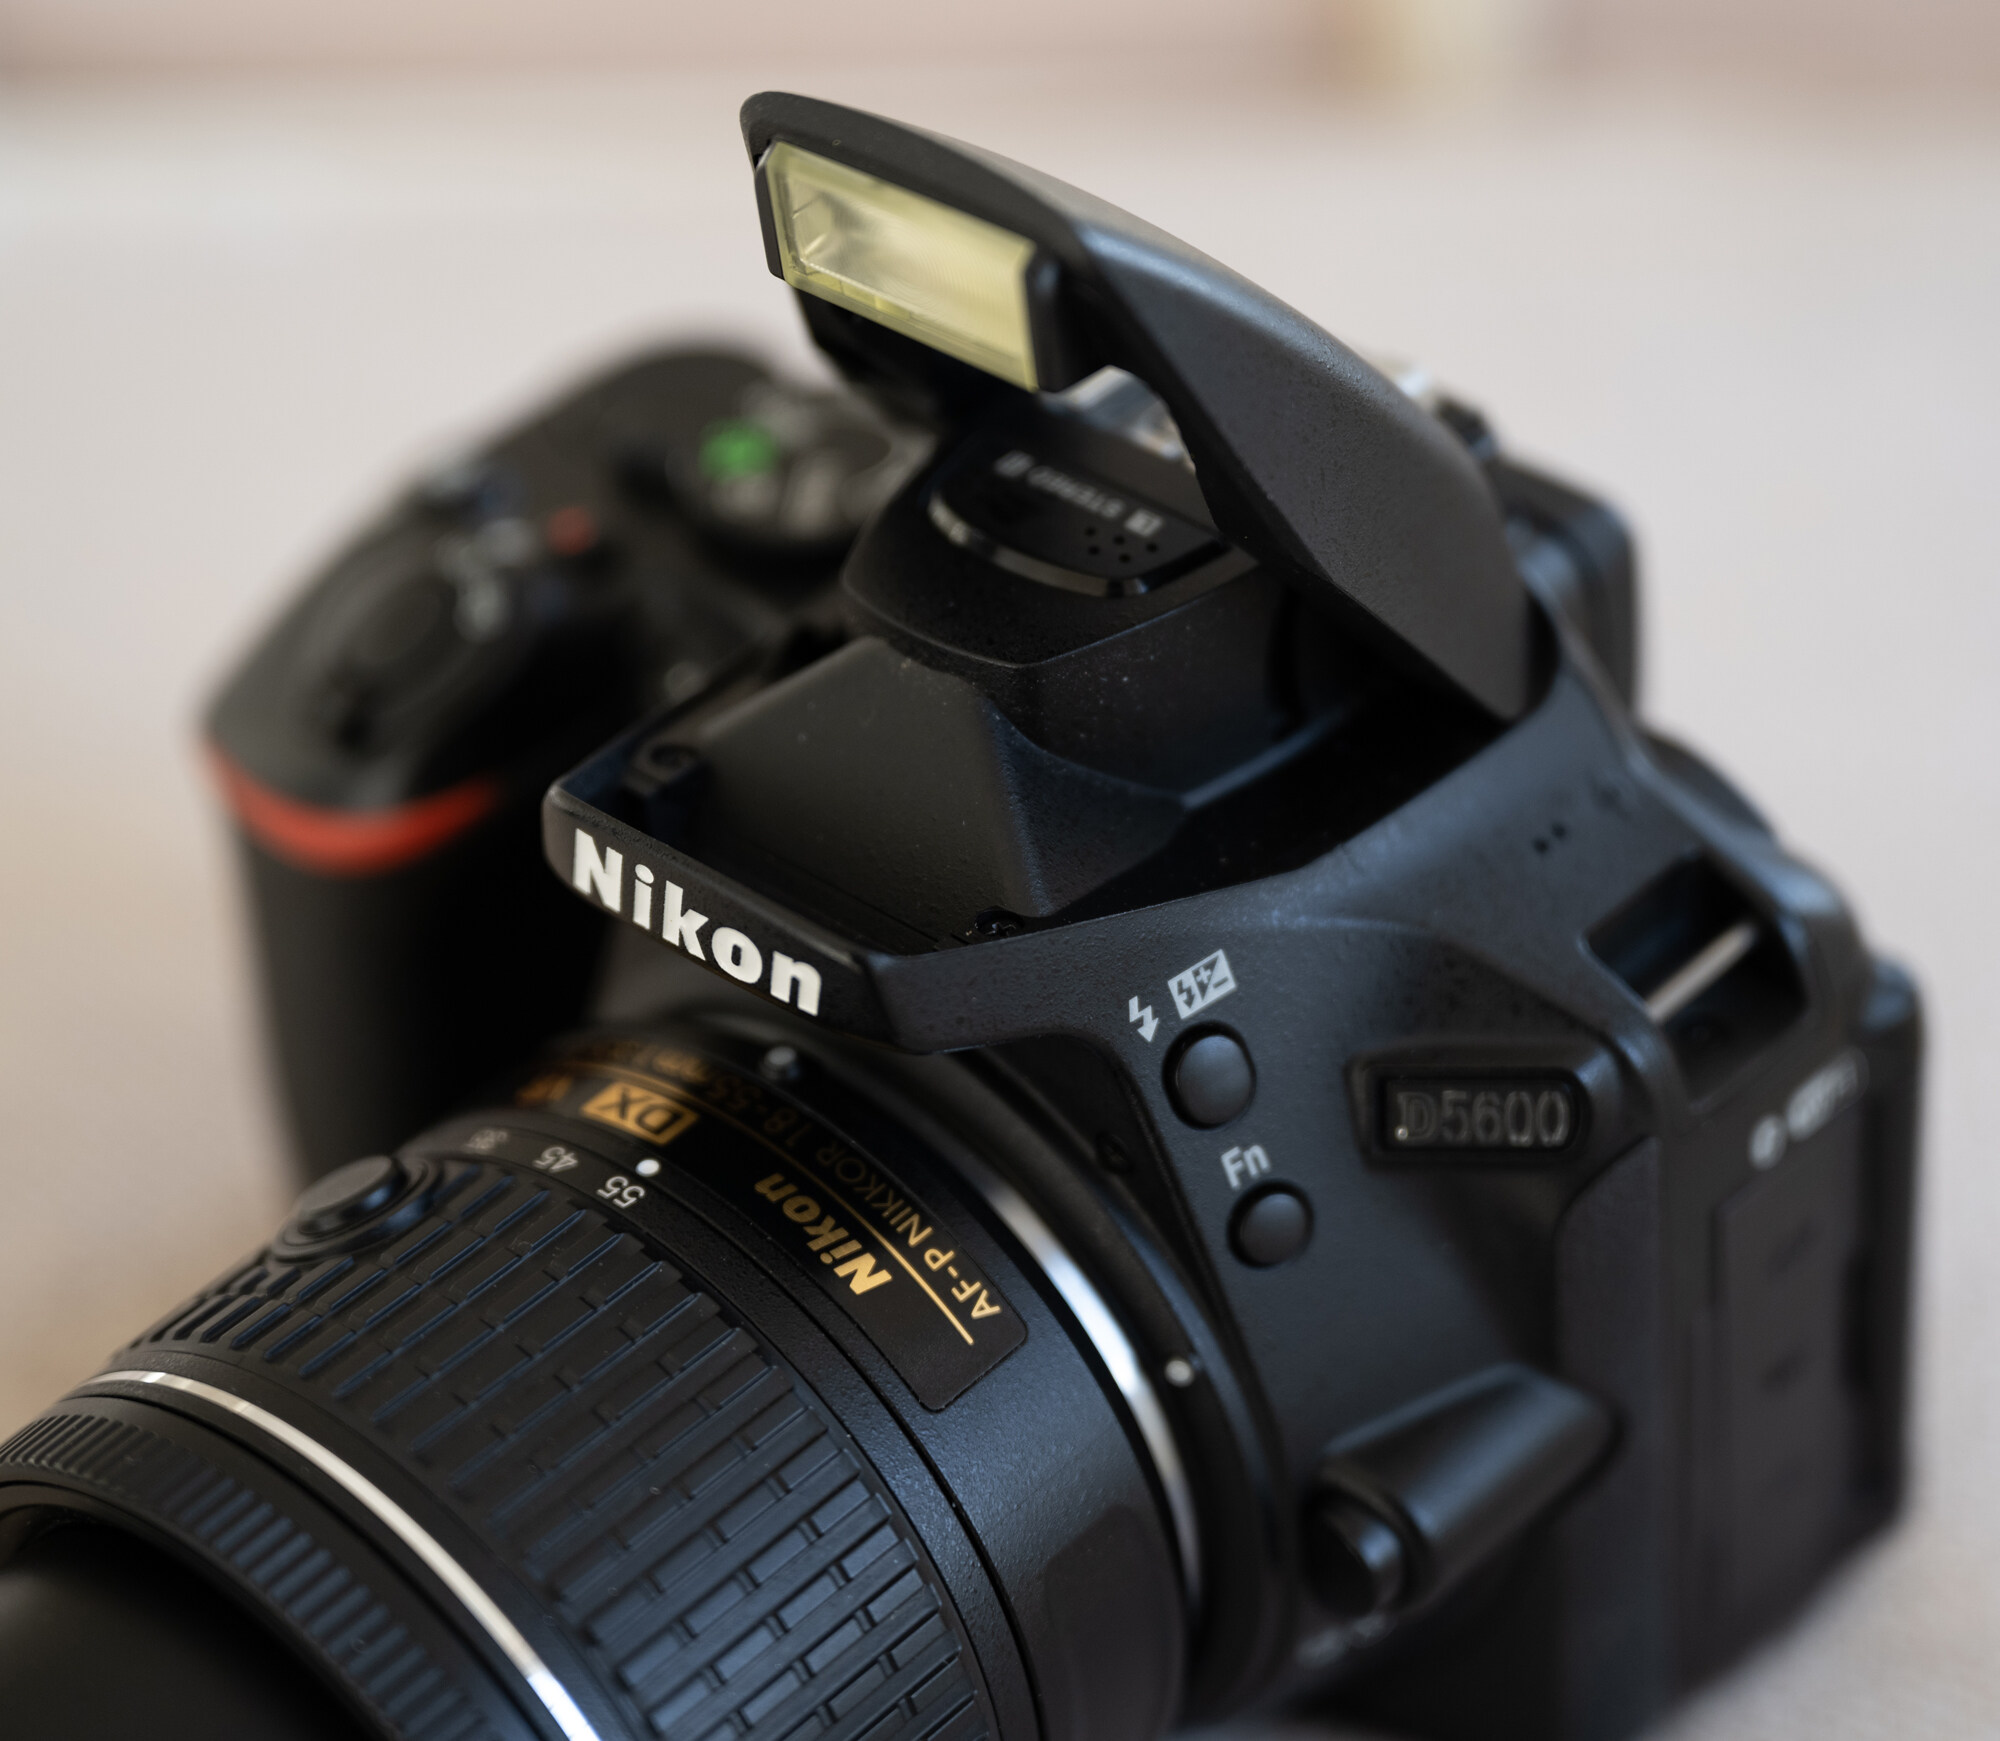
Choosing the Right Situation for Using the Pop-Up Flash
The pop-up flash on your DSLR can be a valuable tool in certain situations when additional lighting is needed. While it may not be as powerful or versatile as external flashes, it can still produce decent results when used correctly. Here are some situations where using the pop-up flash can be beneficial:
- Indoor Low-Light Environments: When shooting indoors in dimly lit environments, such as restaurants or parties, the pop-up flash can help to illuminate your subjects and provide better exposure. It can serve as a fill light to reduce harsh shadows on your subjects’ faces.
- Backlit Subjects: When photographing subjects with strong backlighting, such as sunsets or stage performances, the pop-up flash can help to balance the exposure and provide some additional light on your subjects. This can prevent them from appearing silhouetted against a bright background.
- Quick and Casual Photography: If you’re taking snapshots or capturing candid moments, the pop-up flash can be a convenient option. It eliminates the need to carry a separate external flash and allows you to quickly add some fill light when necessary.
- Macro Photography: When shooting close-up subjects, such as flowers or small objects, the pop-up flash can help to add some detail and bring out the colors. It enables you to highlight the intricate details of your subject and capture them in sharp focus.
While these situations can benefit from using the pop-up flash, it’s essential to keep in mind the limitations it has. Due to its close proximity to the camera lens, the light produced by the pop-up flash can often result in unflattering shadows, harsh highlights, and red-eye. Hence, it’s crucial to understand its limitations and learn how to overcome them through various techniques.
Understanding when and how to use the pop-up flash on your DSLR will greatly improve your photography in specific situations. By using it wisely, you can add a touch of light to your images, improve exposure, and capture moments that might have been lost in the shadows.
Understanding the Limitations of the Pop-Up Flash
While the pop-up flash on your DSLR can be a handy tool in certain situations, it’s important to be aware of its limitations. Understanding these limitations will help you make more informed decisions when using the pop-up flash and avoid common pitfalls. Here are some key limitations to keep in mind:
- Limited Power: The pop-up flash is not as powerful as external flashes. It has a shorter range and may not be strong enough to properly illuminate subjects that are far away. In situations where you need more light, consider using an external flash with higher power output.
- Direct and Harsh Lighting: The pop-up flash is positioned close to the camera lens, resulting in direct and harsh lighting. This can create unflattering shadows, harsh highlights, and a flat-looking image. It’s important to be mindful of the direction and quality of light when using the pop-up flash.
- Red-Eye Effect: Due to the close proximity of the pop-up flash to the lens, it’s more likely to cause red-eye in subjects. Red-eye occurs when light from the flash reflects off the subject’s retina. To minimize red-eye, consider using the red-eye reduction feature on your camera or using an external flash positioned away from the lens.
- Short Battery Life: Using the pop-up flash drains the camera’s battery faster compared to not using it. It’s essential to carry extra batteries or have a backup power source to ensure you don’t run out of power in critical shooting situations.
By understanding these limitations and knowing when it’s appropriate to use the pop-up flash, you can make informed decisions and adjust your photography technique accordingly. In situations where the pop-up flash falls short, it may be worth considering using external flashes, light modifiers, or alternative lighting techniques to achieve the desired results.
Ultimately, the pop-up flash is a versatile tool that can be useful in certain situations. It’s important to experiment with different settings, techniques, and lighting conditions to make the most of the pop-up flash and overcome its limitations.
Learning about Flash Modes on Your DSLR
Understanding the various flash modes available on your DSLR camera is key to maximizing the effectiveness of the pop-up flash. Each flash mode serves a different purpose and can help you achieve different lighting effects. Here are some commonly found flash modes and how they can be used:
- Auto Flash Mode: In this mode, the camera’s built-in light meter determines whether the flash is necessary based on the existing lighting conditions. The camera will automatically fire the pop-up flash when it detects insufficient light. This mode is convenient for quick and casual photography but may not always produce the desired results in complex lighting situations.
- Fill Flash Mode: This mode is useful when you want to fill in shadows created by strong backlighting. The flash fires regardless of the existing light conditions, helping to brighten the subject and balance out the exposure. It is particularly effective when shooting portraits or subjects against a bright background.
- Slow Sync/ Rear Sync Mode: This mode combines a slow shutter speed with the pop-up flash to capture both the ambient light and the main subject in motion. It helps to create a sense of motion blur while still providing some illumination on the subject. Rear Sync mode, specifically, fires the flash at the end of the exposure, capturing the subject with motion blur trailing behind.
- Red-Eye Reduction Mode: Red-eye is a common issue in flash photography that causes the subject’s eyes to appear red. The Red-Eye Reduction mode emits pre-flashes to reduce the size of the subject’s pupils, minimizing the reflection of light from the flash. This helps in reducing or eliminating the red-eye effect.
To make the most of these flash modes, it’s important to familiarize yourself with your camera’s settings menu. Consult your camera’s manual or seek online resources to understand the specific options and features available. Experimenting with different flash modes in various lighting situations will help you develop a better understanding of how they impact your photographs and enable you to achieve desired lighting effects.
Remember, the flash mode you choose ultimately depends on the desired outcome and the specific needs of your photography. Don’t be afraid to experiment and explore different flash modes to unleash the full potential of your pop-up flash and enhance your overall photography skills.
Using Flash Compensation for Proper Exposure
Flash compensation is a valuable tool that allows you to adjust the power output of your pop-up flash to achieve proper exposure in different lighting conditions. It provides you with control over the intensity of the flash and helps you avoid overexposed or underexposed images. Here’s how you can use flash compensation effectively:
Understanding Flash Exposure Compensation:
Flash exposure compensation allows you to adjust the power output of your flash while leaving the camera’s exposure settings unchanged. It is usually measured in increments of 1/3 or 1/2 stops, and it can be positive (increasing flash power) or negative (decreasing flash power).
Using Flash Compensation in Practice:
1. Positive Flash Compensation: When you encounter a scene with dark or shadowy areas, using positive flash compensation can help fill in the shadows and properly expose your subject. This is especially helpful in situations where the background is significantly brighter than the subject.
2. Negative Flash Compensation: In situations where your subject is too brightly lit or appears overexposed, applying negative flash compensation can help reduce the intensity of the flash and achieve a more balanced exposure. This is beneficial when photographing subjects with reflective or light-colored surfaces.
Experiment and Adjust:
It’s important to experiment with different levels of flash compensation and evaluate the results. Take a series of test shots with varying flash compensation values to find the setting that produces the desired exposure. Pay attention to the interplay between the flash and the ambient light to achieve a natural and well-exposed image.
Consider the Distance:
Flash compensation becomes particularly useful when your subject is at a significant distance from the camera. In such cases, the pop-up flash may not be able to reach your subject adequately, resulting in underexposure. Increasing flash compensation can compensate for the distance and provide sufficient light.
Review and Adjust as Needed:
Regularly review your images on your camera’s LCD screen and make adjustments to flash compensation if required. Analyze the exposure, level of detail, and overall balance of light in your shots. Be mindful of the specific lighting conditions and adjust flash compensation accordingly to achieve optimal results.
By utilizing flash compensation effectively, you have greater control over the exposure and lighting in your images. It allows you to tailor the flash output to the specific requirements of each situation, resulting in well-exposed photographs with balanced lighting.
Tips for Bouncing the Flash off Ceilings and Walls
Bouncing the pop-up flash off ceilings and walls is a technique that can significantly improve the quality of your flash photography. By redirecting the flash’s light source, you can achieve softer, more diffused lighting and avoid harsh shadows and direct light. Here are some tips for successfully bouncing your pop-up flash:
1. Find the Right Surface:
Look for a suitable surface to bounce the flash off of, such as a white or lightly colored ceiling or wall. These surfaces will reflect the flash’s light without altering the color temperature too much. Avoid surfaces with dark or highly reflective finishes, as they may create unwanted color casts or specular reflections.
2. Adjust the Angle:
To bounce the flash effectively, tilt the flash head upward or to the side, depending on the surface you are bouncing off. Experiment with different angles to achieve the desired lighting effect, taking into account the distance and orientation of your subject.
3. Consider the Distance:
The distance between the flash and the ceiling/wall will affect the intensity and spread of the bounced light. Generally, the closer the bounce surface, the stronger the reflected light. Experiment with varying distances to achieve the right balance and avoid overexposing or underexposing your subject.
4. Use Manual Flash Mode:
Switching to manual flash mode gives you full control over the flash output, allowing you to adjust the power to match the bounced light’s intensity. Start with a medium power setting and make adjustments as needed based on your test shots and the specific lighting conditions.
5. Diffuse the Flash:
If the ceiling or wall surface is too reflective, consider attaching a diffuser, such as a small white card or a dedicated flash diffuser, to soften the light even further. This helps to scatter the light and create a more natural and pleasing lighting effect.
6. Pay Attention to Other Surfaces:
In some situations, bouncing the flash off a different surface, such as a nearby wall or reflector, may yield better results. Experiment with different surfaces to see what works best for your specific scenario.
7. Practice and Experiment:
Like any technique, bouncing the flash requires practice and experimentation. Take test shots with different settings, positions, and surfaces to see the impact on your images. Make adjustments based on the results until you achieve the desired lighting effect.
By mastering the art of bouncing the pop-up flash, you can achieve more natural, soft, and flattering lighting in your images. It’s a technique that adds versatility to your flash photography and allows you to control and manipulate light to create stunning results.
Using DIY Light Modifiers for Better Flash Photography
While the pop-up flash on your DSLR can produce decent results, its direct and harsh lighting may not always be ideal. To improve the quality of your flash photography, you can create your own DIY light modifiers to soften and diffuse the light. These simple and cost-effective solutions can make a significant difference in the final results. Here are a few popular DIY light modifiers you can try:
1. Diffusion Material:
Attach a thin piece of white fabric, like a sheer curtain or a white shower curtain, over the flash to diffuse the light. This helps to create a softer, more even light by scattering the direct flash. Use a rubber band or tape to secure the fabric in place.
2. Tissue Paper:
Take a few sheets of facial tissue or tracing paper and fold them into multiple layers. Then, attach the folded tissue paper over the flash using a rubber band or tape. This homemade diffuser helps to soften the harsh light and produce a more flattering illumination for your subjects.
3. White Index Card:
Hold a white index card at a 45-degree angle in front of the flash. The white surface acts as a bounce card, redirecting the flash’s light and creating a softer, more directional light source. Experiment with the distance and angle of the card to achieve the desired lighting effect.
4. Aluminum Foil:
Create a small reflector using aluminum foil to bounce and direct the light from the pop-up flash. Cut a piece of foil and shape it into a small rectangle or square, then attach it above or behind the flash using tape or a rubber band. Adjust the angle and position of the foil to control the direction and intensity of the light.
5. Pringles Can Snoot:
Create a DIY snoot by cutting the bottom of an empty Pringles can and attaching it to the front of the flash. This directs the light into a narrow beam, allowing for more precise control and highlighting specific areas of your subject.
6. Plastic Milk Jug Diffuser:
Take an empty plastic milk jug and cut out a rectangular piece from the side. Attach this piece in front of the pop-up flash using tape or rubber bands. The milk jug diffuser helps to scatter and soften the light, making it more flattering for your subjects.
Using these DIY light modifiers allows you to have greater control over the quality and direction of the light from your pop-up flash. They are cost-effective alternatives to professional light modifiers and can produce impressive results. Experiment with different materials and setups to find the one that works best for your specific photography needs.
Avoiding Red-Eye and Harsh Shadows with the Pop-Up Flash
When using the pop-up flash on your DSLR, red-eye and harsh shadows are common issues that can negatively affect your photographs. Red-eye occurs when the flash’s light reflects off the subject’s retinas, resulting in a red-eye effect. Harsh shadows can occur due to the direct and close proximity of the flash to the subject. However, with a few techniques and adjustments, you can minimize or eliminate these issues and achieve more flattering and natural-looking images. Here’s how:
1. Use Red-Eye Reduction:
Most DSLR cameras have a red-eye reduction feature that emits a series of pre-flashes to cause the subject’s pupils to contract, reducing the chances of red-eye. Enable this feature in your camera’s settings to minimize red-eye in your flash photography.
2. Increase the Ambient Light:
One way to reduce red-eye and harsh shadows is to increase the ambient light in the scene. This can be achieved by opening curtains, turning on additional light sources, or using natural light from windows. By increasing the overall lighting, the pop-up flash doesn’t have to work as hard, resulting in a more natural and balanced exposure.
3. Bounce the Flash:
As mentioned in previous sections, bouncing the flash off ceilings or walls helps diffuse the light and eliminate harsh shadows. By redirecting the flash’s light source, you can soften the lighting and create a more pleasing and natural-looking result. Experiment with different angles and surfaces to find the best bounce configuration for your desired effect.
4. Use Off-Camera Flash Techniques:
If possible, consider using off-camera flash techniques instead of relying solely on the pop-up flash. External flashes can be positioned at different angles and distances from your subject, minimizing the chances of red-eye and harsh shadows. Using off-camera flash also provides more control over the direction and quality of light.
5. Diffuse the Flash:
Attach a diffuser, such as a small softbox or a dedicated flash diffuser, to the pop-up flash. This helps to scatter and soften the light, reducing the harshness of shadows while still providing sufficient illumination. Diffusers can be easily attached and detached from the pop-up flash, allowing for quick adjustments as needed.
6. Increase Flash Distance:
Another technique to reduce red-eye and harsh shadows is to increase the distance between the pop-up flash and the lens. This can be achieved by using external flash brackets or extenders. By moving the flash away from the lens axis, the likelihood of red-eye and direct shadows is reduced.
By applying these techniques, you can significantly improve your flash photography by mitigating the occurrence of red-eye and harsh shadows. Remember to experiment with different settings and lighting conditions to find the best approach for your specific shooting situations.
Understanding Sync Speed and Its Impact on Flash Photography
Sync speed is an essential aspect of flash photography that determines the maximum shutter speed you can use when syncing your pop-up flash with your DSLR camera. It refers to the fastest shutter speed at which the entire camera sensor is fully exposed to the flash’s light. Understanding sync speed is crucial in order to prevent unwanted black bars or uneven exposure in your images. Here’s how sync speed impacts your flash photography:
Sync Speed and Flash Duration:
Sync speed determines the maximum length of time the flash can emit light within each exposure. The flash duration is generally very short, typically around 1/1000th to 1/20,000th of a second. When using a faster shutter speed than the sync speed, part of the image will be blocked by the shutter curtain, resulting in an underexposed or black section known as a black bar.
Using the Correct Sync Speed:
To avoid black bars, it’s important to use the correct sync speed. This information can usually be found in your camera’s manual or by checking the settings on your camera. Common sync speeds for most DSLR cameras range from 1/200th to 1/250th of a second, although it can vary between different camera models. Set your camera to this sync speed to ensure proper exposure when using the pop-up flash.
High-Speed Sync (HSS) Mode:
Some advanced DSLR cameras and external flash units offer a High-Speed Sync (HSS) mode that allows you to sync the flash with faster shutter speeds, beyond the native sync speed. This mode uses a series of rapid-fire pulses to simulate continuous lighting, allowing for evenly exposed images even at high shutter speeds. High-Speed Sync mode is helpful when shooting in bright conditions or when using wider apertures.
Flash Power and Sync Speed:
It’s important to note that when using a faster shutter speed, the flash has less time to emit light, which may result in decreased flash power. Therefore, you may need to compensate for this loss of power by increasing the flash output or moving the flash closer to your subject to maintain proper exposure.
Mastering Sync Speed Techniques:
Understanding sync speed techniques opens up creative possibilities in flash photography. By using a slower shutter speed, you can intentionally introduce motion blur to capture movement, while still illuminating the subject with the flash. Conversely, using a faster shutter speed can help freeze action while eliminating ambient light. Experiment with different sync speeds and flash techniques to create unique and visually striking images.
Sync Speed Limitations:
Keep in mind that each camera model has its own specific sync speed limitation. Using a faster shutter speed may necessitate the use of more advanced techniques, such as High-Speed Sync, or may require using external flash units capable of syncing at high speeds. Consult your camera’s manual or explore online resources to learn more about the sync speed limitations of your specific camera model.
Understanding sync speed and its impact on flash photography is crucial for achieving properly exposed images and avoiding black bars. Experiment with different sync speeds and techniques to expand your creative possibilities and achieve stunning flash photography results.
Exploring Off-Camera Flash Techniques with the Pop-Up Flash
While the pop-up flash on your DSLR camera is primarily designed for on-camera use, it can also be used as a trigger for off-camera flash photography. This opens up a world of creative possibilities, allowing you to explore different lighting setups and techniques. Here’s how you can experiment with off-camera flash using your pop-up flash:
1. Wireless Flash Trigger:
Invest in a wireless flash trigger system that allows you to trigger your off-camera flash wirelessly. These systems consist of a transmitter that attaches to your camera’s hot shoe and a receiver that connects to your off-camera flash. Simply mount your pop-up flash on your camera and use it as a trigger to fire the off-camera flash remotely.
2. Light Stand or Tripod:
Place your off-camera flash on a light stand or tripod to position it independently from your camera. This provides more flexibility in lighting angles and allows you to create various lighting effects. Use your pop-up flash to trigger the off-camera flash while retaining creative control over the lighting setup.
3. Lighting Modifiers:
Attach light modifiers such as softboxes, umbrellas, or grids to your off-camera flash to achieve desired lighting effects. These modifiers help soften and control the light, providing a more appealing and professional look to your images. Use your pop-up flash as a trigger to experiment with different lighting setups and modifiers.
4. Lighting Ratios:
Using off-camera flash with your pop-up flash allows you to explore lighting ratios. By adjusting the power output of your pop-up flash and off-camera flash independently, you can create a balanced or dramatic lighting effect. Experiment with different power ratios to achieve the desired contrast and mood in your images.
5. Multiple Off-Camera Flashes:
If you have multiple off-camera flashes, you can use your pop-up flash to trigger them simultaneously or selectively. This opens up even more creative possibilities, allowing you to create complex lighting setups and add depth and dimension to your photographs.
6. Light Placement:
With off-camera flash, you have the freedom to position the light source at different angles and distances from your subject. Experiment with different placements to achieve unique and interesting lighting effects. Use your pop-up flash as a trigger to fire the off-camera flash and capture the desired lighting setup.
7. Controlling Ambient Light:
Using off-camera flash with your pop-up flash allows you to have greater control over the balance between ambient light and the flash. By adjusting the power output of your pop-up flash and off-camera flash, you can balance the two sources of light to achieve the desired exposure and creative effect.
Exploring off-camera flash techniques with your pop-up flash adds versatility and creativity to your flash photography. By investing in a wireless flash trigger system and experimenting with different lighting setups, modifiers, and placements, you can elevate your images to a new level and create captivating and professional-looking photographs.
Troubleshooting Common Issues with the Pop-Up Flash
The pop-up flash on your DSLR can be a versatile tool for adding light to your photographs. However, like any technology, it can encounter common issues that might affect the quality and outcome of your images. Here are some troubleshooting tips for common problems you may face when using the pop-up flash:
1. Red-Eye:
To reduce or prevent red-eye, adjust the flash mode to activate the red-eye reduction feature found in most DSLR cameras. This feature emits a series of pre-flashes to cause the subject’s pupils to contract, minimizing the reflection of light from the flash.
2. Harsh Shadows:
If you’re experiencing harsh shadows in your images, try diffusing the light from the pop-up flash. You can use a white tissue paper, a dedicated flash diffuser, or attach a small white card to bounce the light and soften the shadows. Experiment with different diffusers and bounce angles to achieve the desired effect.
3. Underexposure:
If your images appear underexposed when using the pop-up flash, increase the flash power or move closer to your subject. Additionally, adjusting the camera’s settings, such as increasing the ISO or widening the aperture, can help capture more light and improve exposure.
4. Overexposure:
In situations where your images appear overexposed, try reducing the flash power or increasing the distance between the pop-up flash and your subject. You can also adjust the camera settings like decreasing the ISO or narrowing the aperture to limit the amount of light captured.
5. Inconsistent Exposures:
If you’re getting inconsistent exposures, check the flash exposure compensation settings on your camera. Adjusting the flash exposure compensation will help fine-tune the amount of flash output to achieve consistent results across your images.
6. Flash Not Firing:
If the pop-up flash is not firing, make sure it is enabled in your camera’s settings. Ensure that the flash is not obstructed by any objects or debris. If the issue persists, check the flash bulb for any signs of damage or consult the camera’s manual for further troubleshooting steps.
7. Battery Life:
If you find that the pop-up flash drains the camera’s battery quickly, consider carrying spare batteries or an external power source. Keeping the batteries fully charged will ensure that the pop-up flash functions optimally during your photography sessions.
8. Uneven Lighting:
If you notice uneven lighting in your images, experiment with different bounce angles and surfaces. Adjust the tilt of the flash head or use reflectors to redirect the light and achieve a more balanced and even illumination.
Remember, practice and experimentation are key to overcoming these common issues with the pop-up flash. Understanding the limitations of your equipment and exploring different techniques and settings will help you achieve consistent and high-quality results in your flash photography.