
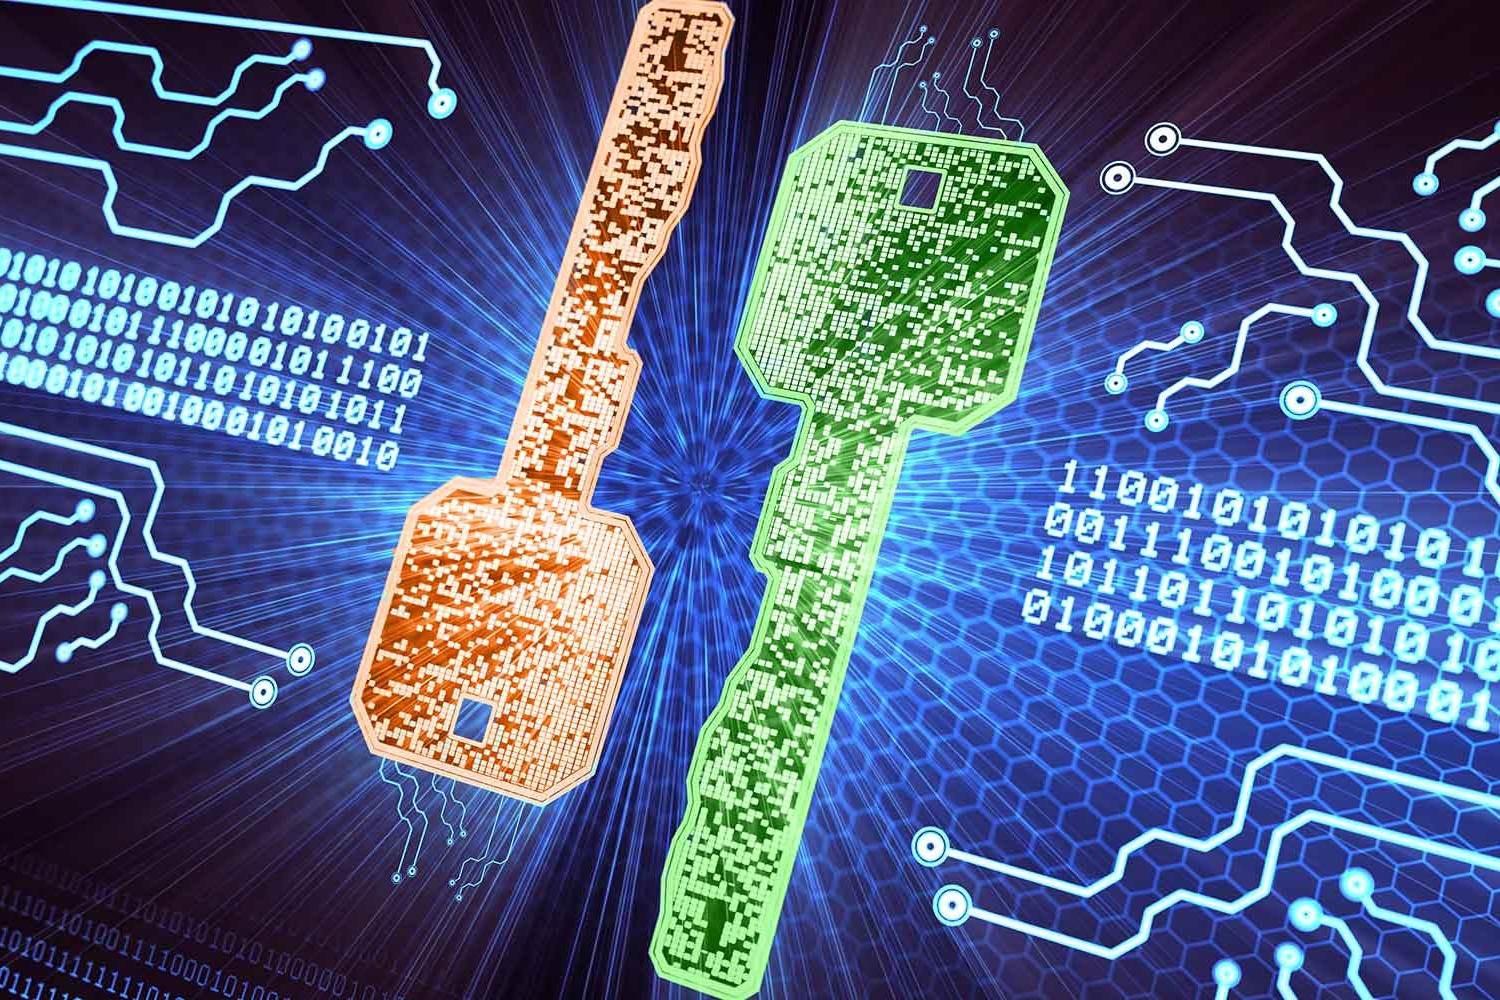
What are Private Keys?
Private keys are a fundamental aspect of cryptocurrencies, serving as the digital equivalent of a physical key. They are essentially a secret, alphanumeric code that grants access to your digital assets and allows you to securely make transactions on the blockchain. Every cryptocurrency wallet, including hardware wallets like Trezor, is equipped with private keys to ensure the safety and integrity of your digital wealth.
Think of private keys as your personal identification that enables you to prove ownership and control over your cryptocurrency holdings. They are mathematically generated by your wallet software and are unique to each wallet and its corresponding public address. Private keys are kept secret and should never be shared with anyone. If someone gains access to your private key, they can potentially steal your cryptocurrencies.
Private keys are generated randomly and are incredibly complex. They consist of a sequence of characters, typically a combination of letters, numbers, and symbols. Depending on the cryptographic algorithm used, the length of a private key can vary, but it is usually between 128 and 256 bits. The larger the key size, the more secure it is.
The concept behind private keys is based on asymmetric cryptography, which involves using a pair of mathematically related keys – the private key and the public key. The private key is kept secret and is used to sign transactions, while the public key is derived from the private key and is shared openly to receive funds. With the private key, you can generate a digital signature that proves the authenticity of your transactions.
It is important to note that private keys are not stored within the wallet itself, but rather on the blockchain. The wallet software acts as a gateway that allows you to interact with the blockchain and utilize your private key to sign transactions. This decentralized nature ensures that you are always in control of your funds, even if the wallet gets lost or damaged.
Overall, private keys are the cornerstone of cryptocurrency security. They provide the necessary authentication and protection to safeguard your digital assets. Understanding how private keys work and the importance of keeping them secure is vital for every cryptocurrency user. Trezor offers a reliable and user-friendly solution to generate, store, and manage your private keys, ensuring the highest level of security for your digital wealth.
Why Do You Need Private Keys?
Private keys are an essential component of cryptocurrency ownership. They serve several important purposes and are crucial for anyone looking to securely manage and control their digital assets. Here are a few key reasons why private keys are necessary:
- Authentication: Private keys authenticate your ownership of the cryptocurrency associated with a specific public address. They serve as a digital signature that proves you are the rightful owner of the funds.
- Secure Transactions: Private keys enable you to sign and authorize transactions on the blockchain. Without the private key, no one can access or transfer your cryptocurrencies, providing a high level of security for your digital wealth.
- Ownership Control: Private keys give you complete control over your cryptocurrency holdings. Unlike traditional banking systems where intermediaries have control, private keys ensure that you have full authority over your funds and can manage them as you see fit.
- Protection Against Fraud: Private keys protect your funds from unauthorized access and fraudulent activities. As long as you keep your private keys secure, it is virtually impossible for someone to steal your cryptocurrencies without physically possessing the private keys.
- Backup and Recovery: Private keys allow you to securely back up and recover your wallet. By safely storing your private keys, you can restore your wallet and regain access to your funds even if your physical device is lost, stolen, or damaged.
It is important to understand that private keys should be kept confidential and not shared with anyone. If someone gains access to your private keys, they can potentially steal your cryptocurrencies without your knowledge or consent. Therefore, it is essential to store your private keys in a secure manner, such as using a hardware wallet like Trezor.
In summary, private keys are vital for cryptocurrency users as they provide authentication, security, control, and protection against fraud. By understanding the importance of private keys and taking the necessary measures to keep them secure, you can confidently manage and safeguard your digital assets with peace of mind.
How Does Trezor Protect Your Private Keys?
Trezor is a leading hardware wallet that offers top-notch security for your private keys. With its advanced features and robust design, Trezor ensures the utmost protection for your digital assets. Here’s how Trezor safeguards your private keys:
- Offline Storage: Trezor stores your private keys offline, also known as cold storage. This means that your keys are generated and stored on the device itself, disconnected from any internet connection. This minimizes the risk of remote hacking or online attacks, making it nearly impossible for unauthorized parties to access your private keys.
- Secure Chip: Trezor utilizes a secure microcontroller chip that is specifically designed to protect your private keys. This chip is resistant to physical attacks, tampering, and extraction attempts, ensuring the highest level of security for your sensitive information.
- Pin Code and Passphrase: To access your private keys on Trezor, you must enter a unique pin code and, optionally, a passphrase. These additional layers of security prevent unauthorized users from gaining access to your funds even if your device falls into the wrong hands.
- Verification Display: Trezor features a built-in display that allows you to verify transaction details before confirming them. This prevents potential phishing attacks or malware infections that may attempt to manipulate transaction information on your computer or smartphone.
- Open-source Software: Trezor’s firmware and software are open-source, meaning that the code is transparent and can be audited by security experts. This ensures that any vulnerabilities can be quickly identified and addressed, providing continuous improvements and security updates to protect your private keys.
- Backup and Recovery: Trezor provides a seamless backup and recovery process for your private keys. During the initial setup, you will be given a recovery seed, which is a series of random words. This seed acts as a backup and can be used to restore your wallet on a new device if your Trezor is lost or damaged.
By incorporating these security measures, Trezor offers a robust and reliable solution for protecting your private keys. Whether you are a seasoned cryptocurrency investor or a beginner exploring the world of digital assets, Trezor ensures the highest level of security for your valuable cryptocurrencies.
Setting Up Trezor to Generate Private Keys
Setting up your Trezor device to generate private keys is a simple and straightforward process. Before you begin, ensure that you have a Trezor hardware wallet and a computer or smartphone with the Trezor Wallet software installed. Here’s a step-by-step guide to setting up Trezor and generating private keys:
- Connect your Trezor: Plug your Trezor device into your computer or smartphone using the provided USB cable. Make sure your device is powered on.
- Access the Trezor Wallet software: Open the Trezor Wallet software on your computer or launch the Trezor Wallet app on your smartphone. Follow the on-screen instructions to create a new wallet or access an existing one.
- Create a new wallet: If you’re setting up a new wallet, select the option to create a new wallet. You will be asked to choose a device name and set a strong password. Follow the prompts to complete the wallet creation process.
- Backup your recovery seed: During the setup process, you will be given a 12 or 24-word recovery seed. This seed is crucial for backing up and restoring your wallet. Write down the words in the exact order and store them in a safe and secure place. Never share your recovery seed with anyone.
- Enable passphrase (optional): Trezor allows you to use an optional passphrase for added security. If you choose to use a passphrase, follow the on-screen instructions to set it up. Remember, the passphrase should be strong and unique.
- Generate your private keys: Once your wallet is set up and secured, you can start generating private keys. Follow the interface prompts in the Trezor Wallet software to generate new addresses and private keys for different cryptocurrencies.
- Label and manage your private keys: To organize and manage your private keys, you can assign labels to each address or create separate accounts for different purposes. This helps you keep track of your transactions and funds.
- Test your private keys: It’s recommended to test a small transaction first to ensure that your private keys are functioning correctly. Make a small transfer to your newly generated address and verify that the transaction goes through properly.
By following these steps, you can set up your Trezor device and generate private keys with ease. Remember to keep your Trezor device and recovery seed safe and secure, as they are crucial for accessing and managing your cryptocurrencies. Trezor provides a user-friendly interface and robust security features to ensure a seamless and secure experience in generating and managing your private keys.
Creating and Backing up Private Keys on Trezor
Creating and backing up your private keys on Trezor is a crucial step to ensure the security and accessibility of your cryptocurrencies. Trezor provides a user-friendly process to generate and safeguard your private keys. Here’s how you can create and back up your private keys on Trezor:
- Connect your Trezor: Plug your Trezor device into your computer or smartphone using the provided USB cable. Ensure that your device is powered on.
- Access the Trezor Wallet software: Open the Trezor Wallet software on your computer or launch the Trezor Wallet app on your smartphone. Follow the on-screen instructions to create a new wallet or access an existing one.
- Confirm your device: Follow the prompts to confirm that you are using a genuine Trezor device. This step ensures that you are not dealing with a counterfeit or compromised device.
- Select the cryptocurrency: Choose the cryptocurrency for which you want to create a new wallet and generate private keys. Trezor supports various cryptocurrencies, so select the one you intend to manage.
- Generate a new address: In the wallet interface, you will find an option to generate a new address. Click on this button to create a new address and the corresponding private key. Each time you generate a new address, a new private key is created.
- Backup the recovery seed: During the address generation process, Trezor will display a recovery seed consisting of 12 or 24 random words. Write down each word in the exact order and keep the recovery seed in a safe and secure location. This recovery seed is crucial for restoring your wallet if your Trezor device is lost, stolen, or damaged.
- Confirm the recovery seed: To ensure that you have correctly written down the recovery seed, Trezor will prompt you to select certain words from the seed in the correct order. This is a verification step to ensure that you have accurately recorded the recovery seed.
- Double-check your backup: Once you have confirmed the recovery seed, double-check it for any errors. It is essential to have an accurate and error-free backup to ensure the security of your private keys.
Remember, the recovery seed is the ultimate backup of your private keys. If you lose access to your Trezor device, the recovery seed allows you to recover your wallet and access your funds. Store the recovery seed securely, away from prying eyes and potential hazards, such as fire or water damage.
By following these steps, you can generate and back up your private keys on Trezor, ensuring the safety and accessibility of your cryptocurrencies. Trezor’s user-friendly interface and robust security measures provide peace of mind for managing your digital assets securely.
Importing Private Keys to Trezor from other Wallets
If you have previously used a different wallet and want to transfer your cryptocurrencies to your Trezor device, you can import your private keys into Trezor. This allows you to consolidate your holdings and take advantage of Trezor’s enhanced security features. Here’s how you can import private keys to Trezor from other wallets:
- Connect your Trezor: Plug your Trezor device into your computer or smartphone using the provided USB cable. Ensure that your device is powered on.
- Access the Trezor Wallet software: Open the Trezor Wallet software on your computer or launch the Trezor Wallet app on your smartphone. Follow the on-screen instructions to create a new wallet or access an existing one.
- Select the cryptocurrency: Choose the cryptocurrency for which you want to import the private keys. Trezor supports a wide range of cryptocurrencies, so select the one that corresponds to the private keys you wish to import.
- Click on “Import wallet”: In the wallet interface, you will find an option to import an existing wallet. Click on this button to initiate the process of importing private keys.
- Enter your private keys: Follow the interface prompts to enter the private keys you want to import. Depending on the wallet you are importing from, you may need to provide the private keys directly or use a compatible file format like a JSON or CSV file.
- Verify and confirm: Review the details of the private keys you have entered and ensure that they are correct. Importing the wrong private keys can result in the loss of funds, so take the time to double-check before proceeding.
- Complete the import process: Once you have verified the private keys, click on the “Import” button to complete the process. Trezor will then import the private keys and associated funds into your wallet.
- Verify the imported funds: After the import process is complete, verify that the imported funds are reflected correctly in your Trezor wallet. Check the transaction history and balance to ensure everything is as expected.
It’s important to note that importing private keys to Trezor does not physically transfer the funds from the original wallet. It simply allows you to manage and access those funds through your Trezor device, which provides enhanced security and control. Ensure that the original wallet is no longer in use and that you have securely backed up the private keys before initiating the import process.
By following these steps, you can import private keys to your Trezor device from other wallets, consolidating your cryptocurrency holdings and benefiting from Trezor’s advanced security features. Trezor’s user-friendly interface and robust security measures provide peace of mind for managing your digital assets securely.
Restoring Private Keys on Trezor
If you have previously set up a Trezor device and need to restore your private keys, perhaps due to losing or damaging your device, you can easily do so with the help of the recovery seed. The recovery seed is a crucial backup that allows you to restore your wallet and regain access to your funds. Here’s how you can restore private keys on Trezor:
- Connect your Trezor: Plug your Trezor device into your computer or smartphone using the provided USB cable. Ensure that your device is powered on.
- Access the Trezor Wallet software: Open the Trezor Wallet software on your computer or launch the Trezor Wallet app on your smartphone. Follow the on-screen instructions to create a new wallet or access an existing one.
- Select the option to recover a wallet: In the wallet interface, select the option to recover a wallet using the recovery seed. This will initiate the process of restoring your private keys.
- Enter your recovery seed: Follow the prompts to enter the recovery seed. The recovery seed consists of 12 or 24 random words in a specific order. Carefully enter each word to ensure accuracy. Use the device’s physical buttons or the interface keypad to input each word.
- Confirm the recovery seed: Once you have entered the recovery seed, Trezor will prompt you to confirm its correctness. This step is crucial to ensure that you have accurately recorded the recovery seed and prevent any errors.
- Set a new PIN and passphrase (optional): After confirming the recovery seed, you will have the option to set a new PIN code and passphrase. These additional security measures enhance the protection of your private keys and funds. Choose a strong and memorable PIN and passphrase if you opt to utilize them.
- Access your restored wallet: Upon completing the restoration process, you will regain access to your wallet and see your previously stored private keys, along with their corresponding cryptocurrency balances. You can now securely manage and transact with your cryptocurrencies using the restored private keys.
It is essential to keep your recovery seed safe and confidential. Store it in a secure location, such as a fireproof and waterproof safe or a safety deposit box. Avoid sharing your recovery seed with anyone, as it grants full access to your funds.
By following these steps, you can easily restore private keys on your Trezor device using the recovery seed. Trezor’s user-friendly interface and secure recovery process ensure that you can quickly regain access to your funds in the event of a device loss or damage.
Securely Storing and Managing Private Keys on Trezor
Storing and managing your private keys securely is of utmost importance when it comes to safeguarding your cryptocurrencies. Trezor provides a robust solution for securely storing and managing your private keys. Here are some best practices for securely storing and managing private keys on Trezor:
By following these best practices, you can securely store and manage your private keys on Trezor. Trezor’s robust security features and offline storage ensure that your private keys and cryptocurrencies are well-protected from unauthorized access and potential threats.
Transferring Funds Using Private Keys on Trezor
Transferring funds using private keys on your Trezor device is a secure and straightforward process. Trezor allows you to use your private keys to sign and authorize transactions securely. Here’s how you can transfer funds using private keys on Trezor:
- Connect your Trezor: Plug your Trezor device into your computer or smartphone using the provided USB cable. Ensure that your device is powered on.
- Access the Trezor Wallet software: Open the Trezor Wallet software on your computer or launch the Trezor Wallet app on your smartphone. Follow the on-screen instructions to access your wallet.
- Select the cryptocurrency: Choose the cryptocurrency for which you want to transfer funds. Trezor supports various cryptocurrencies, so select the one corresponding to the funds you want to transfer.
- Click on “Send”: In the wallet interface, locate the option to send funds and click on it to initiate the transfer process.
- Enter the recipient’s address: Enter the recipient’s public address to which you want to send the funds. Take care to double-check the address for accuracy, as cryptocurrency transactions are irreversible.
- Enter the amount to send: Specify the amount of cryptocurrency you wish to transfer to the recipient’s address. Ensure that you have sufficient funds in your wallet to cover the transaction and any associated fees.
- Review and confirm the transaction details: Carefully review the transaction details, including the recipient address, amount, and fees. Verify that everything is correct before confirming the transaction.
- Confirm and sign the transaction: Once you are satisfied with the transaction details, click on the option to confirm and sign the transaction using your private key. Trezor will prompt you to verify the details on the device’s screen and confirm the transaction by physically pressing a button on the device.
- Wait for transaction confirmation: After signing the transaction, it will be broadcasted to the network. Wait for the transaction to be confirmed by the network, which may take a few minutes to several hours, depending on the cryptocurrency and network congestion.
- Verify the transaction status: Check the transaction history in your Trezor wallet to verify the status of the transfer. You can also use blockchain explorers to track the progress of the transaction by searching for the transaction ID (TXID).
It’s important to double-check all transaction details before confirming and signing the transaction. Once the transaction is confirmed and broadcasted, it is irreversible and cannot be undone. Take extra care when entering recipient addresses to avoid any loss or errors in transferring funds.
By following these steps, you can easily transfer funds using private keys on your Trezor device. Trezor’s user-friendly interface and secure signing process allow you to manage and send cryptocurrencies with peace of mind, knowing that your private keys are securely safeguarded.
Exporting Private Keys from Trezor
Exporting private keys from your Trezor device can be useful in certain situations, such as accessing your funds using a different wallet or keeping a backup of your private keys in a different format. Trezor allows you to export your private keys securely. Here’s how you can do it:
- Connect your Trezor: Plug your Trezor device into your computer or smartphone using the provided USB cable. Ensure that your device is powered on.
- Access the Trezor Wallet software: Open the Trezor Wallet software on your computer or launch the Trezor Wallet app on your smartphone. Follow the on-screen instructions to access your wallet.
- Select “Export”: In the wallet interface, navigate to the settings or advanced options, and look for the option to export your private keys. Click on this option to initiate the export process.
- Enter your device PIN: Trezor will require you to enter your device PIN to authorize the export process. Enter your PIN on the device’s interface or on your computer screen, depending on the Trezor model you are using.
- Choose the desired format: Trezor provides various export formats, such as a CSV file, JSON file, or even a QR code. Select the format that best suits your needs and follow the on-screen instructions to complete the export process.
- Securely store the exported private keys: Once you have exported the private keys, make sure to store them securely. If you have exported them in a digital format, keep the file encrypted and stored in a safe location, such as an offline storage device or encrypted cloud storage. If you have exported them in print format, store the physical copy in a secure place away from potential threats and unauthorized access.
It’s important to keep in mind that exporting private keys from your Trezor device exposes them to potential security risks. Take extra precautions when handling and storing the exported private keys, as anyone with access to these keys would be able to control the associated funds. It is highly recommended to encrypt and password-protect any digital copies of exported private keys.
Exporting private keys should be done cautiously and only when necessary. Trezor’s primary strength lies in its ability to securely store private keys offline and manage them within the device itself. It is generally advised to keep private keys within the Trezor ecosystem to ensure the highest level of security for your cryptocurrencies.
By following these steps, you can export your private keys from your Trezor device securely. While exporting private keys should be done with caution, it can provide flexibility and additional options for managing your cryptocurrencies outside of the Trezor platform.
Protecting Private Keys on Trezor from Theft or Loss
Protecting your private keys on Trezor from theft or loss is crucial to ensure the security of your cryptocurrencies. Trezor provides several measures to help safeguard your private keys. Here are some best practices for protecting your private keys on Trezor:
By following these best practices, you can significantly enhance the security of your private keys on Trezor and protect your cryptocurrencies from theft or loss. Trezor’s robust security features, combined with responsible usage and safeguarding practices, ensure that your private keys remain secure and your digital assets are protected.
Frequently Asked Questions about Private Keys on Trezor
Here are some frequently asked questions about private keys on Trezor and their answers to provide further clarity and understanding:
-
What happens if I lose my Trezor device?
If you lose your Trezor device, your private keys are still safe as they are stored securely within the device. You can use the recovery seed provided during the initial setup process to restore your wallet on a new Trezor device and regain access to your funds. -
What is a recovery seed, and why is it important?
A recovery seed is a set of 12 or 24 random words that acts as a backup for your private keys. It is crucial to securely store and keep the recovery seed offline, as it allows you to recover your wallet and access your funds if your Trezor device is lost, stolen, or damaged. -
Can I change my recovery seed?
No, you cannot change your recovery seed. The recovery seed is generated during the initial setup process and cannot be modified. It is important to carefully write down and securely store the recovery seed to ensure you can recover your wallet if needed. -
Can I use the same private key on multiple wallets?
No, private keys are unique to each wallet. Each wallet has its own set of private keys associated with its public addresses. If you want to access your cryptocurrencies on a different wallet, you would need to import or transfer the funds using the private keys from your Trezor device to the new wallet. -
Can someone access my private keys if they have physical access to my Trezor device?
Your private keys are securely stored within the Trezor device and cannot be extracted or accessed without your PIN code and passphrase (if enabled). However, it is still important to keep your device physically secure and inaccessible to unauthorized individuals. -
Can I recover my private keys without the recovery seed?
No, the recovery seed is the only way to recover your private keys on Trezor. It is important to keep your recovery seed safe and secure, as losing it may result in permanent loss of access to your funds. -
Can I export my private keys from Trezor to another hardware wallet?
While it is possible to export private keys from Trezor, it is generally not recommended to do so. The primary benefit of using Trezor is its secure storage and management of private keys within the device. Exporting private keys introduces potential security risks. It is generally safer to transfer funds between wallets using other methods, such as initiating direct transactions.
These frequently asked questions cover some key aspects of private keys on Trezor. Understanding how private keys work and how to properly manage and protect them is essential for safe and secure cryptocurrency storage and transactions.