
Checking SIM Card Compatibility
Checking SIM Card Compatibility
Before transferring data to a SIM card on your iPhone, it’s crucial to ensure that your device is compatible with this process. Not all iPhones support transferring data to a SIM card, so it’s essential to verify this compatibility beforehand. Here’s how to check if your iPhone supports SIM card data transfer:
- iPhone Model: First, identify your iPhone model. Only certain models, such as the iPhone 6 and later, support transferring data to a SIM card. If you’re unsure about your iPhone model, you can find this information in the “Settings” app under “General” and “About.”
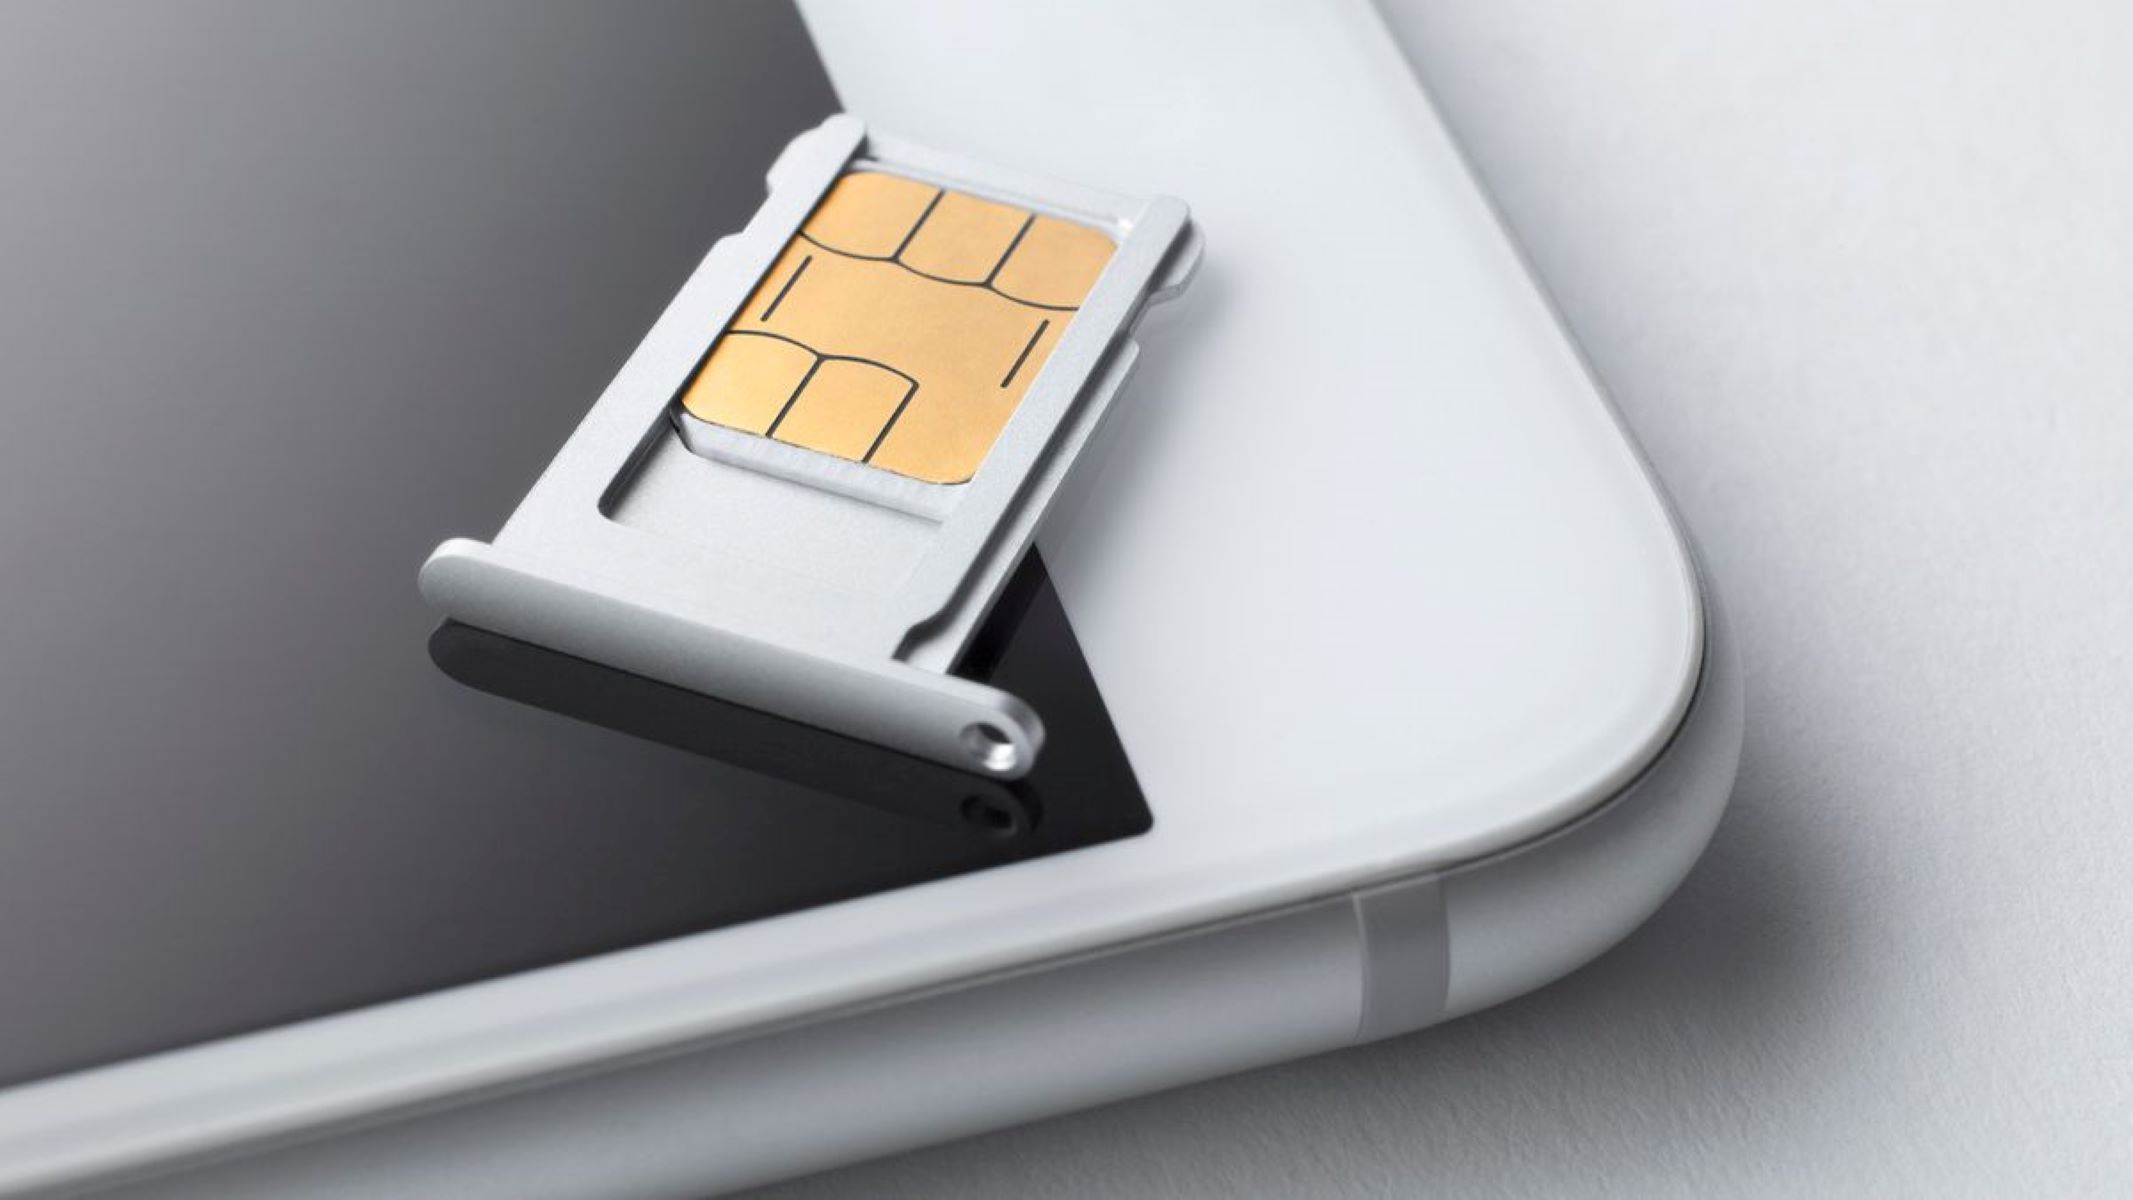
- Check SIM Card Slot: Next, locate the SIM card slot on your iPhone. This is typically on the side of the device and can be accessed by using a SIM card eject tool or a paperclip. If your iPhone has a SIM card slot, it’s likely compatible with SIM card data transfer.
- Consult Apple Support: If you’re still uncertain about your iPhone’s compatibility, consider reaching out to Apple Support for clarification. They can provide specific details about your iPhone model and its compatibility with SIM card data transfer.
By confirming your iPhone’s compatibility with SIM card data transfer, you can proceed with confidence, knowing that your device supports this process. Once you’ve established compatibility, the next steps involve backing up your data and initiating the transfer process.
Backing Up Data
Before transferring data to your SIM card, it’s essential to create a backup of your iPhone’s data to ensure that no information is lost during the transfer process. This step is crucial in safeguarding your valuable contacts, messages, photos, and other important data. Here’s how to back up your iPhone data:
- iCloud Backup: Utilize iCloud, Apple’s cloud storage service, to create a comprehensive backup of your iPhone’s data. To do this, navigate to “Settings,” tap on your name, select “iCloud,” then “iCloud Backup,” and finally, tap “Back Up Now.” Ensure that your device is connected to a stable Wi-Fi network and has sufficient storage space in iCloud for the backup.
- iTunes Backup: Alternatively, you can use iTunes to back up your iPhone data to your computer. Connect your iPhone to your computer, open iTunes, select your device, and click “Back Up Now.” This method provides a local backup on your computer, offering an additional layer of security for your data.
- Verify Backup Completion: After initiating the backup process, confirm that the backup is successful. For iCloud backups, go to “Settings,” tap on your name, select “iCloud,” then “iCloud Backup” to verify the backup’s completion. If you’re using iTunes, you can check the backup’s status within the iTunes application.
By backing up your iPhone’s data using either iCloud or iTunes, you can ensure that your information is securely stored before proceeding with the data transfer to your SIM card. This precautionary measure provides peace of mind and safeguards your data against any unforeseen issues during the transfer process.
Transferring Contacts
Once you’ve confirmed your iPhone’s compatibility and backed up your data, you can proceed with transferring your contacts to the SIM card. This step ensures that your essential contact information is readily accessible on your SIM card, providing a convenient backup and easy migration to other devices. Here’s how to transfer your contacts:
- Access Contacts: Open the “Contacts” app on your iPhone to view your contact list. Ensure that all the contacts you wish to transfer are accessible within the app.
- Select Export Option: Depending on your iPhone model and iOS version, the process for exporting contacts may vary. Some iPhones offer the option to export contacts directly to the SIM card, while others may require the use of third-party apps or cloud services for contact transfer.
- Export to SIM Card: If your iPhone supports direct contact export to the SIM card, navigate to the contact you want to transfer, select the “Export” or “Copy to SIM” option, and follow the on-screen prompts to complete the transfer. Repeat this process for each contact you wish to transfer.
- Alternative Methods: In cases where direct contact export to the SIM card is not available, consider using iCloud, iTunes, or third-party apps to export and save your contacts. These methods can facilitate the transfer of contacts to the SIM card or provide alternative backup options for your contact list.
By transferring your contacts to the SIM card, you create a portable and easily accessible backup of your essential contact information. This ensures that your contacts are not tied exclusively to your iPhone and can be readily utilized on other compatible devices, offering added flexibility and convenience.
Transferring Messages
Transferring messages from your iPhone to a SIM card can be a valuable way to preserve important conversations and ensure that they are accessible across different devices. While iPhones do not typically support direct transfer of messages to a SIM card, there are alternative methods to achieve this. Here’s how you can transfer your messages:
- Third-Party Apps: Explore third-party applications available on the App Store that offer message backup and export functionalities. These apps can facilitate the transfer of your messages to a SIM card or provide alternative storage options for your conversations.
- iTunes Backup: When creating a backup of your iPhone’s data using iTunes, your messages are included in the backup file. By backing up your iPhone to iTunes, you can ensure that your messages are securely stored, and if needed, they can be restored to another iPhone or compatible device in the future.
- iCloud Backup: Similar to iTunes, iCloud backups encompass your messages, preserving them in the cloud. By utilizing iCloud for backups, you can access your messages from other iOS devices linked to the same iCloud account, providing seamless continuity across your Apple ecosystem.
While direct transfer of messages to a SIM card may not be supported on iPhones, leveraging third-party apps and utilizing iCloud or iTunes backups can effectively safeguard your messages and enable their accessibility across various platforms. These methods offer flexibility and peace of mind, ensuring that your important conversations are securely stored and readily available when needed.
Transferring Photos and Videos
When it comes to transferring photos and videos from your iPhone to a SIM card, it’s important to note that iPhones do not directly support this method of data transfer. However, there are alternative approaches to ensure the preservation and accessibility of your visual media. Here’s how you can manage the transfer of your photos and videos:
- iCloud Photo Library: Utilize iCloud Photo Library to store and sync your photos and videos across your Apple devices. By enabling this feature, your visual media is securely stored in the cloud and can be accessed from any device linked to your iCloud account.
- External Storage Devices: Consider using external storage devices, such as USB drives or external hard drives, to back up your photos and videos from your iPhone. Utilize a lightning to USB adapter to transfer your media to the external storage device, providing an additional layer of backup and accessibility.
- Cloud Services: Explore cloud storage services, such as Google Drive, Dropbox, or OneDrive, to upload and store your photos and videos. These platforms offer seamless access to your media from various devices and provide a convenient backup solution for your visual content.
While direct transfer of photos and videos to a SIM card may not be feasible on iPhones, leveraging iCloud Photo Library, external storage devices, and cloud services can effectively safeguard and facilitate the accessibility of your visual media. These methods offer flexibility and convenience, ensuring that your photos and videos are securely stored and readily available across different platforms and devices.