
Why Convert to Curves?
When working with publishing software, such as Adobe Illustrator, CorelDRAW, Affinity Designer, InDesign, or QuarkXPress, you may come across the term “convert to curves.” This feature allows you to transform text into vector shapes, also known as outlines or paths. While it might seem counterintuitive to convert text into shapes, there are several valid reasons why this technique is widely used in the publishing industry.
One of the primary reasons to convert text to curves is to ensure that your design maintains its intended appearance, regardless of the availability of fonts on different systems. When you create a document using a specific font, there’s always a chance that the font might not be installed on the recipient’s computer. In such cases, the software will substitute the font, which could lead to unintended changes in the typography and layout of your design. By converting text to curves, you effectively eliminate this issue since the text is treated as a graphical element rather than a font-dependent one.
Another significant advantage of converting to curves is that it allows for greater design flexibility. When text is converted to curves, it becomes editable vector shapes. This means that you can modify individual letters, adjust spacing, reshape characters, and apply various visual effects that are not possible when working with live text. Whether you want to add customized effects, distort typography, or create intricate letterforms, converting text to curves gives you the freedom to explore endless design possibilities.
In addition to preserving design integrity and enabling creative freedom, converting text to curves also ensures accurate output. When you send your file for printing or export it as a PDF, the text converted to curves remains consistent, regardless of the printer or software used to view the document. This eliminates the risk of font substitution or layout issues that could compromise the final output of your project, ultimately saving you time, effort, and potential headaches.
What is “Convert to Curves”?
“Convert to curves” is a feature commonly found in graphic design software that allows you to transform text into vector shapes. When you create text in a publishing software, it is typically rendered using specific fonts installed on your computer. However, this can pose a problem when sharing your design with others who may not have the same fonts installed. The “convert to curves” function provides a solution to this issue by converting the text into editable vector shapes or paths.
When you convert text to curves, the software essentially converts each character into a series of connected lines and curves, forming a shape. These shapes are defined by mathematical equations, allowing them to be scaled, manipulated, and edited without impacting the clarity of the text. In other words, the text is no longer dependent on the presence of specific fonts but becomes a visual element that can be modified independently.
By converting text to curves, you effectively create a graphic representation of the text. This means that the design will remain consistent, regardless of whether or not the intended font is available on the viewer’s computer. The shapes you create when converting to curves maintain the original appearance of the text, including its size, weight, and stylistic attributes.
Furthermore, converting text to curves offers greater design flexibility. Once converted, the text is no longer tied to the limitations of live text, allowing you to manipulate individual letters, adjust spacing, reshape characters, and apply creative effects. This opens up a whole range of possibilities for customizing the typography and creating unique visual elements in your design.
It is important to note that converting text to curves is a non-destructive process. While the text may no longer be editable as text, the vector shapes that represent the text can still be modified and adjusted as needed. However, it is always a good practice to keep a copy of the original text before converting, in case any further edits or changes are required.
Benefits of Converting to Curves
Converting text to curves offers several notable benefits when working with publishing software. Here are some of the key advantages:
1. Font Compatibility: By converting text to curves, you eliminate the need to worry about font compatibility issues. Regardless of whether or not the recipient has the same fonts installed, the design will appear exactly as intended, maintaining the integrity of your typography.
2. Design Consistency: When text is converted to curves, it ensures that the design remains consistent across different systems, printers, and software. This is particularly important when sharing or sending your files for printing, as it guarantees that the typography and layout will be preserved accurately.
3. Creative Freedom: Converting text to curves unlocks a new level of creative freedom. By treating text as editable vector shapes, you have the ability to manipulate individual letters, adjust spacing, reshape characters, and apply various visual effects. This flexibility allows you to explore unique design possibilities and create truly customized typography.
4. Vector Scalability: When text is converted to curves, it becomes a set of scalable vector shapes. This means you can resize the text without any loss of quality or sharpness, ensuring that your design looks crisp and professional across different sizes and resolutions.
5. Protection Against Font Substitution: Converting text to curves prevents automatic font substitution, which can occur when fonts are not available on the viewer’s computer. This ensures that your design remains intact, maintaining the desired visual impact and preventing any unintended changes in typography.
6. Simplified File Exchange: When you convert text to curves, the files you share or send to clients, colleagues, or printers become self-contained. This means that there is no longer a need to include font files along with your document, streamlining the file exchange process and reducing the chances of font-related errors or complications.
7. Versatile Output Formats: Converting text to curves allows you to export or save your design in various file formats, such as PDF, SVG, or EPS. These formats are widely supported and can be easily opened, viewed, and printed without any concerns about font availability.
Incorporating the “convert to curves” feature into your workflow empowers you to create visually consistent designs, provides greater control over typography, and enhances collaboration and file exchange. While it may require some additional upfront effort, the benefits make it a valuable technique in the world of publishing software.
When to Use “Convert to Curves”
The decision to use the “convert to curves” feature depends on various factors and considerations. Here are some scenarios where converting text to curves can be particularly useful:
1. Sharing Files: If you intend to share your design files with others who may not have the same fonts installed, converting text to curves ensures that your design will appear as intended, regardless of font availability. This is especially important when sending files for review, collaboration, or printing.
2. Preparing Files for Print: When preparing files for professional printing, converting text to curves avoids any potential issues caused by font substitution. This guarantees that your typography and layout will be accurately reproduced in the final printed output, saving you from any unexpected surprises.
3. Custom Typography and Effects: Converting text to curves provides the ability to create custom typography and apply unique effects that are not possible with live text alone. If you want to apply individual transformation, distortions, or graphic treatments to your text, converting to curves opens up a realm of creative possibilities.
4. Logo Design: When working on logo design, it is often recommended to convert the text in the logo to curves. This ensures that the logo remains consistent and displays properly across different platforms and applications, without any dependency on specific fonts.
5. Resizing and Scaling: Converting text to curves allows for easy resizing and scaling without any loss of quality. Whether you need to enlarge or reduce the size of your design, the curves will adjust proportionally, ensuring that your typography remains sharp and clear at any size.
6. Fonts with Licensing Restrictions: In some cases, using certain fonts in your designs may come with licensing restrictions that limit their usage on specific platforms or limit the number of users. By converting text to curves, you remove any concerns related to font licensing issues and ensure that your design can be freely shared and used without any font restrictions.
7. Font Integrity: If you need to archive or package your design for long-term storage or future use, converting text to curves helps to preserve the design integrity. This guarantees that when you revisit the design in the future, the text will still appear exactly as intended, even if the original fonts are no longer accessible.
While converting text to curves offers numerous benefits, it is important to consider the potential drawbacks and limitations. For instance, once text is converted to curves, it becomes non-editable as text. Therefore, it is crucial to keep a copy of the original text or have a plan in place for making any necessary changes in the future.
Ultimately, the decision to use “convert to curves” depends on the specific requirements of your project, the audience, and the final output. By evaluating these factors carefully, you can determine whether converting text to curves is the right choice for your design.
Converting Text to Curves in Adobe Illustrator
Adobe Illustrator offers a straightforward method for converting text to curves, ensuring that your typography remains intact even if the original fonts are not available. Here’s how you can convert text to curves in Adobe Illustrator:
- Select the text you want to convert to curves by clicking and dragging your cursor over the text.
- With the text selected, go to the “Type” menu at the top and choose “Create Outlines” or use the shortcut key combination “Ctrl + Shift + O” (Windows) or “Cmd + Shift + O” (Mac).
- You will see that the text has transformed into a series of vector shapes or paths, known as outlines or curves.
- At this point, you can edit the individual letters, adjust spacing, reshape characters, apply effects, or even change the fills and strokes, treating the text as editable vector objects.
- Remember that once the text is converted to curves, it is no longer editable as text. Therefore, it is always advisable to keep a copy of the original text for future reference or changes.
- If you need to revert the outlined text back to live text, go to the “Object” menu, select “Path”, and then choose “Simplify”. This will convert the outlines back into editable text, allowing you to make changes to the text content or font.
Converting text to curves in Adobe Illustrator offers the flexibility to create designs with custom typography, effects, and maintains consistency across different platforms. It also eliminates the need to worry about font compatibility issues, making it an essential technique when working with typography in Illustrator.
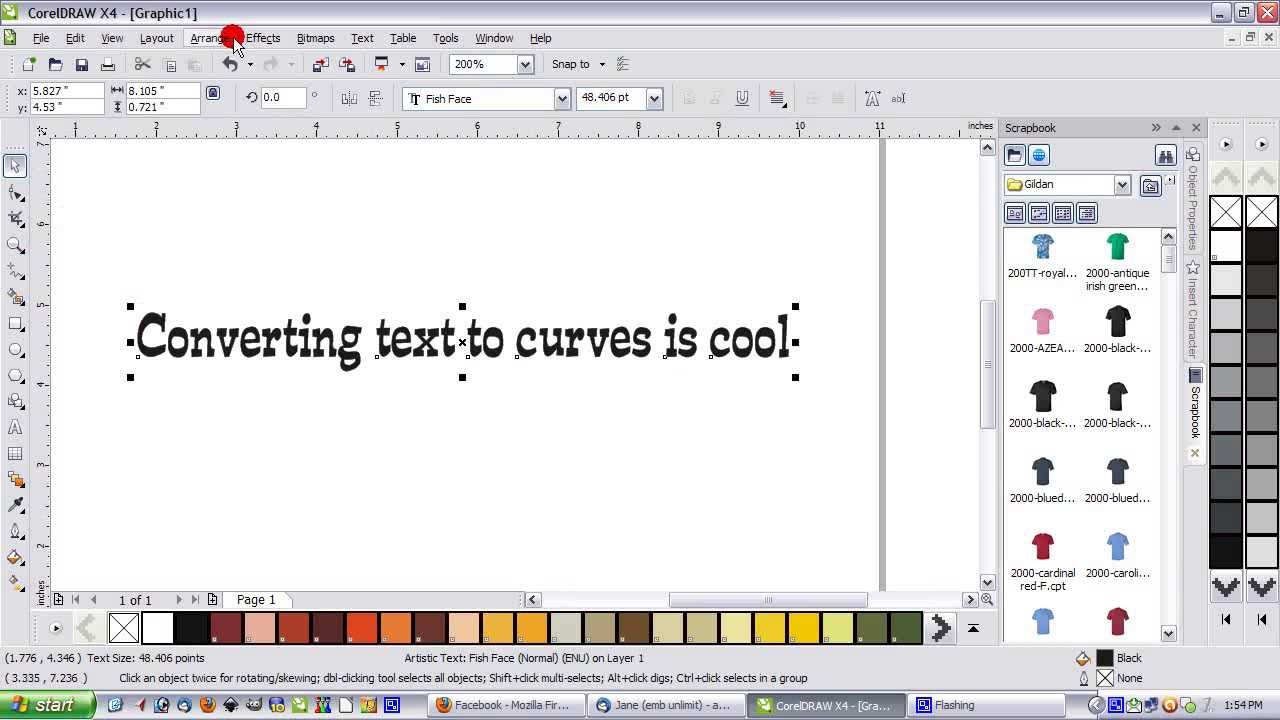
Converting Text to Curves in CorelDRAW
Converting text to curves in CorelDRAW allows you to maintain the appearance of your typography while ensuring compatibility across different systems. Here’s how you can convert text to curves in CorelDRAW:
- Select the text you want to convert to curves by clicking and dragging your cursor over the text.
- With the text selected, go to the “Arrange” menu and choose “Convert to Curves” or use the shortcut key combination “Ctrl + Q”.
- You will see that the text is now transformed into a series of editable vector shapes or curves.
- After converting the text to curves, you can modify individual letters, adjust letter spacing, reshape characters, apply effects, and more. This gives you the freedom to customize the typography according to your design requirements.
- It’s worth noting that once the text is converted to curves, it is no longer editable as text. Therefore, it is recommended to keep a copy of the original text in case you need to make any changes to the content or font.
- If you want to revert the outlined text back to live text, select the converted curves, go to the “Arrange” menu, and choose “Break Curve Apart”. This will restore the text to its original form, enabling you to edit the content or apply different fonts.
Converting text to curves in CorelDRAW offers improved compatibility, ensures consistent typography, and provides the freedom to customize and manipulate text in a flexible manner. It is a useful technique when working on designs that require precise control over the appearance of the typography.
Converting Text to Curves in Affinity Designer
Converting text to curves in Affinity Designer is a simple process that allows you to transform text into editable vector shapes. Here’s how you can convert text to curves in Affinity Designer:
- Select the text you want to convert to curves by clicking and dragging your cursor over the text.
- With the text selected, go to the “Layer” menu and choose “Convert to Curves” or use the shortcut key combination “Ctrl + Enter”.
- The text will be converted to a series of editable vector shapes or curves.
- Once the text is converted to curves, you can freely edit, reshape, and apply various effects to the individual letters or the entire text.
- Keep in mind that converting text to curves means losing the ability to edit the text as text. Therefore, it is recommended to keep a copy of the original text in case any changes to the content or font are needed later.
- If you want to revert the outlined text back to live text, select the converted curves, go to the “Layer” menu, and choose “Expand Stroke”. This will restore the text to its original form, enabling you to edit the content or apply different fonts.
Converting text to curves in Affinity Designer allows for greater control over typography, ensures compatibility, and provides the flexibility to customize the appearance of text within your design. This technique is particularly useful when working on projects that require precise adjustments and unique typographic effects.
Converting Text to Curves in InDesign
InDesign is primarily a layout software, but it offers a method to convert text to curves, similar to graphic design programs. Here’s how you can convert text to curves in InDesign:
- Select the text you want to convert to curves by clicking and dragging your cursor over the text.
- With the text selected, go to the “Type” menu and choose “Create Outlines” or use the shortcut key combination “Ctrl + Shift + O” (Windows) or “Cmd + Shift + O” (Mac).
- Once converted, the text will transform into a series of vector outlines or curves.
- After converting text to curves, you can apply various effects, modify individual letters, adjust space, and manipulate the typography as needed.
- Remember that converting text to curves in InDesign makes it non-editable as text. It’s advisable to keep a copy of the original text in case you want to make changes to the content or font.
- If you need to revert the outlined text back to live text in InDesign, simply delete the converted text and replace it with the original text or access the Undo History (Ctrl/Cmd + Z) to restore the previous state of the text.
While InDesign is primarily focused on layout and text manipulation, converting text to curves can be useful for specific design needs. The ability to edit individual letter shapes, apply effects, and maintain consistent typography across systems are some advantages of using this feature in InDesign.
Converting Text to Curves in QuarkXPress
In QuarkXPress, converting text to curves allows you to transform text into editable vector shapes, providing greater control over your typography. Here’s how you can convert text to curves in QuarkXPress:
- Select the text you want to convert to curves by clicking and dragging your cursor over the text.
- With the text selected, go to the “Item” menu and choose “Convert Text to Text Path” or use the shortcut key combination “Ctrl + Shift + L” (Windows) or “Cmd + Shift + L” (Mac).
- The selected text will be converted into a vector text path, allowing you to modify and reshape the individual letters.
- After converting the text to curves, you can apply various effects, adjust letter spacing, and customize the typography to suit your design requirements.
- Keep in mind that once text is converted to curves, it becomes non-editable as text. It’s recommended to keep a copy of the original text in case you need to make any content or font changes.
- If you want to revert the converted text back to live text in QuarkXPress, delete the converted text path and replace it with the original text box or use the Undo function (Ctrl/Cmd + Z) to restore the previous state of the text.
Converting text to curves in QuarkXPress provides more control over your typography, allowing you to create custom letter shapes, apply effects, and maintain consistent visual integrity. This feature is particularly useful when working on designs that require precise adjustments or stylized typography.
Potential Issues with Converting to Curves
While converting text to curves offers many advantages, it is important to be aware of the potential issues that can arise during the process. Here are some common challenges to consider:
1. Loss of Editability: Once text is converted to curves, it becomes non-editable as text. This means you will no longer have the ability to make changes to the content, including correcting typos or updating the text. It is crucial to keep a backup of the original text or have a plan in place for managing future modifications.
2. File Size Increase: When you convert text to curves, the file size can significantly increase since the software has to store the vector shapes that represent the text. This can become an issue when working with large documents or when sharing files where bandwidth or storage limitations are a concern.
3. Responsive Design Limitations: Converting text to curves can be problematic in responsive design scenarios, where text needs to adapt and reflow based on different screen sizes or orientations. Curved text cannot be easily adjusted or resized dynamically, potentially leading to design inconsistencies or readability issues on responsive platforms.
4. Searchability and Accessibility: When text is converted to curves, it loses its semantic value and becomes visual artwork. This means that search engines cannot index the text, and screen readers for visually impaired users are unable to read the converted content. This can have repercussions for search engine optimization (SEO) and accessibility compliance.
5. Precision and Consistency: While converting to curves allows for greater control, it can be challenging to maintain precise measurement and consistency across multiple letters or within complex typography. Manually adjusting curves and spacing requires meticulous attention to detail to ensure a harmonious and professional appearance.
6. Printing Considerations: Converting text to curves has implications for commercial printing processes that involve specialized fonts or require text editing for last-minute changes. Working with outlined text may limit the flexibility or ability to make adjustments during the pre-press stage, potentially affecting print quality or production timelines.
7. Localization and Translation: If you anticipate the need for translation or localization in your project, converting text to curves can complicate the process. Translating outlined text requires recreating the text in the target language, which can be time-consuming and introduce the potential for inconsistencies.
Overall, while converting text to curves offers numerous benefits, it is essential to evaluate these potential issues and consider the specific requirements of your project. By doing so, you can make an informed decision and effectively manage any challenges that may arise during the conversion process.
Alternative Methods for Dealing with Fonts
While converting text to curves can be a useful technique, it is not always the most suitable solution for every situation. Here are some alternative methods for dealing with fonts that you can consider:
1. Font Embedding: Most design software allows you to embed fonts within the document. By embedding the fonts, you ensure that the recipient will see the text exactly as you intended, regardless of whether they have the fonts installed on their system. Be mindful of font licensing restrictions when embedding fonts, especially for commercial projects.
2. Font Substitution: In some cases, font substitution can be a viable option. If you don’t want to convert text to curves but still want to minimize font compatibility issues, choose widely available and cross-platform fonts. This increases the likelihood that the viewer’s system will have a suitable substitute font installed.
3. Font Outlining for Specific Text Elements: Instead of converting all text to curves, consider outlining only specific text elements that require customization or unique effects. Keeping the rest of the text as live text allows for flexibility in editing and avoids some of the potential drawbacks of converting everything to curves.
4. Portable Document Format (PDF): Exporting your design as a PDF file can help preserve the fidelity of the typography while maintaining font integrity. PDF files can embed fonts, ensuring that the text appears correctly on different systems and when printing. Additionally, PDFs are widely supported, making them a versatile format for sharing and archiving designs.
5. Collaboration and Font Management: When working on collaborative projects, it can be beneficial to use font management software. These tools assist in organizing, activating, and deactivating fonts across different systems, ensuring consistency and minimizing font-related issues during collaboration.
6. Font Licensing and Availability: Before commencing a design project, consider the availability and licensing restrictions of the fonts you plan to use. Choosing fonts with appropriate licensing or obtaining necessary permissions, especially for commercial projects, can help streamline font management and ensure legal compliance.
7. Working with Type Designers: If you require customized typography or have specific font needs, consider working with type designers. They can create bespoke typefaces tailored to your design requirements, allowing you to have full control over the font and avoiding any font compatibility issues.
It’s essential to assess the specific needs of your project and evaluate the advantages and potential limitations of these alternative methods. By choosing the most appropriate approach, you can effectively deal with font-related challenges while maintaining the design integrity and accessibility of your typography.