
Gather the Necessary Equipment
Before you begin testing USB chargers with a multimeter, it’s essential to gather the right equipment. Here’s what you’ll need:
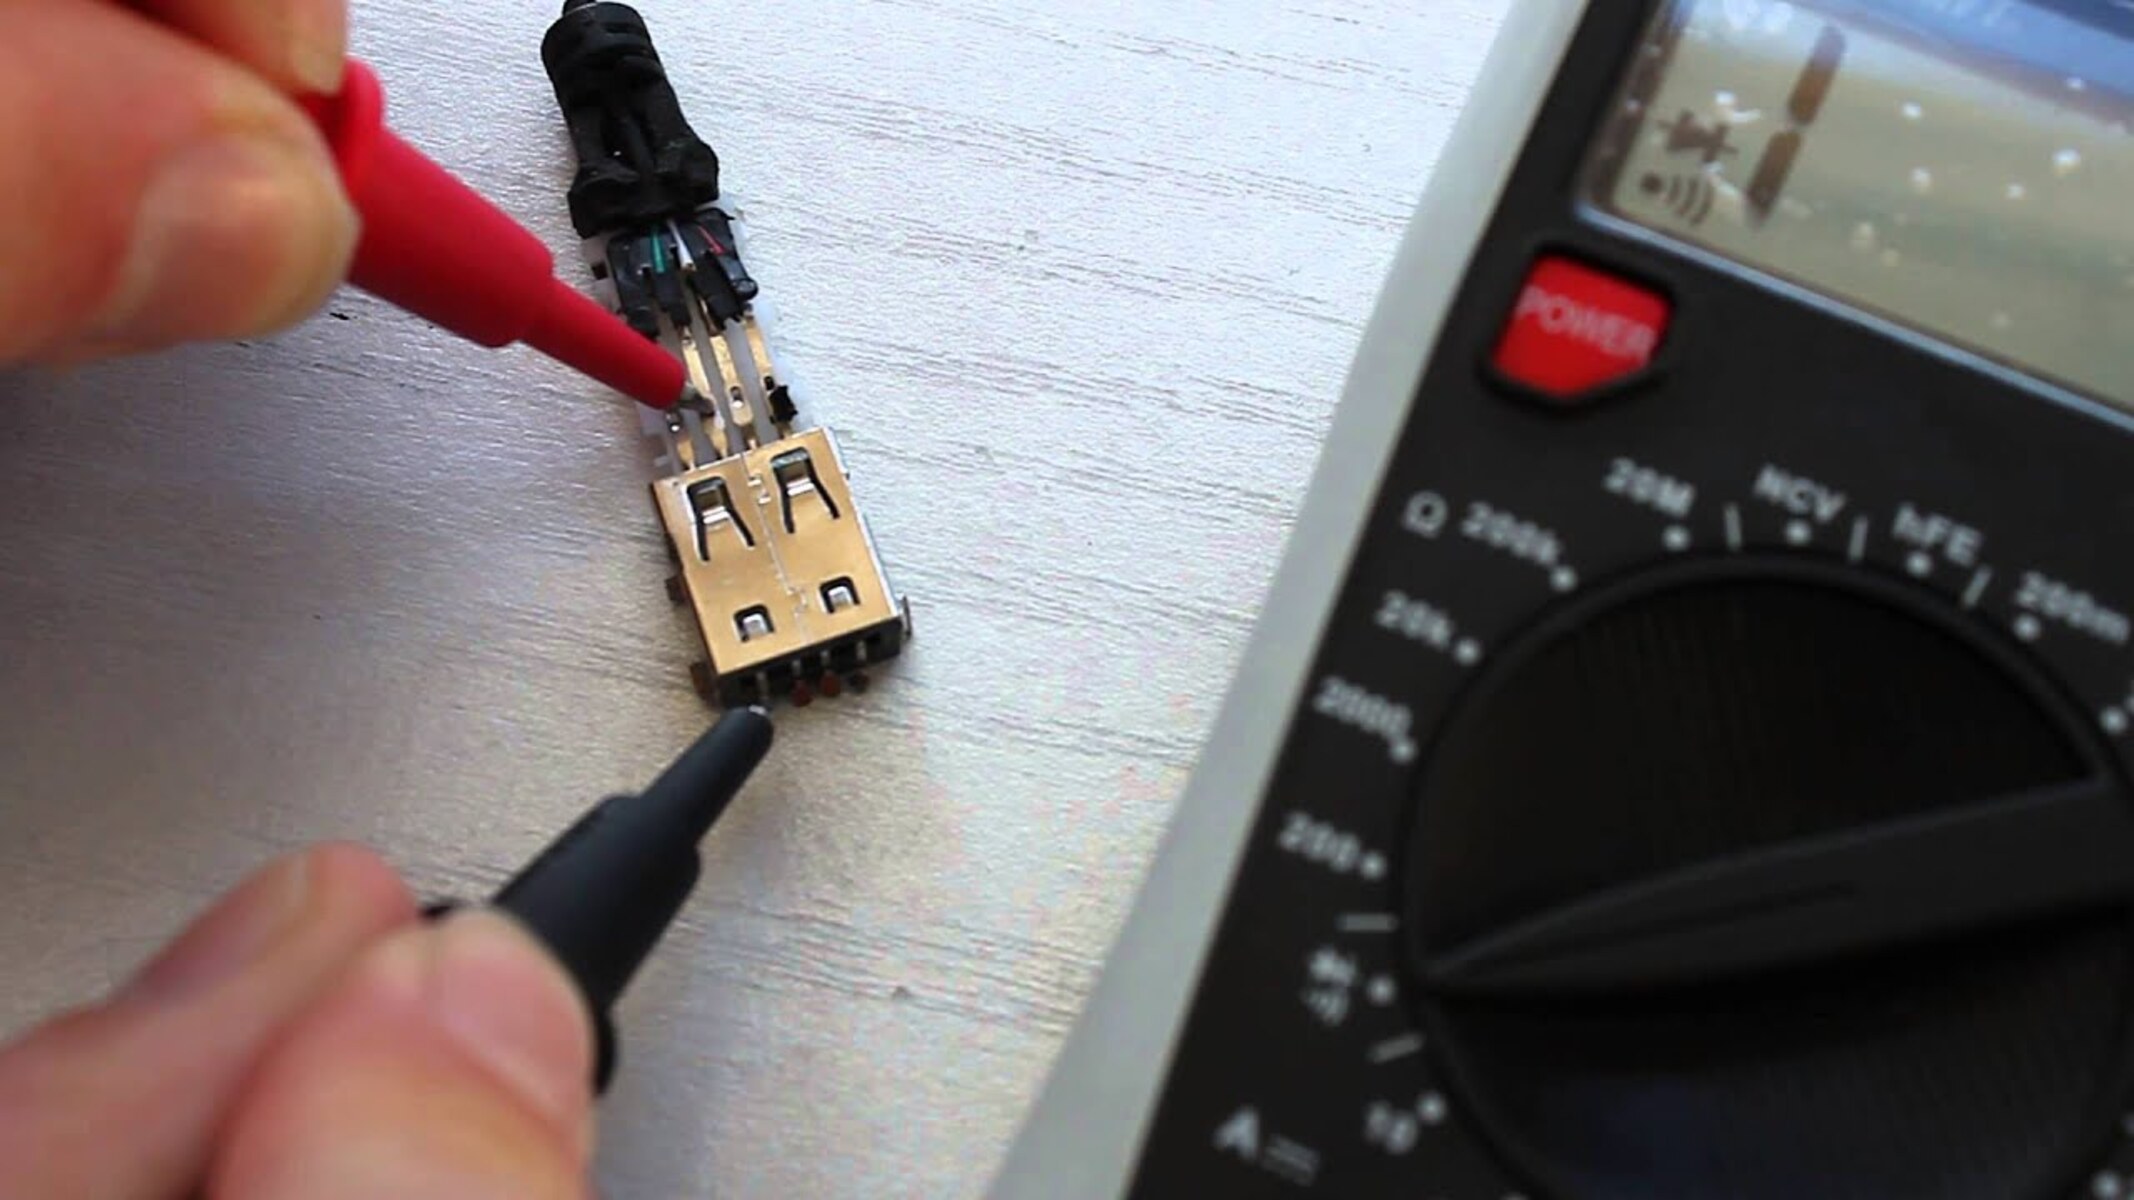
1. Multimeter
A digital multimeter is a crucial tool for measuring voltage, current, and resistance. Ensure that your multimeter is set to the appropriate settings for testing USB chargers.
2. USB Charger
Select the USB charger you want to test. It's advisable to test different chargers to compare their performance.
3. USB Cable
Use a compatible USB cable that can connect the USB charger to the multimeter. Ensure that the cable is in good condition to avoid inaccurate readings.
4. Safety Gear
Safety should always be a priority when working with electrical equipment. Wear insulated gloves and safety goggles to protect yourself from potential hazards.
5. Workspace
Set up your testing area in a well-lit and ventilated space. Ensure that the area is free from clutter and that you have easy access to power outlets.
By gathering these essential tools and ensuring a safe working environment, you’ll be well-prepared to carry out accurate and reliable tests on your USB chargers.
Understand the Multimeter Settings
Before diving into testing USB chargers, it’s crucial to familiarize yourself with the multimeter settings. Here’s a step-by-step guide:
1. Voltage Setting
Set the multimeter to measure DC voltage. USB chargers typically output DC (direct current) power, so it’s important to select the appropriate voltage range on the multimeter. Common voltage settings include 20V and 200V, so choose the setting that is higher than the expected output of the USB charger.
2. Current Setting
Switch the multimeter to measure current. Ensure that the multimeter is capable of measuring the expected current output of the USB charger. Select the appropriate current range based on the charger’s specifications. This setting allows you to measure the flow of current through the circuit.
3. Resistance Setting (Optional)
While testing USB chargers, you may also want to check the resistance of the charger’s cable or connectors. This can be useful in identifying any issues with the charging cable that could affect the charger’s performance. Set the multimeter to measure resistance (ohms) and proceed with the test if necessary.
4. Auto-Range Feature
Some multimeters have an auto-range feature that automatically selects the appropriate measurement range based on the detected voltage, current, or resistance. If your multimeter has this feature, ensure that it is enabled for convenience and accuracy during testing.
By understanding and configuring the multimeter settings correctly, you’ll be well-equipped to perform accurate measurements on the USB chargers, providing valuable insights into their performance and reliability.
Test the Voltage Output
Measuring the voltage output of a USB charger is a fundamental aspect of assessing its performance. Follow these steps to accurately test the voltage output using a multimeter:
1. Connect the Multimeter
Begin by connecting the multimeter to the USB charger. Insert the positive (red) probe into the multimeter’s voltage port and the negative (black) probe into the common port. Ensure a secure connection to obtain reliable measurements.
2. Set the Multimeter
Switch the multimeter to the DC voltage setting. Choose a range that is higher than the expected output of the USB charger. For instance, if the charger is rated for 5V, select a range of 20V on the multimeter to accommodate variations in the output.
3. Connect the Charger
Plug the USB charger into a power source. Insert the USB cable into the charger and connect the other end to the multimeter probes. Ensure that the connections are secure and that the multimeter’s display is visible for easy monitoring.
4. Read the Voltage
Once the connections are in place, the multimeter will display the voltage output of the USB charger. Take note of the reading and compare it to the charger’s rated output. A reliable charger should closely match its specified voltage output, indicating consistent performance.
5. Interpret the Results
Compare the measured voltage with the charger’s specifications. If the reading deviates significantly from the expected output, it may indicate a faulty charger or potential issues with the power supply. Consistent and accurate voltage output is a hallmark of a reliable USB charger.
By meticulously testing the voltage output, you can gain valuable insights into the charger’s performance and identify any irregularities that may affect its functionality.
Test the Current Output
Assessing the current output of a USB charger is crucial for understanding its charging capabilities. Here’s how to effectively test the current output using a multimeter:
1. Prepare the Multimeter
Switch the multimeter to measure current. Ensure that the selected current range can accommodate the expected output of the USB charger. For instance, if the charger is rated for 2.4A, select a suitable current range on the multimeter to capture the anticipated output without overloading the device.
2. Connect the Multimeter
Insert the positive (red) probe into the multimeter’s current port and the negative (black) probe into the common port. Secure the connections to ensure accurate readings. It’s crucial to handle the probes carefully to prevent short circuits or inaccurate measurements.
3. Connect the Charger
Plug the USB charger into a power source and connect the USB cable to the charger. Attach the multimeter probes to the corresponding terminals of the USB cable. Ensure that the connections are stable and that the multimeter’s display is clearly visible for monitoring.
4. Measure the Current
Once the connections are established, the multimeter will display the current output of the USB charger. Take note of the reading and compare it to the charger’s rated current output. A reliable charger should closely match its specified current output, indicating consistent and efficient charging capabilities.
5. Interpret the Results
Compare the measured current with the charger’s specifications. If the reading deviates significantly from the expected output, it may indicate a malfunctioning charger or potential issues with the charging circuit. Consistent and accurate current output is indicative of a dependable USB charger with efficient charging capabilities.
By meticulously testing the current output, you can gain valuable insights into the charger’s performance and identify any irregularities that may affect its ability to deliver optimal charging currents to connected devices.
Check for Voltage Fluctuations
Monitoring voltage fluctuations is essential when testing USB chargers, as it provides insights into the stability of the charger’s output. Here’s how to check for voltage fluctuations using a multimeter:
1. Establish Baseline Voltage
Before assessing fluctuations, measure the charger’s baseline voltage output using the multimeter. Ensure that the charger is connected to a stable power source and that no devices are currently drawing power from it. Record the initial voltage reading as the baseline for comparison.
2. Continuous Monitoring
With the multimeter connected to the charger, observe the voltage reading over a period of time. Note any fluctuations or variations in the voltage output. Fluctuations may indicate instability in the charger’s power supply, which can affect its ability to deliver consistent and reliable charging currents.
3. Load Testing
To further assess voltage stability, introduce a load to the charger by connecting a device, such as a smartphone or tablet, to the USB port. Monitor the voltage output during the charging process. Fluctuations under load may indicate potential issues with the charger’s regulation and capacity to maintain a steady voltage output.
4. Comparative Analysis
Compare the observed voltage fluctuations with the charger’s specified tolerance for voltage variation. Excessive fluctuations beyond the specified limits may signal a substandard charger that could potentially damage connected devices or result in inefficient charging performance.
5. Interpret the Results
Upon completing the voltage fluctuation assessment, interpret the results in the context of the charger’s intended use. A stable and consistent voltage output, with minimal fluctuations under load, is indicative of a reliable USB charger that can effectively power and charge devices without compromising safety or performance.
Thoroughly evaluating voltage fluctuations provides valuable insights into the stability and reliability of a USB charger, enabling users to make informed decisions regarding its suitability for charging various devices.
Interpret the Results
After conducting tests and measurements on the USB charger using a multimeter, it’s crucial to interpret the results to gain a comprehensive understanding of the charger’s performance. Here’s how to interpret the findings:
1. Voltage Output
Compare the measured voltage output with the charger’s specified rating. A close match indicates that the charger is providing the expected voltage, which is essential for safe and efficient device charging. Significant deviations may signal potential issues with the charger’s power supply or regulation.
2. Current Output
Assess the measured current output against the charger’s rated current. A consistent and accurate current output is indicative of the charger’s ability to deliver the intended charging currents to connected devices. Deviations from the specified current may suggest limitations in the charger’s charging capabilities.
3. Voltage Fluctuations
Review the observed voltage fluctuations during testing. Minimal fluctuations within the charger’s specified tolerance indicate stable and reliable power output. Excessive fluctuations, particularly under load, may raise concerns about the charger’s ability to maintain consistent voltage levels, potentially impacting device charging and safety.
4. Overall Performance
Consider the collective results to form an overall assessment of the USB charger’s performance. A charger that consistently meets its voltage and current specifications, while exhibiting minimal voltage fluctuations, is likely to provide reliable and safe charging for various devices.
5. Safety and Reliability
Factor in the importance of safety and reliability when interpreting the results. A charger that aligns with its specifications and demonstrates stability in voltage and current output is more likely to safeguard connected devices from potential damage and deliver efficient charging experiences.
6. Decision Making
Based on the interpreted results, users can make informed decisions regarding the suitability of the USB charger for their specific charging needs. Reliable chargers that meet performance expectations and prioritize safety are preferred choices for powering and charging electronic devices.
By thoroughly interpreting the test results, individuals can confidently assess the performance, reliability, and safety aspects of USB chargers, empowering them to select chargers that align with their quality and performance standards.