Checking Compatibility
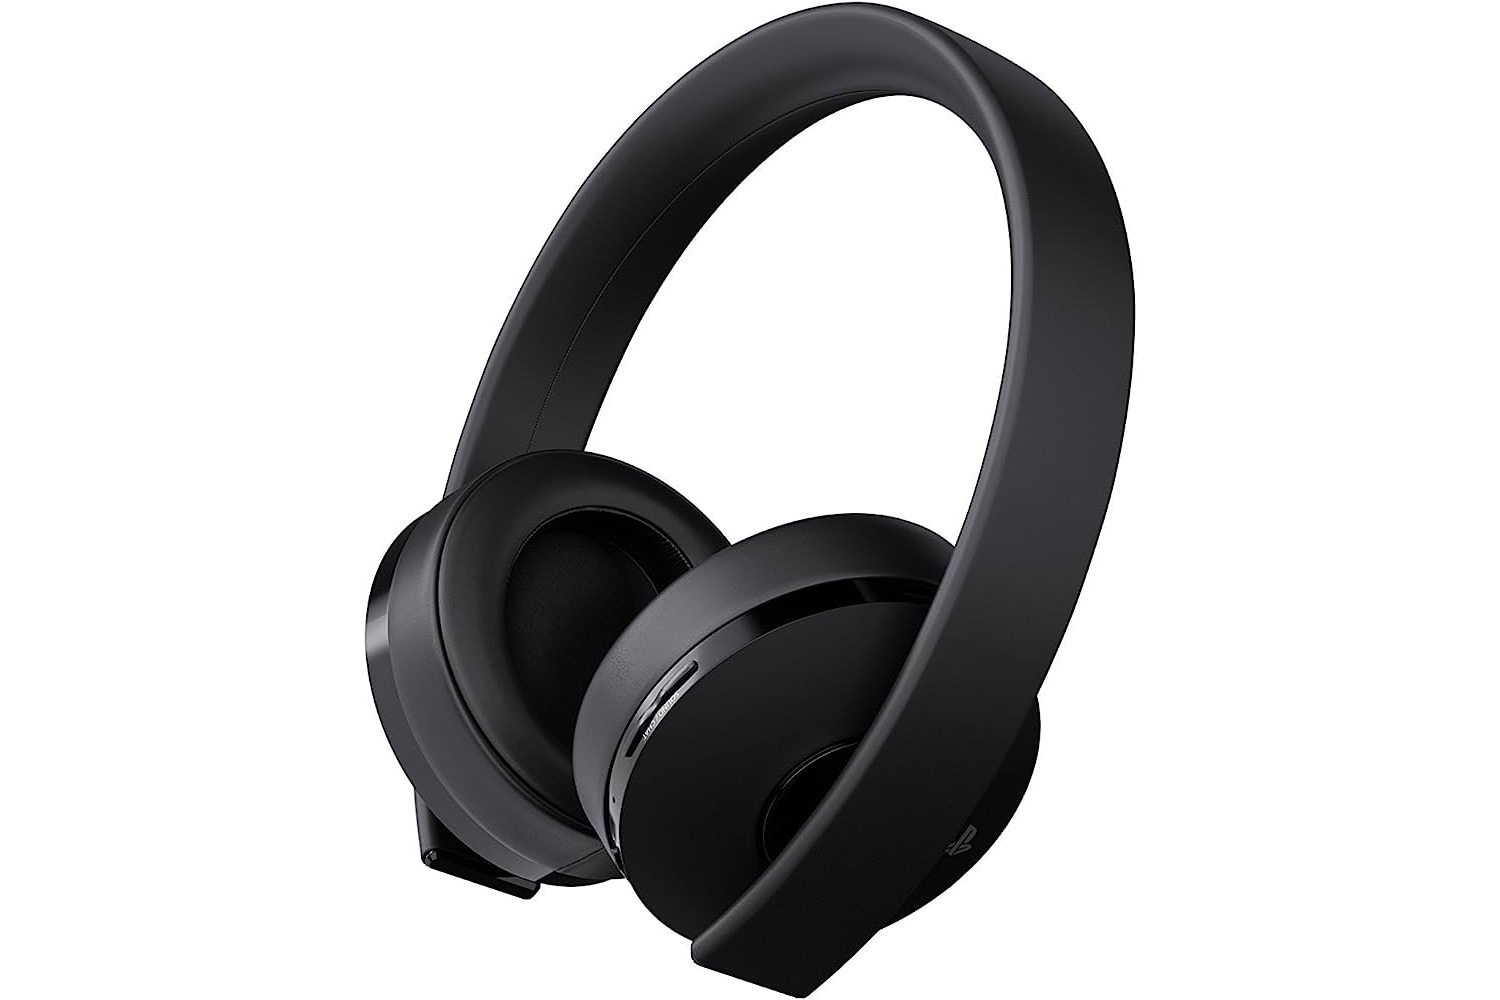
Before attempting to pair your PlayStation Gold headset with a dongle, it’s crucial to ensure that the two devices are compatible. The PlayStation Gold headset is designed to work seamlessly with the PlayStation 4 and PlayStation 5 gaming consoles, as well as with PCs and Macs. However, it’s essential to verify that the specific model of your headset is indeed compatible with the dongle. This can typically be confirmed by consulting the user manual or by visiting the official PlayStation website to check for compatibility information.
Additionally, it’s important to ensure that the dongle is in proper working condition and is not damaged. Inspect the dongle for any physical defects, and if possible, test it with another compatible device to confirm its functionality. It’s also advisable to check for any firmware updates for both the headset and the dongle to guarantee optimal performance and compatibility.
By taking the time to verify compatibility and the condition of the dongle, you can avoid potential issues and ensure a smooth pairing process between your PlayStation Gold headset and the dongle.
Charging the Headset
Before initiating the pairing process, it’s essential to ensure that your PlayStation Gold headset is adequately charged. This step is crucial for uninterrupted usage and successful pairing with the dongle. Here’s a step-by-step guide to charging your headset:
- Locate the Micro-USB Port: The PlayStation Gold headset features a Micro-USB port for charging. Locate this port, typically found on the bottom or side of the headset.
- Connect the USB Cable: Using the provided USB cable, connect one end to the Micro-USB port on the headset and the other end to a power source, such as a USB port on your gaming console, PC, or a wall adapter. Ensure that the connection is secure to facilitate efficient charging.
- Monitor the Charging Status: Once connected, the headset’s built-in indicator lights should illuminate to indicate the charging status. Typically, a solid red light signifies that the headset is charging, while a solid blue light indicates that the charging process is complete.
- Allow Sufficient Charging Time: Depending on the current battery level, allow the headset to charge fully before commencing the pairing process. This ensures that the headset has ample power to complete the pairing and subsequent usage without interruptions.
It’s important to note that the charging process may vary slightly based on the specific model of the PlayStation Gold headset. Refer to the user manual for detailed instructions tailored to your headset model.
By following these steps to charge your PlayStation Gold headset, you can ensure that it is powered up and ready for the pairing process with the dongle.
Inserting the Dongle
Once you have confirmed compatibility and charged your PlayStation Gold headset, the next step is to insert the dongle into the appropriate device. The dongle serves as the intermediary connection between your headset and the gaming console or computer, enabling wireless audio transmission. Here’s a detailed guide on how to insert the dongle:
- Locate an Available USB Port: Identify an available USB port on your gaming console or computer where the dongle can be inserted. The dongle is typically designed to fit into standard USB ports without requiring additional adapters.
- Gently Insert the Dongle: Carefully insert the dongle into the USB port, ensuring that it is fully and securely seated. Avoid applying excessive force, but ensure that the connection is snug to prevent disconnection during usage.
- Observe the Dongle’s Indicator: Upon inserting the dongle, it may illuminate to indicate that it is receiving power and is ready to establish a connection with the headset. The specific indicator light behavior may vary based on the dongle model.
- Positioning for Optimal Reception: For optimal wireless connectivity, consider the positioning of the dongle. Placing it in a front-facing USB port on the gaming console or a direct USB port on the computer can enhance signal reception and minimize potential interference.
It’s important to note that the insertion process may differ slightly based on the specific model of the dongle and the device it is being connected to. Refer to the dongle’s user manual for device-specific instructions.
By correctly inserting the dongle into the designated USB port, you establish the crucial link between your PlayStation Gold headset and the gaming console or computer, setting the stage for the subsequent pairing process.
Powering On the Headset
Before initiating the pairing process, it’s essential to power on your PlayStation Gold headset. Properly turning on the headset sets the stage for the seamless establishment of a wireless connection with the dongle. Here’s a step-by-step guide on how to power on your headset:
- Locate the Power Button: The power button on the PlayStation Gold headset is typically located on one of the ear cups. Identify the power button, which may be labeled with a power symbol or the PlayStation logo.
- Press and Hold the Power Button: Press and hold the power button for a few seconds until the headset’s indicator lights illuminate or the headset emits a powering-on sound, indicating that it is booting up.
- Observe the Power Indicator: Upon powering on, the headset’s indicator lights may display a specific color or pattern to signify that it is in the process of initializing. Refer to the user manual for your specific headset model to interpret the indicator light behavior accurately.
- Ensure Sufficient Battery Level: As the headset powers on, it’s advisable to ensure that the battery level is adequate for the pairing process and subsequent usage. A fully charged headset is optimal for seamless pairing and extended wireless usage.
It’s important to note that the power-on process may vary slightly based on the specific model of the PlayStation Gold headset. Refer to the user manual for detailed instructions tailored to your headset model.
By correctly powering on your PlayStation Gold headset, you prepare it for the upcoming pairing process with the dongle, setting the stage for immersive wireless audio experiences during gaming or other activities.
Pairing the Headset with the Dongle
Pairing your PlayStation Gold headset with the dongle is a crucial step that establishes the wireless connection, enabling immersive audio experiences during gaming or multimedia consumption. Here’s a detailed guide on how to pair the headset with the dongle:
- Initiate Pairing Mode: On your PlayStation Gold headset, locate the pairing button, typically situated near the power button or on the underside of an ear cup. Press and hold this button to initiate the pairing mode. The headset’s indicator lights may blink rapidly to indicate that it is ready to pair with a compatible device.
- Activate Dongle Pairing Mode: On the dongle connected to your gaming console or computer, locate the pairing button or switch. Press and hold this button to activate the dongle’s pairing mode, allowing it to search for and establish a connection with the headset.
- Wait for Pairing Confirmation: As the headset and dongle enter pairing mode, they will attempt to establish a wireless connection. The indicator lights on both devices may blink or display specific patterns during this process. Once the pairing is successful, the indicator lights may stabilize or change color to signify the established connection.
- Verify Audio Output: After successful pairing, verify that audio output is being transmitted wirelessly from the gaming console or computer to the headset. Test the audio by playing a sample track or accessing the console’s audio settings to ensure that the headset is receiving the audio signal without interruptions.
It’s important to note that the pairing process may vary slightly based on the specific model of the PlayStation Gold headset and the dongle. Refer to the user manuals for both devices for detailed and device-specific pairing instructions.
By successfully pairing your PlayStation Gold headset with the dongle, you unlock the immersive potential of wireless audio, enhancing your gaming and multimedia experiences with the freedom of untethered audio transmission.
Adjusting Settings
After successfully pairing your PlayStation Gold headset with the dongle, it’s essential to explore and adjust various settings to optimize your audio experience. Here’s a comprehensive guide on how to adjust settings for your PlayStation Gold headset:
- Customize Audio Profiles: Many PlayStation Gold headsets offer customizable audio profiles that can be accessed through companion apps or directly on the headset. Explore these options to select audio presets tailored to specific gaming genres or media content, enhancing the audio output to suit your preferences.
- Adjust Volume and Chat Balance: Utilize the headset’s controls to adjust the volume levels and balance between in-game audio and chat audio. This allows you to fine-tune the audio mix according to your preferences, ensuring clear communication and immersive sound effects during gameplay.
- Explore Surround Sound Options: If your headset supports virtual surround sound, consider enabling this feature to experience spatial audio that enhances immersion in games and movies. Adjust the surround sound settings to achieve a balance between directional audio cues and overall audio depth.
- Activate Noise Cancellation: If your PlayStation Gold headset includes noise-cancellation features, explore the settings to activate this functionality. Noise cancellation can minimize external distractions, allowing you to focus on the audio content without interference from ambient sounds.
- Check Mic Monitoring and Mic Settings: If the headset is equipped with a microphone, explore the mic monitoring settings to adjust the level of audio feedback from your own voice. Additionally, ensure that the microphone settings are optimized for clear and accurate voice capture during gaming sessions or online communication.
It’s important to note that the specific settings and customization options may vary based on the model of the PlayStation Gold headset. Refer to the user manual and companion app instructions for detailed guidance on accessing and adjusting these settings.
By exploring and adjusting the settings for your PlayStation Gold headset, you can fine-tune the audio experience to align with your preferences, maximizing the potential of the wireless audio capabilities offered by the headset and dongle.


