
Assess the Situation
Before embarking on the task of removing a bulb from a connector, it’s crucial to assess the situation to ensure safety and efficiency. Whether you’re replacing a faulty bulb or upgrading to a more energy-efficient option, a thorough assessment sets the stage for a successful removal process.
Begin by identifying the type of bulb and connector you are dealing with. Is it a standard incandescent bulb, a halogen bulb, or an LED bulb? Different types of bulbs may require varying removal techniques, so understanding the specific characteristics of the bulb is essential.
Next, examine the condition of the connector and surrounding components. Are there any signs of damage, corrosion, or overheating? It’s important to address any issues with the connector before proceeding with the removal of the bulb to prevent potential hazards and ensure a smooth transition to the new bulb.
Consider the accessibility of the bulb and connector. Are there any obstacles or obstructions that may hinder the removal process? Ensuring ample space and visibility around the bulb and connector will make the task more manageable and reduce the risk of accidental damage.
Furthermore, evaluate the power source supplying electricity to the bulb. Is the power switch easily accessible, and can it be safely turned off to cut off the electricity flow? Safety should always be the top priority when working with electrical components, so take the necessary precautions to avoid electrical hazards.
Lastly, assess your own readiness and knowledge to proceed with the removal process. Do you have the appropriate tools and protective gear? Are you familiar with the necessary steps for safely disconnecting the bulb from the connector? Being well-prepared and informed will contribute to a smooth and successful bulb removal.
Turn Off Power
Prior to removing a bulb from a connector, it is imperative to turn off the power supply to the fixture to prevent the risk of electrical shock or injury. Follow these steps to safely deactivate the electricity flowing to the bulb:
- Locate the Power Source: Identify the power source for the light fixture. This may be a wall switch, a dedicated circuit breaker in the electrical panel, or the main power switch for the area where the fixture is located.
- Switch Off the Power: If the power source is controlled by a wall switch, turn the switch to the “off” position. For fixtures connected to a dedicated circuit breaker, locate the corresponding breaker in the electrical panel and switch it to the “off” position. If the main power switch controls the area, ensure it is turned off.
- Confirm Power Deactivation: After turning off the power, test the fixture by attempting to turn it on. This verification step ensures that the electricity supply has been successfully cut off. If the light does not turn on, the power has been effectively deactivated.
It is crucial to take extra precautions when working with electricity. Always treat all wires as if they are live until confirmed otherwise. Additionally, using protective gear, such as insulated gloves and safety goggles, can provide an added layer of safety during this process.
By diligently following these steps to turn off the power, you create a safe environment for the subsequent stages of removing the bulb from the connector.
Remove the Bulb Cover
Once the power supply to the fixture has been safely turned off, the next step in removing a bulb from a connector is to access the bulb by removing the cover or casing that encases it. The process of removing the bulb cover may vary depending on the type of fixture and cover design. Follow these general steps to effectively remove the bulb cover:
- Identify the Fastening Mechanism: Inspect the bulb cover to determine the method used to secure it in place. Common fastening mechanisms include screws, clips, or a twist-lock mechanism. Understanding how the cover is attached will guide you in the removal process.
- Use Appropriate Tools: Depending on the fastening mechanism, gather the necessary tools, such as a screwdriver, pliers, or a suitable wrench, to loosen and remove the cover. Using the correct tools will prevent damage to the cover and ensure a smooth removal process.
- Follow Manufacturer’s Instructions: If available, refer to the manufacturer’s instructions or user manual for specific guidance on removing the bulb cover. Manufacturers often provide detailed steps and safety precautions tailored to their products.
- Detach the Cover: Carefully execute the appropriate steps to detach the cover from the fixture. Exercise caution to avoid applying excessive force or causing damage to the cover or the surrounding components.
- Safely Set Aside the Cover: Once the cover is removed, set it aside in a secure location to prevent accidental damage. If the cover is fragile or made of glass, handle it with care to avoid breakage.
By successfully removing the bulb cover, you gain access to the bulb and the connector, paving the way for the subsequent steps in the removal process. This step sets the stage for a safe and efficient bulb removal procedure.
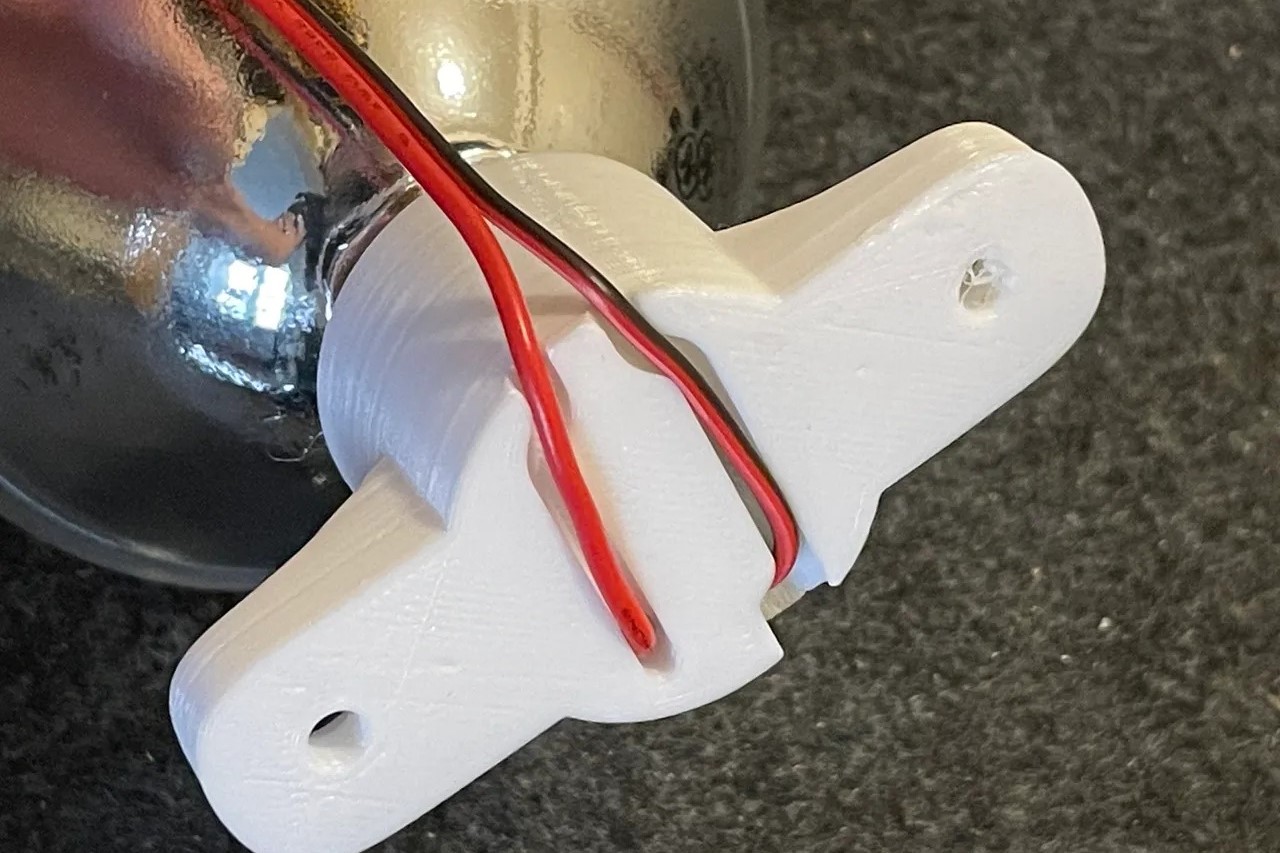
Disconnect the Wires
With the bulb cover removed, the next critical step in removing a bulb from a connector is to disconnect the wires that supply power to the bulb. Properly disconnecting the wires ensures a safe and seamless removal process. Follow these steps to disconnect the wires from the bulb:
- Identify the Wire Connections: Locate the wires connected to the bulb. Depending on the fixture, there may be multiple wires, including live (hot) and neutral wires. It is essential to identify and differentiate between the wires to ensure proper disconnection.
- Turn Off Power: Before handling any wires, double-check that the power supply to the fixture is turned off. Use a non-contact voltage tester to verify that there is no electricity flowing to the wires. Safety should always be the top priority when working with electrical components.
- Use Insulated Tools: When disconnecting the wires, use insulated tools such as pliers or wire strippers to avoid direct contact with the live wires. This precaution minimizes the risk of electrical shock and ensures safe handling of the wires.
- Disconnect the Wires: Carefully loosen the wire connectors or terminals securing the wires to the bulb. Follow the manufacturer’s instructions or any specific guidance provided with the fixture to ensure the correct disconnection procedure.
- Label the Wires (Optional): If the wires are not color-coded or if there is a need to distinguish between multiple wires, consider labeling them with tape or markers. This step can simplify the reconnection process when installing a new bulb.
- Secure the Wires: Once the wires are disconnected, secure them away from the bulb socket and any metal components within the fixture. This prevents accidental contact with live wires and reduces the risk of electrical hazards.
By carefully disconnecting the wires, you create a safe environment for the final step of removing the bulb from the connector. Adhering to proper safety measures and handling techniques ensures a smooth and secure disconnection process.
Remove the Bulb from the Connector
After disconnecting the wires, the final step in removing a bulb from a connector involves safely extracting the bulb from its socket. This process requires precision and care to avoid damaging the bulb or the connector. Follow these steps to effectively remove the bulb:
- Allow the Bulb to Cool (If Applicable): If the fixture was recently in use, allow the bulb to cool down before attempting to remove it. Hot bulbs can cause burns if handled immediately after use.
- Inspect the Socket: Before proceeding, inspect the bulb socket for any signs of damage, corrosion, or debris. Clear any obstructions or foreign particles that may hinder the removal of the bulb.
- Gently Twist or Unclip the Bulb: Depending on the type of connector, gently twist the bulb counterclockwise to release it from the socket. If the bulb is secured by clips, carefully depress or unhook the clips to free the bulb from the connector.
- Avoid Excessive Force: Exercise caution to avoid applying excessive force when removing the bulb. Sudden or forceful movements can lead to breakage or damage to the bulb or the connector. A gentle and steady approach is key.
- Handle the Bulb Carefully: Once the bulb is free from the connector, handle it with care. Avoid touching the bulb’s glass surface with bare hands, as natural oils from the skin can cause hot spots and potentially shorten the bulb’s lifespan.
- Dispose of the Bulb Properly: If the bulb is being replaced, dispose of it according to local regulations for proper disposal of light bulbs. Some bulbs may contain hazardous materials and should be handled and disposed of responsibly.
By successfully removing the bulb from the connector, you have completed the removal process, paving the way for the installation of a new bulb or the implementation of any necessary maintenance or repairs to the connector. Adhering to proper handling techniques ensures a safe and effective removal of the bulb.