
Safety Precautions
When it comes to cleaning the rear projection TV bulbs, it’s important to prioritize safety to ensure no accidents or damage occur. Follow these essential safety precautions before you begin:
- Turn off and unplug the TV: Before doing anything, make sure the television is completely powered off and unplugged from the electrical outlet. This will prevent any potential electric shock hazards.
- Allow the bulbs to cool: Rear projection TV bulbs can become hot during operation. It’s important to let them cool down for at least 30 minutes before attempting any cleaning. This reduces the risk of burns and injuries.
- Protect yourself: Wear gloves and safety goggles to shield your hands and eyes from potentially harmful chemicals or broken glass. It’s always better to be safe than sorry.
- Use appropriate cleaning products: Check the manufacturer’s guidelines for approved cleaning solutions. Avoid using abrasive cleaners, solvents, or harsh chemicals that can damage the bulbs or the TV screen.
- Be mindful of delicate parts: When removing or handling the bulbs, be gentle and avoid applying excessive force. Any rough handling can result in damage or reduce the lifespan of the bulbs.
- Avoid moisture: Do not spray cleaning solutions or water directly onto the bulbs. Moisture can seep into the TV and cause electrical damage. Instead, use a clean, dry cloth or duster to gently wipe away dust and dirt.
- Secure the surrounding area: Clear the space around the TV to prevent tripping hazards. Make sure there are no objects or obstacles that could cause accidents while you’re cleaning.
By following these safety precautions, you can minimize the risk of accidents or damage during the cleaning process. Once you’ve taken these necessary steps, you’re ready to gather the materials needed for the cleaning task.
Gather Your Materials
Before you begin cleaning the rear projection TV bulbs, ensure you have the necessary materials on hand. Gathering these items in advance will save you time and ensure a smooth cleaning process. Here are the materials you’ll need:
- Clean, dry cloth or microfiber cloth: This will be used to wipe away dust and dirt from the bulbs without scratching the surface.
- Mild cleaning solution: Check the manufacturer’s guidelines for an approved cleaning solution. Alternatively, you can mix a small amount of gentle dish soap with warm water.
- Soft-bristled brush or compressed air: This will be used to clean hard-to-reach areas or remove stubborn dust particles. Make sure the brush is specifically designed for electronics to avoid scratching delicate parts.
- Gloves: Protect your hands from potentially harmful chemicals or broken glass by wearing gloves throughout the cleaning process.
- Safety goggles: Shield your eyes from any debris or cleaning solutions by wearing safety goggles.
- Clean, dry area: Find a well-lit and clean space where you can safely dismantle the TV and clean the bulbs without any distractions or interruptions.
- Screwdriver: Depending on your TV model, you may need a screwdriver to remove the bulb access panel. Make sure you have the appropriate size and type of screwdriver.
Having these materials ready before starting the cleaning process will ensure you can proceed smoothly without any interruptions. Once you’ve gathered all the necessary items, it’s time to turn off and unplug the TV to begin the cleaning process.
Turn Off and Unplug the TV
Before you can start cleaning the rear projection TV bulbs, it’s crucial to turn off the television and unplug it from the power source. Follow these steps to ensure a safe and hassle-free process:
- Find the power button: Locate the power button on your TV or remote control and press it to turn off the television. Wait for the screen to go blank or the indicator light to turn off.
- Unplug the TV: Once you’ve turned off the TV, reach behind it or locate the power cord and gently unplug it from the electrical outlet. This step eliminates any chance of electrical shock while working on the TV.
- Wait for the TV to cool down: Rear projection TV bulbs can generate a significant amount of heat during operation. Allow the bulbs to cool down for at least 30 minutes before proceeding with the cleaning process. This will prevent any potential burns or injuries.
By turning off and unplugging the TV, you ensure your safety and minimize the risk of accidents. It’s important to remember that working on a plugged-in and powered-on TV can be extremely dangerous. Always prioritize safety and follow these steps before moving on to the next phase of cleaning.
Remove the Bulb Access Panel
Once you’ve turned off and unplugged the TV, it’s time to remove the bulb access panel. This panel provides you with access to the rear projection TV bulbs for cleaning. Follow these step-by-step instructions to remove the bulb access panel:
- Locate the bulb access panel: Look for the panel on the rear or side of the TV. It is usually secured with screws or clips.
- Use the appropriate tool: Depending on the TV model, you may need a screwdriver to remove the screws holding the panel in place. If the panel is secured with clips, gently press or release them to detach the panel.
- Set aside the screws or clips: Keep the screws or clips in a safe place to prevent loss or misplacement.
- Remove the bulb access panel: Carefully pull or lift the panel away from the TV, exposing the rear projection bulbs.
It’s essential to handle the bulb access panel with care, as it may be fragile or contain delicate components. Avoid forcing or applying excessive pressure when removing it to prevent any damage. Once the panel is removed, you are ready to proceed with taking out the projection bulbs for cleaning.
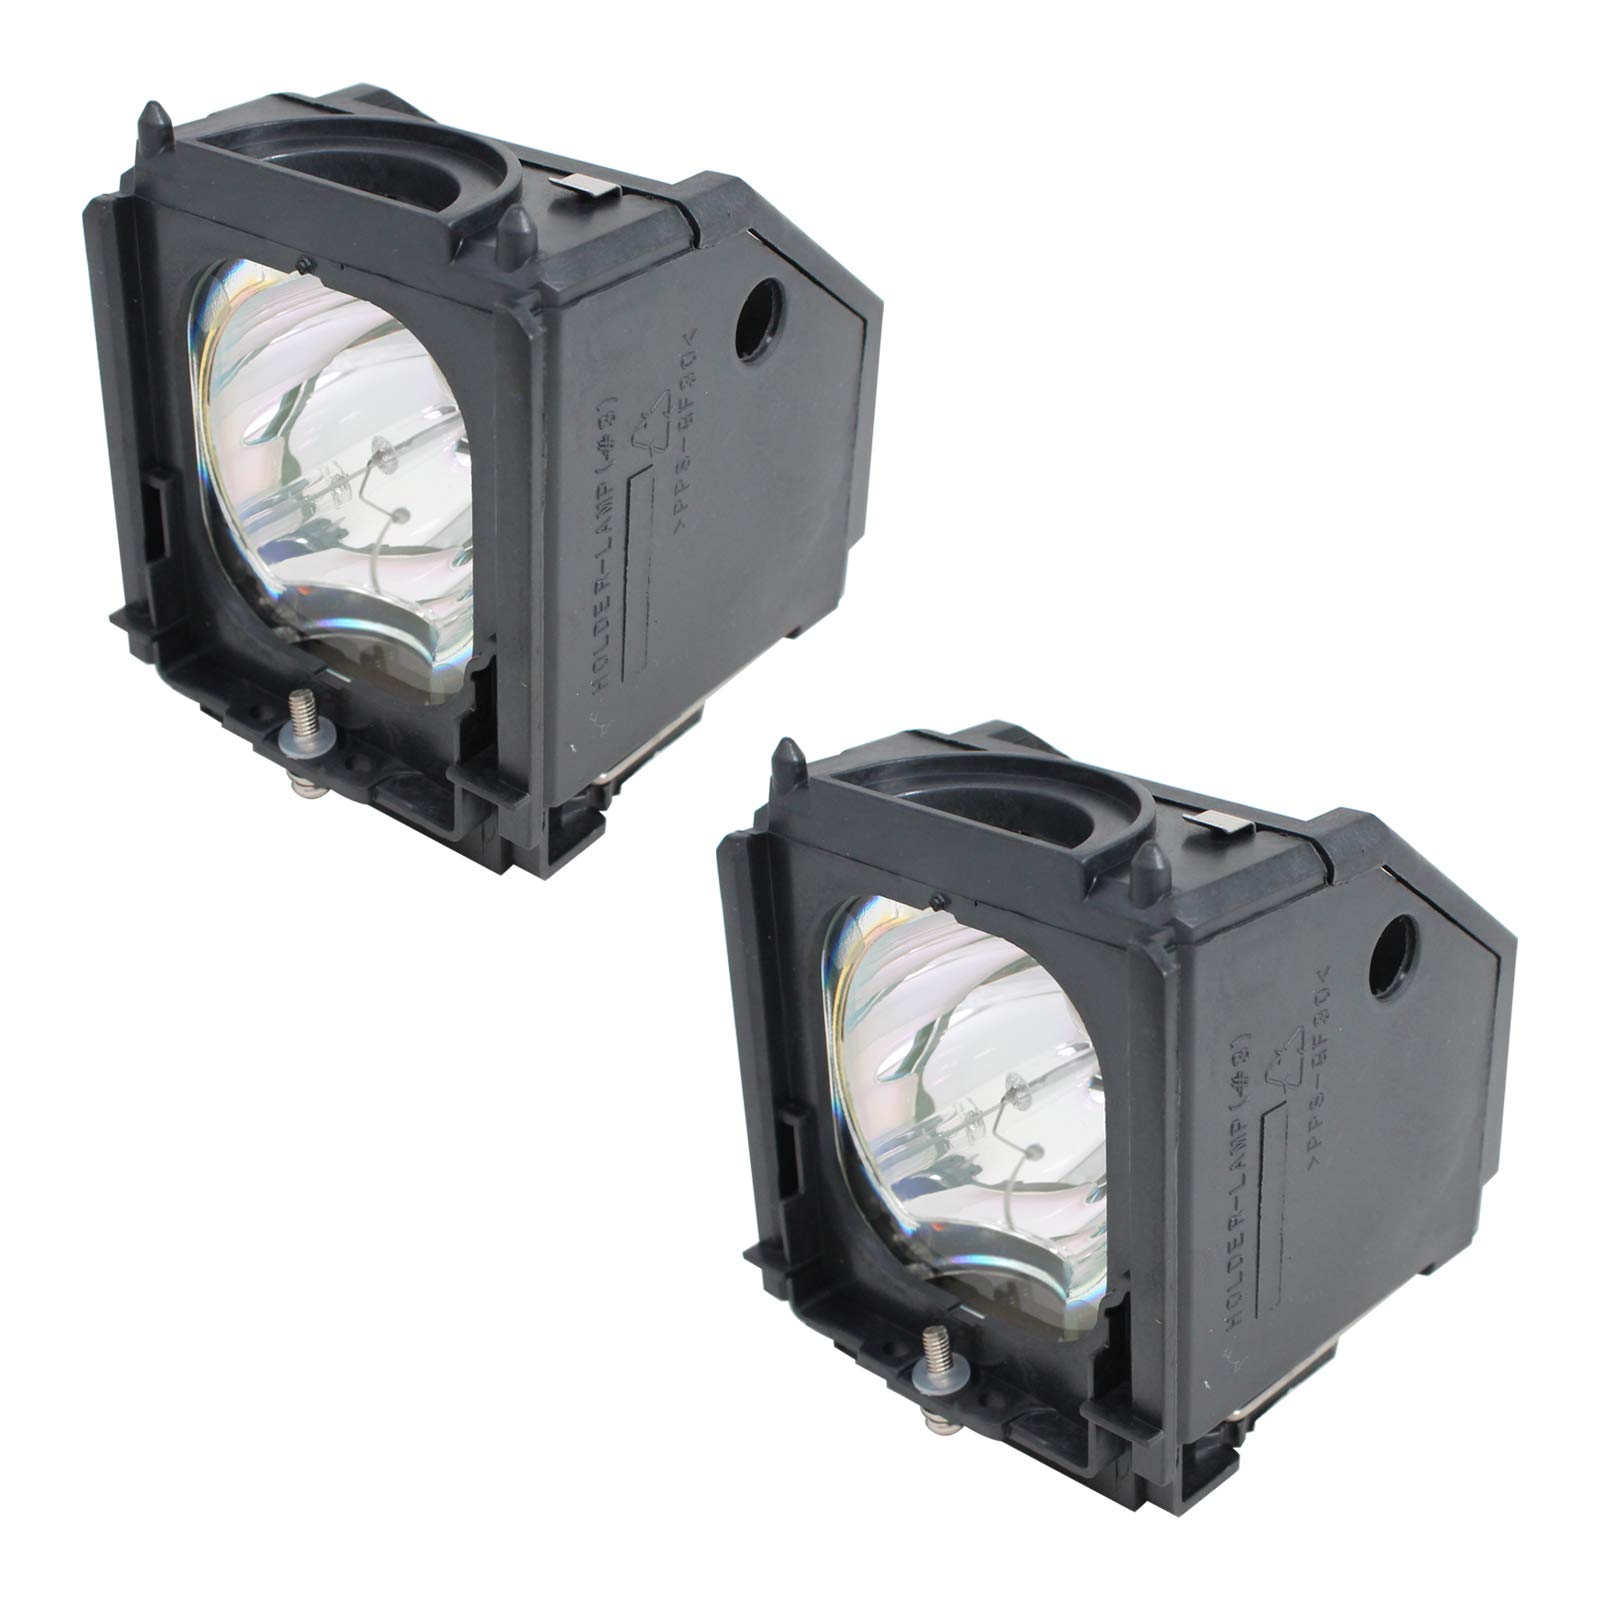
Take Out the Projection Bulbs
With the bulb access panel removed, you can now proceed to take out the projection bulbs from your rear projection TV. Follow these steps to safely remove the bulbs:
- Identify the projection bulbs: Locate the bulbs within the TV’s housing. They are typically positioned towards the rear or sides of the unit.
- Check for any securing mechanisms: Some TVs may have additional screws, clips, or brackets holding the bulbs in place. If present, use the appropriate tools to loosen and remove these mechanisms.
- Gently disconnect any wiring or connectors: Depending on the TV model, there may be wiring or connectors attached to the bulbs. Take note of their positions and gently disconnect them to allow for bulb removal. Remember to handle the connectors with care to avoid any damage.
- Remove the bulbs: With any securing mechanisms and wiring disconnected, carefully lift or slide the projection bulbs out of their sockets. If they feel stuck, double-check for any missed attachments.
It’s important to be cautious and delicate when removing the projection bulbs to prevent any damage. Avoid applying excessive force or twisting the bulbs, as this can lead to breakage. If you encounter any difficulties or concerns during the removal process, refer to the TV’s user manual or seek professional assistance.
Clean the Projection Bulbs
Now that you have taken out the projection bulbs from your rear projection TV, it’s time to clean them. Cleaning the bulbs regularly can improve their performance and extend their lifespan. Follow these steps to effectively clean the projection bulbs:
- Inspect the bulbs: Before cleaning, visually inspect the bulbs for any visible dust, dirt, or debris. Take note of any stubborn spots that may require extra attention.
- Use a dry cloth: Begin by gently wiping the surface of the bulbs with a clean, dry cloth or a microfiber cloth. This will help remove loose dust and dirt particles. Avoid using excessive pressure, as the bulbs are fragile.
- Apply a mild cleaning solution: If there are stubborn stains or residue on the bulbs, dampen a corner of the cloth with a mild cleaning solution. Check the manufacturer’s guidelines for an approved cleaning solution or create a mixture of gentle dish soap and water.
- Gently clean the bulbs: With the dampened cloth, gently wipe the surface of the bulbs in a circular motion. Be careful not to scrub too hard, as this can damage the bulbs. Focus on areas with visible dirt or stains, ensuring a thorough cleaning.
- Dry the bulbs: Once the cleaning process is complete, use a dry portion of the cloth to carefully dry the bulbs. Ensure all moisture is removed to avoid any electrical damage or malfunction.
It’s essential to handle the projection bulbs with care during the cleaning process. Avoid touching the glass portion of the bulbs with your bare hands, as the oils from your skin can leave residues that affect their performance. Once the bulbs are clean and dry, it’s time to move on to cleaning the interior of the TV.
Clean the Interior of the TV
After cleaning the projection bulbs, it’s important to clean the interior of the rear projection TV to ensure optimal performance. Dust and debris can accumulate inside the TV over time, impacting picture quality and potentially causing overheating. Follow these steps to clean the interior of your TV:
- Use a compressed air canister or soft-bristled brush: Start by using a canister of compressed air to blow away any loose dust and debris from the interior components of the TV. Alternatively, a soft-bristled brush can be used to gently sweep away the dust.
- Pay attention to cooling fans and vents: Concentrate on cleaning the cooling fans and vents, as these areas tend to accumulate the most dust. Use the compressed air or brush to remove any build-up and ensure proper ventilation.
- Avoid liquid cleaners: Do not use any liquid cleaners inside the TV, as they can cause damage to the delicate electronic components. Stick to dry cleaning methods to prevent any potential damage or malfunctions.
- Double-check for loose cables or connections: Take a moment to inspect the internal cables and connections to ensure they are securely plugged in. Any loose connections can impact the TV’s performance and may require professional assistance to fix.
It’s important to exercise caution when cleaning the interior of the TV. Avoid touching any sensitive components or using excessive force to prevent accidental damage. Once you’ve completed the cleaning process, it’s time to reinstall the projection bulbs and replace the bulb access panel.
Reinstall the Projection Bulbs
After cleaning the interior of the rear projection TV, it’s time to reinstall the projection bulbs. Properly reinstalling the bulbs ensures that they are securely in place and allows for optimal performance. Follow these steps to reinstall the projection bulbs:
- Align the bulbs: Take each cleaned projection bulb and align it with its corresponding socket inside the TV. Ensure that the bulbs are facing the correct direction, matched with any notches or guides.
- Gently insert the bulbs: Carefully insert the bulbs into their sockets, applying gentle pressure. Be cautious not to force the bulbs, as they can be fragile. If they do not fit easily, double-check the alignment and make any necessary adjustments.
- Reconnect any wiring or connectors: If there were any wiring or connectors previously disconnected, now is the time to carefully reconnect them. Ensure a secure and proper connection, being mindful not to bend any pins or damage the wires.
- Secure any additional securing mechanisms: If your TV model had any screws, clips, or brackets holding the bulbs in place, reattach them as needed. Make sure they are tightened securely but not excessively, to avoid damaging the bulbs or the TV housing.
It’s crucial to handle the projection bulbs with care during the reinstallation process to avoid any damage. Take your time to align and insert each bulb properly to ensure a secure and stable connection. Once the bulbs are securely back in place, it’s time to replace the bulb access panel before reconnecting and turning on the TV.
Replace the Bulb Access Panel
With the projection bulbs securely installed, the next step is to replace the bulb access panel. The panel helps protect the bulbs and ensures a proper fit within the rear projection TV. Follow these steps to replace the bulb access panel:
- Align the panel: Position the bulb access panel in its original location on the TV. Align the screw holes or clips with the corresponding slots or brackets on the TV housing.
- Reattach screws or clips: If the panel is secured by screws, use a screwdriver to gently tighten them back into place. If it uses clips, press or secure them to ensure a snug fit. Be cautious not to overtighten the screws, as it may strip the threads or damage the panel.
- Test the panel’s closure: Once the screws or clips are secure, test the panel’s closure by gently pressing on it. It should fit flush with the TV housing and remain firmly in place.
It’s important to ensure that the bulb access panel is properly reinstalled to prevent any dust or debris from entering the TV and damaging the internal components. Take your time to align and secure the panel correctly before moving on to the next step.
Now that the bulb access panel is back in place, you can proceed to the final steps of the cleaning process: plugging in and turning on the TV, testing its functionality, and implementing additional tips and tricks to maintain its performance.
Plug in and Turn On the TV
After successfully reinstalling the bulb access panel, it’s time to plug in and turn on the rear projection TV. Following these steps will ensure a smooth transition and allow you to test the TV’s functionality:
- Locate the power cord: Retrieve the power cord that was previously unplugged from the electrical outlet.
- Plug in the TV: Gently insert the power cord into the designated power socket on the TV. Ensure a secure connection.
- Switch on the TV: Locate the power button on the TV or the remote control and press it to turn on the television. Wait for the TV to power up completely.
After turning on the TV, you may notice a brief delay as it starts up and initializes. This is normal and part of the power-up process. Once the TV is fully powered on, observe the screen and check for any abnormalities or error messages.
If you encounter any issues or notice any unusual behavior, refer to your TV’s user manual for troubleshooting steps. In some cases, professional assistance might be required to address more complex issues.
Now that the TV is powered on and functional, it’s time to proceed with testing its performance to ensure that the cleaning process was successful.
Test the TV
After cleaning the rear projection TV bulbs and completing the necessary steps to reassemble the TV, it’s important to test its performance. This will ensure that the cleaning process was successful and that the TV is functioning properly. Follow these steps to conduct a thorough test of your TV:
- Check the picture quality: Tune in to a channel or connect a device to the TV and check the picture quality. Look for any abnormalities such as flickering, distorted colors, or blurry images. If you notice any issues, double-check the bulb installation and connections.
- Assess the sound: Pay attention to the sound quality and volume levels. Ensure that the built-in speakers or external audio devices are functioning correctly. Adjust the settings as needed to achieve optimal sound.
- Test the inputs: Connect different devices, such as a DVD player or gaming console, to the TV’s various input ports. Switch between the inputs and check if the TV correctly recognizes and displays the connected devices.
- Observe for overheating: Monitor the TV for any signs of overheating. Put your hand near the back of the TV to check if it feels excessively hot. If you notice excessive heat or the TV repeatedly shuts down due to overheating, seek professional assistance.
- Ensure proper functionality: Test the TV’s remote control, menu navigation, and any other additional features it may have. Ensure that all buttons and functions are working as expected.
By conducting a thorough test of the TV, you can identify any potential issues or areas that may require further attention. If you encounter any persistent problems or are unsure about the TV’s performance, consult the user manual or reach out to a professional technician for assistance.
With the TV successfully tested and in good working condition, you can now sit back and enjoy your favorite shows and movies with enhanced picture quality and a clean interior.
Additional Tips and Tricks
Now that you’ve successfully cleaned your rear projection TV bulbs and ensured its proper functionality, here are some additional tips and tricks to maintain its performance and extend its lifespan:
- Regular dusting: Dust the TV regularly using a soft, dry cloth or a microfiber cloth. This will prevent dust buildup and maintain optimal picture quality.
- Keep the area clean: Ensure the surrounding area of the TV is clean and free from dust and debris. This will prevent the accumulation of particles that can enter the TV and affect its performance.
- Avoid smoking near the TV: Smoking can cause nicotine and other particles to accumulate on the TV’s screen and components, leading to discoloration and decreased performance.
- Maintain proper ventilation: Ensure that the TV has proper airflow and ventilation by keeping the back of the TV clear of any blockages. This will help prevent overheating and prolong the life of the bulbs.
- Avoid direct sunlight: Keep the TV away from direct sunlight or bright lights to prevent screen glare and potential damage to the internal components.
- Use surge protectors: Protect your TV from power surges and fluctuations by plugging it into a reliable surge protector. This will safeguard against electrical damage.
- Follow manufacturer guidelines: Refer to the TV’s user manual for specific cleaning instructions and any recommended cleaning products. Different TV models may have unique requirements.
- Consider professional maintenance: If you’re unsure about any aspect of cleaning or maintaining your rear projection TV, it’s best to consult a professional technician who can provide expert guidance and service.
By following these additional tips and tricks, you can ensure the longevity and optimal performance of your rear projection TV. Keeping the TV clean and well-maintained will enhance your viewing experience and allow you to enjoy stunning picture quality for years to come.