
Understanding the Headlight Connector
Before delving into the process of replacing a headlight connector, it’s essential to understand the crucial role it plays in the functionality of your vehicle’s lighting system. The headlight connector serves as the link between the electrical wiring of the car and the headlight bulb. This component is responsible for providing the necessary power to illuminate the headlight, enabling drivers to navigate roads safely in low-light conditions.
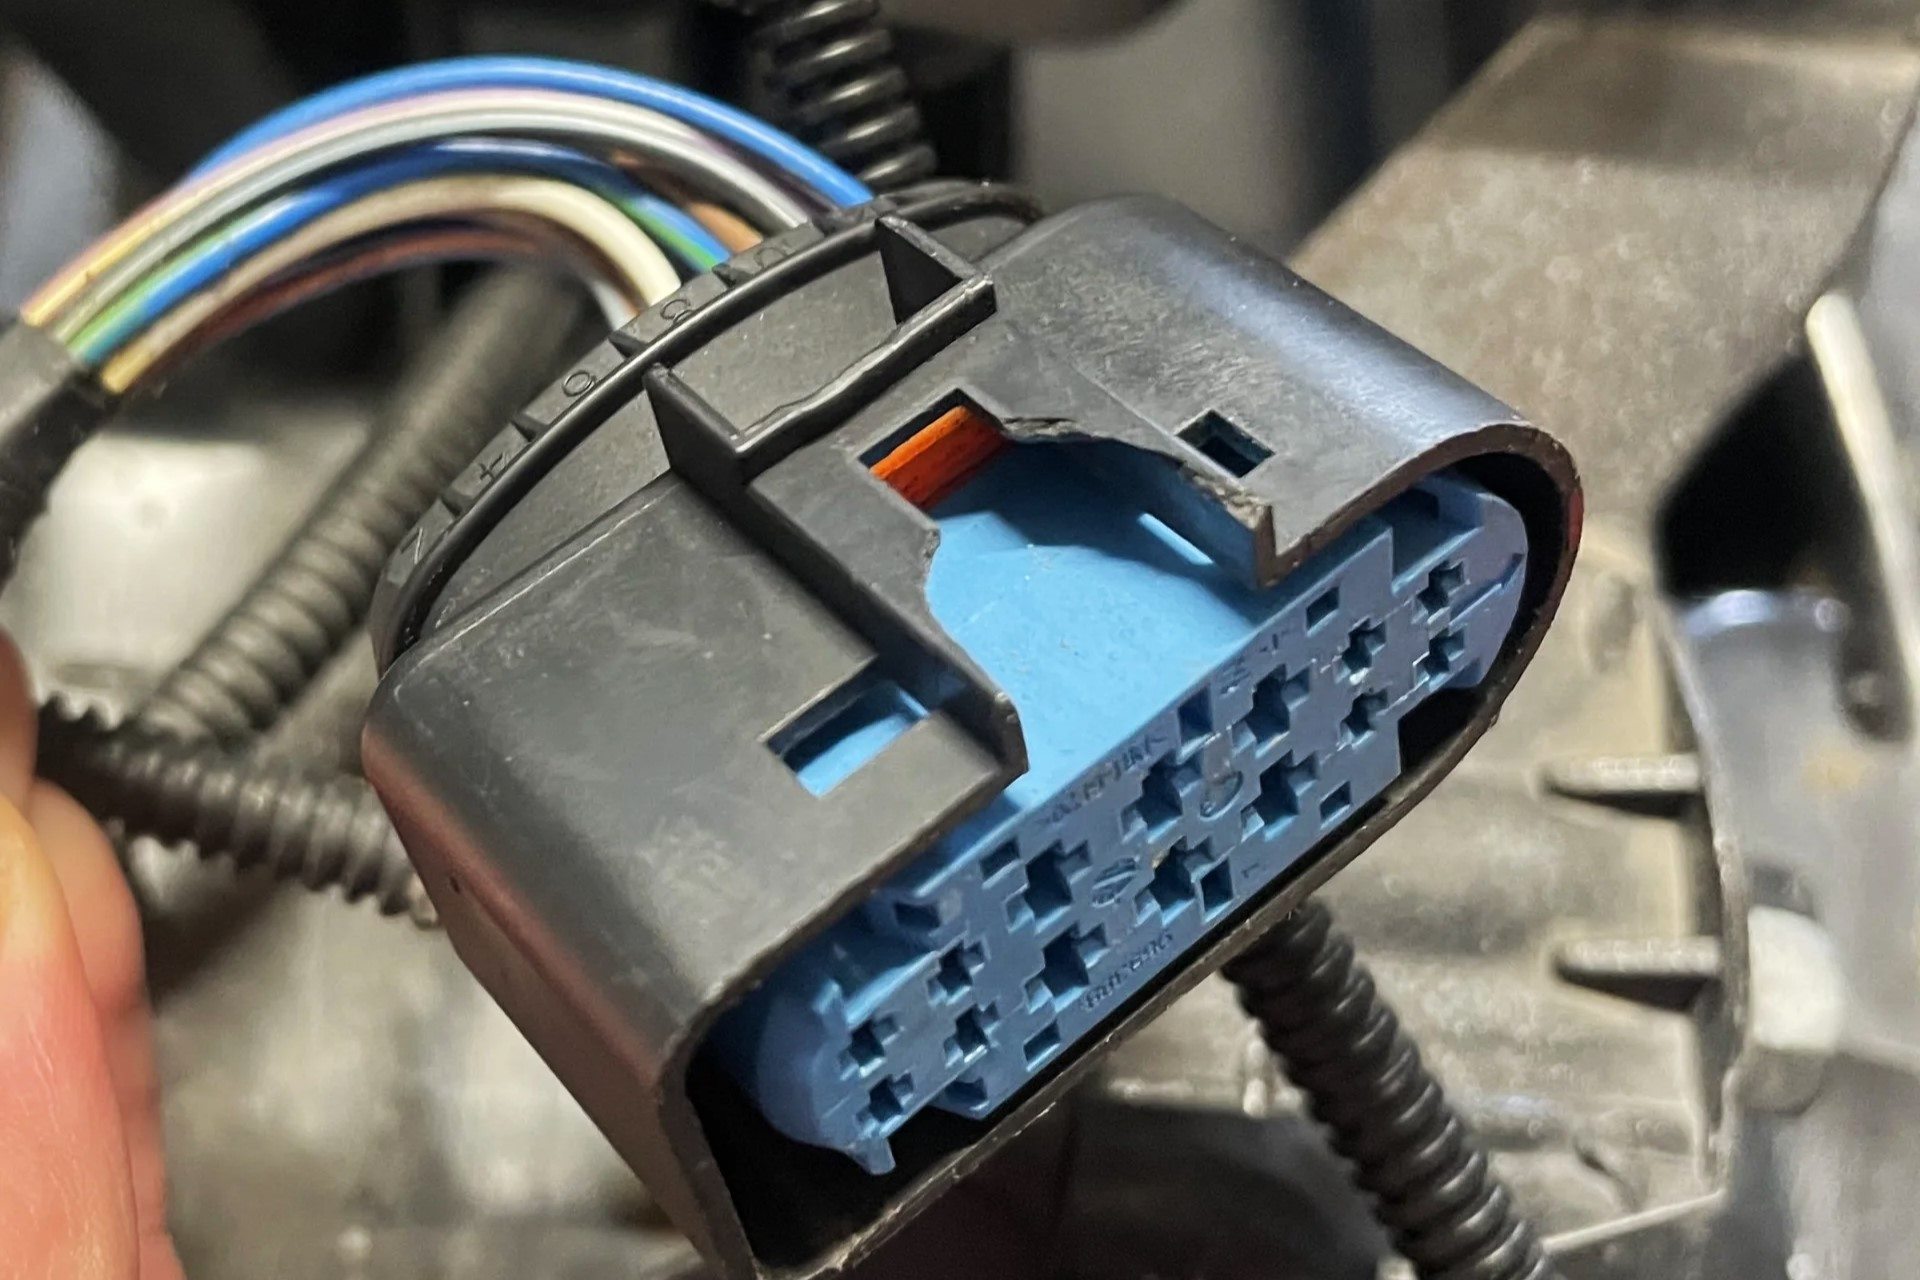
The headlight connector is typically composed of durable materials, such as plastic or heat-resistant compounds, to withstand the heat generated by the headlight bulb during operation. It also features electrical terminals that establish a secure connection with the headlight bulb, ensuring a consistent flow of electricity for proper illumination.
Over time, the headlight connector may experience wear and tear due to various factors, including exposure to heat, moisture, and electrical corrosion. These environmental elements can lead to degradation of the connector’s insulation and terminals, resulting in electrical issues such as flickering headlights, intermittent functionality, or complete bulb failure.
Furthermore, some vehicles may be equipped with complex headlight connector designs, incorporating additional features such as locking mechanisms or weatherproof seals to enhance durability and weather resistance. Understanding the specific design and functionality of the headlight connector in your vehicle is crucial for successful replacement and maintenance.
By familiarizing yourself with the significance of the headlight connector and the potential issues it may encounter, you can effectively assess the condition of the component and determine whether replacement is necessary. This foundational knowledge will empower you to address headlight-related issues proactively, ensuring optimal visibility and safety while driving.
Tools and Materials Needed
Before embarking on the task of replacing a headlight connector, it’s essential to gather the necessary tools and materials to facilitate a smooth and efficient process. Here’s a comprehensive list of items you’ll need:
- Replacement Headlight Connector: Ensure that the new connector is compatible with your vehicle’s make and model. It’s advisable to acquire a high-quality replacement part from a reputable automotive supplier to guarantee optimal performance and longevity.
- Protective Gloves: To shield your hands from dirt, grime, and potential sharp edges during the replacement procedure.
- Safety Glasses: Protect your eyes from debris and ensure a clear line of sight while working on the vehicle.
- Socket Wrench Set: Utilized for removing any securing bolts or screws on the headlight assembly.
- Wire Strippers/Cutters: Essential for preparing the electrical wiring and terminals for the new connector installation.
- Electrical Tape: Used to secure and insulate the electrical connections, providing protection against moisture and corrosion.
- Wire Connectors: Ensure a secure and reliable connection between the vehicle’s wiring harness and the new headlight connector.
- Owner’s Manual: Refer to the vehicle’s manual for specific instructions and diagrams related to the headlight assembly and connector location.
- Work Light or Flashlight: Illuminate the work area for enhanced visibility, especially if the replacement procedure is performed in low-light conditions.
- Cleaning Cloth and Electrical Cleaner: Utilized for removing any debris or corrosion from the wiring harness and terminals before installing the new connector.
By ensuring that you have all the necessary tools and materials at your disposal, you can approach the headlight connector replacement with confidence and precision, ultimately restoring the functionality of your vehicle’s lighting system.
Steps to Replace the Headlight Connector
Replacing a headlight connector involves a systematic process to ensure a successful and reliable outcome. Follow these comprehensive steps to effectively replace the headlight connector:
- Prepare the Work Area: Park the vehicle on a level surface and engage the parking brake. Ensure that the engine and headlights are turned off before commencing the replacement procedure. Additionally, disconnect the vehicle’s battery to prevent any electrical mishaps.
- Access the Headlight Assembly: Depending on the vehicle’s make and model, you may need to access the headlight assembly by opening the hood and removing any covers or panels that obstruct access to the headlight connector.
- Remove the Old Connector: Carefully disconnect the wiring harness from the existing headlight connector. Depending on the design, you may need to release any securing clips or tabs before detaching the connector. Inspect the wiring for any signs of damage or corrosion.
- Prepare the New Connector: If the replacement connector does not come pre-wired, use wire strippers to prepare the electrical wires by removing a small portion of the insulation. Ensure that the wire lengths are compatible with the new connector’s terminals.
- Install the New Connector: Securely connect the wiring harness to the new headlight connector, ensuring that the terminals are properly aligned and fully engaged. If the connector features locking tabs, ensure that they are securely fastened to prevent disconnection.
- Secure the Connector: Once the new connector is in place, secure any locking mechanisms or retaining clips to ensure a stable and reliable connection. Utilize electrical tape to insulate and protect the electrical connections from moisture and environmental elements.
- Test the Headlights: Reconnect the vehicle’s battery and turn on the headlights to verify the proper functionality of the new headlight connector. Ensure that both low and high beam settings are operational, and inspect the headlights for any signs of flickering or erratic behavior.
- Reassemble the Headlight Assembly: If any components were removed to access the headlight connector, reassemble them in the reverse order of removal. Ensure that all fasteners are securely tightened, and any covers or panels are properly reinstalled.
By meticulously following these steps, you can effectively replace the headlight connector, restoring optimal functionality to your vehicle’s lighting system and ensuring enhanced safety and visibility during nighttime driving.
Testing the New Headlight Connector
After replacing the headlight connector, it is crucial to conduct thorough testing to ensure the proper functionality of the new component. Follow these steps to effectively test the new headlight connector:
- Visual Inspection: Begin by visually inspecting the installed headlight connector to ensure that all connections are secure and properly seated. Verify that any locking mechanisms or retaining clips are engaged to prevent disconnection.
- Turn on the Headlights: Reconnect the vehicle’s battery and turn on the headlights to test the functionality of the new connector. Verify that both the low and high beam settings are operational, and observe the headlights for any signs of flickering or irregular behavior.
- Check for Proper Illumination: While the headlights are on, assess the illumination pattern and intensity to ensure that the new headlight connector is providing consistent power to the bulbs. Verify that both headlights are functioning symmetrically and emit a clear, uniform light output.
- Test High Beam Functionality: Switch to the high beam setting and confirm that both headlights transition smoothly to the higher intensity setting without any delays or flickering. This test ensures that the new connector can sustain the increased power demand for high beam operation.
- Inspect for Flickering or Dimming: Observe the headlights for any signs of flickering, dimming, or intermittent operation. These issues may indicate a loose connection or inadequate power supply, requiring further inspection and potential reinstallation of the new connector.
- Verify Turn Signal and Parking Light Operation: Test the functionality of the vehicle’s turn signals and parking lights to ensure that the electrical connections remain stable and do not interfere with other lighting systems. Confirm that the turn signals and parking lights operate as intended without any adverse effects.
- Assess Environmental Resistance: If the new headlight connector features weatherproof seals or additional protective features, consider conducting a water resistance test by gently spraying the connector with water while the headlights are operational. This test ensures that the connector maintains functionality in varying environmental conditions.
By meticulously testing the new headlight connector using the aforementioned steps, you can verify its reliability and functionality, ultimately ensuring enhanced safety and visibility during nighttime driving. Address any issues or irregularities promptly to maintain optimal performance of the vehicle’s lighting system.