
Checking Compatibility with Xiaomi Cloud
Before setting up your Xiaomi Dafang camera to save to the cloud, it's crucial to ensure that the camera is compatible with Xiaomi Cloud services. This step is essential to guarantee a seamless integration and optimal performance of the camera's cloud storage functionality.
To check the compatibility of your Xiaomi Dafang camera with Xiaomi Cloud, follow these steps:
-
Review Xiaomi Dafang Camera Specifications: Start by reviewing the specifications of your Xiaomi Dafang camera. Check the product manual or visit the official Xiaomi website to verify if the camera model supports cloud storage and is compatible with Xiaomi Cloud services. This information will provide clarity on whether your camera is designed to work with cloud storage features.
-
Consult Xiaomi Customer Support: If you are uncertain about the compatibility of your camera with Xiaomi Cloud, consider reaching out to Xiaomi customer support for assistance. Xiaomi's customer support team can provide valuable insights into the compatibility of your camera model with cloud storage services. They can also offer guidance on any necessary firmware updates or additional requirements to enable cloud storage functionality.
-
Check Xiaomi Cloud Service Availability in Your Region: Xiaomi Cloud services may have varying availability in different regions. Ensure that Xiaomi Cloud services are accessible in your geographical location and that the cloud storage feature is supported for your specific camera model. This step is crucial to avoid any potential limitations or incompatibilities based on regional service availability.
-
Verify Firmware Compatibility: Check if your Xiaomi Dafang camera's firmware is compatible with Xiaomi Cloud. Firmware updates may be necessary to enable cloud storage capabilities or to ensure seamless integration with Xiaomi's cloud services. Visit the Xiaomi official website or use the Xiaomi Home mobile app to check for firmware updates and ensure that your camera's software is up to date.
By diligently checking the compatibility of your Xiaomi Dafang camera with Xiaomi Cloud, you can proactively address any potential compatibility issues and set the stage for a successful setup of cloud storage functionality. This preliminary assessment sets the foundation for a smooth and efficient integration of your camera with Xiaomi Cloud, enhancing your overall experience with cloud-based storage solutions.
Setting up Xiaomi Dafang Camera
Setting up your Xiaomi Dafang camera is an essential initial step before delving into the configuration of cloud storage settings. The process involves preparing the camera for seamless integration with Xiaomi Cloud and ensuring that it is ready to leverage the benefits of cloud-based storage solutions.
To initiate the setup of your Xiaomi Dafang camera, follow these comprehensive steps:
-
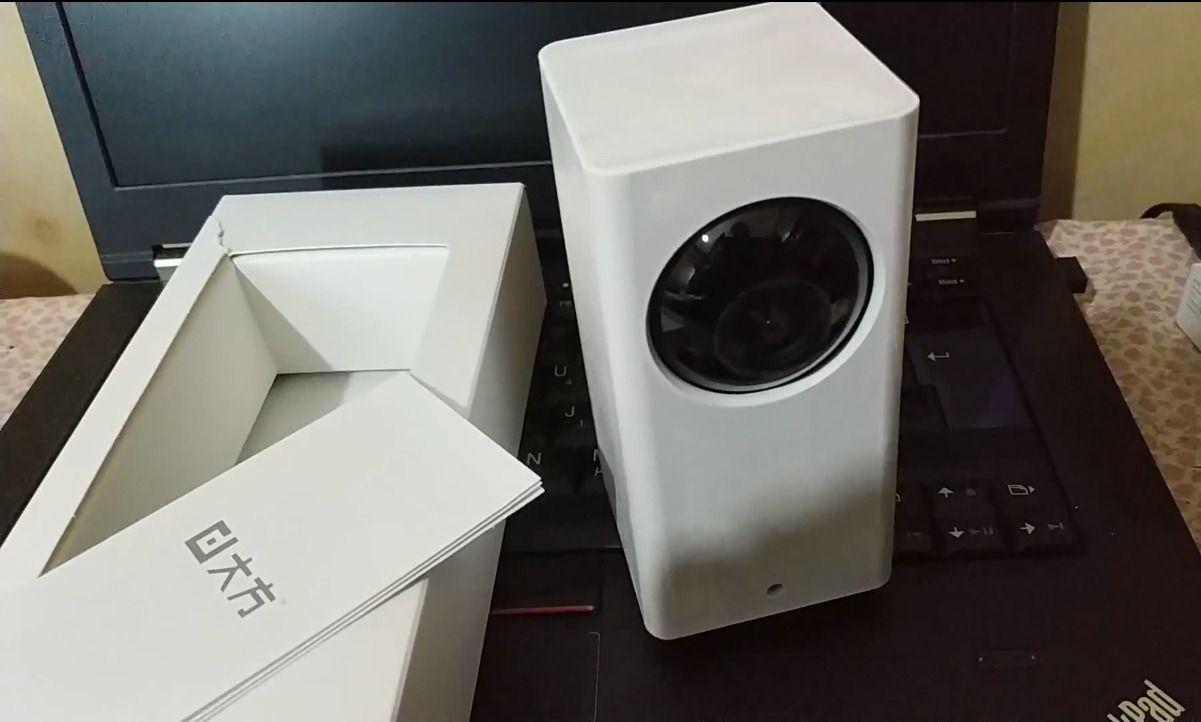
Unboxing and Inspection: Begin by unboxing your Xiaomi Dafang camera and carefully inspecting its components. Ensure that all the essential parts, including the camera unit, power adapter, and any accompanying cables, are present and in good condition. This meticulous inspection sets the stage for a smooth setup process by confirming that you have all the necessary components at your disposal.
-
Powering On the Camera: Once you have verified the contents of the package, proceed to power on the Xiaomi Dafang camera. Connect the camera to a power source using the provided power adapter and cable. Upon powering on the camera, it should initialize and enter a setup mode, indicating that it is ready to be configured for use.
-
Positioning the Camera: Select an optimal location to position the Xiaomi Dafang camera, ensuring that it offers a clear view of the intended surveillance area. Whether it's for home security, monitoring pets, or overseeing a specific environment, strategic placement of the camera is crucial for maximizing its effectiveness. Consider factors such as angles, obstructions, and lighting conditions when deciding on the camera's placement.
-
Installing the Mobile Application: To facilitate the setup process and manage the Xiaomi Dafang camera, download and install the Xiaomi Home mobile application on your smartphone or tablet. The Xiaomi Home app serves as the central hub for configuring and controlling Xiaomi smart devices, including the Dafang camera. It provides a user-friendly interface for managing camera settings and accessing cloud storage features.
-
Accessing Camera Setup in the App: Open the Xiaomi Home app and navigate to the section dedicated to adding new devices. Locate the option to add a new camera or smart device within the app's interface. This step initiates the process of pairing the Xiaomi Dafang camera with your mobile device, enabling you to configure its settings and prepare it for cloud storage integration.
By meticulously following these steps, you can effectively set up your Xiaomi Dafang camera, laying the groundwork for the subsequent configuration of cloud storage settings. This preparatory phase ensures that the camera is primed for seamless integration with Xiaomi Cloud, empowering you to harness the advantages of cloud-based storage for your surveillance and monitoring needs.
Connecting Xiaomi Dafang to Wi-Fi
Connecting your Xiaomi Dafang camera to a stable Wi-Fi network is a pivotal step in enabling seamless communication and data transfer between the camera and Xiaomi Cloud. This process establishes the foundation for leveraging cloud storage capabilities and ensures that the camera remains connected and accessible for remote monitoring and management. Here's a detailed guide on connecting your Xiaomi Dafang camera to Wi-Fi:
-
Accessing Camera Settings: Begin by accessing the camera settings within the Xiaomi Home mobile application. Locate the Xiaomi Dafang camera within the app's device list and select the option to configure its settings.
-
Initiating Wi-Fi Setup Mode: Within the camera settings, navigate to the Wi-Fi setup or connectivity section. This step prompts the Xiaomi Dafang camera to enter a mode where it actively seeks available Wi-Fi networks for connection.
-
Selecting the Network: Upon entering the Wi-Fi setup mode, the Xiaomi Dafang camera will display a list of available Wi-Fi networks within its proximity. Identify and select your preferred Wi-Fi network from the list. Ensure that the selected network is stable, secure, and offers reliable coverage within the camera's operating area.
-
Entering Wi-Fi Credentials: After selecting the desired Wi-Fi network, input the corresponding network credentials, including the network's SSID (Service Set Identifier) and the associated password. Accurate entry of these details is crucial to establish a secure and stable connection between the camera and the Wi-Fi network.
-
Verifying Connection: Once the Wi-Fi credentials are entered, the Xiaomi Dafang camera will attempt to establish a connection with the specified Wi-Fi network. Monitor the connection process and verify that the camera successfully connects to the network. Upon successful connection, the camera's status within the app should reflect its online status, indicating a successful Wi-Fi connection.
-
Testing Connectivity: After establishing the Wi-Fi connection, conduct a brief test to ensure that the Xiaomi Dafang camera can effectively communicate with the Xiaomi Home app and access online services. Verify that live video streaming, camera controls, and other app-based functionalities operate smoothly over the Wi-Fi connection.
By meticulously following these steps, you can effectively connect your Xiaomi Dafang camera to a Wi-Fi network, laying the groundwork for seamless integration with Xiaomi Cloud and the utilization of cloud storage features. This connectivity enables remote access and management of the camera, empowering you to monitor and safeguard your surroundings with enhanced convenience and flexibility.
Linking Xiaomi Dafang to Xiaomi Cloud
Linking your Xiaomi Dafang camera to Xiaomi Cloud is a pivotal step that bridges the camera's surveillance capabilities with the robust cloud-based storage and management infrastructure offered by Xiaomi. This integration empowers users to securely store and access recorded footage, receive real-time alerts, and remotely manage their camera settings through the Xiaomi Cloud platform. The seamless linkage between the camera and Xiaomi Cloud enhances the overall functionality and accessibility of the surveillance system, providing a comprehensive solution for monitoring and safeguarding designated areas.
To initiate the process of linking your Xiaomi Dafang camera to Xiaomi Cloud, follow these essential steps:
-
Accessing Xiaomi Cloud Services: Begin by accessing the Xiaomi Cloud services through the Xiaomi Home mobile application or the designated web portal. Sign in to your Xiaomi account to ensure seamless integration with your existing ecosystem of Xiaomi smart devices and services.
-
Navigating to Camera Settings: Within the Xiaomi Home app or web interface, navigate to the section dedicated to camera settings and device management. Locate the option to add a new camera or smart device, initiating the process of integrating the Xiaomi Dafang camera with Xiaomi Cloud.
-
Pairing the Camera: Follow the on-screen prompts to pair the Xiaomi Dafang camera with your Xiaomi Cloud account. This step establishes a secure and encrypted connection between the camera and Xiaomi's cloud infrastructure, enabling seamless data synchronization and management.
-
Configuring Cloud Storage Preferences: Upon successful pairing, configure the cloud storage preferences for your Xiaomi Dafang camera. Specify the desired storage duration, recording quality, and any additional settings related to cloud-based storage and retrieval of surveillance footage.
-
Verifying Connectivity: After configuring the cloud storage preferences, verify the connectivity and synchronization between the Xiaomi Dafang camera and Xiaomi Cloud. Ensure that the camera's status within the Xiaomi Home app reflects its successful linkage to the cloud platform.
-
Testing Cloud Features: Conduct a brief test to validate the cloud-based features of the Xiaomi Dafang camera. Verify that recorded footage is securely stored in Xiaomi Cloud, and explore the remote access and management capabilities offered through the cloud platform.
By meticulously following these steps, you can seamlessly link your Xiaomi Dafang camera to Xiaomi Cloud, unlocking the full potential of cloud-based storage and management for your surveillance needs. This integration facilitates convenient access to recorded footage, enhances the security of stored data, and empowers users to leverage the advanced features offered by Xiaomi Cloud for comprehensive surveillance and monitoring.
Adjusting Cloud Storage Settings
Fine-tuning the cloud storage settings for your Xiaomi Dafang camera is a critical aspect of optimizing the surveillance experience and ensuring that recorded footage is efficiently managed and securely stored. By adjusting the cloud storage settings, users can customize the storage duration, video quality, and other essential parameters to align with their specific surveillance requirements and preferences. This granular control over cloud storage settings empowers users to tailor the camera's cloud-based storage capabilities to suit their unique surveillance needs.
To effectively adjust the cloud storage settings for your Xiaomi Dafang camera, follow these comprehensive steps:
-
Accessing Camera Settings: Begin by accessing the camera settings within the Xiaomi Home mobile application or the web interface. Navigate to the section dedicated to cloud storage settings, where users can customize and fine-tune the parameters related to cloud-based storage.
-
Setting Storage Duration: Configure the desired storage duration for recorded footage in Xiaomi Cloud. Users can specify the length of time that surveillance footage remains accessible and retrievable within the cloud storage infrastructure. This setting allows users to balance storage capacity with the need to retain footage for a defined period.
-
Adjusting Video Quality: Customize the video quality settings to optimize the balance between file size and visual clarity. Users can choose from different video quality presets, allowing them to prioritize either high-resolution footage for detailed analysis or optimized file sizes for efficient storage and bandwidth utilization.
-
Enabling Motion-Activated Recording: Explore the option to enable motion-activated recording within the cloud storage settings. This feature triggers the camera to record and upload footage to Xiaomi Cloud when motion is detected, conserving storage space and ensuring that relevant events are captured and stored for review.
-
Managing Storage Allocation: If applicable, manage the allocation of cloud storage capacity for the Xiaomi Dafang camera. Users can monitor and allocate storage quotas, ensuring that the camera's footage storage remains within predefined limits and optimizing the utilization of available cloud storage resources.
-
Verifying Settings Synchronization: After adjusting the cloud storage settings, verify that the changes are successfully synchronized with Xiaomi Cloud. Ensure that the configured preferences for storage duration, video quality, and motion-activated recording are accurately reflected in the cloud storage environment.
By meticulously adjusting the cloud storage settings for your Xiaomi Dafang camera, you can tailor the cloud-based storage experience to align with your surveillance objectives and operational preferences. This customization fosters an optimized storage environment, ensuring that recorded footage is efficiently managed, easily accessible, and securely stored within Xiaomi Cloud.