
Why Save Contacts to SIM Card?
Saving contacts to your SIM card can be a convenient way to ensure that your important contacts are easily accessible and transferrable to other devices. Here are a few reasons why you might consider saving contacts to your SIM card:
-
Device Transfer: When you upgrade to a new phone or switch to a different device, having your contacts saved on your SIM card allows for a seamless transfer. Instead of manually inputting each contact, you can simply insert your SIM card into the new device and access your contacts immediately.
-
Backup: Storing contacts on your SIM card serves as a backup in case your phone is lost, damaged, or malfunctions. This provides an added layer of security for your important contact information.
-
Compatibility: SIM cards are universal and can be used in various devices, regardless of the operating system. By saving contacts to your SIM card, you can ensure compatibility across different types of phones and smartphones.
-
Convenience: In situations where you need to quickly access your contacts without relying on a specific device, having contacts saved on your SIM card enables you to do so without any additional requirements.
By understanding the benefits of saving contacts to your SIM card, you can take proactive steps to safeguard your contact information and streamline the process of transferring contacts between devices. This simple precaution can offer peace of mind and convenience in various scenarios where access to your contacts is essential.
Step 1: Access the Contacts App
To begin the process of saving contacts to your SIM card on a Blackberry device, you will first need to access the Contacts app. Here’s a step-by-step guide to help you navigate to the Contacts app:
-
Locate the Contacts Icon: On your Blackberry device, navigate to the home screen or the app menu to locate the Contacts icon. The icon typically resembles a small address book or silhouette of a person, making it easily identifiable.
-
Tap the Contacts Icon: Once you have located the Contacts icon, tap on it to open the Contacts app. This action will launch the app and display your existing contacts, providing you with access to the contact management features.
By following these simple steps, you can easily access the Contacts app on your Blackberry device, setting the stage for the subsequent steps involved in saving contacts to your SIM card. Navigating to the Contacts app is the initial step in the process, and it paves the way for seamlessly managing and transferring your contacts.
Step 2: Select the Contact to Save
Once you have accessed the Contacts app on your Blackberry device, the next step is to select the specific contact that you want to save to your SIM card. Follow these straightforward instructions to choose the contact you wish to save:
-
Scroll Through Your Contacts: Within the Contacts app, scroll through your list of contacts to locate the one you want to save to your SIM card. You can use the touchscreen or navigation buttons to move through the list and find the desired contact.
-
Tap on the Contact: Once you have located the contact you wish to save, tap on the contact’s name to open their contact details. This action will allow you to view the individual’s information and proceed with the next steps for saving the contact to your SIM card.
By following these steps, you can effectively select the specific contact that you intend to save to your SIM card. This process sets the stage for the subsequent actions required to transfer the contact information to your SIM card, ensuring a seamless and efficient experience as you manage your contacts on your Blackberry device.
Step 3: Choose “Save to SIM Card”
After selecting the desired contact in the Contacts app on your Blackberry device, the next step is to initiate the process of saving the contact to your SIM card. Follow these steps to choose the “Save to SIM Card” option:
-
Access the Contact Options: While viewing the contact details, look for the menu or options button within the Contacts app. This button is typically represented by three dots or lines and is located either at the top or bottom of the contact details screen.
-
Tap the Menu or Options Button: Once you have located the menu or options button, tap on it to reveal a list of actions and features related to the selected contact. This menu provides various options for managing the contact, including the ability to save the contact to your SIM card.
-
Select “Save to SIM Card”: Within the menu of contact options, look for the “Save to SIM Card” or similar option. Tap on this selection to initiate the process of saving the contact to your SIM card. This action will prompt the contact information to be transferred to the SIM card storage on your Blackberry device.
By following these steps, you can effectively choose the “Save to SIM Card” option within the Contacts app, enabling you to transfer the selected contact’s information to your SIM card. This simple process streamlines the management and backup of your important contacts, providing added flexibility and convenience for your Blackberry device.
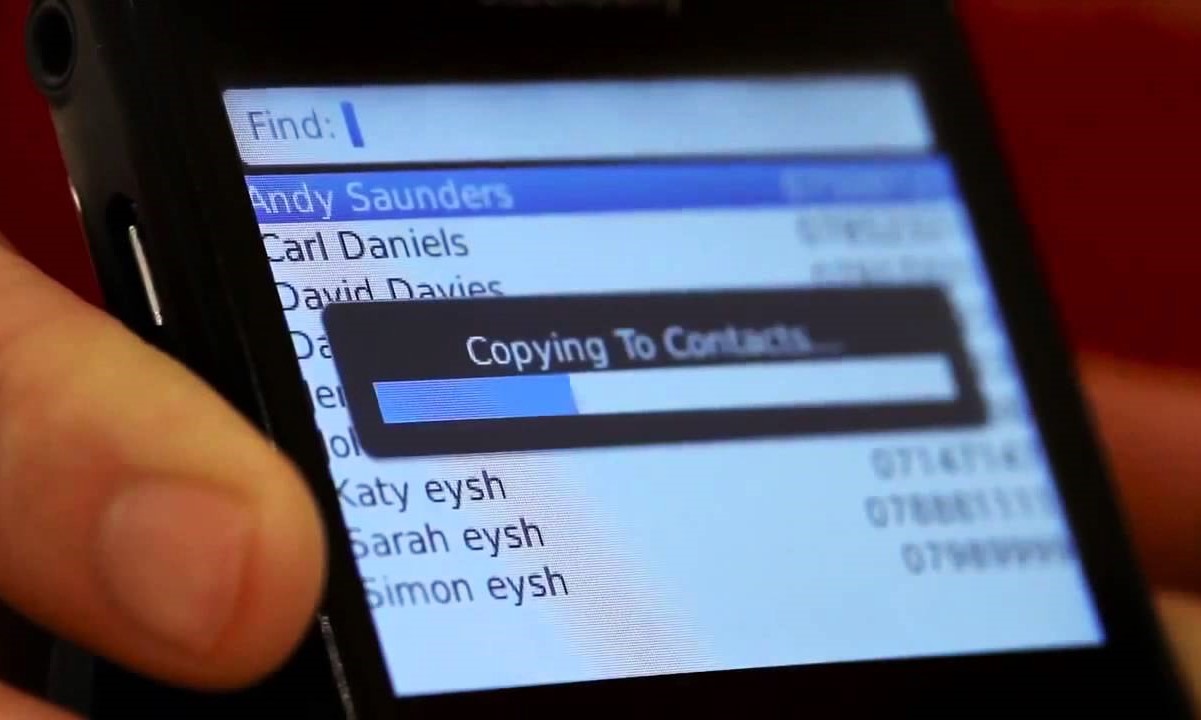
Step 4: Confirm the Save
After selecting the “Save to SIM Card” option for the contact in the Contacts app on your Blackberry device, the next step is to confirm the save and ensure that the contact information is successfully transferred to your SIM card. Follow these simple instructions to verify and confirm the save:
-
Review the Confirmation Message: Upon selecting “Save to SIM Card,” a confirmation message or prompt may appear on the screen, indicating that the contact has been saved to the SIM card. Take a moment to review this message to ensure that the transfer was successful.
-
Verify the Contact on the SIM Card: To confirm the save, access the SIM card storage on your Blackberry device and navigate to the section where contacts are stored. Look for the recently saved contact to verify that the information has been successfully transferred from the device’s internal storage to the SIM card.
By following these steps, you can effectively confirm that the selected contact has been saved to your SIM card. Verifying the successful transfer ensures that the contact information is readily accessible and securely stored on the SIM card, providing peace of mind and a reliable backup for your important contacts on your Blackberry device.
Step 5: Verify the Saved Contact on the SIM Card
After saving a contact to your SIM card on your Blackberry device, it’s important to verify that the contact has been successfully stored on the SIM card. Follow these steps to confirm the presence of the saved contact on the SIM card:
-
Access the SIM Card Storage: Navigate to the settings or contacts management section on your Blackberry device to access the storage options. Look for the SIM card storage settings or a specific section dedicated to managing contacts stored on the SIM card.
-
View the Saved Contacts: Within the SIM card storage settings, locate the option to view contacts saved on the SIM card. This section will display the list of contacts that have been successfully transferred and stored on the SIM card from your device’s internal storage.
-
Verify the Contact Details: Once you have accessed the list of contacts saved on the SIM card, locate the contact that you recently saved. Review the contact details to ensure that all the relevant information, such as the name, phone number, and any additional details, has been accurately stored on the SIM card.
By following these steps, you can effectively verify that the selected contact has been successfully saved to your SIM card. Confirming the presence and accuracy of the contact details on the SIM card provides assurance that your important contacts are securely backed up and readily accessible, enhancing the overall functionality and reliability of your Blackberry device.