
Check if the Text Messages are in the "Recently Deleted" Folder
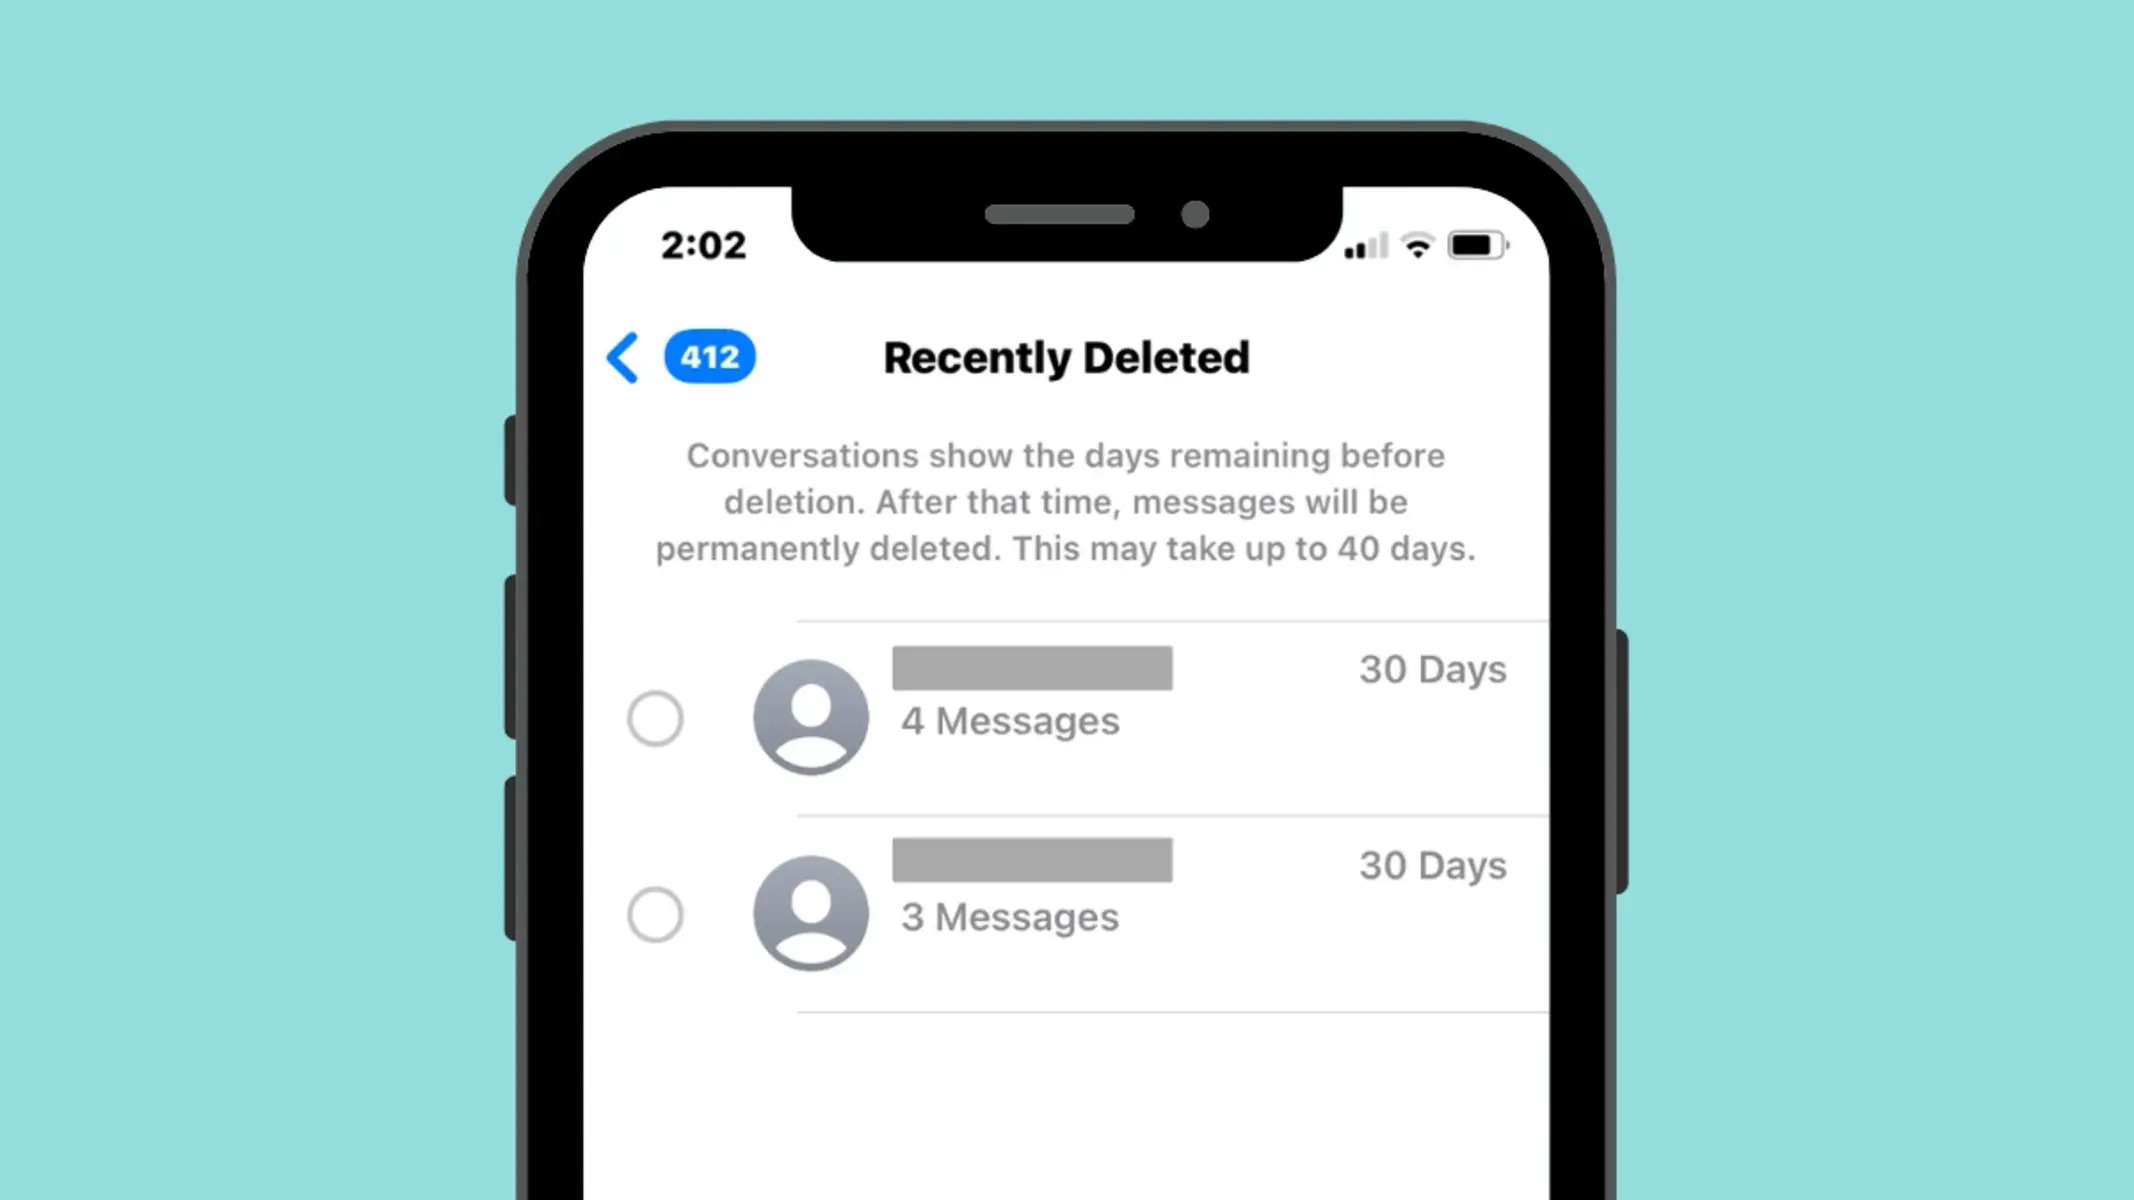
If you've accidentally deleted text messages on your iPhone 13, the first place to check is the "Recently Deleted" folder within the Messages app. This feature, introduced in iOS 8, serves as a safety net for deleted messages, allowing users to recover them within a specific timeframe.
To access the "Recently Deleted" folder, open the Messages app and tap on the "Edit" option in the top-left corner. This will enable you to select individual messages or choose "Select All" to recover all deleted messages. Once you've made your selections, tap "Recover" to restore the messages to their original location in the Messages app.
It's important to note that messages remain in the "Recently Deleted" folder for a limited period, typically 30 days, before being permanently removed. Therefore, it's crucial to act promptly to retrieve any deleted messages from this folder.
By checking the "Recently Deleted" folder first, you may be able to recover your deleted text messages without the need for additional steps or third-party tools. This straightforward approach can save time and effort, providing a quick resolution to the issue of accidentally deleted text messages on your iPhone 13.
Restore Text Messages from iCloud Backup
If you've enabled iCloud Backup on your iPhone 13, restoring deleted text messages from an iCloud backup is a viable option. This method allows you to retrieve messages that were present in your device at the time of the backup. Here's a step-by-step guide to restoring text messages from an iCloud backup:
-
Check iCloud Backup Availability: Before proceeding with the restoration process, ensure that you have an iCloud backup that contains the text messages you wish to recover. To verify this, go to "Settings" on your iPhone, tap on your Apple ID at the top of the screen, select "iCloud," and then tap on "Manage Storage" followed by "Backups." Here, you can view the available backups and their respective dates.
-
Erase All Content and Settings: To restore text messages from an iCloud backup, you'll need to erase all content and settings on your iPhone 13. This can be done by navigating to "Settings," tapping on "General," selecting "Reset," and then choosing "Erase All Content and Settings." This action will reset your device to its factory settings.
-
Restore from iCloud Backup: After erasing the content and settings, your iPhone will restart and display the "Apps & Data" screen. Here, select "Restore from iCloud Backup" and sign in to your iCloud account using your Apple ID and password. Once signed in, choose the most relevant backup that contains the deleted text messages you want to recover.
-
Wait for the Restoration Process: The restoration process may take some time, depending on the size of the backup and your internet connection speed. Ensure that your iPhone is connected to a stable Wi-Fi network and a power source to prevent any interruptions during the restoration.
-
Complete the Setup: Once the restoration is complete, your iPhone 13 will restart, and the recovered text messages should be available in the Messages app. It's important to note that the restoration process will also bring back other data and settings from the selected iCloud backup, effectively reverting your device to the state it was in at the time of the backup.
By following these steps, you can successfully restore deleted text messages from an iCloud backup to your iPhone 13. This method leverages the convenience of iCloud backups to retrieve lost data, providing a reliable solution for recovering important text messages that may have been accidentally deleted.
Recover Text Messages from iTunes Backup
If you have been diligent in creating regular backups of your iPhone 13 using iTunes, you have a valuable resource at your disposal for recovering deleted text messages. The process of retrieving text messages from an iTunes backup involves accessing the backup data and selectively restoring the messages to your device. Here's a comprehensive guide to help you navigate through the steps of recovering text messages from an iTunes backup:
-
Connect Your iPhone to the Computer: Start by connecting your iPhone 13 to the computer that contains the iTunes backup from which you wish to recover the text messages. Launch the iTunes application to initiate the process.
-
Access Device Summary in iTunes: Once your iPhone is connected, click on the device icon that appears in the iTunes interface to access the summary page for your iPhone 13. Here, you will find an overview of your device's information and settings.
-
Select "Restore Backup": Under the "Backups" section, you will find the option to "Restore Backup." Click on this option to proceed with the restoration process. You will be presented with a list of available backups from which you can choose the most relevant one containing the deleted text messages.
-
Choose the Relevant iTunes Backup: Select the iTunes backup that is known to contain the text messages you want to recover. It's advisable to choose the most recent backup that predates the deletion of the messages to ensure that you retrieve the most up-to-date data.
-
Initiate the Restoration Process: After selecting the appropriate iTunes backup, click "Restore" to initiate the restoration process. iTunes will begin restoring the selected backup to your iPhone 13, including the text messages that were present in the backup.
-
Wait for the Process to Complete: The restoration process may take some time, depending on the size of the backup and the speed of your computer. It's essential to allow the process to complete without interruptions to ensure the successful recovery of the text messages.
-
Verify Restored Text Messages: Once the restoration is finished, disconnect your iPhone 13 from the computer and check the Messages app to verify that the deleted text messages have been successfully recovered. The restored messages should now be accessible alongside your existing conversations.
By following these steps, you can effectively recover deleted text messages from an iTunes backup, leveraging the comprehensive backup functionality provided by iTunes. This method offers a reliable way to retrieve lost data, ensuring that you can regain access to important text messages that may have been inadvertently deleted from your iPhone 13.
Use a Third-Party Data Recovery Tool
In situations where traditional methods such as checking the "Recently Deleted" folder, restoring from iCloud backup, or recovering from iTunes backup do not yield the desired results, utilizing a third-party data recovery tool can offer a viable solution for retrieving deleted text messages on your iPhone 13.
Third-party data recovery tools are designed to delve deep into the device's storage and extract deleted data, including text messages, providing an alternative avenue for data retrieval. These tools employ advanced algorithms and techniques to scan the device's storage, identify remnants of deleted messages, and facilitate their recovery. Here's a detailed exploration of the process of using a third-party data recovery tool to recover deleted text messages:
-
Research and Select a Reputable Tool: Begin by researching and identifying a reputable third-party data recovery tool that is compatible with the iPhone 13 and has a track record of successful data recovery. It's essential to choose a tool from a trusted developer to ensure the security and integrity of your data throughout the recovery process.
-
Download and Install the Software: Once you've selected a suitable data recovery tool, download the software from the official website of the developer or a trusted app store. Follow the installation instructions to set up the tool on your computer, ensuring that it is ready for use in the data recovery process.
-
Connect Your iPhone 13 to the Computer: Use a USB cable to connect your iPhone 13 to the computer on which the third-party data recovery tool is installed. Ensure that the device is recognized and accessible from the software interface before proceeding with the recovery process.
-
Initiate the Scanning Process: Launch the data recovery tool and initiate the scanning process to allow the software to thoroughly examine the storage of your iPhone 13. The tool will systematically scan for deleted text messages and other data, presenting a comprehensive overview of recoverable content.
-
Preview and Select the Deleted Text Messages: Upon completion of the scanning process, the data recovery tool will present a list of recoverable text messages. Take advantage of the preview feature to inspect the content of the deleted messages and select the specific items you wish to recover.
-
Recover the Deleted Text Messages: After selecting the desired text messages for recovery, follow the on-screen prompts to initiate the restoration process. The data recovery tool will work to retrieve the selected messages and restore them to a location of your choice, ensuring that they are once again accessible on your iPhone 13.
By leveraging a third-party data recovery tool, you can explore an alternative approach to recovering deleted text messages on your iPhone 13, expanding the scope of available options for data retrieval. These tools offer a valuable resource for individuals seeking to regain access to important messages that may have been inadvertently deleted, providing a comprehensive and effective solution for data recovery.
Utilizing a third-party data recovery tool can be particularly beneficial in scenarios where traditional recovery methods prove insufficient, offering a specialized and targeted approach to retrieving deleted text messages from your iPhone 13. With the right tool and careful execution, this method can serve as a valuable asset in the pursuit of data recovery, empowering users to overcome the challenges associated with accidental data loss and regain access to critical information.