
Checking Your Device Compatibility
Before you embark on the journey of inserting a SIM card into your device, it's crucial to ensure that your device is compatible with a SIM card. Here are some simple steps to help you determine your device's compatibility:
-
Check the Device Manual: The first step is to consult the device manual. It usually contains detailed information about the device's compatibility with SIM cards. Look for a section that specifically addresses SIM card compatibility or insertion. If you don't have the manual, you can often find it online by searching for the make and model of your device.
-
Research Online: If you don't have the manual or if it doesn't provide clear information, consider researching online. Visit the official website of the device manufacturer or reputable tech forums to see if there are any specific instructions or compatibility requirements for your device.
-
Contact Customer Support: If you're still unsure about your device's compatibility, don't hesitate to reach out to the customer support team of the device manufacturer. They can provide you with accurate information and address any concerns you may have.
-
Check for SIM Card Slot: Physically inspect your device for a SIM card slot. Most modern smartphones and many other electronic devices have a designated slot for SIM card insertion. If your device doesn't have a slot, it may not be compatible with a SIM card.
-
Consider Network Compatibility: Additionally, consider the network compatibility of your device. Different carriers and networks utilize varying technologies and frequencies. Ensure that your device supports the network you intend to use the SIM card with.
By taking these steps, you can confidently determine whether your device is compatible with a SIM card, ensuring a smooth and successful installation process.
Gathering the Necessary Tools
Before diving into the process of inserting a SIM card, it’s essential to gather the required tools. Here’s a comprehensive list of the tools you’ll need for a seamless SIM card installation:
-
Device Manual: The device manual is a valuable resource that may contain specific instructions for SIM card installation. If you don’t have a physical copy, you can usually find the manual online by searching for the make and model of your device.
-
SIM Card: Of course, you’ll need the SIM card that you intend to insert into your device. Ensure that the SIM card is compatible with your network and has been activated by your service provider.
-
SIM Ejector Tool (if applicable): Some devices come with a SIM ejector tool, a small pin-like instrument used to eject the SIM card tray. If your device includes this tool, make sure to have it on hand.
-
Microfiber Cloth: Keeping a microfiber cloth nearby can be useful for wiping the SIM card and the SIM card tray, ensuring that they are free from any debris or smudges that could interfere with the installation process.
-
Stable Work Surface: Find a stable and well-lit work surface to perform the SIM card installation. A clean and well-lit area will help you avoid misplacing small components and allow you to clearly see what you’re doing.
-
Patience and Care: While not physical tools, patience and care are essential for this process. Handling delicate electronic components like SIM cards and SIM card trays requires a steady hand and a patient approach.
By ensuring that you have all these tools at your disposal, you’ll be well-prepared to proceed with the SIM card installation, minimizing the chances of encountering any unexpected hurdles along the way.
Locating the SIM Card Slot
Before you can insert a SIM card into your device, you need to locate the SIM card slot. The location of the SIM card slot may vary depending on the device, but here are some general steps to help you find it:
-
Consult the Device Manual: The device manual is often the best place to start. Look for a section that provides a detailed illustration or description of the device’s physical features, including the location of the SIM card slot. If you don’t have the manual, you can usually find it online by searching for the make and model of your device.
-
Inspect the Exterior of the Device: Take a close look at the exterior of your device. In many cases, the SIM card slot is located on the side of the device. It may be accompanied by a small pinhole or a removable panel that grants access to the slot.
-
Search Online Resources: If the manual doesn’t provide clear guidance or if you prefer visual aids, consider searching online for images or videos that demonstrate the location of the SIM card slot on your specific device model. Many tech websites and forums offer detailed guides for various devices.
-
Identify the SIM Tray: Some devices, particularly smartphones, utilize a SIM tray that houses the SIM card. The tray is typically located on the side of the device and can be ejected using a SIM ejector tool or a small pin. Look for a small, often rectangular or oval-shaped, indentation near the edge of the device.
-
Look for Manufacturer Branding: On some devices, the SIM card slot may be located beneath a removable panel that features the manufacturer’s branding or logo. Gently examine the device for any such panels that can be opened to reveal the SIM card slot.
By following these steps, you’ll be able to successfully locate the SIM card slot on your device, setting the stage for the next steps of the SIM card installation process.
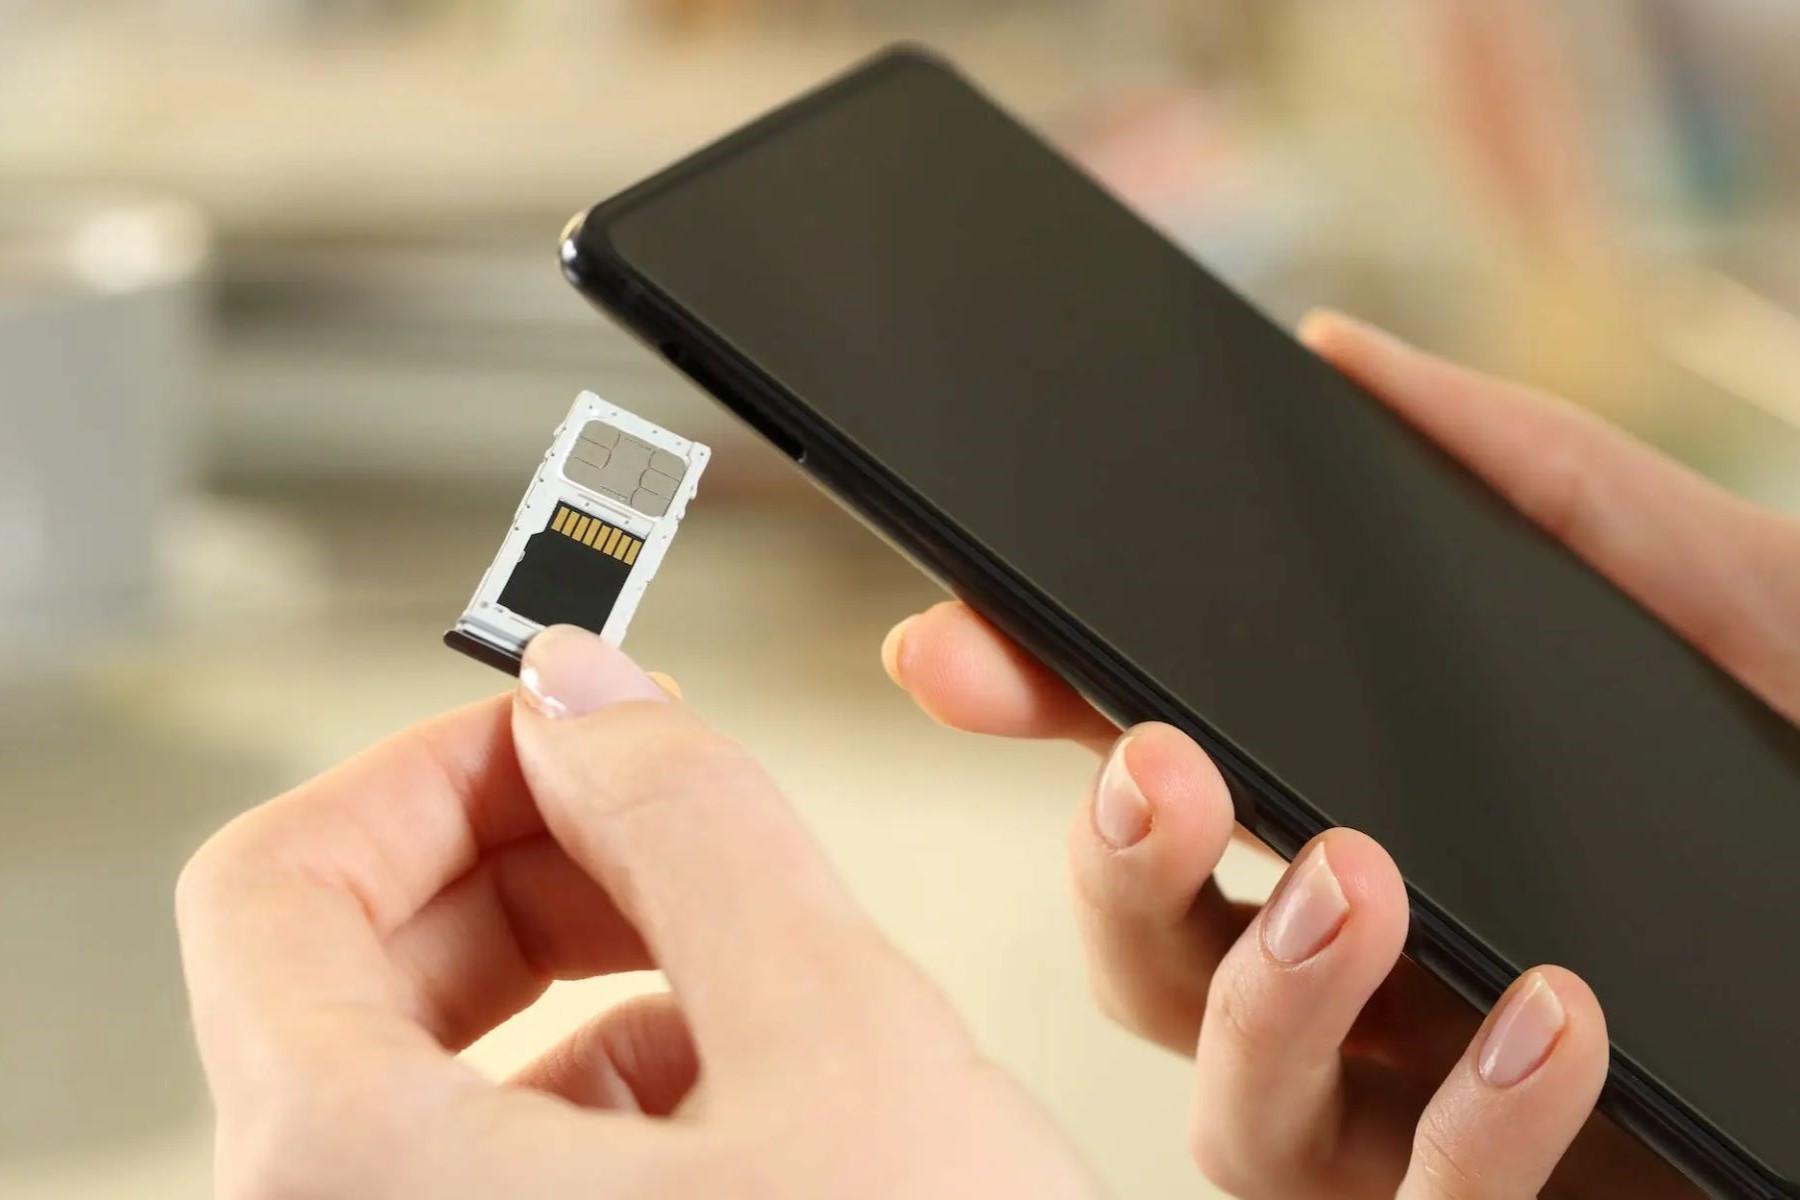
Removing the SIM Card Tray
Once you’ve located the SIM card slot on your device, the next step is to remove the SIM card tray. This tray holds the SIM card and is designed to be easily accessible for installation and removal. Here’s a guide to help you navigate this step:
-
Power Off Your Device: Before proceeding, it’s important to power off your device. This precaution ensures that you can safely remove and handle the SIM card tray without the risk of causing any software or hardware issues.
-
Identify the Tray Ejection Mechanism: Depending on your device, the tray ejection mechanism may vary. Some devices feature a small pinhole next to the SIM card slot, while others may have a visible slot or groove for inserting a SIM ejector tool or a small pin.
-
Use the SIM Ejector Tool (if applicable): If your device includes a SIM ejector tool, carefully insert it into the designated hole or slot. Apply gentle pressure to activate the tray ejection mechanism, causing the SIM card tray to partially protrude from the device.
-
Apply Gentle Pressure: If you don’t have a SIM ejector tool, a small paperclip or a similar tool can be used to carefully press the tray ejection mechanism. Be gentle and avoid using excessive force to prevent any damage to the device.
-
Remove the Tray: Once the SIM card tray is partially ejected, gently pull it out from the device. Exercise caution to ensure that the SIM card, which is seated in the tray, remains securely in place during this process.
-
Inspect the Tray and SIM Card: Take a moment to inspect the SIM card tray and the SIM card itself. Ensure that there are no visible signs of damage or debris that could interfere with the installation process. Use a microfiber cloth to gently clean the tray and SIM card if necessary.
By carefully following these steps, you can safely remove the SIM card tray from your device, bringing you one step closer to successfully installing your SIM card.
Placing the SIM Card in the Tray
With the SIM card tray removed from your device, the next crucial step is to properly place the SIM card into the tray. This process requires precision and care to ensure a successful installation. Here’s a detailed guide to help you through this step:
-
Inspect the SIM Card: Before proceeding, carefully examine the SIM card. Note the orientation of the card and identify the notched corner, which aligns with a corresponding notch in the SIM card tray. This ensures that the SIM card is inserted in the correct position.
-
Align the SIM Card: Hold the SIM card with the notched corner positioned as indicated by the SIM card tray. Align the edges of the SIM card with the edges of the tray, ensuring a proper fit. Take care not to force the SIM card into the tray, as this could damage both the card and the tray.
-
Place the SIM Card in the Tray: Once properly aligned, gently place the SIM card into the designated area on the SIM card tray. The card should fit snugly without any protrusions. Double-check the alignment and positioning to confirm that the SIM card is seated correctly.
-
Avoid Bending or Flexing: Throughout this process, be mindful of the delicate nature of the SIM card. Avoid bending or flexing the card, as this can lead to permanent damage. Handle the SIM card with care and precision.
-
Ensure a Secure Fit: After placing the SIM card in the tray, ensure that it sits securely within the designated area. Any movement or instability could lead to connectivity issues. The SIM card should remain firmly in place within the tray.
By meticulously following these steps, you can confidently place the SIM card into the tray, setting the stage for the final steps of the installation process. Taking the time to ensure that the SIM card is correctly positioned will contribute to a smooth and trouble-free experience when using your device with the new SIM card.
Inserting the Tray Back into the Device
After successfully placing the SIM card in the tray, the next step is to carefully reinsert the tray back into the device. This process is crucial to ensure that the SIM card is securely positioned within the device, allowing for seamless functionality. Here’s a step-by-step guide to help you navigate this essential stage of the SIM card installation:
-
Inspect the Tray and Device: Before reinserting the tray, take a moment to inspect both the SIM card tray and the device itself. Ensure that there is no debris or damage that could impede the smooth insertion of the tray. Wipe the tray and the surrounding area with a microfiber cloth if necessary.
-
Align the Tray Properly: Orient the SIM card tray in the correct position for insertion. Take note of any notches or grooves that indicate the proper alignment of the tray within the device. Align the tray carefully to avoid any resistance during the insertion process.
-
Slide the Tray into the Slot: With the tray properly aligned, gently slide it back into the designated slot on the device. Apply even pressure to ensure that the tray glides smoothly into place. Avoid using excessive force, as this could damage the tray or the device.
-
Verify Secure Placement: Once the tray is fully inserted, take a moment to verify that it is securely positioned within the device. The tray should sit flush with the device’s exterior, with no protrusions or misalignments. A secure fit is essential for optimal SIM card functionality.
-
Power On Your Device: With the SIM card tray securely reinserted, power on your device. Allow the device to boot up fully, and once it’s operational, ensure that it recognizes the newly installed SIM card. You may need to follow any on-screen prompts to complete the activation process.
By following these steps with precision and care, you can confidently reinsert the SIM card tray into your device, setting the stage for the final step of powering on the device and enjoying the functionality of the newly installed SIM card.
Powering On Your Device
With the SIM card securely installed and the tray reinserted, the final step in the process is to power on your device. This step ensures that the device recognizes the newly inserted SIM card and allows you to begin using it for calls, messages, and data. Here’s a guide to help you complete this essential stage of the SIM card installation:
-
Press the Power Button: Locate the power button on your device, typically located on the side or the top. Press and hold the power button until you see the device’s screen illuminate or receive a vibration, indicating that it’s powering on.
-
Wait for the Device to Boot Up: After powering on the device, wait for it to complete the boot-up process. This may take a few moments, depending on the device’s model and specifications. Be patient as the device initializes and prepares to recognize the newly installed SIM card.
-
Enter any Required Information: In some cases, your device may prompt you to enter specific information related to the newly installed SIM card. This could include activating the SIM card with your service provider, setting up network preferences, or verifying your identity for security purposes.
-
Check for Signal and Connectivity: Once the device has fully powered on, check for the presence of a cellular signal and other indicators of connectivity, such as Wi-Fi and mobile data. If the SIM card is recognized and functioning properly, you should see the signal bars or an indication of network connectivity on the device’s screen.
-
Test Call and Data Functions: To ensure that the SIM card is fully operational, consider making a test call and sending a text message. Additionally, you can test the data connectivity by accessing a website or using a data-dependent app. These tests confirm that the SIM card is functioning as expected.
By following these steps, you can successfully power on your device and confirm that the newly installed SIM card is recognized and operational. This marks the completion of the SIM card installation process, allowing you to fully utilize your device with the added functionality provided by the SIM card.