
What is DFU Mode?
DFU, or Device Firmware Update, Mode is a state in which your iPhone 13 Pro can interface with iTunes but does not load the operating system or boot loader. This mode allows you to make significant changes to the device's software, such as downgrading to an earlier iOS version, jailbreaking, or resolving persistent software issues.
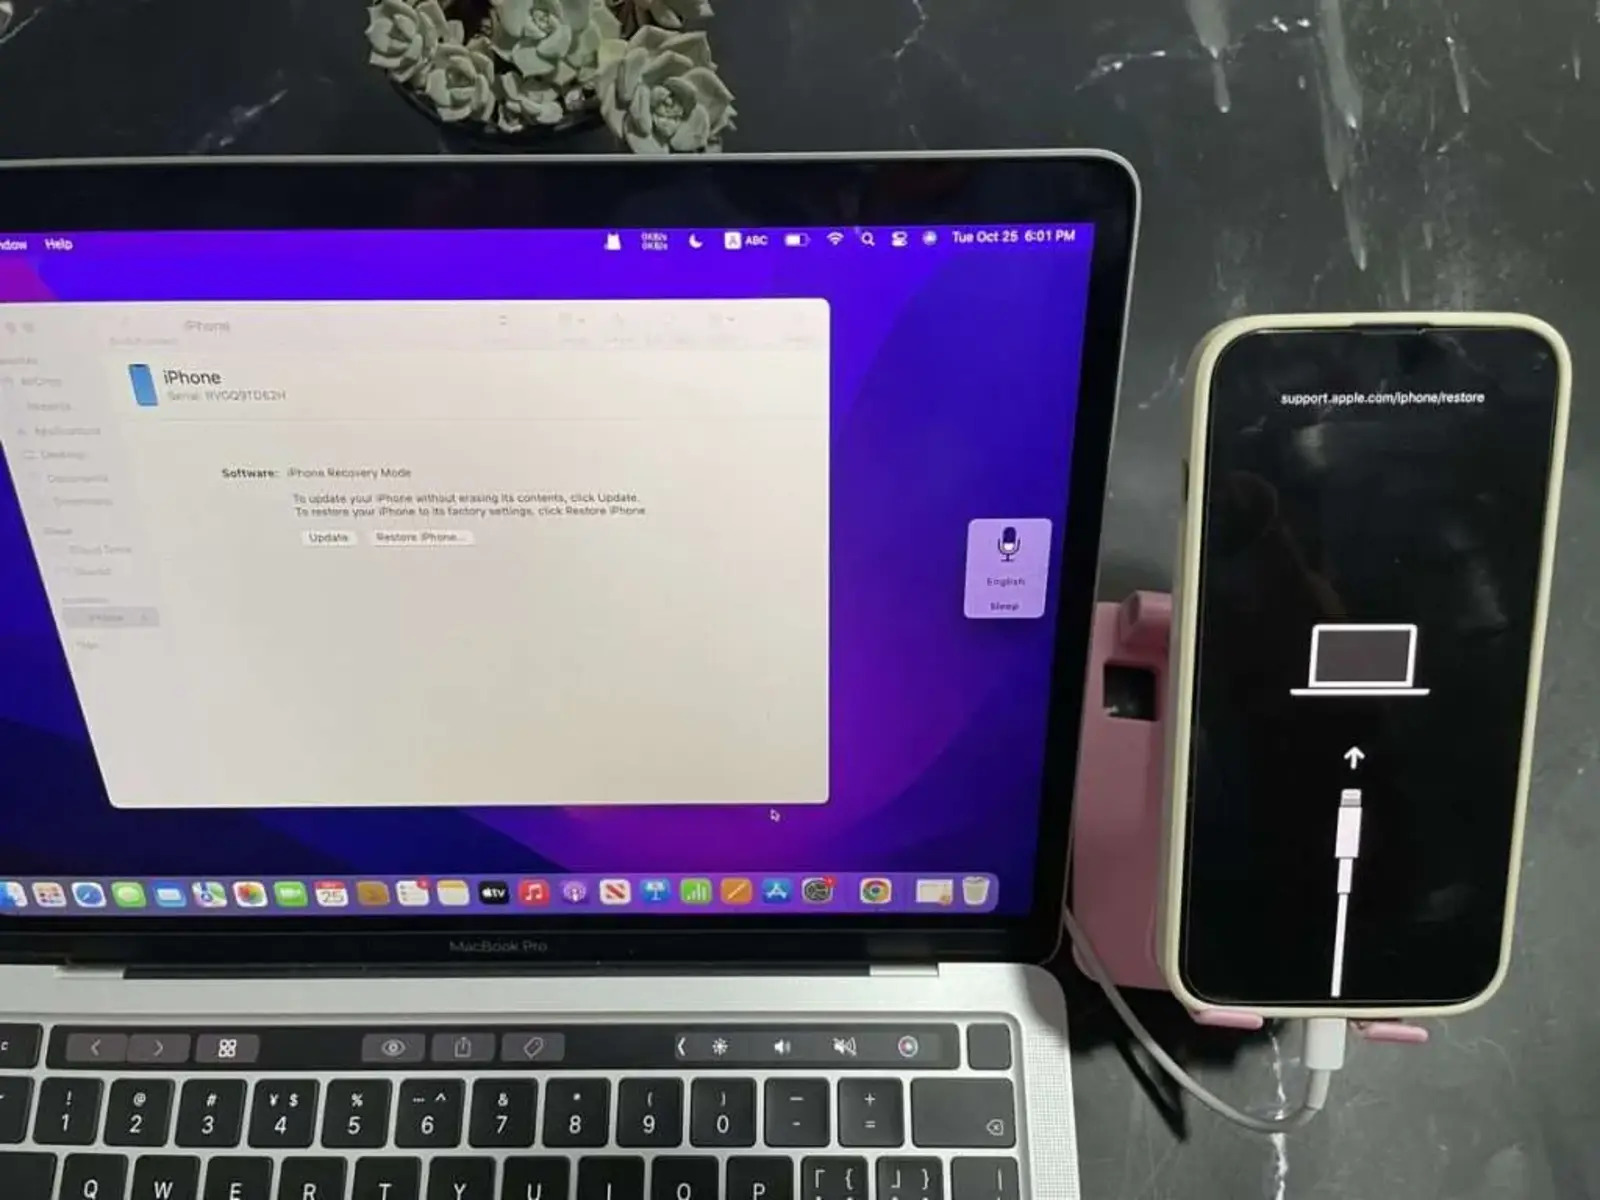
When your iPhone is in DFU mode, the screen remains black, indicating that it is not running the iOS operating system. This is different from recovery mode, where the screen displays the iTunes logo and a connector cable. DFU mode provides a deeper level of access to the device's firmware, making it a powerful tool for troubleshooting and modifying the software.
In DFU mode, the iPhone's bootloader is not activated, allowing you to perform low-level device restoration and modification. This mode is particularly useful when standard recovery mode is insufficient for resolving software issues. It enables you to bypass the standard boot process and interact directly with the device's firmware, making it a valuable resource for advanced users and technicians.
Understanding how to enter and utilize DFU mode can be beneficial when troubleshooting software issues, performing advanced software modifications, or restoring the device to a specific firmware version. By accessing this mode, you gain greater control over the iPhone's firmware, empowering you to address a wider range of software-related challenges.
In summary, DFU mode is a powerful tool that provides advanced access to the iPhone's firmware, allowing for significant software modifications and troubleshooting capabilities beyond what is possible in standard recovery mode.
Why Would You Need to Put Your iPhone 13 Pro in DFU Mode?
Putting your iPhone 13 Pro in DFU (Device Firmware Update) mode can be necessary in various scenarios where standard troubleshooting methods are ineffective. This advanced mode provides a deeper level of access to the device's firmware, enabling users to address complex software issues and perform significant modifications. Here are several situations that may necessitate the use of DFU mode:
-
Software Malfunctions: When your iPhone 13 Pro experiences persistent software malfunctions, such as continuous crashing, unresponsiveness, or boot loop issues, standard troubleshooting methods may not suffice. Entering DFU mode allows you to perform a more thorough restoration of the device's firmware, potentially resolving these persistent software issues.
-
Downgrading iOS Versions: In some cases, users may wish to downgrade their iPhone's operating system to an earlier iOS version. This could be due to compatibility issues with the current iOS version or a desire to revert to a more stable software iteration. DFU mode facilitates the installation of specific firmware versions, enabling users to downgrade their device's operating system.
-
Jailbreaking: For advanced users seeking to jailbreak their iPhone 13 Pro, DFU mode is often a necessary step in the jailbreaking process. Jailbreaking involves modifying the device's software to remove limitations imposed by the manufacturer, allowing for the installation of unauthorized apps and customization beyond the scope of standard iOS functionality. DFU mode provides the level of access required to perform these modifications.
-
Resolving Update Failures: If a standard iOS update fails to install properly, resulting in persistent update errors or a device that is stuck in a non-functional state, entering DFU mode can provide a pathway to resolve the update failure. This mode allows for a more comprehensive restoration of the device's firmware, potentially resolving issues related to failed updates.
-
Addressing Hardware-Related Software Issues: In some cases, software issues on an iPhone 13 Pro may be related to underlying hardware malfunctions. DFU mode enables users to perform a more thorough diagnostic and restoration process, potentially addressing software issues that stem from underlying hardware problems.
In summary, putting your iPhone 13 Pro in DFU mode can be essential for addressing persistent software issues, performing advanced software modifications, and gaining greater control over the device's firmware. This mode serves as a powerful tool for troubleshooting and modifying the iPhone's software beyond the capabilities of standard recovery mode, making it a valuable resource for advanced users and technicians.
Step 1: Update iTunes
Before initiating the process of placing your iPhone 13 Pro in DFU mode, it is crucial to ensure that you have the latest version of iTunes installed on your computer. Updating iTunes to the most recent release is essential for seamless communication between your iPhone and the computer during the DFU mode activation and restoration process.
To update iTunes, follow these steps:
-
Open iTunes: Launch the iTunes application on your computer. If you are using a Windows PC, you can typically find iTunes in the "All Apps" section of the Start menu. Mac users can locate iTunes in the Applications folder or by using Spotlight search.
-
Check for Updates: Once iTunes is open, navigate to the menu bar at the top of the screen. For Windows users, the menu bar is located at the top of the iTunes window. Mac users can find the menu bar at the top of the screen. Click on "Help" in the menu bar to reveal a drop-down menu.
-
Select "Check for Updates": In the "Help" drop-down menu, select the option labeled "Check for Updates." This action prompts iTunes to search for the latest available version of the software.
-
Follow the Prompts: If a new version of iTunes is available, you will be prompted to download and install it. Follow the on-screen instructions to complete the update process. Depending on your internet connection speed and the size of the update, this may take several minutes.
-
Restart iTunes: After the update is successfully installed, restart the iTunes application to ensure that the changes take effect.
By updating iTunes to the latest version, you ensure that your computer has the most up-to-date software for interfacing with your iPhone 13 Pro. This is crucial for establishing a reliable connection between the devices during the DFU mode activation and restoration process. Additionally, having the latest version of iTunes can provide access to new features, improvements in performance, and compatibility enhancements, further enhancing the overall user experience.
Ensuring that iTunes is updated is an essential preparatory step that sets the stage for a smooth and successful process of placing your iPhone 13 Pro in DFU mode and performing any necessary software restoration or modification.
Step 2: Connect Your iPhone to Your Computer
Connecting your iPhone 13 Pro to your computer is a crucial step in preparing for the DFU mode activation and restoration process. This step establishes the necessary link between your device and the computer, enabling seamless communication and data transfer during the subsequent stages. Here's a detailed guide on how to connect your iPhone to your computer effectively:
-
Use a Compatible USB Cable: Ensure that you have a compatible USB cable for connecting your iPhone 13 Pro to your computer. For most users, the Lightning to USB cable that came with the iPhone will suffice. If you are using a newer Mac with USB-C ports, you may need a USB-C to Lightning cable for the connection.
-
Unlock Your iPhone: Before connecting your iPhone to the computer, unlock the device using your passcode or Face ID. This ensures that the device is accessible and ready for the upcoming steps.
-
Connect the USB Cable: Plug one end of the USB cable into the USB port on your computer. If you are using a Mac, you can connect the USB cable to an available USB port or a USB-C port using the appropriate adapter. The other end of the cable features the Lightning connector, which should be inserted into the charging port at the bottom of your iPhone 13 Pro.
-
Trust This Computer: Upon connecting your iPhone to the computer for the first time, you may see a prompt on your iPhone asking if you trust this computer. Tap "Trust" to establish a secure connection between the two devices. This step is essential for allowing data transfer and device management through the computer.
-
Launch iTunes: Once your iPhone is connected to the computer and the trust relationship is established, launch the iTunes application if it does not open automatically. This step ensures that iTunes recognizes and establishes communication with your iPhone 13 Pro.
-
Verify Connection: After launching iTunes, verify that your iPhone is successfully recognized and displayed within the application. You should see your device listed in the iTunes interface, confirming that the connection is established and ready for the subsequent steps.
By following these detailed steps to connect your iPhone 13 Pro to your computer, you ensure that the devices are properly linked and ready for the upcoming stages of activating DFU mode and performing any necessary software restoration or modification. This seamless connection sets the foundation for a successful and efficient process, enabling you to leverage the full capabilities of iTunes and your computer in managing and interacting with your iPhone.
Step 3: Open iTunes
Opening iTunes is a pivotal step in the process of placing your iPhone 13 Pro in DFU mode. iTunes serves as the primary interface through which you will initiate the DFU mode activation and subsequent restoration procedures. Here's a detailed guide on how to open iTunes and prepare for the next stages of the process:
-
Launch the iTunes Application: To open iTunes, navigate to the desktop or application folder on your computer. If you are using a Windows PC, you can typically find iTunes in the "All Apps" section of the Start menu. Mac users can locate iTunes in the Applications folder or by using Spotlight search. Double-click on the iTunes icon to launch the application.
-
Check for Updates (Optional): Upon opening iTunes, you may want to check for any available updates to ensure that you have the latest version of the software. While this step is optional and may have been completed as part of the earlier preparations, it is advisable to confirm that you are using the most recent iteration of iTunes for optimal performance and compatibility.
-
Verify Connection with Your iPhone: Once iTunes is open, ensure that your iPhone 13 Pro is successfully connected to your computer via the USB cable. This step is essential for establishing a seamless connection between the devices, enabling iTunes to recognize and interact with your iPhone.
-
Familiarize Yourself with the iTunes Interface: Take a moment to familiarize yourself with the iTunes interface. You will likely see a navigation bar at the top of the application, providing access to various sections such as Library, Store, and Devices. Additionally, your connected iPhone should be visible within the interface, typically displayed as an icon or listed under the Devices section.
-
Ensure Readiness for DFU Mode Activation: Before proceeding to the next step of placing your iPhone 13 Pro in DFU mode, ensure that you have completed the necessary preparations, including updating iTunes, connecting your iPhone to the computer, and verifying the trust relationship between the devices. This ensures that you are fully prepared to initiate the DFU mode activation process seamlessly.
By opening iTunes and familiarizing yourself with the application's interface, you set the stage for a smooth transition to the subsequent steps of placing your iPhone 13 Pro in DFU mode and performing any necessary software restoration or modification. This preparatory phase ensures that you are ready to leverage the full capabilities of iTunes in managing and interacting with your iPhone, facilitating a successful and efficient process.
Step 4: Put Your iPhone 13 Pro in DFU Mode
Placing your iPhone 13 Pro in DFU (Device Firmware Update) mode is a precise and critical process that grants advanced access to the device's firmware for software restoration and modification. Follow these step-by-step instructions to enter DFU mode on your iPhone 13 Pro:
-
Ensure Your iPhone is Connected: Confirm that your iPhone 13 Pro is connected to your computer via the USB cable and that iTunes is open and ready to facilitate the DFU mode activation process.
-
Perform a Quick Device Check: Before initiating the DFU mode sequence, ensure that your iPhone is powered on and functioning. If the device is unresponsive or displaying critical hardware issues, it may not be suitable for entering DFU mode.
-
Press the Volume Up Button: Begin by pressing and releasing the Volume Up button on your iPhone 13 Pro. This should be done quickly and without holding the button down for an extended duration.
-
Press the Volume Down Button: Immediately after releasing the Volume Up button, press and release the Volume Down button on your iPhone. Similar to the previous step, this action should be performed swiftly and without prolonged pressure on the button.
-
Press and Hold the Side Button: Following the quick press of the Volume Down button, press and hold the Side button (also known as the Power button) on your iPhone 13 Pro. Hold this button for approximately 5 seconds.
-
Simultaneously Press the Volume Down Button: While continuing to hold the Side button, press and hold the Volume Down button on your iPhone. Maintain both button presses for approximately 10 seconds.
-
Release the Side Button: After approximately 10 seconds have elapsed, release the Side button while continuing to hold the Volume Down button. Your iPhone's screen should remain black, indicating that it has entered DFU mode successfully.
Entering DFU mode on your iPhone 13 Pro requires precision and timing to ensure a successful transition to this advanced firmware access state. If the Apple logo appears on the screen, you may have held the buttons for too long and should restart the process. Once in DFU mode, you can proceed with software restoration, modification, or other advanced troubleshooting procedures to address persistent software issues or perform specific firmware-related tasks.
By following these detailed steps, you can confidently place your iPhone 13 Pro in DFU mode, unlocking the advanced capabilities of the device's firmware for comprehensive software management and modification.
Step 5: Restore Your iPhone 13 Pro
Restoring your iPhone 13 Pro is a pivotal step following the successful activation of DFU (Device Firmware Update) mode. This process enables you to perform comprehensive software restoration, potentially resolving persistent software issues, updating to a specific iOS version, or addressing critical software malfunctions. Here's a detailed guide on how to restore your iPhone 13 Pro after entering DFU mode:
-
Initiate the Restoration Process: With your iPhone 13 Pro in DFU mode and connected to your computer via the USB cable, navigate to the iTunes application. If your device is successfully in DFU mode, iTunes should detect it and display a prompt indicating that an iPhone in recovery mode has been detected.
-
Access the Device Summary: Within iTunes, locate and select your iPhone 13 Pro from the device list. This typically appears as an icon or listed under the Devices section. Click on your device to access the summary page, which provides an overview of your iPhone's details and available actions.
-
Choose the Restore Option: On the device summary page, you will find the option to "Restore iPhone." Click on this option to initiate the restoration process. A confirmation prompt will appear, informing you that restoring your iPhone will erase all data and settings. Ensure that you have backed up any essential data before proceeding.
-
Confirm the Restoration: After clicking the "Restore iPhone" option, a confirmation dialog will appear, prompting you to confirm your decision. Review the information provided in the dialog to ensure that you understand the implications of the restoration process. Once you are ready to proceed, click "Restore" to confirm your choice.
-
Wait for the Restoration to Complete: Upon confirming the restoration, iTunes will begin the process of restoring your iPhone 13 Pro to its factory settings or the selected iOS version. This process may take some time, depending on the size of the firmware and the speed of your computer. It is essential to allow the restoration to complete without interrupting the process.
-
Set Up Your Restored iPhone: Once the restoration process is finished, your iPhone 13 Pro will restart and display the initial setup screen. Follow the on-screen instructions to set up your device, including language selection, Wi-Fi network connection, and the option to restore from a backup or set up as a new iPhone.
By following these detailed steps, you can effectively restore your iPhone 13 Pro after entering DFU mode, enabling you to address persistent software issues, update to a specific iOS version, or perform a comprehensive software restoration. This process empowers you to manage and optimize the software on your device, ensuring its optimal performance and functionality.