
Checking Network Connection
Before delving into troubleshooting network issues on your iPhone 11, it's crucial to start by checking the network connection. This initial step helps in identifying potential issues and paves the way for effective troubleshooting. Here's how you can go about it:
-
Wi-Fi Connection: Begin by ensuring that your iPhone 11 is connected to a stable Wi-Fi network. Navigate to the "Settings" app and tap on "Wi-Fi." Check if the Wi-Fi toggle is switched on and if your device is connected to the intended network. If you encounter any issues, such as a weak signal or inability to connect, it's essential to address these before proceeding further.
-
Cellular Data: If you're not connected to a Wi-Fi network, verify that your cellular data is enabled. Head to "Settings," tap on "Cellular," and ensure that the Cellular Data toggle is switched on. Additionally, check the signal strength indicator on the status bar to gauge the strength of your cellular connection.
-
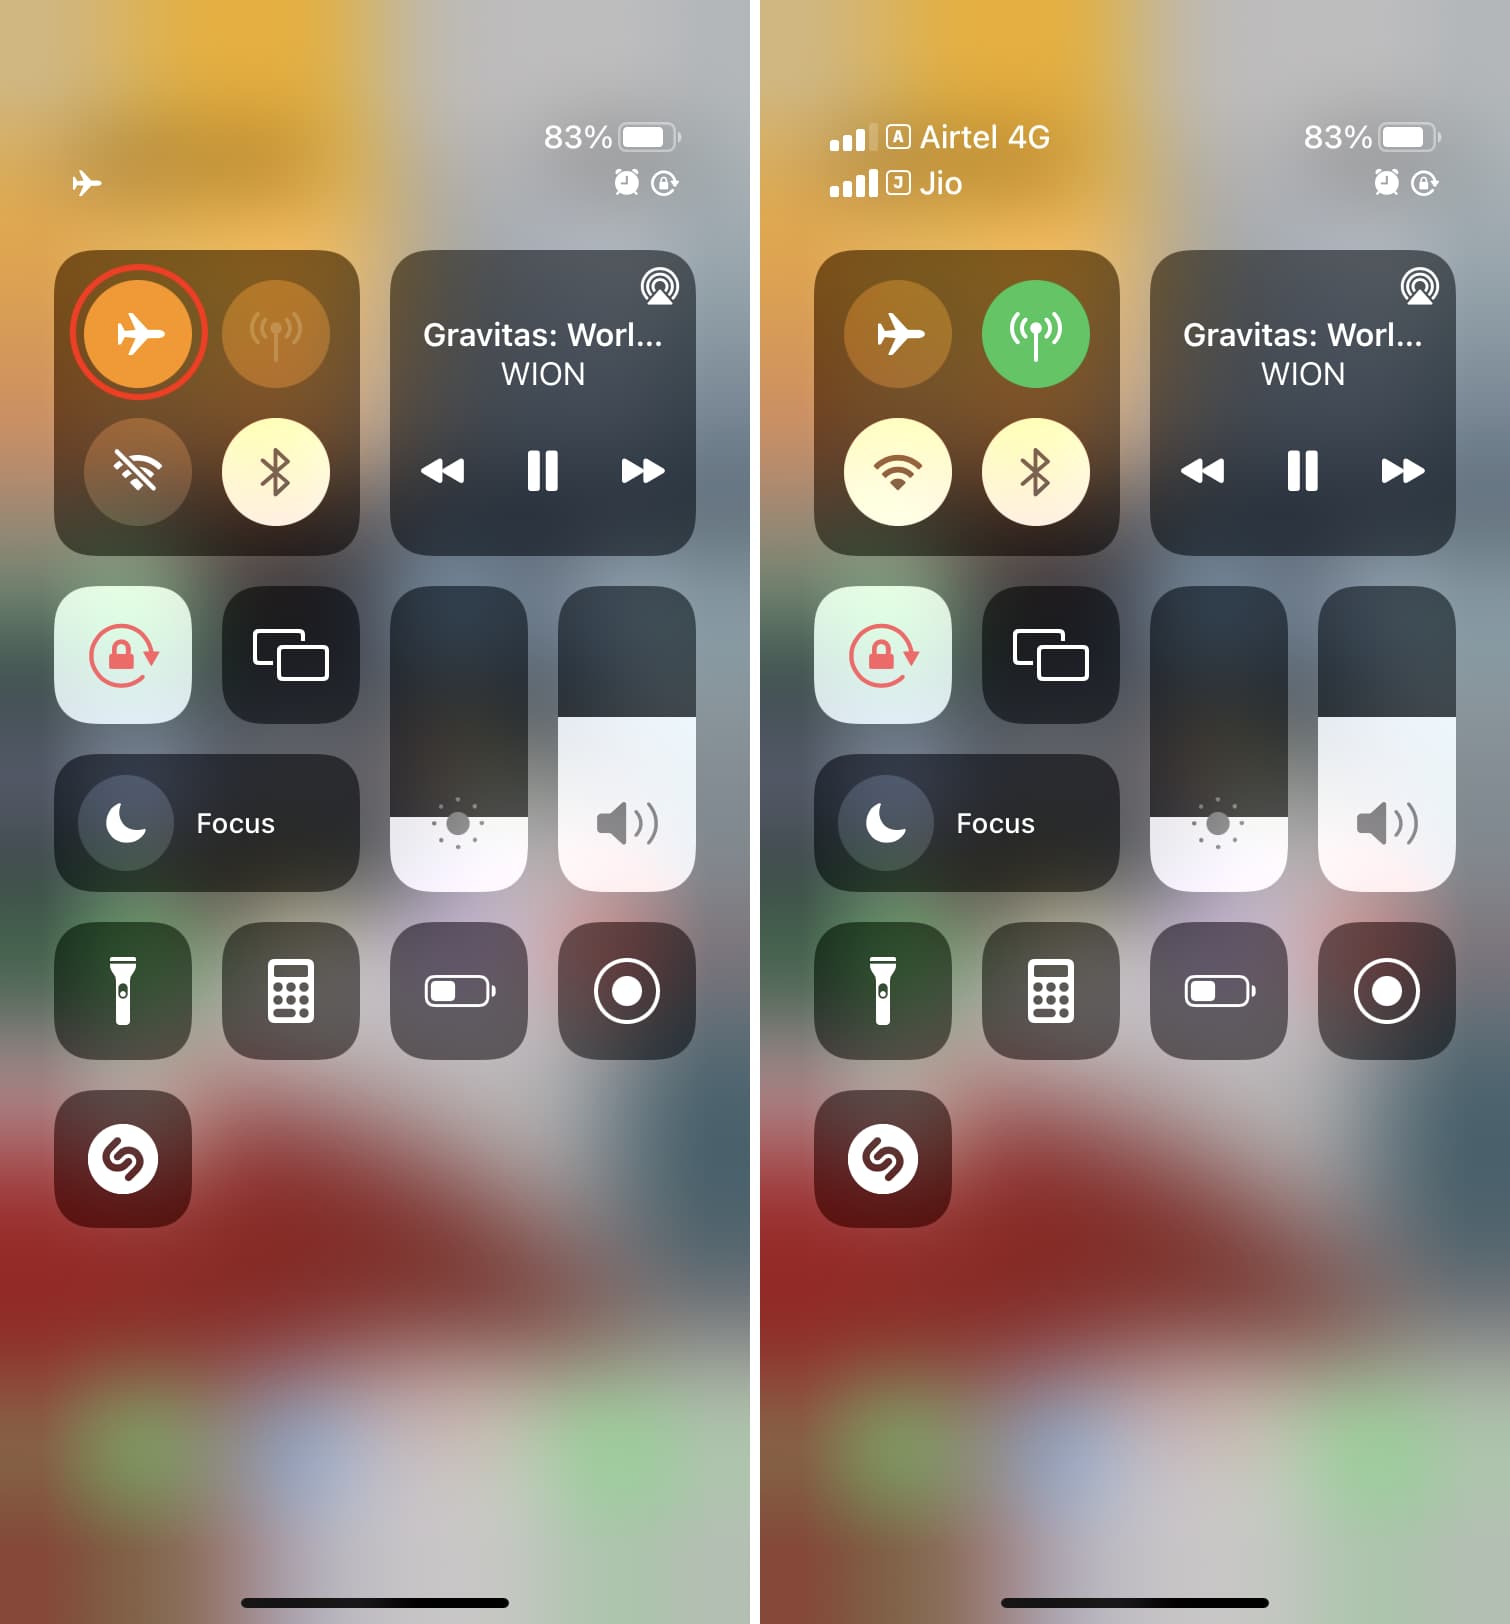
Airplane Mode: Sometimes, network issues can be attributed to the accidental activation of Airplane Mode. Swipe down from the top-right corner of the screen to access the Control Center and ensure that Airplane Mode is turned off. When Airplane Mode is active, all wireless connections, including Wi-Fi and cellular, are disabled.
-
VPN and Proxy Settings: If you use a VPN or proxy on your device, verify that these settings are configured correctly. Navigate to "Settings," tap on "VPN" or "General" > "VPN," and ensure that the VPN connection is established. Similarly, if you use a proxy, review the proxy settings under "Wi-Fi" or "Cellular" to ensure they are accurate.
By thoroughly checking these network connections, you can gain valuable insights into the status of your iPhone 11's connectivity. This foundational step sets the stage for effectively troubleshooting any network-related issues that may arise.
Resetting Network Settings on iPhone 11
Resetting the network settings on your iPhone 11 can be a powerful troubleshooting tool when you encounter persistent network issues. This process essentially clears all network-related configurations and returns them to their default state, which can help resolve connectivity problems. Here's how you can perform this reset:
-
Accessing Network Settings: To initiate the network settings reset, navigate to the "Settings" app on your iPhone 11. Scroll down and tap on "General," then select "Reset."
-
Selecting Network Reset Option: Within the "Reset" menu, tap on "Reset Network Settings." You may be prompted to enter your device passcode to proceed with this action.
-
Confirmation and Reboot: After selecting "Reset Network Settings," a confirmation prompt will appear. Confirm the action by tapping "Reset Network Settings" once more. Your iPhone 11 will then proceed to reset its network settings and reboot.
-
Impact on Device: It's important to note that performing a network settings reset will not erase your personal data, such as photos, apps, or documents. However, it will reset Wi-Fi networks and passwords, cellular settings, VPN configurations, and Bluetooth connections to their default state.
-
Reconfiguration: Following the reset, you will need to reconfigure your Wi-Fi networks by entering their passwords again. Additionally, if you use VPN or proxy settings, you'll need to set them up anew. While this may seem like an inconvenience, it can often resolve persistent network issues that were impacting your device's connectivity.
Resetting network settings on your iPhone 11 can effectively address a range of network-related issues, including Wi-Fi connectivity problems, cellular data issues, and Bluetooth connectivity glitches. It serves as a comprehensive reset for all network configurations, providing a fresh start for your device's connectivity features.
By understanding how to perform a network settings reset and its potential impact, you can confidently utilize this troubleshooting method to address network issues on your iPhone 11. This proactive approach empowers you to swiftly resolve connectivity challenges and ensure a seamless experience when using your device for various online activities.
Reconnecting to Wi-Fi Networks
Reconnecting to Wi-Fi networks after performing a network settings reset on your iPhone 11 is a crucial step in restoring seamless connectivity. Once the network settings have been reset, you'll need to re-establish connections to your preferred Wi-Fi networks. Here's a detailed guide on how to effectively reconnect to Wi-Fi networks:
-
Accessing Wi-Fi Settings: Begin by navigating to the "Settings" app on your iPhone 11. Tap on "Wi-Fi" to access the available Wi-Fi networks in your vicinity.
-
Scanning for Available Networks: Upon entering the Wi-Fi settings, your iPhone 11 will automatically scan for nearby Wi-Fi networks. These networks will be displayed under the "Choose a Network" section.
-
Selecting the Desired Network: From the list of available networks, tap on the Wi-Fi network you wish to connect to. If the network is secured with a password, you will be prompted to enter the password to establish the connection.
-
Entering Wi-Fi Password: If the selected Wi-Fi network is password-protected, a pop-up window will prompt you to enter the network's password. Carefully input the password and tap "Join" to initiate the connection process.
-
Verifying Connection: Once the password is entered, your iPhone 11 will attempt to connect to the selected Wi-Fi network. A checkmark next to the network name indicates a successful connection.
-
Automatic Connection: After successfully reconnecting to a Wi-Fi network, your iPhone 11 will automatically connect to this network whenever it's within range, provided the network is saved in your device's settings.
-
Repeat for Additional Networks: If you need to reconnect to multiple Wi-Fi networks, simply repeat the above steps for each network, ensuring that you enter the correct passwords for secured networks.
By following these steps, you can efficiently reconnect your iPhone 11 to Wi-Fi networks after performing a network settings reset. This process ensures that your device can seamlessly access Wi-Fi connectivity, enabling you to enjoy a smooth online experience, whether it's browsing the web, streaming content, or engaging in online communication.
Reconnecting to Wi-Fi networks is a fundamental aspect of restoring your device's connectivity following a network settings reset. By understanding the steps involved and executing them accurately, you can swiftly regain access to your preferred Wi-Fi networks, thereby enhancing the overall usability and functionality of your iPhone 11.
Resetting Cellular Data Settings
Resetting the cellular data settings on your iPhone 11 can be a pivotal step in troubleshooting persistent cellular connectivity issues. This process involves clearing and restoring the device's cellular configurations to their default state, potentially resolving network-related challenges. Here's a comprehensive guide on how to reset cellular data settings and its potential impact on your device's connectivity.
-
Accessing Cellular Data Settings: To initiate the reset of cellular data settings, navigate to the "Settings" app on your iPhone 11. Scroll down and tap on "Cellular" to access the cellular data settings.
-
Resetting Cellular Data: Within the "Cellular" settings, locate and tap on "Cellular Data Options." Next, select "Reset Settings" to initiate the reset process. You may be prompted to enter your device passcode to proceed with this action.
-
Confirmation and Reboot: After selecting "Reset Settings," a confirmation prompt will appear. Confirm the action by tapping "Reset Settings" once more. Your iPhone 11 will then proceed to reset its cellular data settings and reboot.
-
Impact on Device: It's important to note that resetting cellular data settings will not erase your personal data, such as photos, apps, or documents. However, it will reset cellular data configurations, including network settings, APN settings, and other cellular-related preferences, to their default state.
-
Reconfiguration: Following the reset, your iPhone 11 will revert to the default cellular data settings. If you had previously configured specific APN settings or other cellular preferences, you will need to re-enter these details. While this may require additional setup, it can often resolve persistent cellular connectivity issues that were impacting your device's network access.
Resetting cellular data settings on your iPhone 11 can effectively address a range of cellular connectivity issues, including data connection problems, network signal fluctuations, and mobile data performance issues. By understanding how to perform this reset and its potential impact, you can confidently utilize this troubleshooting method to address cellular data-related challenges, ensuring a seamless and reliable mobile network experience.
By following these steps and comprehending the implications of resetting cellular data settings, you can proactively troubleshoot and resolve cellular connectivity issues on your iPhone 11. This proactive approach empowers you to swiftly address network challenges, enabling you to enjoy uninterrupted mobile connectivity for various online activities.
Troubleshooting Bluetooth Connectivity
When encountering Bluetooth connectivity issues on your iPhone 11, it's essential to employ effective troubleshooting methods to restore seamless wireless connections. Bluetooth technology facilitates the pairing of your device with various accessories, such as headphones, speakers, car audio systems, and other compatible devices. Here's a comprehensive guide on troubleshooting Bluetooth connectivity issues and restoring optimal functionality to your iPhone 11's Bluetooth feature.
1. Checking Bluetooth Status
Begin by verifying the status of Bluetooth on your iPhone 11. Navigate to the "Settings" app and tap on "Bluetooth." Ensure that the Bluetooth toggle is switched on. If it's already enabled, try toggling it off and on again to refresh the Bluetooth connection.
2. Restarting Bluetooth and Device
If you encounter persistent Bluetooth connectivity issues, consider restarting the Bluetooth feature on your iPhone 11. Tap on the Bluetooth toggle to turn it off, wait for a few seconds, and then toggle it back on. Additionally, perform a soft reset of your device by powering it off, waiting for a few moments, and then turning it back on. This simple yet effective step can often resolve temporary Bluetooth glitches.
3. Forget and Re-pair Devices
If you're experiencing difficulty connecting to a specific Bluetooth accessory, such as headphones or a speaker, consider "forgetting" the device and re-pairing it with your iPhone 11. To do this, navigate to the Bluetooth settings, locate the problematic device, and tap on the "i" icon next to it. Select "Forget This Device" and confirm the action. Then, proceed to re-pair the accessory by following the manufacturer's pairing instructions.
4. Update iOS and Device Firmware
Ensuring that your iPhone 11 is running the latest iOS version is crucial for addressing Bluetooth connectivity issues. Check for available software updates by going to "Settings," tapping on "General," and selecting "Software Update." If an update is available, proceed with the installation. Similarly, if the problematic Bluetooth accessory has firmware updates available, consider updating its firmware as well.
5. Reset Network Settings
In some cases, resetting the network settings on your iPhone 11 can resolve persistent Bluetooth connectivity issues. As mentioned earlier, this process clears all network-related configurations, including Bluetooth connections. To perform a network settings reset, navigate to "Settings," tap on "General," select "Reset," and choose "Reset Network Settings."
By implementing these troubleshooting steps, you can effectively address Bluetooth connectivity issues on your iPhone 11, restoring seamless wireless connections with compatible accessories. This proactive approach empowers you to swiftly resolve Bluetooth-related challenges, ensuring a seamless and reliable wireless experience for various audio and connectivity needs.