
Why Use MPEG Streamclip for Video Editing
If you are looking for a versatile and efficient video editing tool, MPEG Streamclip is a fantastic option. Whether you are a beginner or an experienced video editor, this software offers a wide range of features that make editing, cropping, and scaling videos a breeze. Here are some compelling reasons why you should consider using MPEG Streamclip for your video editing needs:
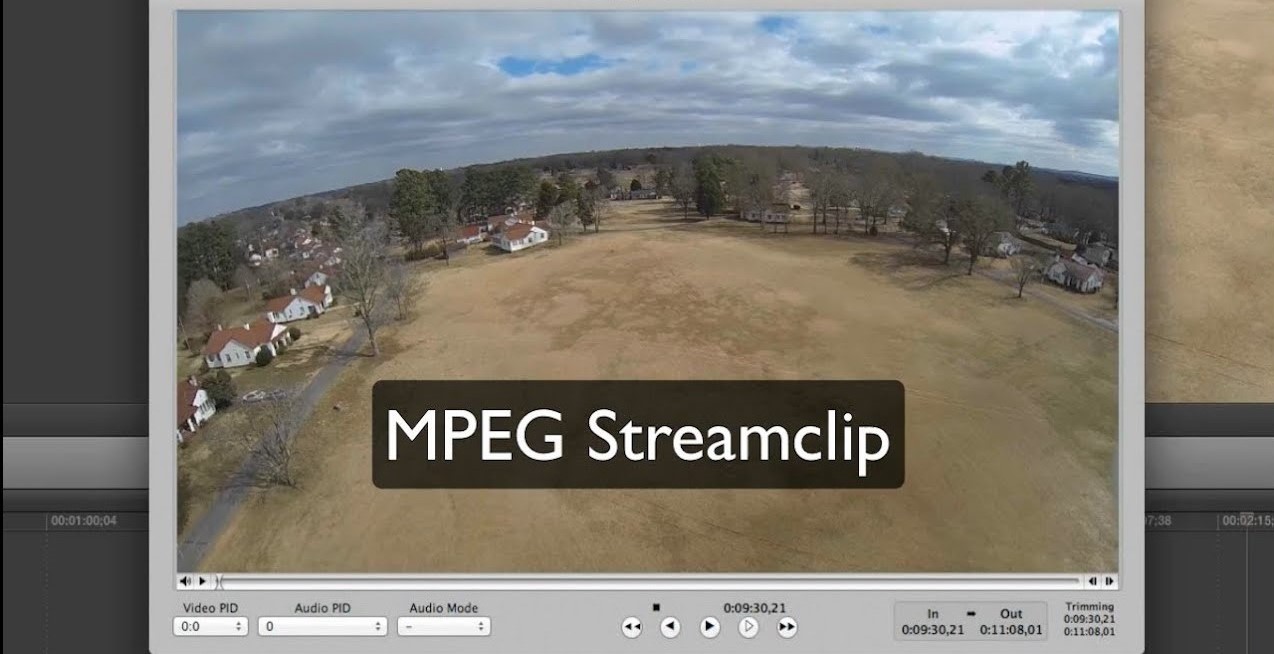
1. User-Friendly Interface: One of the standout features of MPEG Streamclip is its user-friendly interface. The layout is intuitive and easy to navigate, allowing you to quickly access the various editing tools and features. Even if you are new to video editing, you will find it simple to learn and use.
2. Wide Format Support: MPEG Streamclip supports a vast range of video formats, including MPEG, AVI, QuickTime, and more. This versatility allows you to work with files from different sources without the need for time-consuming format conversions.
3. Seamlessly Edit Videos: MPEG Streamclip offers a range of editing features that allow you to trim, cut, and join video clips with ease. You can easily remove unwanted sections, rearrange sequences, and create a polished final product.
4. Batch Processing: If you have multiple videos that require the same editing adjustments, MPEG Streamclip’s batch processing feature will save you time and effort. You can apply edits to multiple files simultaneously, making it a convenient option for large projects.
5. Precise Cropping: MPEG Streamclip enables you to crop your videos with precision. Whether you want to remove unwanted borders or focus on a particular area of the frame, the cropping tool allows you to achieve the desired results effortlessly.
6. Seamless Scaling: With MPEG Streamclip, you can easily scale your videos to fit different screen sizes without sacrificing quality. Whether you are optimizing your video for social media platforms or preparing it for a presentation, the scaling feature ensures your video looks professional and visually appealing.
7. Export Options: Once you have finished editing your video, MPEG Streamclip provides various export options. You can choose the format, resolution, and compression settings that best suit your needs, ensuring your video looks its best across different platforms.
8. Speed and Efficiency: MPEG Streamclip is known for its fast processing speed, allowing you to edit and export videos quickly. This efficiency is a significant advantage, especially when working on time-sensitive projects or dealing with large files.
9. Free and Reliable: Perhaps the most appealing aspect of MPEG Streamclip is that it is both free and reliable. You can trust the software to deliver consistent and high-quality results without the need for expensive licenses or subscriptions.
How to Download and Install MPEG Streamclip
Downloading and installing MPEG Streamclip is a straightforward process that can be completed in just a few simple steps. Follow the instructions below to get started with this powerful video editing tool:
Step 1: Visit the Official Website: Open your web browser and navigate to the official MPEG Streamclip website. You can easily find it by performing a quick search using your preferred search engine.
Step 2: Locate the Download Section: Once you are on the website, look for the download section. It is usually found on the homepage or in the navigation menu. Click on the download link to proceed.
Step 3: Choose the Correct Version: Ensure that you select the appropriate version of MPEG Streamclip for your operating system. The software is available for both Windows and macOS. Click on the corresponding download button.
Step 4: Save the Installation File: After clicking the download button, a dialogue box will appear asking you to save the installation file. Choose a location on your computer where you want to save the file and click “Save”.
Step 5: Wait for the Download to Complete: Depending on your internet connection speed, the download may take a few moments to complete. Be patient and avoid closing the browser window or interrupting the download process.
Step 6: Launch the Installation Wizard: Once the download is finished, navigate to the location where you saved the installation file. Double-click on the file to launch the installation wizard.
Step 7: Follow the Installation Instructions: The installation wizard will guide you through the process of installing MPEG Streamclip on your computer. Read and follow the on-screen instructions carefully to ensure a successful installation.
Step 8: Finish the Installation: After completing the installation steps, the wizard will notify you that the installation was successful. Click on the “Finish” button to exit the wizard.
Step 9: Launch MPEG Streamclip: Once the installation is complete, locate the MPEG Streamclip icon on your desktop or in your applications folder. Double-click on the icon to launch the software.
Step 10: Start Editing: Congratulations! Now that you have successfully downloaded and installed MPEG Streamclip, you can begin editing your videos. Familiarize yourself with the various features and explore the possibilities of this powerful video editing tool.
By following these simple steps, you can quickly download and install MPEG Streamclip, bringing you one step closer to editing, cropping, and scaling your videos with ease.
Basic Video Editing with MPEG Streamclip
Once you have downloaded and installed MPEG Streamclip, you’re ready to start editing your videos. Here are the basic steps to get you started with video editing using MPEG Streamclip:
Step 1: Import Your Video: Launch MPEG Streamclip and click on “File” in the top menu bar. Select “Open Files” and browse for the video you want to edit. Click “Open” to import the video into MPEG Streamclip.
Step 2: Trim and Cut: To remove unwanted sections from your video, use the slider at the bottom of the screen to navigate to the desired starting point. Click on the “Set In Point” button to mark the beginning of the section you want to keep. Similarly, move the slider to the desired endpoint and click on the “Set Out Point” button to mark the end. To remove the selected section, click on “Edit” in the top menu bar and choose “Trim.” Your video will now be trimmed and the unwanted section will be removed.
Step 3: Join Video Clips: To merge multiple video clips into a single file, simply open the first video clip in MPEG Streamclip. Next, navigate to the second video clip using the slider at the bottom of the screen. Use the “Set In Point” and “Set Out Point” buttons to mark the desired segment from the second clip. Then, click on “Edit” in the top menu bar and select “Copy.” Go back to the first video clip, navigate to the desired point of insertion, and click on “Edit” followed by “Paste.” The second video clip will now be joined seamlessly with the first clip.
Step 4: Adjust Volume: If you need to adjust the audio volume of your video, go to the “Edit” menu and select “Volume.” A dialogue box will appear, allowing you to increase or decrease the volume. Adjust the volume to your desired level and click “OK” to apply the changes.
Step 5: Save Your Edited Video: Once you have finished editing your video, click on “File” in the top menu bar and select “Save As.” Choose the desired file format and location to save your edited video. MPEG Streamclip supports a variety of formats, including MPEG, AVI, QuickTime, and more.
These are the basic steps to perform video editing using MPEG Streamclip. Familiarize yourself with these features and experiment with different editing techniques to create compelling videos. Remember to save your project frequently to avoid losing any progress.
MPEG Streamclip provides a user-friendly interface and a range of editing tools that make basic video editing tasks quick and easy. Whether you need to trim, cut, or join video clips, MPEG Streamclip offers the necessary functionality to achieve professional-looking results.
Advanced Video Editing with MPEG Streamclip
MPEG Streamclip offers advanced video editing features that allow you to take your video editing skills to the next level. Whether you want to apply effects, adjust color, or add subtitles, here are some advanced techniques you can try with MPEG Streamclip:
1. Apply Video Filters: MPEG Streamclip provides a range of video filters that can enhance the visual quality of your videos. To apply a filter, click on “Video” in the top menu bar and select “Filters.” Choose from options like sharpen, blur, deinterlace, or color correction. Experiment with different filters to achieve the desired look for your video.
2. Adjust Video Speed: If you want to create slow-motion or fast-forward effects, MPEG Streamclip allows you to adjust the video speed. To do this, click on “Edit” in the top menu bar and select “Show Movie Properties.” In the “Speed” tab, adjust the speed percentage to increase or decrease the video’s playback speed. Play around with different speed settings to add dynamic effects to your video.
3. Add Transitions: To enhance the flow between video clips, you can add transitions in MPEG Streamclip. Click on “Edit” and select “Add Transition.” Choose from a variety of transitions like fade, dissolve, wipe, or slide. Drag and drop the desired transition between two video clips to create a smooth transition effect.
4. Add Subtitles: If you need to add subtitles to your video, MPEG Streamclip provides an easy way to do so. You can import a subtitle file that matches the video’s timestamp, allowing the subtitles to appear at the correct time. Click on “File” and select “Open Subtitle.” Choose the subtitle file you want to import, and the subtitles will be added to your video.
5. Adjust Color and Saturation: MPEG Streamclip allows you to adjust the color and saturation levels of your videos. Click on “Video” and select “Color Balance” to open the color adjustment panel. Use the sliders to modify the contrast, brightness, saturation, and other color settings. This feature can help you achieve the desired color grading for your video.
6. Noise Reduction: If your footage has unwanted noise or grain, MPEG Streamclip offers a noise reduction feature. Click on “Video” and select “Noise Reduction.” Adjust the parameters to reduce noise and improve the overall video quality. This can come in handy, especially when working with low-light or high-ISO footage.
7. Export Custom Presets: MPEG Streamclip allows you to create and save custom export presets. This is useful if you frequently work with specific output settings. Click on “File” and select “Export to MPEG-4” or the desired format. Configure the output settings to your preference and click on “Options.” In the options window, click on “Save Preset” to save your custom preset for future use.
These advanced video editing techniques in MPEG Streamclip offer you more control and flexibility over your editing process. Experiment with different features and settings to create unique and professional-looking videos.
Cropping Videos with MPEG Streamclip
Cropping a video can help you remove unwanted portions, adjust the frame composition, or focus on specific elements within the footage. MPEG Streamclip offers a straightforward and efficient process for cropping videos. Here’s how you can crop videos using MPEG Streamclip:
Step 1: Import the Video: Launch MPEG Streamclip and select “File” in the top menu bar. Choose “Open Files” and locate the video you want to crop. Click “Open” to import the video into MPEG Streamclip.
Step 2: Set the Crop Area: To begin cropping your video, navigate to the part of the footage you want to keep using the slider at the bottom of the screen. Once you’ve determined the starting point, click on the “Set In Point” button to mark it. Next, move the slider to the desired endpoint and click on the “Set Out Point” button to mark the end of the crop area.
Step 3: Apply the Crop: Once you have set the in and out points, click on “File” and select “Export to MPEG-4” or the desired output format. In the options window, you will see a checkbox labeled “Crop.” Make sure this box is checked to apply the crop to the video.
Step 4: Configure Other Settings: Before exporting the video, you can adjust other settings such as resolution, bitrate, and codec. Click on the “Options” button to access these settings and make any desired changes. Take into consideration the aspect ratio and the intended use of the video to ensure optimal results.
Step 5: Export the Cropped Video: Once you have finished configuring the settings, click on the “OK” button to save the changes. Choose the location to save the cropped video and click “Save” to begin the export process. MPEG Streamclip will process and export the cropped video based on the specified settings.
By following these steps, you can efficiently crop videos using MPEG Streamclip. Whether you want to eliminate unwanted borders, reframe the shot, or create a specific composition, the cropping feature in MPEG Streamclip allows you to accomplish these tasks effectively.
Remember, cropping a video should be done thoughtfully, considering the desired visual impact and overall composition. It’s advisable to preview the cropped section before exporting the final video to ensure the desired result is achieved.
Scaling Videos with MPEG Streamclip
Scaling a video involves resizing it to fit different screen sizes or adjusting the aspect ratio for optimal viewing. Whether you need to prepare your video for social media platforms, presentations, or other specific purposes, MPEG Streamclip offers a simple and efficient way to scale your videos. Here’s how you can scale videos using MPEG Streamclip:
Step 1: Import the Video: Launch MPEG Streamclip and click on “File” in the top menu bar. Choose “Open Files” and locate the video you want to scale. Click “Open” to import the video into MPEG Streamclip.
Step 2: Set the Scaling Options: To begin scaling your video, click on “File” and select “Export to MPEG-4” or the desired output format. In the options window, you will see various settings, including resolution and aspect ratio.
Step 3: Adjust the Resolution: In the options window, you can manually input the desired resolution or choose from the available preset resolutions. Alternatively, you can use the “Auto” feature to automatically scale the video based on the selected aspect ratio.
Step 4: Maintain Aspect Ratio: If you want to maintain the aspect ratio of the original video, make sure the “Maintain aspect ratio” box is checked. This ensures that the video is scaled proportionally without any distortion or stretching.
Step 5: Preview the Scaled Video: Before exporting the video, it is advisable to preview the scaled version to ensure it meets your expectations. To do this, click on the “Preview” button in the options window. This will open a new window where you can preview the video with the applied scaling settings.
Step 6: Export the Scaled Video: Once you are satisfied with the scaled video, click on the “OK” button in the options window to save the scaling settings. Choose a location to save the scaled video and click “Save” to initiate the export process. MPEG Streamclip will process and export the scaled video based on the specified settings.
By following these steps, you can easily scale videos using MPEG Streamclip. Whether you need to resize your video for specific platforms or adjust the aspect ratio to conform to certain standards, MPEG Streamclip provides the necessary tools to accomplish these tasks efficiently.
Scaling videos appropriately is crucial to ensure optimal visual display and a consistent viewing experience across different devices and platforms. It’s important to consider the aspect ratio and the target audience’s viewing environment when determining the scaling options for your video.
Exporting Videos with MPEG Streamclip
Once you’ve finished editing, cropping, and scaling your video using MPEG Streamclip, it’s time to export your final creation. MPEG Streamclip offers a variety of options for exporting your videos, allowing you to customize the format and settings to suit your specific needs. Here’s how you can export videos with MPEG Streamclip:
Step 1: Determine the Export Format: Click on “File” in the top menu bar and select “Export to MPEG-4” or choose the desired export format from the available options. MPEG Streamclip supports various formats, including MPEG, AVI, QuickTime, and more.
Step 2: Configure Export Settings: In the options window, you can adjust the export settings such as video codec, resolution, bitrate, and audio settings. You can select the desired video and audio quality based on your requirements. Consider the destination platform or medium where the video will be played to ensure optimal compatibility.
Step 3: Choose Output Location: Select the location on your computer where you want to save the exported video file. Choose a relevant name for the file to help identify it easily.
Step 4: Start the Export Process: Once you’re satisfied with the export settings and have selected the output location, click on the “Save” or “Export” button to initiate the export process. Depending on the length and complexity of your video, the export process may take some time. Be patient and avoid interrupting the process.
Step 5: Verify the Exported Video: Once the export process is complete, navigate to the output location and open the exported video file using a media player. Carefully review the exported video to ensure that it matches your expectations and is free from any issues or errors.
Step 6: Make Adjustments if Necessary: If you notice any issues with the exported video, such as incorrect aspect ratio or audio/video synchronization problems, you may need to revisit the export settings in MPEG Streamclip and make adjustments accordingly. Repeat the export process with the updated settings until you are satisfied with the final result.
By following these steps, you can successfully export your edited video with MPEG Streamclip. Adjusting the export settings according to your specific requirements ensures that the exported video is optimized for its intended purpose and platform.
MPEG Streamclip offers a reliable and efficient export process, allowing you to save your edited videos in various formats. Take advantage of the different settings to tailor your video’s output to meet the desired specifications and achieve the best possible results.
Troubleshooting and FAQs for MPEG Streamclip
While MPEG Streamclip is a powerful and user-friendly video editing tool, there may be instances where you encounter issues or have questions about its functionalities. Here are some common troubleshooting tips and frequently asked questions about MPEG Streamclip:
1. The video playback in MPEG Streamclip is choppy or lagging. This issue can be caused by various factors, such as insufficient system resources or incompatible video codecs. Try closing any unnecessary applications and ensuring that your computer meets the recommended system requirements. If the problem persists, try converting the video file to a different format using MPEG Streamclip before editing it.
2. The audio and video are not synchronized in the exported video. This problem may occur if your original video has an inconsistent frame rate or if the audio and video streams are out of sync. To fix this, try adjusting the frame rate or using the “Synchronize” feature in MPEG Streamclip to align the audio and video tracks before exporting.
3. MPEG Streamclip crashes while editing or exporting a video. Crashes can happen due to various reasons, including system instability or conflicting software. Ensure that you have the latest version of MPEG Streamclip installed and try closing any unnecessary background applications. If the problem persists, consider updating your operating system or seeking assistance from the MPEG Streamclip support community.
4. How can I crop a video to a specific aspect ratio? To crop a video to a specific aspect ratio, follow the cropping instructions mentioned earlier and ensure that the “Maintain aspect ratio” box is unchecked in the export options. Set the desired resolution that matches the target aspect ratio to crop the video accordingly.
5. Can MPEG Streamclip convert video formats? Yes, MPEG Streamclip can convert videos to different formats. Open the video file in MPEG Streamclip, select “File” and choose “Export to MPEG-4” or the desired format. Adjust the export settings to the desired format and click “Save.” MPEG Streamclip will convert the video to the specified format during the export process.
6. How can I batch process videos in MPEG Streamclip? To batch process videos, simply select multiple video files in the “Open Files” dialog box or use the drag-and-drop feature to load multiple files into MPEG Streamclip. You can then apply editing, cropping, or scaling settings to all the selected videos simultaneously before exporting them in a batch.
7. Can MPEG Streamclip work with high-resolution videos? Yes, MPEG Streamclip supports high-resolution videos. However, the performance and export times may be impacted depending on your computer’s processing power. It is recommended to have a sufficiently powerful computer to handle high-resolution videos smoothly.
These troubleshooting tips and frequently asked questions provide insights into common issues and concerns regarding MPEG Streamclip. If you encounter any other problems or have specific queries, refer to the official MPEG Streamclip website or seek assistance from the user community for further support.