
Requirements
To create a bootable USB installer for OS X El Capitan, you will need the following:
- A Mac computer with an Intel processor
- At least 8GB of available USB drive storage
- A stable internet connection to download the OS X El Capitan installer
It is important to note that the Mac computer you are using should meet the system requirements for OS X El Capitan. Additionally, ensure that you have a reliable USB drive with enough storage capacity for the installer file.
Before proceeding with the creation of a bootable USB installer, make sure you have the necessary administrative privileges on your Mac computer. This will allow you to perform the required actions and make any system-level changes.
Lastly, it is highly recommended to back up any important data on your Mac before creating the bootable USB installer. Although the process itself should not cause any data loss, it is always better to be safe and prepared in case of any unforeseen circumstances.
Downloading OS X El Capitan
The first step in creating a bootable USB installer for OS X El Capitan is to download the OS X El Capitan installer itself. Follow these steps to download the installer:
- Ensure your Mac computer has a stable internet connection.
- Open the App Store on your Mac.
- In the search bar, type “OS X El Capitan” and press Enter.
- Click on the “Get” or “Download” button next to the OS X El Capitan description.
- Wait for the download to complete. This may take some time depending on your internet speed.
Once the download is complete, you will find the OS X El Capitan installer in your Applications folder. Do not proceed to the next steps until the download is finished.
Downloading the OS X El Capitan installer directly from the App Store ensures that you are getting the official and most up-to-date version. It is recommended to download the installer from a trusted internet connection to eliminate any risks of tampering or downloading corrupted files.
Preparing the USB Drive
Before you can create a bootable USB installer for OS X El Capitan, you need to prepare the USB drive to ensure compatibility and proper functionality. Follow these steps to prepare the USB drive:
- Insert the USB drive into an available USB port on your Mac computer.
- Open the Disk Utility. You can access it by going to Applications > Utilities > Disk Utility.
- In the Disk Utility window, select your USB drive from the list of available drives.
- Click on the “Erase” tab located at the top of the Disk Utility window.
- Choose a name for your USB drive and select the “OS X Extended (Journaled)” format.
- Click on the “Erase” button to format the USB drive. This will erase all data on the drive, so make sure you have backed up any important files.
- Once the formatting process is complete, you can close the Disk Utility.
By formatting the USB drive as “OS X Extended (Journaled)”, you are ensuring compatibility with the OS X El Capitan installer. This format allows the installer to be properly recognized and loaded during the booting process.
It is important to note that the formatting process will erase any existing data on the USB drive. Therefore, it is crucial to back up any important files before proceeding.
Creating a Bootable USB Installer
Now that you have downloaded OS X El Capitan and prepared your USB drive, it’s time to create a bootable USB installer. Follow these steps to create the bootable USB installer:
- Open Finder and navigate to the Applications folder.
- Locate the OS X El Capitan installer file, which should be named “Install OS X El Capitan”.
- Right-click on the installer file and select “Show Package Contents”.
- In the new window that appears, navigate to the “Contents” folder and then to the “Resources” folder.
- Look for the file named “createinstallmedia” and drag it to the Terminal window. Alternatively, you can manually type the path to the “createinstallmedia” file in the Terminal window.
- Press Enter to execute the Terminal command. You may be prompted to enter your administrator password. If so, enter the password and press Enter again.
- A message will appear asking you to choose the USB drive to create the bootable installer on. Type the corresponding number for your USB drive and press Enter.
- Confirm your selection by typing “Y” and pressing Enter.
- Wait for the Terminal command to complete. This process may take a while, so be patient.
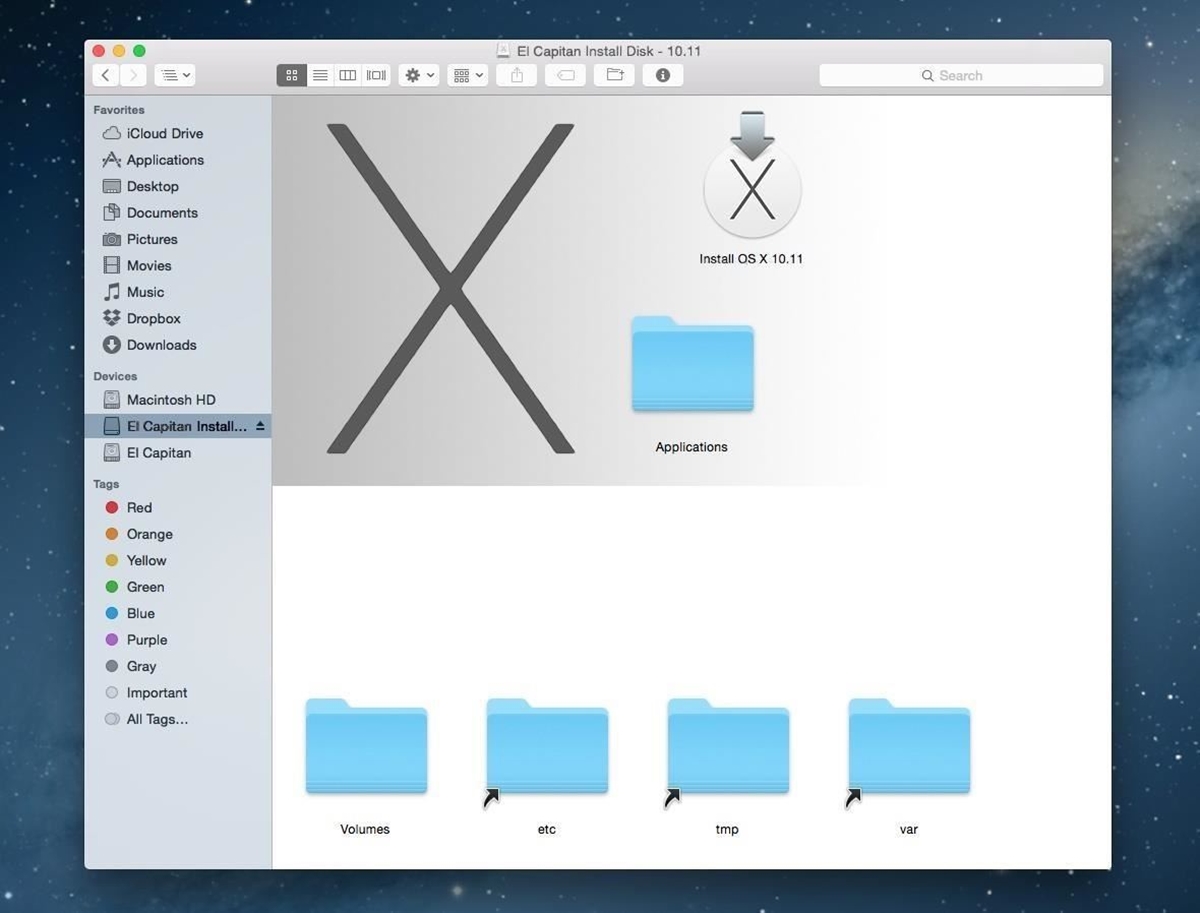
- Once the Terminal command is finished, you will have successfully created a bootable USB installer for OS X El Capitan.
Creating a bootable USB installer allows you to install OS X El Capitan on any compatible Mac computer without needing to rely on an internet connection. This is especially useful if you need to install or upgrade OS X El Capitan on multiple devices or if you have limited internet access.
Using the Bootable USB Installer for OS X El Capitan
Now that you have created a bootable USB installer for OS X El Capitan, you can use it to install or upgrade the operating system on your Mac computer. Follow these steps to use the bootable USB installer:
- Insert the bootable USB installer into an available USB port on your Mac computer.
- Restart your Mac while holding down the Option (⌥) key.
- After a few moments, you will see the Startup Manager screen. Use the arrow keys to select the bootable USB installer labeled “OS X Install” and press Enter.
- Wait for your Mac to boot from the USB installer. This may take a while, so be patient.
- Once the installer loads, choose your preferred language and click on the “Continue” button.
- In the next screen, select “Install OS X” and click on the “Continue” button.
- Agree to the terms and conditions by clicking on the “Agree” button.
- Choose the destination drive where you want to install OS X El Capitan. If you wish to perform a clean installation, you can use Disk Utility to format the drive before proceeding.
- Click on the “Install” button to begin the installation process.
- Follow the on-screen instructions to complete the installation of OS X El Capitan.
Using the bootable USB installer gives you the flexibility to install or upgrade OS X El Capitan whenever and wherever you need it. It also allows you to perform a clean installation, ensuring a fresh start with the operating system.
Make sure to back up any important data before using the bootable USB installer, as the installation process may involve formatting and erasing the existing drive.
Troubleshooting Common Issues
While creating a bootable USB installer for OS X El Capitan is a straightforward process, you may encounter some common issues along the way. Here are a few troubleshooting tips to help you overcome these issues:
1. USB Drive Not Recognized: If your USB drive is not appearing in the Disk Utility or Startup Manager, try inserting it into a different USB port on your Mac. Additionally, make sure the USB drive is properly formatted and compatible with your Mac.
2. Terminal Command Error: If you encounter an error message while running the Terminal command, double-check that you have entered the command correctly and that the path to the “createinstallmedia” file is accurate. Also, ensure that you have the necessary administrative privileges.
3. Slow Download Speed: If the download of the OS X El Capitan installer is taking longer than expected, check your internet connection. You may want to switch to a more stable and faster internet connection to speed up the download process.
4. Installation Failure: If the installation process fails or encounters errors, try restarting your Mac and booting from the bootable USB installer again. Make sure you have a reliable power source and sufficient disk space on the destination drive. If the issue persists, refer to Apple Support or relevant forums for further assistance.
5. Invalid or Corrupted Installer: If you receive an error message stating that the OS X El Capitan installer is invalid or corrupted, try re-downloading the installer from the App Store. Ensure that you have a stable internet connection and sufficient storage space on your Mac.
If you are unable to resolve the issues on your own, it is recommended to seek assistance from Apple Support or consult related online communities for further guidance. Keep in mind that troubleshooting steps may vary depending on your specific situation or hardware configuration.
Remember to exercise caution throughout the troubleshooting process and be mindful of any potential data loss risks. It is always advisable to back up your important files and documents before attempting any modifications or fixes.