
Create a Backup of Your Mac
Before performing a clean install of El Capitan on your Mac, it is crucial to create a backup of all your important data. This will ensure that you don’t lose any files or settings during the installation process. There are several ways to back up your Mac, each offering its own benefits and convenience.
One of the simplest and most reliable methods is to use Time Machine, the built-in backup feature of macOS. Simply connect an external hard drive to your Mac and set it up as your Time Machine backup disk. Time Machine will automatically back up your entire system, including your files, applications, and settings, on a regular basis.
If you prefer a more manual approach, you can manually copy your important files to an external storage device. This can be done by simply dragging and dropping the files from your Mac to the external drive. Make sure to organize your files properly so that you can easily restore them after the clean install.
An alternative option is to use cloud storage services such as iCloud, Google Drive, or Dropbox. These services allow you to store your files securely in the cloud, accessible from any device with an internet connection. Simply upload your important files to the cloud before the clean install, and you can easily download them back to your Mac afterwards.
Regardless of the method you choose, it is crucial to verify that your backup is complete and functional. Take a few moments to double-check that all your important files, applications, and settings are included in the backup. This will give you peace of mind during the clean install process, knowing that you have a reliable backup to rely on if anything goes wrong.
Check Your Mac’s Compatibility
Before proceeding with the clean install of El Capitan, it is crucial to ensure that your Mac is compatible with the operating system. Checking the compatibility will help prevent any issues or compatibility conflicts during the installation process. Here are the steps to check your Mac’s compatibility:
- Check the system requirements: Visit the official Apple website or El Capitan’s documentation to review the system requirements. Make sure your Mac meets the minimum hardware and software requirements specified by Apple.
- Review the supported Mac models: El Capitan supports a range of Mac models, but some older models may not be compatible. Verify that your Mac model is listed as a supported device for El Capitan.
- Check the available disk space: Ensure that you have enough free storage space on your Mac’s hard drive for the El Capitan installation. Generally, it is recommended to have at least 10 GB of free space for the installation process.
- Verify compatible applications: Some older applications may not be fully compatible with El Capitan. Check the compatibility of all your critical applications and ensure that there are updates available if needed.
Performing these checks will help you avoid potential issues and ensure a smooth installation process. If your Mac does not meet the minimum requirements or if any of your critical applications are not compatible, it may be necessary to upgrade your Mac’s hardware or find alternative software options.
In some cases, it may be beneficial to consult with Apple support or a knowledgeable technician to address any compatibility concerns or questions you may have. They can provide guidance on whether your Mac is compatible with El Capitan and offer solutions to any potential compatibility issues.
By taking the time to check your Mac’s compatibility, you can proceed with confidence, knowing that your system meets the necessary requirements for a successful clean install of El Capitan.
Download El Capitan from the App Store
To perform a clean install of El Capitan on your Mac, you will need to download the operating system from the App Store. Follow these steps to download El Capitan:
- Open the App Store: Launch the App Store on your Mac. You can find it in the Applications folder or by using Spotlight search.
- Search for El Capitan: In the search bar at the top right corner of the App Store window, type “El Capitan” and press Enter. The official El Capitan page should appear in the search results.
- Go to the El Capitan page: Click on the El Capitan page in the search results to access more information about the operating system.
- Click “Download”: On the El Capitan page, you should see a button that says “Download.” Click on it to start downloading El Capitan to your Mac.
- Allow the download to complete: Depending on your internet connection and the size of the El Capitan installation file, the download may take some time. Make sure your Mac is connected to a reliable internet connection and be patient while the download completes.
Once the download is complete, you will have the El Capitan installation file saved in your Applications folder. You are now ready to proceed with creating a bootable USB drive to perform the clean install of El Capitan.
It is important to note that you may be prompted to sign in with your Apple ID during the download process. If prompted, enter your Apple ID and password to proceed with the download.
By downloading El Capitan directly from the App Store, you ensure that you have a legitimate and official copy of the operating system. This is crucial for a successful clean install and avoids potential issues with pirated or unofficial versions of El Capitan.
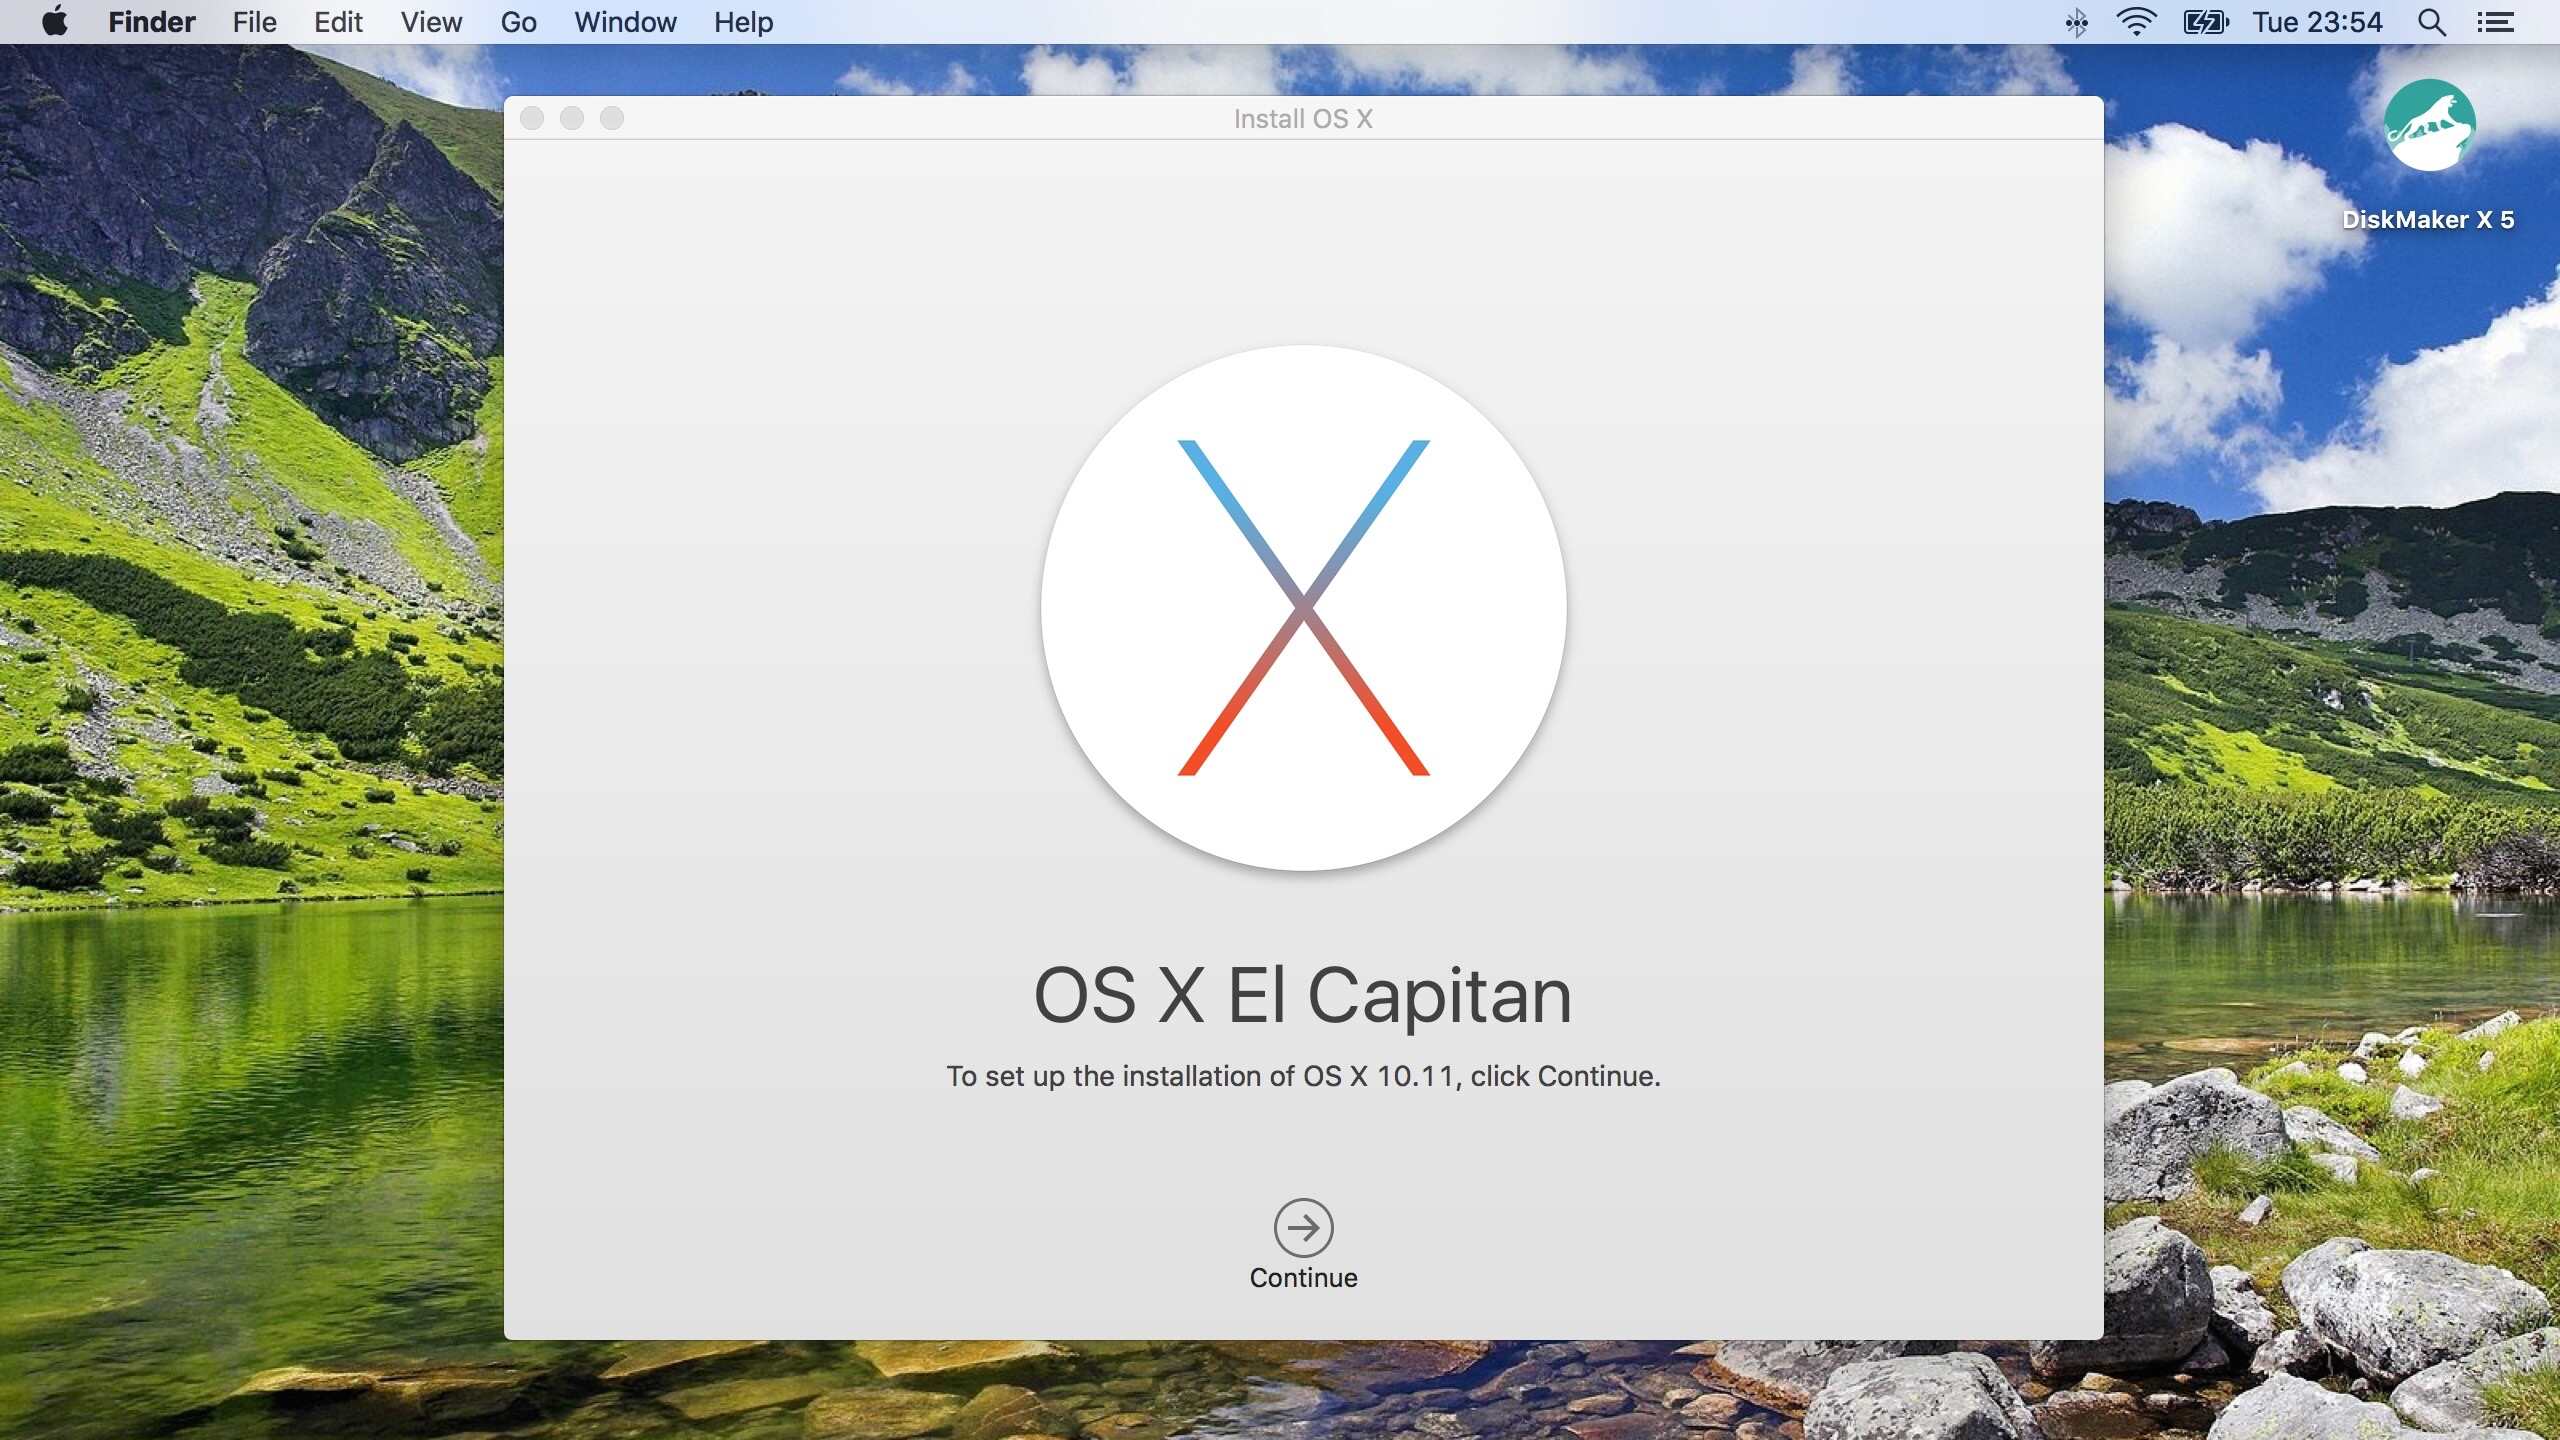
Prepare a Bootable USB Drive with El Capitan Installer
Before proceeding with the clean install of El Capitan, it is recommended to create a bootable USB drive with the El Capitan installer. This will allow you to easily install the operating system on your Mac without the need for an internet connection. Here are the steps to prepare a bootable USB drive:
- Connect a USB drive: Plug in a USB drive with at least 8 GB of storage capacity to your Mac.
- Format the USB drive: Open Disk Utility, which can be found in the Utilities folder within the Applications folder. Select the USB drive from the list of available drives and click on the “Erase” tab. Choose a suitable format, such as “Mac OS Extended (Journaled)”, and give it a recognizable name.
- Download and open Disk Creator: Visit the official website (example.com) and download the “Disk Creator” utility. Open the utility once it’s downloaded and launched.
- Select the El Capitan installer: In Disk Creator, you will be prompted to select the El Capitan installer. Click on the “Select the OS X installer” button and navigate to your Applications folder. Choose the El Capitan installer file.
- Choose the USB drive as the destination: In Disk Creator, select the USB drive you formatted earlier as the destination for the bootable USB drive.
- Create the bootable USB drive: Click on the “Create Installer” button in Disk Creator to begin the process of creating the bootable USB drive. This may take a few minutes to complete.
Once the process is complete, you will have a bootable USB drive with the El Capitan installer. This USB drive can be used to perform a clean install of El Capitan on your Mac. Remember to keep the USB drive in a safe place, as it will be required for the installation process.
By preparing a bootable USB drive, you have a convenient and reliable way to install El Capitan without the need for an internet connection. This ensures a smooth installation process and allows you to have a backup installation source in case you need to reinstall El Capitan in the future.
Restart Your Mac and Access Recovery Mode
After preparing the bootable USB drive with the El Capitan installer, you are now ready to restart your Mac and access Recovery Mode. Recovery Mode is a built-in feature of macOS that allows you to perform various maintenance and troubleshooting tasks, including the clean installation of operating systems. Here are the steps to restart your Mac and access Recovery Mode:
- Connect the bootable USB drive: Insert the bootable USB drive with the El Capitan installer into a USB port on your Mac.
- Restart your Mac: Click on the Apple menu in the top-left corner of your screen and select “Restart.” Alternatively, you can use the keyboard shortcut by pressing the Control + Power button.
- Press and hold the appropriate keys: As your Mac restarts, immediately press and hold the necessary keys to enter Recovery Mode. The specific keys may vary depending on your Mac model. Common key combinations include Command + R or Option + Command + R.
- Release the keys: Once you see the Apple logo or a spinning globe, you can release the keys. Your Mac will continue to boot into Recovery Mode.
- Access Disk Utility: In Recovery Mode, you will have several options available. To perform a clean install of El Capitan, you need to access Disk Utility. Select “Disk Utility” from the available options and click “Continue.”
By following these steps, you can successfully restart your Mac and access Recovery Mode. In Recovery Mode, you have access to features such as Disk Utility, which allows you to manage and format your Mac’s hard drive before performing the clean installation of El Capitan.
It is important to note that in Recovery Mode, you can also restore from a Time Machine backup, access Safari to browse the web for troubleshooting solutions, or reinstall macOS if needed. However, for the purpose of this guide, we will focus on performing a clean install of El Capitan by accessing Disk Utility in Recovery Mode.
Erase Your Mac’s Hard Drive
Before proceeding with the clean installation of El Capitan, it is important to erase your Mac’s hard drive. This step ensures that all existing data on the drive is permanently deleted, creating a clean slate for the installation of the new operating system. Here are the steps to erase your Mac’s hard drive:
- In Recovery Mode, select “Disk Utility” from the available options and click “Continue.”
- In Disk Utility, you will see a list of available drives. Select your Mac’s hard drive from the list.
- Click on the “Erase” button in the toolbar at the top of the Disk Utility window.
- A new window will appear, allowing you to choose the format for the drive. Select “Mac OS Extended (Journaled)” as the format.
- Give your hard drive a name and click on the “Erase” button to begin the erasing process. This process may take some time, depending on the size of your hard drive.
- Once the erasing process is complete, close Disk Utility to return to the main Recovery Mode window.
By erasing your Mac’s hard drive, you are ensuring that all existing data and settings are removed, providing a clean and fresh environment for the installation of El Capitan. It is important to note that this step will permanently delete all data on your hard drive, so it is crucial to have a backup of any important files before proceeding.
After erasing your Mac’s hard drive, you are now ready to perform the clean installation of El Capitan using the bootable USB drive. Proceed to the next steps in this guide to complete the installation process and set up your Mac with the new operating system.
Install El Capitan from the Bootable USB Drive
Now that you’ve prepared a bootable USB drive with the El Capitan installer and erased your Mac’s hard drive, you can proceed with the installation of the operating system. Follow these steps to install El Capitan from the bootable USB drive:
- Restart your Mac and access Recovery Mode again by pressing and holding the necessary keys during startup. Select “Disk Utility” from the available options and click “Continue.”
- In Disk Utility, select your Mac’s hard drive and click on the “Partition” button in the toolbar.
- A new window will appear, allowing you to partition your hard drive. Choose “1 Partition” as the volume scheme and give it a name.
- Click on the “Apply” button to save the changes. This will create a single partition on your Mac’s hard drive.
- Close Disk Utility to return to the main Recovery Mode window.
- Select “Install OS X” from the main Recovery Mode window.
- A new window will appear, prompting you to select the destination for the installation. Choose the newly created partition on your Mac’s hard drive.
- Click on the “Install” button to begin the installation process. Follow the on-screen instructions to complete the installation of El Capitan.
- Your Mac will reboot once the installation is complete. Follow the initial setup prompts to configure your Mac with El Capitan.
During the installation process, your Mac will copy the necessary files from the bootable USB drive and install the El Capitan operating system onto your newly formatted hard drive. This may take some time, so be patient and let the installation complete.
Once the installation is finished and your Mac has rebooted, you will be greeted with the setup assistant. Follow the on-screen prompts to set up your Mac with El Capitan, including selecting your language, setting up an Apple ID, and configuring your preferences.
Congratulations! You have successfully installed El Capitan from the bootable USB drive. Your Mac is now running on the latest version of macOS and ready for you to explore its new features and enhancements.
Complete the Installation Process
After installing El Capitan on your Mac, there are a few important steps to take to complete the installation process and ensure that your system is fully set up and ready for use. Here are the necessary tasks to complete the installation:
- Set up your user account: During the initial setup, you would have been prompted to create a user account for your Mac. If you haven’t done so yet, complete the setup by providing the necessary information, such as your name, username, and password.
- Choose system preferences: Once you’ve set up your user account, you can customize your Mac’s settings by choosing your preferred system preferences. Navigate to the “Apple menu > System Preferences” to access a wide range of settings, including display, sound, network, and security options.
- Connect to the internet: Ensure that your Mac is connected to the internet to download any necessary updates and enable online services. You can connect to a Wi-Fi network by clicking on the Wi-Fi icon in the menu bar and selecting your network.
- Check for updates: It is essential to keep your Mac up to date with the latest security patches and software improvements. Open the App Store and click on the “Updates” tab to check for any available updates for your system and installed applications.
- Enable iCloud and other services (optional): If you use Apple’s iCloud service, you can sign in with your Apple ID and enable iCloud features such as iCloud Drive, iCloud Photos, and iCloud Keychain. You can also set up other online services, such as mail, contacts, and calendar accounts, through the “Internet Accounts” preference pane.
- Restore your files and data: If you created a backup of your important files before the clean install, you can now restore them to your Mac. Use Time Machine or other backup methods to selectively restore your files and data to their original locations.
- Reinstall your applications: After the clean install, you will need to reinstall any third-party applications or software that were not included with the default installation of macOS. Use the installer files or download them from the respective developer’s website.
By completing these tasks, you finalize the installation process and ensure that your Mac is fully configured with El Capitan and personalized to your preferences. Take the time to explore the various features and settings in macOS to make the most out of your newly installed operating system.
Restore Your Files and Settings
After completing the installation of El Capitan and setting up your Mac, you can now restore your files and settings to ensure a smooth transition from your previous operating system. Here are the steps to restore your files and settings:
- Restore from Time Machine: If you backed up your files using Time Machine, connect the external hard drive containing your Time Machine backup to your Mac. Open the Migration Assistant, which can be found in the Utilities folder within the Applications folder, and select the option to restore from a Time Machine backup. Follow the on-screen instructions to select the backup source, choose the files you want to restore, and complete the restoration process.
- Manual file transfer: If you manually backed up your files to an external storage device, such as a USB drive or an external hard drive, you can copy and paste the files to their respective locations on your Mac. Make sure to organize your files and folders as they were before the clean install.
- Reconfigure system preferences: During the clean install, your system preferences would have been reset to their default settings. Take the time to review and reconfigure your preferences according to your preferences. This includes settings for network connections, audio, display, energy-saving options, and security settings.
- Reinstall applications and software: Once your files are restored, reinstall your third-party applications and software that were not included with the default installation of El Capitan. Use the installer files or download the applications from the respective developer’s website. Don’t forget to also reinstall any necessary plugins or extensions.
- Set up email and accounts: If you have email accounts or other online accounts, such as iCloud, Google, or Microsoft accounts, you will need to set them up again on your Mac. Go to the “Internet Accounts” preference pane in System Preferences and add your accounts by following the on-screen instructions.
- Customize your desktop and settings: Take the time to personalize your Mac by customizing your desktop background, screen saver, and other visual settings. Adjust the settings for dock behavior, mission control, hot corners, and accessibility options based on your preferences.
By restoring your files and settings, you bring back your familiar environment and make your Mac feel like home again. It is important to review your files, settings, and applications to ensure that everything is in place and working as expected.
Take this opportunity to declutter and organize your files, delete any unnecessary applications or documents, and optimize your Mac for better performance. Enjoy your newly restored environment with El Capitan, and make the most of your Mac’s capabilities!
Reinstall Your Apps and Programs
After completing the clean install of El Capitan, it’s time to reinstall your apps and programs to restore the full functionality of your Mac. Here are the steps to reinstall your apps and programs:
- Identify your essential apps: Make a list of the apps and programs you use regularly and consider them as a priority for reinstallation. These may include productivity tools, creative software, communication apps, and any other programs that are essential for your workflow.
- Visit the official websites or app stores: Go to the official websites of your apps or visit trusted app stores like the Mac App Store to download the latest versions of your desired programs. Look for compatibility information to ensure that the versions you download are fully compatible with El Capitan.
- Download and install the applications: Download the installation files for your apps or programs and follow the instructions provided by the developers. In most cases, this involves double-clicking the downloaded file and following the installation prompts. Enter any necessary license keys or credentials when prompted.
- Check for updates: After installing your apps, open each one and check for any available updates. Developers often release updates to improve stability, security, and compatibility. Keep your apps up to date to ensure optimal performance and to take advantage of new features.
- Restore app preferences or data (optional): If you previously backed up your apps’ preferences or data, you may be able to restore them after reinstalling the applications. Check the documentation or support resources provided by the app’s developers for instructions on how to restore preferences or data.
- Test your reinstalled apps: Once all your apps and programs are reinstalled, take some time to test their functionality. Ensure that they launch properly, perform as expected, and integrate well with the new El Capitan operating system.
Reinstalling your apps and programs is an important step in returning your Mac to its optimal state. Take the opportunity to assess whether you still need all the previously installed apps and consider decluttering your system by removing any unused or redundant applications.
Remember to keep track of your license keys, account credentials, and any other relevant information needed for reinstalling your apps. This will ensure a smoother process and help maintain software compliance for licensed applications.
By reinstalling your apps and programs after the clean installation of El Capitan, you can regain the full functionality of your Mac and continue with your usual tasks and activities.
Perform Updates and Configure Settings
After reinstalling your apps and programs, it is important to perform updates and configure settings to ensure your Mac is up to date and optimized for your needs. Here are the steps to perform updates and configure settings on your Mac:
- Check for system updates: Go to the Apple menu and select “System Preferences.” Click on “Software Update” to check for any available updates for your Mac’s operating system. Install any updates to ensure your Mac has the latest security patches, bug fixes, and performance improvements.
- Update your apps: Open the App Store and click on the “Updates” tab to check for app updates. Update your apps to their latest versions, ensuring they have the latest features and compatibility enhancements.
- Review privacy settings: In the “System Preferences” menu, click on “Security & Privacy” and go through each tab to review your privacy settings. Adjust these settings according to your preferences to control app and system access to sensitive data.
- Configure energy-saving options: Open “System Preferences” and click on “Energy Saver.” Adjust the settings to optimize power usage and battery life based on your needs. Consider enabling features like Power Nap and Automatic graphics switching.
- Customize appearance and behavior: Navigate to “System Preferences” and explore the various options available to customize the appearance and behavior of your Mac. Adjust settings for desktop and screensaver, mission control, dock, and other features to personalize your Mac’s look and feel.
- Manage startup items: Go to “System Preferences” and select “Users & Groups.” Click on your username and navigate to the “Login Items” tab. Review the list of startup items and remove any unnecessary ones to optimize your Mac’s startup time.
- Set up iCloud and other accounts: Access “System Preferences” and click on “Internet Accounts.” Add your iCloud, email, and other online accounts to sync data and enable features like iCloud Drive and Find My Mac.
- Configure backup options: Use Time Machine or another backup solution to regularly back up your Mac. Open “System Preferences” and click on “Time Machine” to set up automatic backups and choose the backup disk.
- Explore accessibility options: If you have specific accessibility needs, open “System Preferences” and select “Accessibility.” Configure options related to vision, hearing, motor skills, and other accessibility features to customize your Mac for your needs.
By performing updates and configuring settings, you ensure that your Mac is running smoothly, up to date with the latest software, and tailored to your requirements. Regularly check for system and app updates to keep your Mac secure and benefit from new features and improvements.
Take the time to explore the various settings and features available on your Mac to personalize it for your preferences and workflow. By customizing settings, you can enhance your productivity, ease of use, and overall user experience on your Mac.
Remember to periodically review and adjust your settings as your needs change or new updates and features become available. This will help you optimize your Mac’s performance and ensure it continues to meet your requirements over time.
Final Thoughts
Congratulations on successfully performing a clean install of El Capitan on your Mac! By following the steps outlined in this guide, you have refreshed your Mac’s operating system and created a clean and optimized environment for improved performance and reliability.
A clean install is a great way to start anew, especially if you’ve noticed sluggishness or issues with your previous installation. El Capitan brings a range of benefits, including enhanced stability, security features, and improved compatibility with various applications and hardware.
As you settle into your newly installed operating system, take the time to explore the features and enhancements offered by El Capitan. From the intuitive interface to the powerful core technologies, there is a lot to discover and utilize for a seamless computing experience.
Remember to continue prioritizing regular backups, both for your important files and your system settings. This will ensure that you can easily recover and restore your data in case of any unforeseen events or system failures.
If you encounter any issues or have questions during or after the clean install process, don’t hesitate to seek assistance from Apple Support or engage with the vibrant community of Mac users online. They can provide guidance and solutions to help you overcome any challenges you may encounter.
Lastly, it is worth mentioning that staying up to date with future software updates and security patches is crucial for the longevity and security of your Mac. Keep an eye out for new releases and regularly check for updates to ensure your system remains optimized and protected.
Enjoy your rejuvenated Mac with the power of El Capitan and make the most out of its features and capabilities. With a fresh installation, you are well-equipped to tackle your daily tasks and delve into new possibilities on your Mac.