
Enable Secure Folder
One of the most effective ways to keep your messages private on your Samsung S20 is by utilizing the Secure Folder feature. This powerful tool acts as a secure and private space on your device, allowing you to store and access sensitive information without the risk of unauthorized access. Here's a step-by-step guide to help you enable and leverage the Secure Folder on your Samsung S20.
-
Access Secure Folder: First, locate and open the Secure Folder app on your Samsung S20. If you can't find it immediately, you can use the search function to locate the app quickly.
-
Set Up Secure Folder: Upon opening the Secure Folder app for the first time, you will be prompted to set it up. Follow the on-screen instructions to complete the setup process, including choosing a lock type such as PIN, pattern, password, or biometric authentication.
-
Add Content: Once the Secure Folder is set up, you can start adding content to it. This can include apps, photos, videos, documents, and messages that you want to keep private and secure.
-
Move Messages to Secure Folder: To keep your messages private, consider moving your messaging app into the Secure Folder. This ensures that your conversations and sensitive information are protected within this secure space.
-
Access Secure Folder Apps: To access the messaging app within the Secure Folder, simply open the Secure Folder app and navigate to the messaging app icon. You can now send and receive messages within the Secure Folder, knowing that your conversations are protected.
By enabling the Secure Folder feature on your Samsung S20, you can create a secure and private environment for your messages and other sensitive content. This provides an additional layer of protection, ensuring that your private conversations remain confidential and inaccessible to unauthorized individuals.
Utilizing the Secure Folder not only enhances the privacy of your messages but also offers a comprehensive solution for safeguarding various types of sensitive data on your Samsung S20. With this feature in place, you can have peace of mind knowing that your personal information is secure and protected from prying eyes.
Use Biometric Authentication
Utilizing biometric authentication is a highly effective method to enhance the security of your messages and other sensitive data on your Samsung S20. This advanced security feature leverages unique biological characteristics, such as fingerprints and facial features, to grant access to your device and specific applications. By enabling biometric authentication for your messaging app, you can significantly bolster the privacy and confidentiality of your conversations. Here's a detailed guide on how to set up and utilize biometric authentication on your Samsung S20:
-
Access Biometric Authentication Settings: Begin by accessing the biometric authentication settings on your Samsung S20. Navigate to the device's "Settings" and select the "Biometrics and Security" or "Lock Screen" option.
-
Choose Biometric Method: Within the biometric authentication settings, you can choose from various biometric methods, including fingerprint recognition and facial recognition. Select the preferred biometric method based on your device's capabilities and your personal preference.
-
Enroll Biometric Data: If you haven't already enrolled your biometric data, such as fingerprints or facial features, follow the on-screen instructions to complete the enrollment process. This typically involves placing your finger on the fingerprint sensor or positioning your face within the designated area for facial recognition.
-
Enable Biometric Authentication for Messaging App: Once your biometric data is enrolled, proceed to enable biometric authentication for your messaging app. Navigate to the app's settings, locate the security or privacy options, and enable the biometric authentication feature.
-
Authenticate Access to Messages: With biometric authentication enabled for your messaging app, you will now be prompted to verify your identity using your registered biometric data each time you attempt to access the app. This additional layer of security ensures that only authorized individuals can view and interact with your private messages.
By leveraging biometric authentication, you can fortify the security of your messaging app and prevent unauthorized access to your private conversations. This advanced security measure not only offers enhanced privacy but also streamlines the authentication process, allowing for convenient and secure access to your messages.
Incorporating biometric authentication into your messaging app's security framework aligns with the evolving landscape of mobile device security, providing a seamless and robust method to safeguard sensitive data. With biometric authentication in place, you can confidently communicate through your messaging app, knowing that your conversations are shielded by cutting-edge security measures.
Set Up Private Mode in Gallery
Setting up Private Mode in the Gallery of your Samsung S20 is a proactive step towards ensuring the privacy and security of your personal photos and videos. This feature provides a secure space within the Gallery app where you can store sensitive media content, protecting it from unauthorized access. By following these steps, you can effectively establish and utilize Private Mode in the Gallery, enhancing the confidentiality of your visual assets.
-
Access Private Mode: To initiate the setup process, open the Gallery app on your Samsung S20. Look for the option to enable Private Mode, which is typically located within the app's settings or menu. If you cannot locate it immediately, you can use the search function within the app to find the Private Mode feature.
-
Set Up Private Mode: Upon accessing the Private Mode feature, you will be prompted to set it up for the first time. Follow the on-screen instructions to configure Private Mode, which may include choosing a secure access method, such as a PIN, pattern, password, or biometric authentication using your device's advanced security features.
-
Select Media Content: Once Private Mode is activated, you can begin selecting the photos and videos that you wish to keep private and secure. Simply navigate to the desired media files within the Gallery, and then use the options provided to move them to Private Mode. This action effectively hides the selected content from the public view within the Gallery.
-
Access Private Content: With Private Mode established, accessing your private photos and videos becomes a seamless process. When Private Mode is enabled, the Gallery will display a distinct indicator, signaling that you are viewing private content. You can then access and view your private media files without the risk of exposure to others who may have access to your device.
-
Disable Private Mode: When you no longer require access to your private content, you can easily disable Private Mode within the Gallery settings. This action restores the visibility of your hidden media files within the Gallery, allowing them to be viewed alongside your non-private content.
By implementing Private Mode in the Gallery of your Samsung S20, you can confidently safeguard your personal photos and videos from unauthorized viewing. This feature serves as a secure vault for your sensitive media content, ensuring that only authorized individuals can access and view the private files within the Gallery.
Utilizing Private Mode not only enhances the privacy of your visual assets but also provides a practical solution for managing and protecting sensitive media content on your Samsung S20. With Private Mode in place, you can maintain control over the confidentiality of your photos and videos, mitigating the risk of unauthorized exposure.
Use Private DNS
Implementing a Private DNS on your Samsung S20 is a strategic approach to fortifying the privacy and security of your device's network connections. By utilizing a Private DNS, you can effectively encrypt your DNS queries, ensuring that your online activities remain confidential and shielded from potential eavesdropping and manipulation. Here's a comprehensive guide on how to set up and leverage a Private DNS on your Samsung S20, empowering you to enhance the privacy and security of your network communications.
-
Access Private DNS Settings: Begin by navigating to the "Settings" on your Samsung S20 and selecting the "Connections" or "Network & Internet" option. Within the network settings, locate and access the "Private DNS" section, which may be listed under advanced network settings.
-
Enable Private DNS: Once you have accessed the Private DNS settings, you can enable the feature by selecting the appropriate option, which may be labeled as "Private DNS provider hostname." Upon selection, you will be prompted to enter the hostname of your Private DNS provider. It's essential to obtain this hostname from a trusted Private DNS service to ensure the integrity and security of your network connections.
-
Enter Private DNS Hostname: Input the hostname provided by your chosen Private DNS service into the designated field within the Private DNS settings. This step establishes the connection between your device and the Private DNS server, enabling encrypted DNS resolution for your network activities.
-
Verify Private DNS Connection: Once the Private DNS hostname is entered, your Samsung S20 will initiate a connection to the Private DNS server, encrypting your DNS queries and enhancing the privacy and security of your online interactions. You can verify the successful establishment of the Private DNS connection within the device's network settings.
By leveraging a Private DNS on your Samsung S20, you can significantly bolster the privacy and security of your network communications, including web browsing, app usage, and other online activities. This proactive measure ensures that your DNS queries are encrypted, mitigating the risk of unauthorized monitoring and manipulation of your network traffic.
Incorporating a Private DNS into your device's network configuration aligns with the evolving landscape of digital privacy and security, offering a robust solution to safeguard your online interactions. With a Private DNS in place, you can confidently engage in online activities, knowing that your network connections are shielded by advanced encryption and privacy-enhancing technologies.
Enable Lockdown Mode
Enabling Lockdown Mode on your Samsung S20 is a proactive measure that enhances the security and privacy of your device, especially in situations where immediate protection of your personal data is paramount. This feature empowers you to quickly restrict access to your device's biometric authentication methods and secure sensitive information, providing an additional layer of defense against unauthorized access.
To activate Lockdown Mode, follow these simple steps:
-
Access Lockdown Mode: Begin by navigating to the device's "Settings" and selecting the "Biometrics and Security" or "Lock Screen" option. Within these settings, you will find the "Lockdown Mode" feature, which is designed to enhance the security of your device under specific circumstances.
-
Enable Lockdown Mode: Once you have located the Lockdown Mode feature, you can enable it by toggling the corresponding switch. This action ensures that Lockdown Mode is readily accessible when needed, allowing you to swiftly activate enhanced security measures on your Samsung S20.
-
Activate Lockdown Mode: When you find yourself in a situation where immediate security measures are necessary, such as in the presence of unauthorized individuals or when your device is at risk of being accessed without your consent, you can activate Lockdown Mode with ease. Simply press the power button to access the power options menu, then tap on the "Lockdown" option. This action instantly locks your device, disables biometric authentication methods, and conceals notifications on the lock screen.
By enabling Lockdown Mode on your Samsung S20, you can effectively safeguard your personal data and maintain control over the security of your device, even in unexpected or vulnerable situations. This feature serves as a valuable tool for protecting your privacy and preventing unauthorized access to your device and sensitive information.
Incorporating Lockdown Mode into your device's security framework aligns with the evolving landscape of digital privacy and security, offering a rapid and effective method to fortify the confidentiality of your personal data. With Lockdown Mode readily available, you can confidently navigate various scenarios, knowing that you have the ability to swiftly enhance the security of your Samsung S20 when the need arises.
Use Secure Wi-Fi
Utilizing secure Wi-Fi networks is a critical aspect of maintaining the privacy and security of your Samsung S20's internet connectivity. Secure Wi-Fi networks employ advanced encryption protocols and security measures to safeguard your data transmissions, protecting them from unauthorized access and potential interception by malicious entities. By connecting to secure Wi-Fi networks, you can significantly mitigate the risk of data breaches and unauthorized surveillance, ensuring that your online activities remain confidential and protected.
When accessing Wi-Fi networks with your Samsung S20, it is essential to prioritize the use of secure and trusted networks, especially when engaging in sensitive tasks such as online banking, accessing personal accounts, or transmitting confidential information. Here are key steps to ensure the use of secure Wi-Fi on your device:
-
Network Authentication: When connecting to a Wi-Fi network, verify that it requires a secure authentication method, such as WPA2 or WPA3. These encryption standards provide robust protection for your data, preventing unauthorized individuals from intercepting and deciphering your communications.
-
Network Selection: Prioritize the selection of Wi-Fi networks that are known for their strong security measures. Avoid connecting to open or unsecured networks, as they pose a higher risk of unauthorized access and potential data compromise.
-
VPN Utilization: Consider utilizing a reputable Virtual Private Network (VPN) service when accessing public Wi-Fi networks. A VPN creates a secure and encrypted tunnel for your internet traffic, effectively shielding your data from potential eavesdropping and ensuring that your online interactions remain private and secure.
-
Network Monitoring: Routinely monitor the Wi-Fi networks available in your vicinity and prioritize the use of networks that are secured with strong encryption and authentication methods. Avoid connecting to unfamiliar or unsecured networks to minimize the risk of unauthorized data exposure.
By adhering to these best practices and exercising vigilance when accessing Wi-Fi networks, you can reinforce the privacy and security of your Samsung S20's internet connectivity. Secure Wi-Fi usage plays a pivotal role in safeguarding your online interactions and preventing unauthorized access to your sensitive data, ultimately contributing to a more secure and private digital experience.
Incorporating the use of secure Wi-Fi networks into your device's connectivity strategy aligns with the evolving landscape of digital privacy and security, offering a proactive approach to protecting your data transmissions from potential threats. By prioritizing secure Wi-Fi connections, you can confidently engage in online activities, knowing that your internet communications are shielded by advanced encryption and robust security measures.
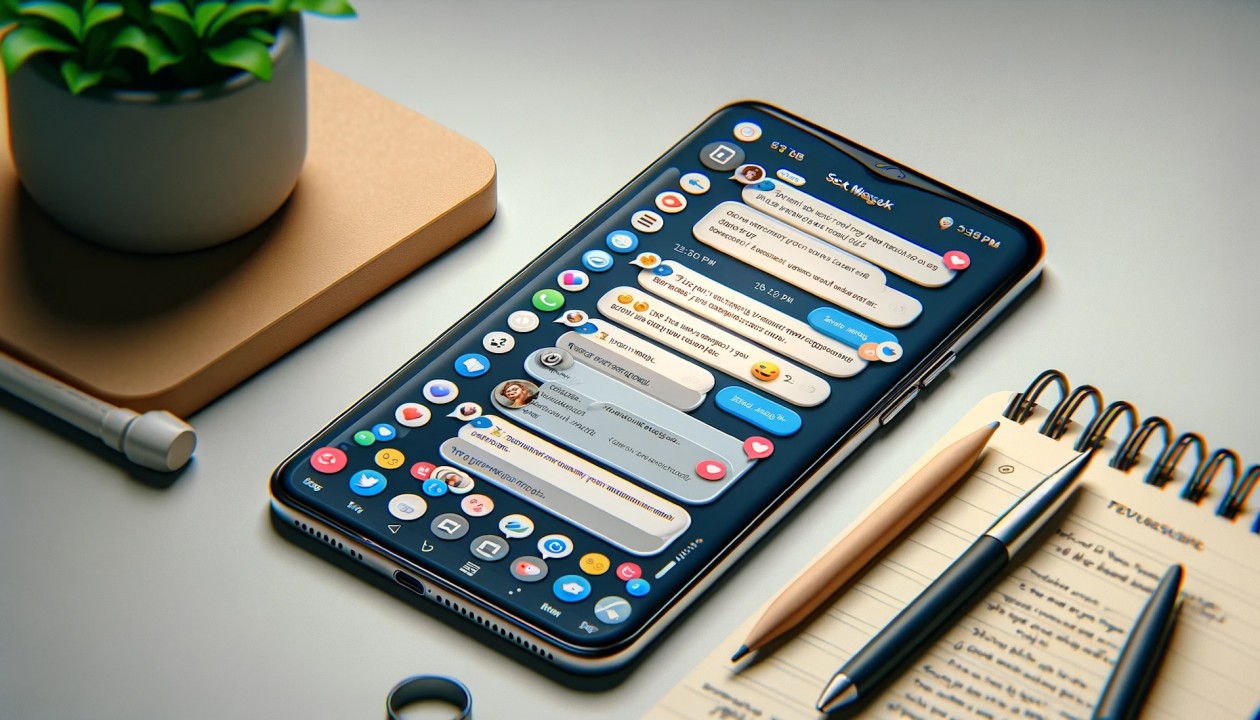
Use a Secure Messaging App
Utilizing a secure messaging app is paramount in maintaining the privacy and confidentiality of your conversations on your Samsung S20. Secure messaging apps employ robust encryption protocols and security features to protect your messages from unauthorized access and interception. By leveraging a secure messaging app, you can establish a fortified communication channel, ensuring that your private conversations remain shielded from potential threats.
When selecting a secure messaging app for your Samsung S20, it is essential to prioritize platforms that prioritize end-to-end encryption, which encrypts messages at the sender's device and decrypts them only at the recipient's device. This ensures that the content of your messages remains inaccessible to anyone other than the intended recipient, including service providers and potential attackers.
Additionally, look for messaging apps that offer advanced security features, such as self-destructing messages, which automatically delete sent messages after a predetermined period, further enhancing the privacy of your conversations. These features provide an additional layer of protection for sensitive information shared through the messaging app.
Furthermore, consider the app's track record in terms of security and privacy. Research the app's encryption standards, security practices, and history of safeguarding user data. Opt for messaging apps that have a proven commitment to protecting user privacy and have undergone independent security audits to validate the integrity of their encryption mechanisms.
By integrating a secure messaging app into your communication repertoire, you can confidently exchange sensitive information, engage in private discussions, and share personal details, knowing that your conversations are shielded by state-of-the-art security measures. This proactive approach contributes to a more secure and private messaging experience, mitigating the risk of unauthorized access to your conversations and preserving the confidentiality of your communication content.
Incorporating a secure messaging app into your communication strategy aligns with the evolving landscape of digital privacy and security, offering a proactive solution to safeguarding your conversations from potential interception and unauthorized access. By leveraging a secure messaging platform, you can foster a trusted and confidential communication environment, ensuring that your private conversations remain exclusively between you and your intended recipients.