
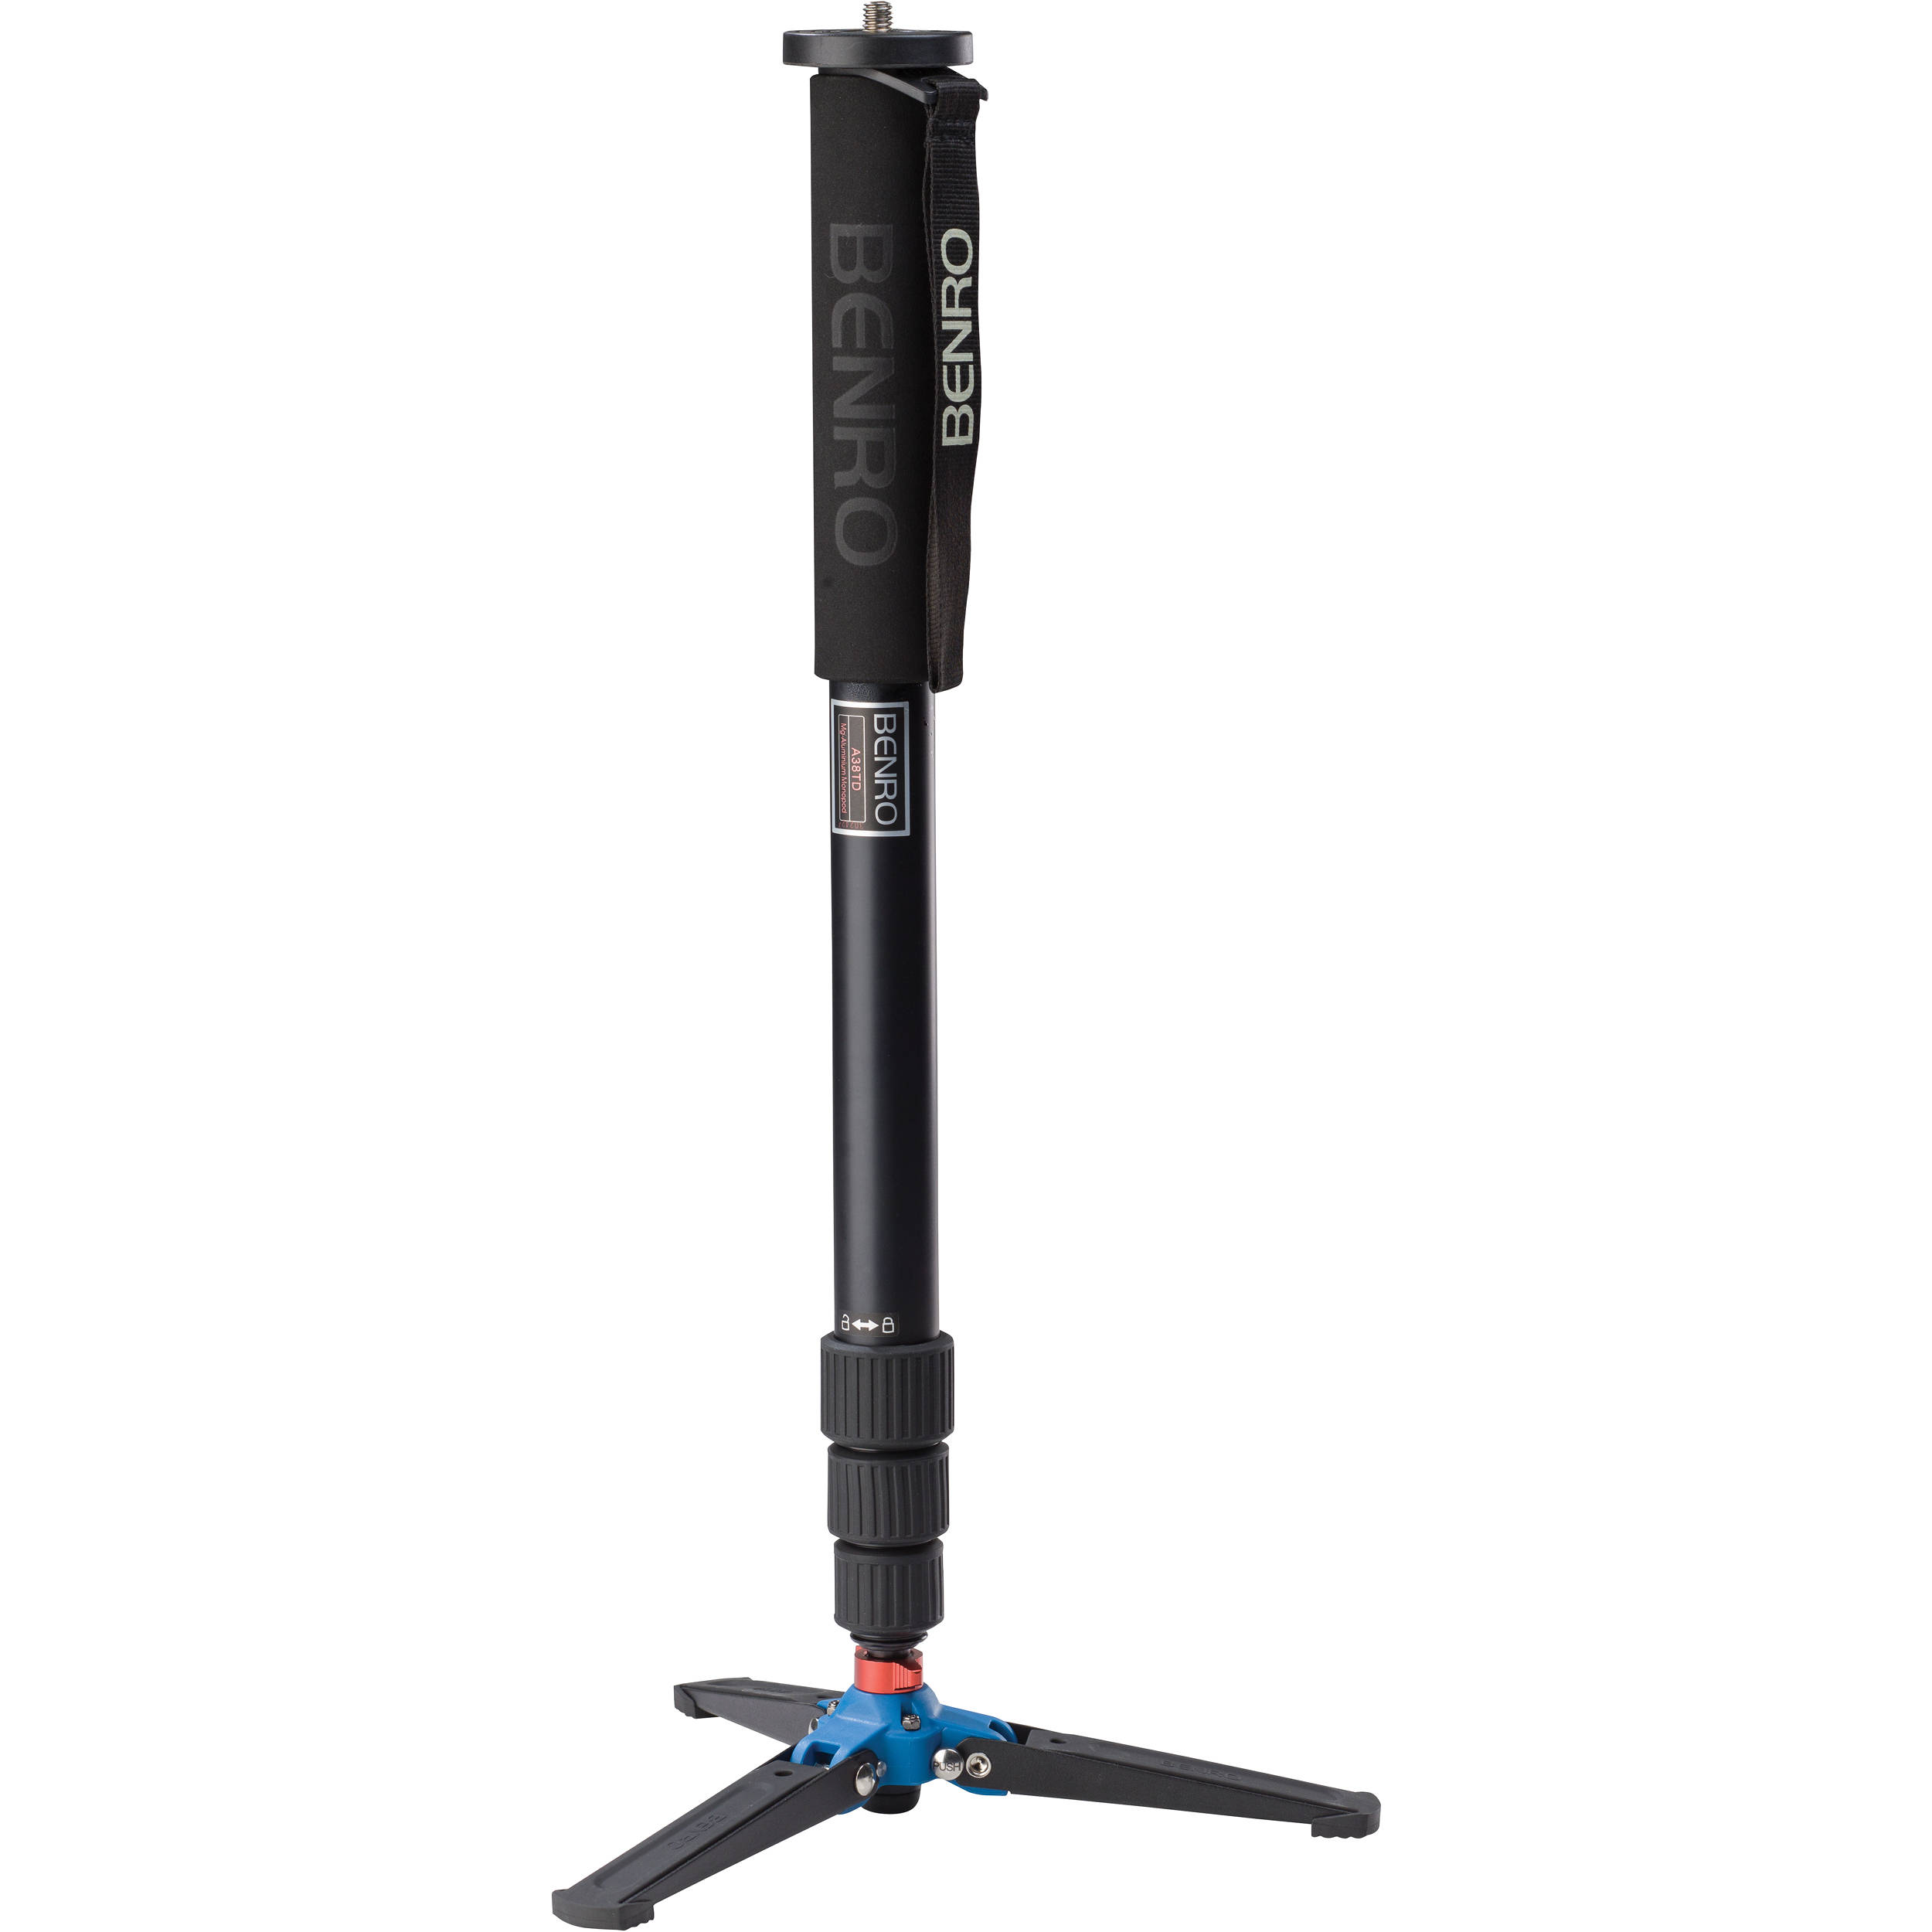
Why Tightening the Legs of Your Monopod is Important
When it comes to capturing stunning photographs or videos, stability is key. A monopod serves as a reliable tool for photographers and videographers, offering support and balance to achieve clear and steady shots. However, the effectiveness of a monopod heavily relies on the secureness of its legs. Loose or improperly tightened legs can compromise the stability of the monopod, leading to shaky images and potential equipment damage. Understanding the significance of tightening the legs of your monopod is crucial for ensuring consistent performance and optimal results.
Properly tightened legs provide the necessary foundation for your monopod, allowing it to bear the weight of your camera or camcorder without wobbling or shifting. Whether you’re shooting in a fast-paced environment or capturing stationary subjects, a stable monopod ensures sharp and blur-free imagery. Additionally, tightened legs contribute to the overall safety of your equipment, reducing the risk of accidental falls or damage caused by instability.
Moreover, a securely tightened monopod enhances the photographer or videographer’s experience by instilling confidence and peace of mind. With stable support, you can focus on framing the perfect shot or recording seamless footage without the distraction of a wobbly or unsteady monopod. This not only enhances the quality of your work but also minimizes the need for extensive post-processing to correct shaky images or videos.
By understanding the importance of tightening the legs of your monopod, you can elevate your photography and videography endeavors, ensuring that each moment is captured with precision and clarity.
Tools You’ll Need
Before embarking on the task of tightening the legs of your monopod, it’s essential to gather the necessary tools to facilitate the process. The following items will aid you in effectively securing the legs of your monopod:
- Hex Key Set: This versatile tool is commonly used to tighten or loosen screws and bolts. It comes in various sizes to accommodate different types of fasteners, making it indispensable for adjusting and securing the components of your monopod.
- Adjustable Wrench: An adjustable wrench allows you to tighten or loosen nuts and bolts with ease. Its adjustable jaw design enables it to fit various sizes of fasteners, providing flexibility when working on different parts of your monopod.
- Microfiber Cloth: Keeping a microfiber cloth handy is beneficial for wiping down the legs of your monopod and ensuring that they are free from debris or dirt, which can affect the locking mechanisms and overall stability.
- Lubricating Oil: In some cases, the locking mechanisms of monopod legs may benefit from a small amount of lubricating oil to maintain smooth operation. A lightweight, non-greasy lubricant can help prevent rust and corrosion, ensuring that the legs remain easy to adjust and secure.
By having these tools readily available, you can streamline the process of tightening the legs of your monopod, ensuring that your equipment remains in optimal condition for capturing exceptional photos and videos.
Step 1: Inspect the Legs
Prior to tightening the legs of your monopod, it’s crucial to conduct a thorough inspection to assess their condition and identify any areas that require attention. Begin by extending the legs to their full length, ensuring that each segment is fully extended and free from any obstructions or damage. Carefully examine the locking mechanisms of the legs, whether they are twist-lock, flip-lock, or lever-lock, to determine if they are functioning properly.
Inspect the surfaces of the legs for any signs of wear, corrosion, or dirt accumulation that may hinder the locking mechanisms from operating smoothly. Use a microfiber cloth to wipe down the legs, removing any debris or grime that could impede their movement. Additionally, check for any loose or missing components, such as rubber feet or locking system parts, and ensure that they are securely in place.
As you inspect the legs, pay close attention to any unusual sounds or sensations when extending or retracting them. Any grinding, sticking, or excessive play in the legs could indicate underlying issues that need to be addressed. By thoroughly examining the legs of your monopod, you can pinpoint areas that require tightening or maintenance, setting the stage for the subsequent steps in the process.
Remember, a comprehensive inspection lays the foundation for effectively tightening the legs of your monopod, ensuring that they are in optimal condition for providing stable support during your photography and videography endeavors.
Step 2: Identify the Type of Locking Mechanism
Before proceeding with the tightening process, it’s essential to identify the specific type of locking mechanism employed by the legs of your monopod. Understanding the distinct features and operation of each locking mechanism—whether it’s a twist-lock, flip-lock, or lever-lock—will enable you to apply the appropriate methods to ensure a secure and stable configuration.
Twist-Lock Legs: If your monopod features twist-lock legs, you’ll notice individual segments that can be rotated to lock or unlock the leg extensions. These segments typically have ridges or grooves that interlock when twisted, securing the legs in place. Understanding the direction and amount of rotation required to tighten the legs is crucial for achieving stability.
Flip-Lock Legs: Monopods equipped with flip-lock legs utilize hinged levers that, when flipped, secure the leg segments. To tighten flip-lock legs, it’s important to understand the proper technique for engaging and disengaging the levers to achieve the desired level of tightness and stability.
Lever-Lock Legs: Lever-lock legs feature levers that, when engaged, lock the leg segments in place. These levers are typically designed to be flipped open or closed, securing the legs at the desired length. Understanding how to manipulate the levers to tighten the legs is essential for maintaining stability.
By correctly identifying the type of locking mechanism present in your monopod, you can proceed with the subsequent steps, employing the specific techniques tailored to the design of the legs. This foundational knowledge will ensure that you approach the tightening process with precision and effectiveness, ultimately enhancing the stability and reliability of your monopod.
Step 3: Tightening Twist-Lock Legs
For monopods equipped with twist-lock legs, the process of tightening them involves a specific technique to ensure optimal stability and support. Follow these steps to effectively tighten the twist-lock legs of your monopod:
- Extend the Legs: Fully extend the legs of your monopod to their maximum length, ensuring that each segment is securely in place.
- Rotate Clockwise: To tighten the twist-lock legs, grip the lowest segment of each leg and rotate it clockwise. Apply firm but controlled pressure to engage the ridges or grooves, securing the leg in place. Repeat this action for each leg, ensuring that they are all tightened uniformly.
- Test for Stability: After tightening the twist-lock legs, gently apply downward pressure to the monopod to test its stability. If there is any noticeable play or movement in the legs, repeat the tightening process, ensuring that each segment is securely fastened.
- Adjust Tension as Needed: If the twist-lock legs exhibit excessive resistance or looseness when rotating, consider adjusting the tension to achieve the optimal balance between secure locking and ease of adjustment. Fine-tuning the tension will contribute to the overall stability of the monopod.
By following these steps, you can effectively tighten the twist-lock legs of your monopod, enhancing its stability and ensuring reliable support for your photography and videography endeavors.
Step 4: Tightening Flip-Lock Legs
When dealing with a monopod featuring flip-lock legs, the process of tightening them requires a specific approach to ensure optimal stability and reliability. Follow these steps to effectively tighten the flip-lock legs of your monopod:
- Extend the Legs: Fully extend the legs of your monopod to their maximum length, ensuring that each segment is fully engaged.
- Engage the Locking Levers: Locate the flip-lock levers on each leg and ensure that they are fully engaged to secure the leg segments in place. If the levers are already engaged, disengage them before proceeding to the next step.
- Adjust the Tension: Use an appropriate tool, such as an adjustable wrench, to adjust the tension of the flip-lock levers. Apply gentle pressure to increase the tension, ensuring that the levers provide a secure grip on the leg segments without impeding their movement.
- Test for Stability: After adjusting the tension, test the stability of the monopod by applying downward pressure to ensure that the flip-lock legs remain securely in place. If there is any noticeable play or movement, readjust the tension as needed until the desired stability is achieved.
By following these steps, you can effectively tighten the flip-lock legs of your monopod, enhancing its stability and ensuring reliable support for your photography and videography endeavors.
Step 5: Tightening Lever-Lock Legs
When dealing with a monopod equipped with lever-lock legs, the process of tightening them requires a specific approach to ensure optimal stability and reliability. Follow these steps to effectively tighten the lever-lock legs of your monopod:
- Extend the Legs: Fully extend the legs of your monopod to their maximum length, ensuring that each segment is fully engaged.
- Engage the Locking Levers: Locate the locking levers on each leg and ensure that they are fully engaged to secure the leg segments in place. If the levers are already engaged, disengage them before proceeding to the next step.
- Adjust the Tension: Use an appropriate tool, such as an adjustable wrench, to adjust the tension of the locking levers. Apply gentle pressure to increase the tension, ensuring that the levers provide a secure grip on the leg segments without impeding their movement.
- Test for Stability: After adjusting the tension, test the stability of the monopod by applying downward pressure to ensure that the lever-lock legs remain securely in place. If there is any noticeable play or movement, readjust the tension as needed until the desired stability is achieved.
By following these steps, you can effectively tighten the lever-lock legs of your monopod, enhancing its stability and ensuring reliable support for your photography and videography endeavors.
Step 6: Testing the Stability
After completing the process of tightening the legs of your monopod, it is essential to perform a thorough stability test to ensure that the adjustments have been successful. Testing the stability of your monopod will validate the effectiveness of the tightening process and provide confidence in its ability to support your camera or camcorder during photography or videography sessions.
Begin by setting up your monopod on a flat, level surface, ensuring that the legs are fully extended and securely tightened according to the specific locking mechanism. Once in position, gently apply downward pressure to the monopod to simulate the weight of your camera equipment. Observe the behavior of the monopod and assess its stability:
- Minimal Movement: A stable monopod should exhibit minimal to no movement when pressure is applied. If the monopod remains steady and resists any significant shifting or wobbling, it indicates that the legs have been effectively tightened, providing a secure foundation for your equipment.
- Uniform Support: Ensure that each leg of the monopod contributes equally to the support structure, maintaining a consistent level of stability. If one leg appears to be weaker or less secure than the others, revisit the tightening process for that specific leg to achieve uniform stability.
- Smooth Adjustments: While maintaining stability, confirm that the legs can still be adjusted and retracted smoothly without compromising their secure positioning. This ensures that you can easily adapt the height and configuration of the monopod during your photography or videography activities.
By conducting a comprehensive stability test, you can verify the effectiveness of the tightening process and address any remaining concerns regarding the stability of your monopod. This final step ensures that your monopod is fully prepared to provide the necessary support and stability for capturing exceptional photos and videos in various settings and conditions.