
Checking the Package Contents
Upon receiving your Onikuma gaming headset, it's essential to ensure that all the necessary components are included in the package. This step is crucial to guarantee a smooth and successful assembly and setup process. Let's delve into the contents you should expect to find:
-
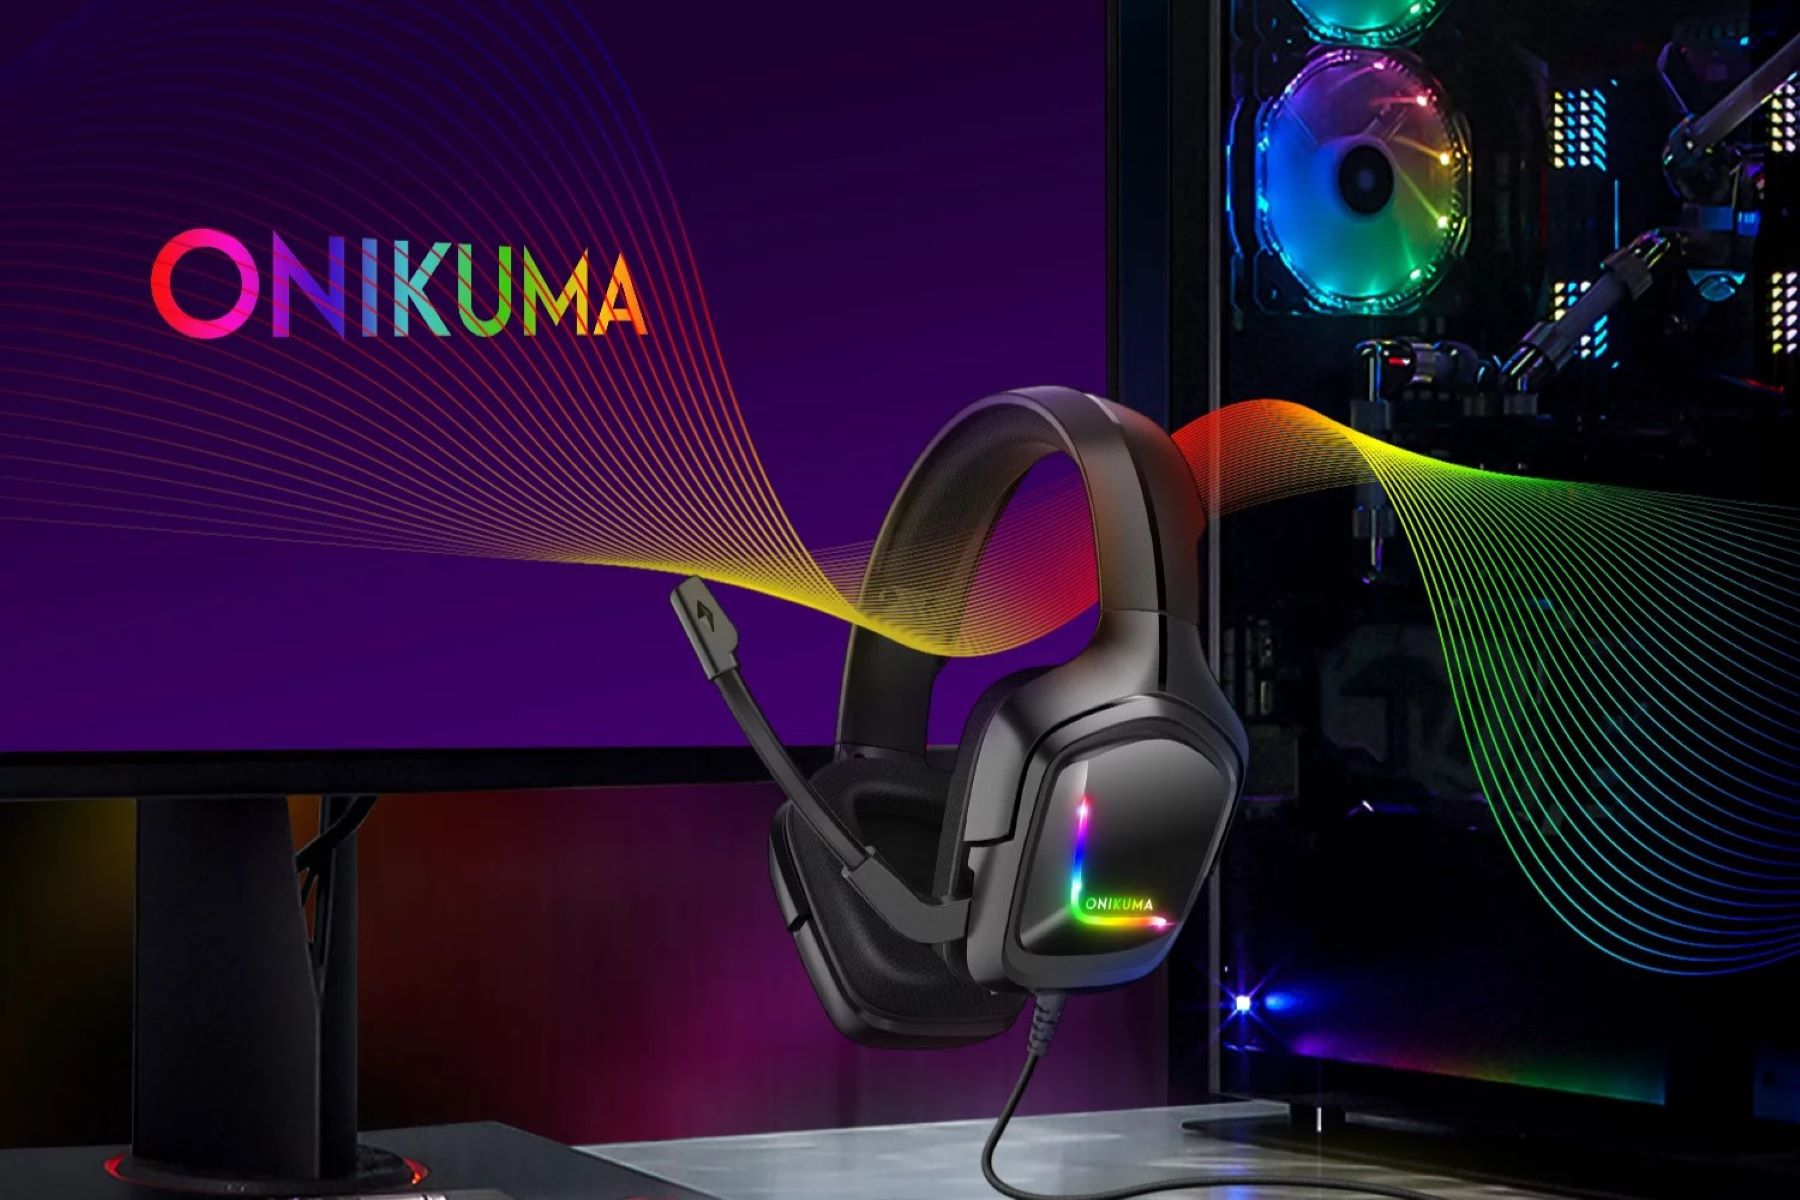
Onikuma Gaming Headset: The centerpiece of the package, the Onikuma gaming headset, is designed to deliver immersive audio and comfortable wear during extended gaming sessions. It features high-quality speakers, a flexible microphone, and adjustable headband and ear cups for a personalized fit.
-
Detachable Microphone: This component is vital for clear communication with fellow gamers during multiplayer sessions. The detachable feature offers flexibility, allowing you to use the headset for both gaming and casual listening.
-
User Manual: The user manual serves as your guide to understanding the features and functionalities of the Onikuma gaming headset. It provides detailed instructions on assembly, connection, and troubleshooting, ensuring that you can make the most of your gaming experience.
-
Audio/Microphone Splitter Cable (if applicable): Some Onikuma gaming headsets come with an audio/microphone splitter cable, which is particularly useful for devices with separate audio and microphone input jacks. This accessory facilitates seamless connectivity and optimal performance.
-
Warranty Card: The warranty card outlines the terms and duration of the product warranty, providing you with essential information in case you encounter any issues with the headset.
-
Carrying Pouch (if included): For added convenience and portability, some packages may include a carrying pouch to store and protect your Onikuma gaming headset when not in use.
-
Additional Accessories (if applicable): Depending on the specific model, your package may contain additional accessories such as extra ear cushions, a headset stand, or custom decorative elements to personalize your gaming setup.
By meticulously inspecting the package contents and verifying the presence of these items, you can proceed with confidence to the next steps of assembling and setting up your Onikuma gaming headset. This thorough check ensures that you have all the necessary components at your disposal, setting the stage for an optimal gaming experience.
Assembling the Headset
Assembling your Onikuma gaming headset is a straightforward process that sets the stage for an immersive gaming experience. Follow these step-by-step instructions to ensure a seamless assembly:
-
Attach the Detachable Microphone: If your Onikuma gaming headset comes with a detachable microphone, carefully align the microphone’s jack with the corresponding port on the headset. Gently insert the microphone until you hear a click, indicating that it is securely attached. This feature allows you the flexibility to switch between gaming and casual listening modes effortlessly.
-
Adjust the Headband and Ear Cups: Prioritize comfort by adjusting the headband and ear cups to fit your head and ears comfortably. The headband should rest evenly on the top of your head, while the ear cups should enclose your ears without causing discomfort. This personalized fit ensures prolonged gaming sessions without discomfort.
-
Connect the Audio/Microphone Cable (if applicable): For devices with separate audio and microphone input jacks, utilize the audio/microphone splitter cable if included in your package. Insert the corresponding plugs into the respective jacks on your device, ensuring a secure connection for optimal audio and microphone performance.
-
Refer to the User Manual: For model-specific assembly instructions or additional components, refer to the user manual included in the package. The user manual provides detailed guidance to ensure that you assemble the headset correctly and make the most of its features.
By meticulously following these assembly steps, you can prepare your Onikuma gaming headset for seamless connectivity to your gaming device, ensuring that you are ready to dive into an immersive gaming environment. The assembly process sets the stage for the next crucial step: connecting the headset to your gaming device.
Connecting the Headset to Your Device
Once you have successfully assembled your Onikuma gaming headset, the next step is to connect it to your gaming device. This crucial process ensures that you can experience high-quality audio and seamless communication during your gaming sessions. Follow these steps to establish a reliable connection:
-
Identify the Audio and Microphone Ports: Locate the audio and microphone ports on your gaming device. These are typically color-coded, with the audio port being green and the microphone port being pink. If you are using a desktop computer, these ports are commonly found on the front or rear of the CPU. For laptops and mobile devices, the ports may be located on the sides.
-
Plug in the Headset’s Audio and Microphone Cables: Insert the corresponding audio and microphone plugs from the Onikuma gaming headset into the audio and microphone ports on your gaming device. Ensure a secure connection to prevent audio distortion or intermittent microphone functionality. The plugs are designed to fit snugly into the ports, providing a stable connection.
-
Use the Audio/Microphone Splitter Cable (if applicable): If your gaming device features separate audio and microphone input jacks, utilize the audio/microphone splitter cable included with your Onikuma gaming headset. This accessory streamlines the connection process, allowing you to plug the headset into the appropriate jacks without compatibility issues.
-
Adjust Audio and Microphone Settings: Once the headset is connected, access the audio and microphone settings on your gaming device. Ensure that the Onikuma gaming headset is selected as the default audio and microphone input/output device. This step optimizes the headset’s performance and ensures that you can fully immerse yourself in the gaming audio while maintaining clear communication with fellow gamers.
By meticulously following these steps, you can establish a reliable and high-quality connection between your Onikuma gaming headset and your gaming device. This seamless connectivity paves the way for an enhanced gaming experience, allowing you to fully appreciate the audio nuances of your favorite games and communicate effectively with teammates during multiplayer sessions.
Adjusting the Headset for Comfort
Ensuring that your Onikuma gaming headset is properly adjusted for comfort is essential for extended gaming sessions. By customizing the fit to your specific preferences, you can minimize discomfort and distractions, allowing you to fully immerse yourself in the gaming experience. Follow these steps to achieve optimal comfort:
-
Headband Adjustment: Begin by adjusting the headband to fit the contours of your head comfortably. Extend or retract the headband to achieve a snug yet gentle fit. The goal is to evenly distribute the headset’s weight across the top of your head, alleviating pressure points and ensuring long-term wearability.
-
Ear Cup Positioning: Position the ear cups over your ears, ensuring that they fully enclose the ears without exerting excessive pressure. The cushioned ear cups should create a seal around the ears, effectively blocking out external distractions while providing a comfortable listening experience.
-
Microphone Placement: If your Onikuma gaming headset features a flexible microphone, adjust its position to achieve optimal proximity to your mouth. Position the microphone to ensure clear and consistent voice transmission without obstructing your field of vision or causing discomfort.
-
Tension Adjustment: Some Onikuma gaming headsets feature adjustable tension knobs or sliders, allowing you to fine-tune the clamping force exerted by the headset. Customize the tension to achieve a secure fit without excessive pressure on the head or ears, promoting comfort during prolonged use.
By meticulously adjusting the headset for comfort, you can optimize your gaming experience by minimizing distractions and physical discomfort. This personalized fit allows you to focus on the immersive audio and gameplay, enhancing your overall enjoyment and performance during gaming sessions. Additionally, it promotes long-term comfort, making the Onikuma gaming headset an ideal companion for extended gaming endeavors.
Testing the Headset
After assembling and adjusting your Onikuma gaming headset, it’s essential to conduct thorough testing to ensure that it functions optimally and delivers the immersive audio and communication capabilities essential for an exceptional gaming experience. Follow these steps to comprehensively test your headset:
-
Audio Playback Test: Play a variety of audio content, including music, game soundtracks, and video clips, to gauge the headset’s audio quality. Pay attention to the clarity, depth, and balance of the sound, ensuring that the headset reproduces the audio faithfully without distortion or imbalance.
-
Microphone Test: Utilize the microphone to record your voice and assess the clarity and accuracy of the audio capture. Speak at varying volumes and distances from the microphone to determine its sensitivity and noise-cancelling capabilities, crucial for effective communication during gaming sessions.
-
Gaming Session Test: Engage in a gaming session to experience the headset’s performance in a practical gaming environment. Pay attention to the spatial audio, directional cues, and overall immersion provided by the headset, allowing you to fully appreciate the audio nuances of your favorite games.
-
Communication Test: If engaging in multiplayer gaming, communicate with teammates or fellow gamers to assess the clarity and reliability of the headset’s microphone. Clear and consistent voice transmission is crucial for effective teamwork and coordination during multiplayer sessions.
By conducting these comprehensive tests, you can ensure that your Onikuma gaming headset meets your expectations in terms of audio quality, microphone performance, and overall gaming experience. Any adjustments or fine-tuning required can be addressed based on the outcomes of these tests, allowing you to maximize the headset’s potential for future gaming endeavors.
Troubleshooting Tips
While the Onikuma gaming headset is designed for seamless performance, encountering occasional issues is not uncommon. By familiarizing yourself with troubleshooting techniques, you can swiftly address and resolve potential challenges, ensuring uninterrupted gaming enjoyment. Consider the following tips to troubleshoot common headset-related issues:
-
Audio Distortion or Imbalance: If you notice audio distortion, imbalance, or lack of clarity, verify that the audio and microphone plugs are securely connected to the gaming device. Additionally, ensure that the audio and microphone settings are correctly configured, and the headset is selected as the default audio output and input device.
-
Microphone Malfunctions: In the event of microphone malfunctions or inconsistent performance, check the microphone connection to the headset and the gaming device. Adjust the microphone’s positioning to ensure optimal proximity to your mouth, and verify that the microphone settings are appropriately configured within the gaming software or operating system.
-
Intermittent Audio or Microphone Functionality: If the headset’s audio or microphone functionality is intermittent, inspect the audio and microphone cables for any signs of damage or wear. Additionally, test the headset on alternative devices to determine if the issue is specific to a particular gaming device or software configuration.
-
Comfort and Fit Issues: Should you experience discomfort or fit-related challenges, revisit the headset’s adjustment features, including the headband, ear cups, and tension adjustments. Ensure that the headset is properly fitted to your head and ears, minimizing pressure points and promoting long-term comfort during extended gaming sessions.
By applying these troubleshooting tips, you can swiftly address common issues that may arise with your Onikuma gaming headset, allowing you to maintain an optimal gaming experience. Additionally, referring to the user manual for model-specific troubleshooting guidance and reaching out to Onikuma’s customer support can provide valuable assistance in resolving more complex or persistent issues.