
Checking for Updates
Regularly checking for updates is essential to ensure that your Mac is running smoothly and securely. Mac OS updates often include bug fixes, security patches, and new features that improve the performance of your computer. Here’s how you can check for updates:
- Click on the Apple menu in the top-left corner of your screen and select “App Store”.
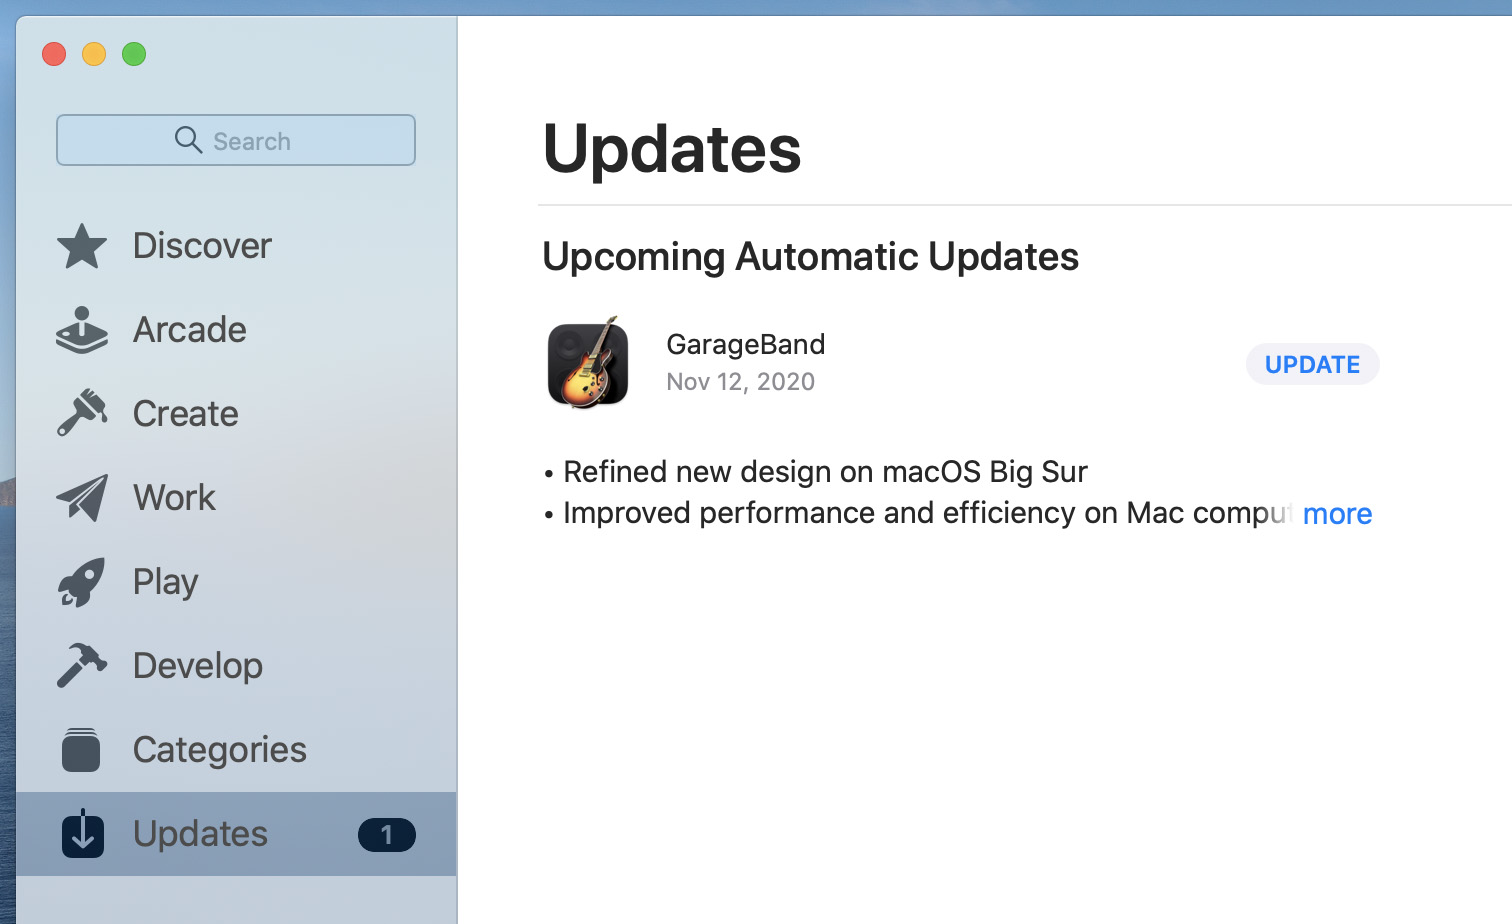
- In the App Store window, click on the “Updates” tab located at the top of the window.
- The App Store will automatically check for updates. If any updates are available, you will see them listed. You can choose to install all updates at once or select specific updates to install.
- Before installing the updates, it’s a good idea to review the release notes provided. This will give you an overview of the changes and improvements brought by each update.
- If you’re not sure whether to install a specific update, you can click on the “More” button next to the update to read more detailed information about it.
- To start downloading and installing the updates, click on the “Update” button next to each update. You may be prompted to enter your Apple ID credentials to authorize the installation process.
- Depending on the size of the updates and the speed of your internet connection, the installation process may take some time. Make sure you have a stable internet connection and avoid interrupting the installation.
It’s important to note that checking for updates only checks for updates available on the App Store. Some system updates, such as firmware updates, may not be available through the App Store and require a different installation method. It’s recommended to regularly check the Apple Support website for any available firmware updates specific to your Mac model.
By keeping your Mac up to date with the latest updates from Apple, you can ensure that your computer is running at its best, with improved stability, security, and performance. Now that you know how to check for updates, let’s move on to the next step: downloading and installing updates.
Downloading Updates
Once you have checked for updates and found available updates for your Mac, the next step is to download them. Here’s how you can easily download updates from the App Store:
- In the App Store “Updates” tab, you will see a list of available updates. To start the download process, click on the “Update” button next to each update you want to download.
- The updates will begin downloading automatically. You can monitor the progress of each download in the “Updates” tab. It’s important to have a stable internet connection during the download process to avoid interruptions.
- If you decide to pause or cancel a download, simply click on the “Pause” or “Cancel” button next to the update in progress. You can resume the download at any time by clicking on the “Resume” button.
- If you have multiple updates downloading simultaneously, the App Store will prioritize the downloads based on their size and importance. Larger updates may take longer to download, so patience is key.
- Once the download is complete, the update will be ready for installation. You can proceed to the next step, which is updating macOS.
It’s worth mentioning that downloading updates can take some time, depending on the size of the updates and the speed of your internet connection. If you’re experiencing slow download speeds, you may consider connecting to a faster and more stable internet network to speed up the process.
Downloading updates enables you to keep your Mac up to date with the latest features, improvements, and security patches. In the next section, we will guide you through the steps to install the downloaded updates and ensure that your macOS is always up to date.
Updating macOS
Now that you have successfully downloaded the updates from the App Store, it’s time to install them and update your macOS. Here are the steps to update macOS:
- Make sure all your important files and documents are saved and close any open applications. It’s a good practice to back up your data before updating macOS, just in case.
- In the App Store “Updates” tab, you will see the updates that are ready to be installed. Click on the “Update” button next to each update, or click on the “Update All” button if you want to install all the available updates at once.
- Enter your Apple ID credentials if prompted to authorize the installation process. This step ensures that only authorized users can install updates on your Mac.
- The update installation process will begin. You might be asked to restart your Mac during the process, especially for major system updates. Save your work and follow the on-screen instructions to proceed with the restart.
- During the update installation, your Mac may display a progress bar. The time it takes to complete the update depends on the size of the update and the speed of your Mac. Avoid interrupting the installation process to prevent any potential issues.
- Once the update installation is complete, your Mac will restart, and you will be running the latest version of macOS with all the new features, bug fixes, and security enhancements.
Updating macOS is crucial to ensure the overall performance, stability, and security of your Mac. It’s recommended to keep your operating system up to date with the latest updates provided by Apple. By doing so, you can enjoy an improved user experience and protect your Mac from potential vulnerabilities.
Now that you have successfully updated your macOS, let’s move on to the next section where we will discuss managing app updates.
Restarting Your Mac
After installing updates on your Mac, it is essential to restart your computer to ensure that the updates take effect successfully. Restarting your Mac not only completes the update process but also helps improve system performance. Here’s how you can restart your Mac:
- Click on the Apple menu in the top-left corner of your screen.
- In the drop-down menu, choose “Restart”.
- A pop-up window will appear, asking for confirmation to restart your Mac. Click on “Restart” to proceed.
- Your Mac will now begin the restart process. Ensure that you save any unsaved work before the restart.
- Once your Mac restarts, it will boot up with the updated macOS version and apply any necessary changes to fully implement the installed updates.
- After the restart, you can log back in to your Mac using your usual username and password.
Restarting your Mac allows the system to clear any temporary files, refresh its memory, and ensure that the updates are functioning correctly. It is crucial to restart your Mac after updating to ensure the stability and optimal performance of your computer.
By following these simple steps and regularly restarting your Mac after installing updates, you can ensure that you are making the most of the updates and keeping your system running smoothly.
Next, let’s discuss how you can manage app updates on your Mac to ensure that all your applications are up to date and running efficiently.
Managing App Updates
Keeping your applications up to date is just as important as updating your macOS. App updates often include new features, bug fixes, and security enhancements that can enhance your user experience and improve the performance of the apps. Here are some tips for managing app updates on your Mac:
- Open the App Store on your Mac by clicking on the Apple menu in the top-left corner of the screen and selecting “App Store”.
- Click on the “Updates” tab at the top of the App Store window to see a list of available app updates.
- If you want to update a specific app, click on the “Update” button next to that app. If you want to update all apps at once, click on the “Update All” button at the top-right corner of the App Store window.
- Enter your Apple ID credentials if prompted, to authorize the installation of the app updates.
- The app updates will begin downloading and installing. You can monitor the progress in the “Updates” tab of the App Store.
- Once the updates are installed, your apps will be up to date with the latest features and bug fixes.
- It’s a good practice to periodically check for app updates to ensure that you’re using the most recent versions of your favorite apps. You can set up automatic app updates to streamline the process, as we’ll discuss in the next section.
In addition to updating your apps via the App Store, some apps have their own built-in update mechanisms. You can usually find an “About” or “Check for Updates” option within the app’s menu, allowing you to manually check for updates directly from the app.
Regularly updating your apps not only brings new features and improvements but also helps protect your Mac from security vulnerabilities that could be exploited by outdated apps. It’s essential to stay proactive in managing app updates to ensure the optimal performance and security of your Mac.
Now, let’s explore how you can enable automatic updates to make the process even more convenient.
Enabling Automatic Updates
To streamline the process of updating your macOS and apps, you can enable automatic updates on your Mac. With automatic updates enabled, your Mac will download and install updates automatically, ensuring that you’re always running the latest software versions. Here’s how you can enable automatic updates:
- Click on the Apple menu in the top-left corner of your screen and select “System Preferences”.
- In the System Preferences window, click on “Software Update”.
- Choose the “Advanced” button at the bottom-right corner of the Software Update window.
- In the Advanced options, check the box next to “Check for updates” and “Download new updates when available”.
- You can choose to further customize the automatic update settings by selecting the appropriate checkboxes, such as “Install macOS updates”, “Install app updates from the App Store”, or “Install system data files and security updates”.
- Once you’ve selected the desired options, close the Advanced options window.
- Your Mac will now automatically check for updates and download and install them in the background without requiring your intervention.
Enabling automatic updates can save you time and effort by ensuring that your Mac and apps are always up to date. This proactive approach helps keep your system secure and optimized, as you benefit from the latest features and bug fixes released by Apple and app developers.
Although automatic updates simplify the process, it’s still a good idea to periodically check for updates manually to ensure that no critical updates are missed or to manage app-specific updates that are not available through the App Store.
Now that you have learned how to enable automatic updates, let’s move on to the next section, where we will explore some common troubleshooting tips for updates.
Troubleshooting Updates
While updating macOS and apps is typically a straightforward process, you may encounter occasional issues or errors. Here are some common troubleshooting tips to help you resolve any update-related problems:
- Check your internet connection: Ensure that you have a stable internet connection. If the connection is unreliable or slow, it may affect the update process. Consider connecting to a different network or restarting your router.
- Restart your Mac: Sometimes, a simple restart can resolve minor update-related issues. Restart your Mac and try updating again.
- Free up disk space: Insufficient disk space can prevent updates from being downloaded or installed. Delete unnecessary files or move them to an external storage device to free up disk space.
- Reset the App Store cache: A corrupt cache can cause issues with the App Store. Go to the “Finder” and press Shift+Cmd+G to open the “Go to Folder” window. Enter “~/Library/Caches/com.apple.appstore” and delete the contents of the folder.
- Disable VPN or firewall: If you’re using a VPN or firewall, temporarily disable them and try updating again. Sometimes, these security measures can interfere with the update process.
- Reset NVRAM/PRAM: Resetting the NVRAM or PRAM on your Mac can help resolve various system-related issues. Restart your Mac and immediately press and hold Option+Cmd+P+R until your Mac restarts again.
- Contact Apple Support: If the update issue persists or you encounter error messages that you’re unable to resolve, it’s recommended to reach out to Apple Support for further assistance. They can provide personalized troubleshooting steps based on your specific issue.
By following these troubleshooting tips, you can overcome most common update-related problems on your Mac. Remember to always have a backup of your important files before performing any troubleshooting steps to avoid data loss.
Now that you have learned how to troubleshoot update issues, you are equipped with the knowledge to resolve any challenges that may arise during the updating process.