
Why Inserting Images Inline is Useful in Emails
Inserting images inline in emails offers several benefits that can enhance your communication and make your messages more impactful. Let’s explore why this practice is useful:
1. Visual Appeal: Images have the power to capture attention and make your email more visually appealing. Whether you’re sending a marketing campaign, sharing a personal photo, or illustrating a point, embedding images directly in the email ensures they are immediately visible to the recipient.
2. Increased Engagement: By adding images inline, you provide a more immersive experience for your recipients. Humans are visual creatures, and our brains process visual information faster and more effectively. Including images in your emails can help grab and hold recipients’ attention, increasing their engagement with your content.
3. Improved Message Clarity: Sometimes, textual descriptions or explanations are not enough to convey your message effectively. By inserting images inline, you can provide visual examples or demonstrations that clarify complex ideas, making it easier for the recipient to understand your message.
4. Brand Enhancement: Inline images give you an opportunity to reinforce your brand identity. Whether it’s adding a logo, product images, or branded graphics, including visual elements that align with your brand can help strengthen your brand presence and make your emails more recognizable.
5. Mobile Optimization: With the rise of mobile devices, it’s essential to ensure your emails are optimized for mobile viewing. Inline images eliminate the need for recipients to download or open attachments separately, providing a seamless viewing experience across different devices and email clients.
6. Increased Click-through Rates: When you insert images inline, you can utilize them as clickable elements, linking them to relevant pages or CTAs. This can help drive higher click-through rates, directing recipients to your website, landing pages, or other desired destinations.
Step 1: Open Windows Live Hotmail
To start inserting an image inline in your Windows Live Hotmail email, follow these steps:
1. Launch your preferred web browser and type in “live.com” in the address bar. Press Enter to access the Windows Live Hotmail login page.
2. Enter your email address and password in the respective fields and click on the “Sign In” button to access your Hotmail account.
3. Once you are logged in, you will be taken to your Hotmail inbox. Here, you will find various options for composing and managing your emails.
4. To compose a new email, click on the “New” button located at the top-left corner of the screen. This will open a new email composition window.
5. In the email composition window, you will see a toolbar with various formatting options for your email. This toolbar allows you to customize the appearance of your email and insert different types of content, including inline images.
6. If you are not seeing the toolbar, make sure you have the “Rich Text” formatting option selected. You can do this by clicking on the “Formatting options” button, usually represented by an icon with an arrow pointing downward, and selecting “Rich Text” from the dropdown menu.
7. Once you have the toolbar visible, you are ready to proceed to the next step, where you will learn how to open the “Insert Image” tool in Windows Live Hotmail.
Opening Windows Live Hotmail and accessing the email composition window is the first step towards inserting an image inline in your email. Now, let’s move on to the next step to learn how to use the “Insert Image” tool in Hotmail.
Step 2: Compose a New Email
Once you have access to your Windows Live Hotmail account, follow these steps to compose a new email:
1. After logging in, you will be directed to your Hotmail inbox. Look for the “New” button, usually located at the top-left corner of the screen. Click on this button to start composing a new email.
2. A blank email composition window will open, allowing you to enter the recipient’s email address, subject line, and the actual content of the email.
3. Begin by entering the recipient’s email address in the “To” field. If you are sending the email to multiple recipients, separate each email address with a comma or a semicolon.
4. Move on to the “Subject” field and enter a concise and informative subject line that summarizes the purpose or topic of your email. A well-crafted subject line can increase the likelihood of your email being opened and read.
5. Below the subject line, you will find the main body of the email. This is where you can type your message to the recipient. Feel free to use rich formatting options available in the toolbar to emphasize key points or add visual elements to make your email more engaging.
6. Take advantage of features like bullet points, numbering, bold, italic, and underline to structure your content, highlight important details, and create a visually appealing format.
7. Keep in mind that the content you write in the email is just as important as the image you are going to insert inline. Be clear, concise, and organized in your writing, ensuring that your message is easy to understand and relevant to the recipient.
8. Once you have composed the email and included all necessary details, proofread it for any errors or typos. Make sure that the tone and language used align with your intended message and recipient.
9. It’s always a good practice to include a polite closing remark, such as “Sincerely” or “Best regards,” followed by your name or any necessary contact information.
Now that you have successfully composed your email, you are ready to move on to the next step, which involves opening the “Insert Image” tool in Windows Live Hotmail.
Step 3: Open the Insert Image Tool
To insert an image inline in your Windows Live Hotmail email, you need to open the “Insert Image” tool. Follow these steps:
1. With the email composition window open, position your cursor at the exact location within the email where you want to insert the image. This allows you to have precise control over the image placement.
2. Locate the toolbar at the top of the email composition window. Look for the icon that represents an image or picture. This icon usually resembles a mountain or a square with a mountain silhouette inside it.
3. Click on the image icon to open the “Insert Image” tool. Depending on the layout of the Hotmail interface, the tool may appear as a pop-up window or as a sidebar within the email composition window.
4. Once the “Insert Image” tool is open, you will have multiple options for adding images to your email. You can either choose an image from your computer’s local storage or use a URL to insert an image hosted online.
5. If you want to insert an image from your computer, click on the “Browse” button or the “Choose File” button (the exact wording may vary) within the “Insert Image” tool. This will open a file explorer window, allowing you to navigate and select the image file on your computer.
6. Alternatively, if the image you want to use is already hosted online, you can enter its URL directly into the “Image URL” field within the “Insert Image” tool. Make sure you have the correct and complete URL of the image.
7. After selecting or entering the image, click on the “Insert” button within the “Insert Image” tool. This will embed the selected image into your email at the location where your cursor was positioned.
8. Remember that inline images should enhance the content and be relevant to your email’s purpose. Avoid using excessively large or high-resolution images that may cause the email to load slowly or appear distorted in certain email clients.
Now that you have successfully opened the “Insert Image” tool and selected an image, you can proceed to the next step, which involves inserting the image inline within your email.
Step 4: Choose an Image to Insert
Now that you have opened the “Insert Image” tool in Windows Live Hotmail, it’s time to choose the image you want to insert inline into your email. Follow these steps:
1. If you are inserting an image from your computer’s local storage, the “Insert Image” tool will display a file explorer window. Use this window to navigate to the location where your desired image is saved.
2. Browse through your files and select the image you wish to insert into the email. Note that only image file types, such as JPEG, PNG, or GIF, can be inserted as inline images.
3. Once you have selected the image, click on the “Insert” button within the “Insert Image” tool. Windows Live Hotmail will upload the image and embed it directly into your email at the location where your cursor was positioned.
4. If you prefer to insert an image hosted online, you will need the image’s URL. Copy the URL from the webpage where the image is located or obtain it from an online image hosting service.
5. In the “Insert Image” tool, locate the “Image URL” field and paste the URL of the image. Ensure that the URL is valid, complete, and points directly to the image you want to insert.
6. After entering the image URL, click on the “Insert” button within the “Insert Image” tool. Windows Live Hotmail will fetch the image from the specified URL and insert it inline within your email.
7. It’s essential to choose an image that is relevant to your email’s content and purpose. Consider the message you want to convey and select an image that supports or enhances that message.
8. Keep in mind that large images may impact the email’s loading time or cause visual distortion in some email clients. It’s best to resize or optimize the image before inserting it to ensure a smoother viewing experience for your recipients.
Once you have chosen and inserted the desired image, you can move on to the next step, which involves adjusting the image’s size and position within the email.
Step 5: Insert the Image Inline
With the image selected and ready to be inserted, it’s time to place it inline within your email content. Follow these steps to accomplish this in Windows Live Hotmail:
1. Make sure your cursor is positioned at the exact location within the email where you want the image to appear. This allows you to control the image’s placement and ensure its relevance to the surrounding content.
2. Within the “Insert Image” tool, click on the “Insert” or “OK” button. Windows Live Hotmail will embed the image directly into your email at the specified location.
3. The image will now appear inline within your email, seamlessly integrated with the surrounding text and other elements.
4. As you are inserting the image inline, ensure that it does not disrupt the flow or readability of your email. Pay attention to formatting and spacing to maintain a visually appealing and cohesive composition.
5. Depending on the size of the image and the email client being used by recipients, the image may automatically adjust its dimensions to fit within the email window. However, it’s advisable to optimize the image’s size before inserting it to avoid any distortion or performance issues.
6. Remember that the purpose of inserting the image inline is to enhance and support your email’s content. Ensure that the image aligns with the overall message, helps convey your intended meaning, or adds visual interest to your email.
7. Inline images can be especially impactful when used in marketing emails, product announcements, or presentations. They can provide visual examples, showcase products, or demonstrate concepts to captivate the reader’s attention.
8. It’s crucial to test your email across different devices and email clients to ensure that the inline image displays correctly and maintains its intended formatting and impact.
Once you have successfully inserted the image inline, you can proceed to the next step, which involves adjusting the image’s size and position within the email if necessary.
Step 6: Adjust the Image Size and Position
After inserting the image inline in your Windows Live Hotmail email, you may need to make adjustments to its size and position to ensure it fits seamlessly within the email. Here’s how to do it:
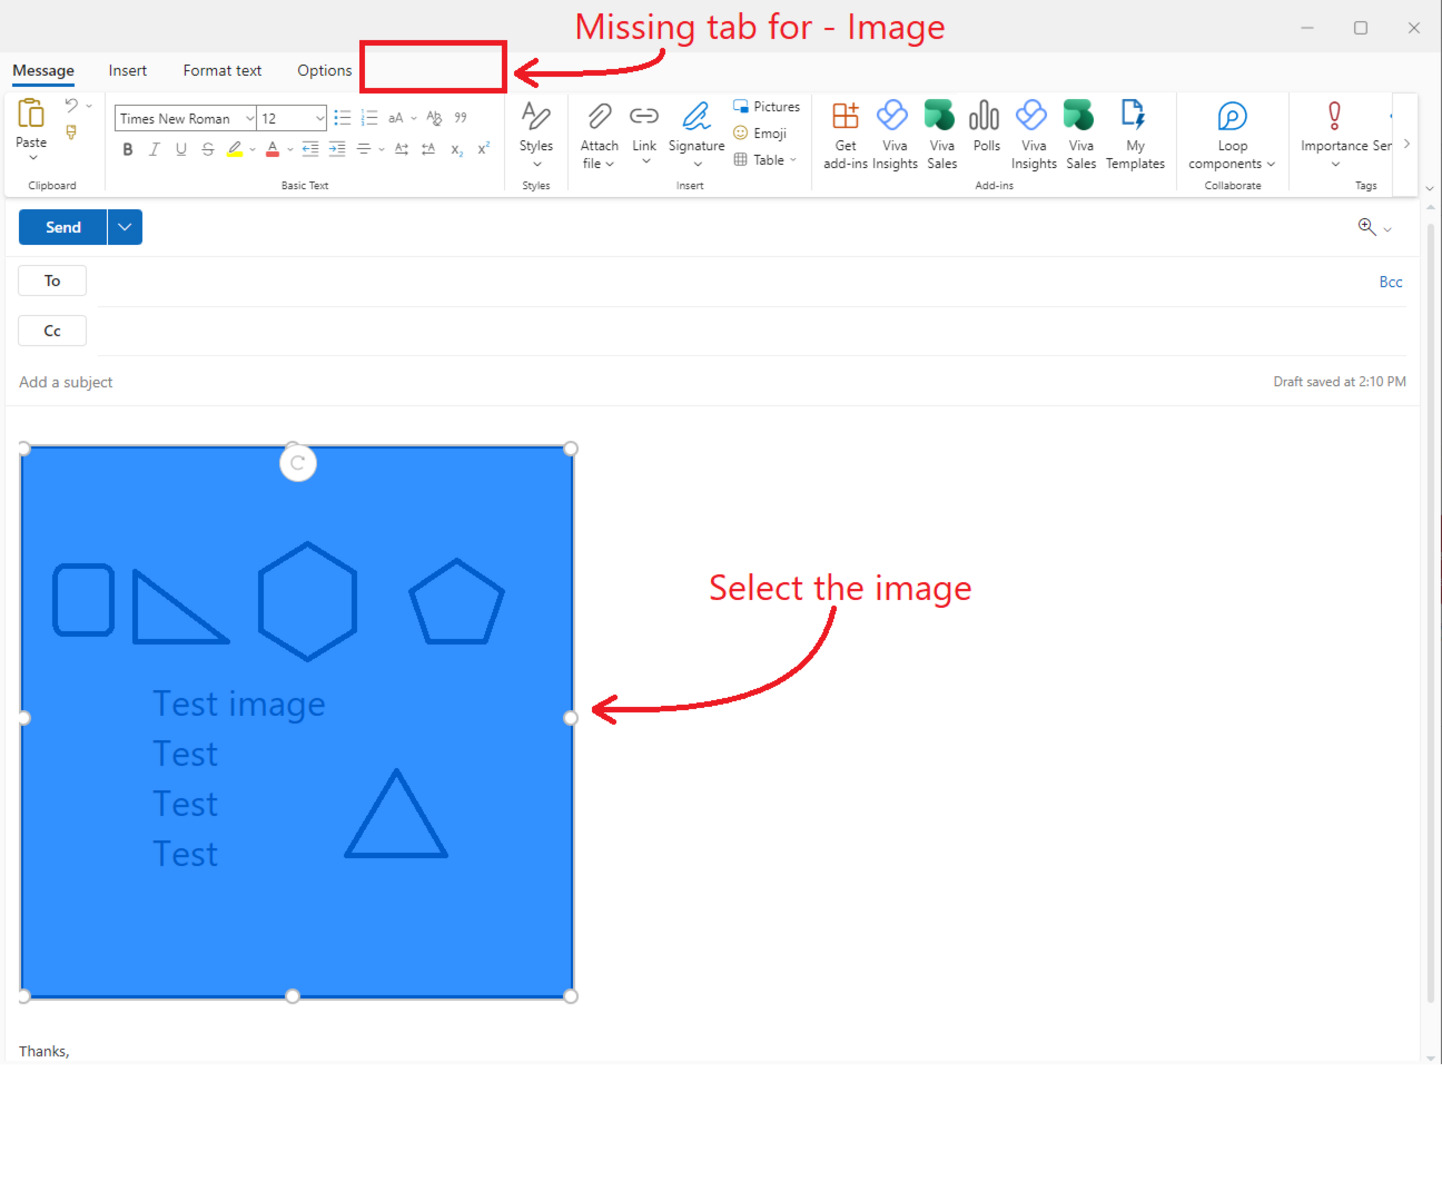
1. Click on the inserted image within the email. Handles or resize options may appear around the edges of the image, indicating that it is selected.
2. Use the handles or resize options to adjust the image’s dimensions. Click and drag the handles inward or outward to resize the image proportionally. Holding the Shift key while resizing helps maintain the image’s aspect ratio.
3. To reposition the image within the email, click and drag it to the desired location. This allows you to align the image with the surrounding text or other visual elements as needed.
4. As you adjust the image, pay attention to how it interacts with the rest of the email content. Ensure that the image’s size and position do not disrupt the flow or readability of the email. Strive for a visually balanced and appealing composition.
5. Keep in mind that excessively large images may exceed the boundaries of the email window or cause the email to load slowly. If needed, resize the image further to optimize its dimensions and file size.
6. Test the email on different devices and email clients to ensure that the adjusted image maintains its intended appearance and is displayed correctly. This helps guarantee a consistent and engaging user experience for all recipients.
7. If you find that the adjusted image still does not align perfectly with the surrounding content or requires additional formatting, consider using the formatting options in the email composition toolbar. These options allow you to fine-tune the image’s appearance by adjusting spacing, margins, or alignment settings.
8. Carefully review the email after making adjustments to ensure that all elements, including the adjusted image, contribute to the overall message and visual appeal of the email.
Once you are satisfied with the size and position of the image within your email, you can proceed to the next step, which involves adding alternative text for accessibility purposes.
Step 7: Add Alternate Text for Accessibility
Adding alternate text, also known as alt text or alt tags, to your inline image in Windows Live Hotmail is important for accessibility purposes. Alt text provides a text-based description of the image for visually impaired individuals who use screen readers. Follow these steps to add alternate text to your image:
1. Click on the inserted image within your email to select it. Typically, handles or resize options will appear around the image, indicating that it is selected.
2. Right-click on the selected image and choose the “Edit Alt Text” or “Alt Text” option from the context menu. This will open a text box or dialog box where you can enter the alternate text.
3. In the alt text text box, write a concise but descriptive text description of the image. The alt text should accurately convey the meaning and content of the image to someone who cannot see it.
4. Focus on providing relevant details about the image, such as its subject matter, key elements, or any important visual information. However, avoid using excessively long alt text that may overwhelm or distract the screen reader user.
5. Keep the alt text length within 100 characters or less, if possible, as some screen readers may truncate longer descriptions.
6. If the image is purely decorative or does not convey any meaningful information, you can use an empty alt attribute by leaving the text box blank or using a space character (” “). This informs screen readers that the image is purely decorative and can be skipped over without missing any essential content.
7. Consider including any relevant contextual information in your email’s surrounding text to provide additional context for the image, even with the alt text in place.
8. Once you have entered the alt text, click on the “Save” or “OK” button to apply the alternate text to the image.
Remember, adding alternate text is crucial for accessibility and ensures that visually impaired individuals can comprehend the content of your email. By including descriptive alt text, you make your email inclusive and enable a wider audience to engage with your message.
Now that you have added the alternate text to your image, you can proceed to the final step, which involves sending the email with the inline image.
Step 8: Send the Email with Inline Image
After inserting the image inline, adjusting its size and position, and adding alternate text for accessibility, you are ready to send your email with the inline image in Windows Live Hotmail. Here’s how to do it:
1. Once you have finished composing and formatting your email, reviewed the content, and ensured that the image appears correctly, take a final look at the entire email to ensure its overall quality and professionalism.
2. Double-check that you have entered the correct recipient’s email address in the “To” field and that the subject line accurately represents the content of your email.
3. If needed, proofread the email again to catch any spelling or grammatical errors that may have been overlooked during the composition process. A well-written email fosters credibility and delivers your message effectively.
4. After you have confirmed that everything is in order, it’s time to send the email. Locate the “Send” button, typically found near the top or bottom of the email composition window.
5. Click on the “Send” button to initiate the sending process. Windows Live Hotmail will process the email and deliver it to the recipient’s inbox.
6. Depending on your internet connection and the number of recipients, it may take a few seconds to a few minutes for the email to be sent. Be patient and avoid closing the browser or navigating away from the page until the email has been successfully sent.
7. Once the email has been sent, you will typically see a confirmation message or notification on the screen indicating that the email was sent successfully.
8. It’s always a good practice to maintain a professional and courteous tone in your email communication. Remember to follow any relevant company policies or guidelines regarding email etiquette and confidentiality.
Now that you have sent your email with the inline image, you can consider it successfully delivered to the recipient(s). Congratulations on creating an engaging and visually appealing email!
By following these steps, you can effectively insert an image inline in your Windows Live Hotmail email and ensure that it enhances your message while facilitating accessibility for all recipients.