
Understanding Mobile Networking
Mobile networking is the foundation of our ability to stay connected on our Android phones. It allows us to access the internet, make phone calls, and send text messages. Understanding how mobile networking works is essential for managing our data usage effectively and ensuring a stable and reliable connection.
At its core, mobile networking involves the communication between our Android devices and cellular networks. When we make a call or access the internet, our phones connect to the nearest cellular tower, which then connects us to the wider network infrastructure. This connection enables data to be transmitted between our devices and the internet.
Mobile data is a crucial aspect of mobile networking. It refers to the internet connection we receive through our cellular network. This data allows us to browse websites, use apps, and access online services. However, it’s important to keep track of our mobile data usage to avoid exceeding our data limits and incurring additional charges.
Android phones provide various tools and settings to help us manage our mobile data usage effectively. We can set data usage warnings and limits, restrict background data usage for specific apps, and even enable data saver mode to minimize data consumption. These options empower us to control our data usage based on our needs and preferences.
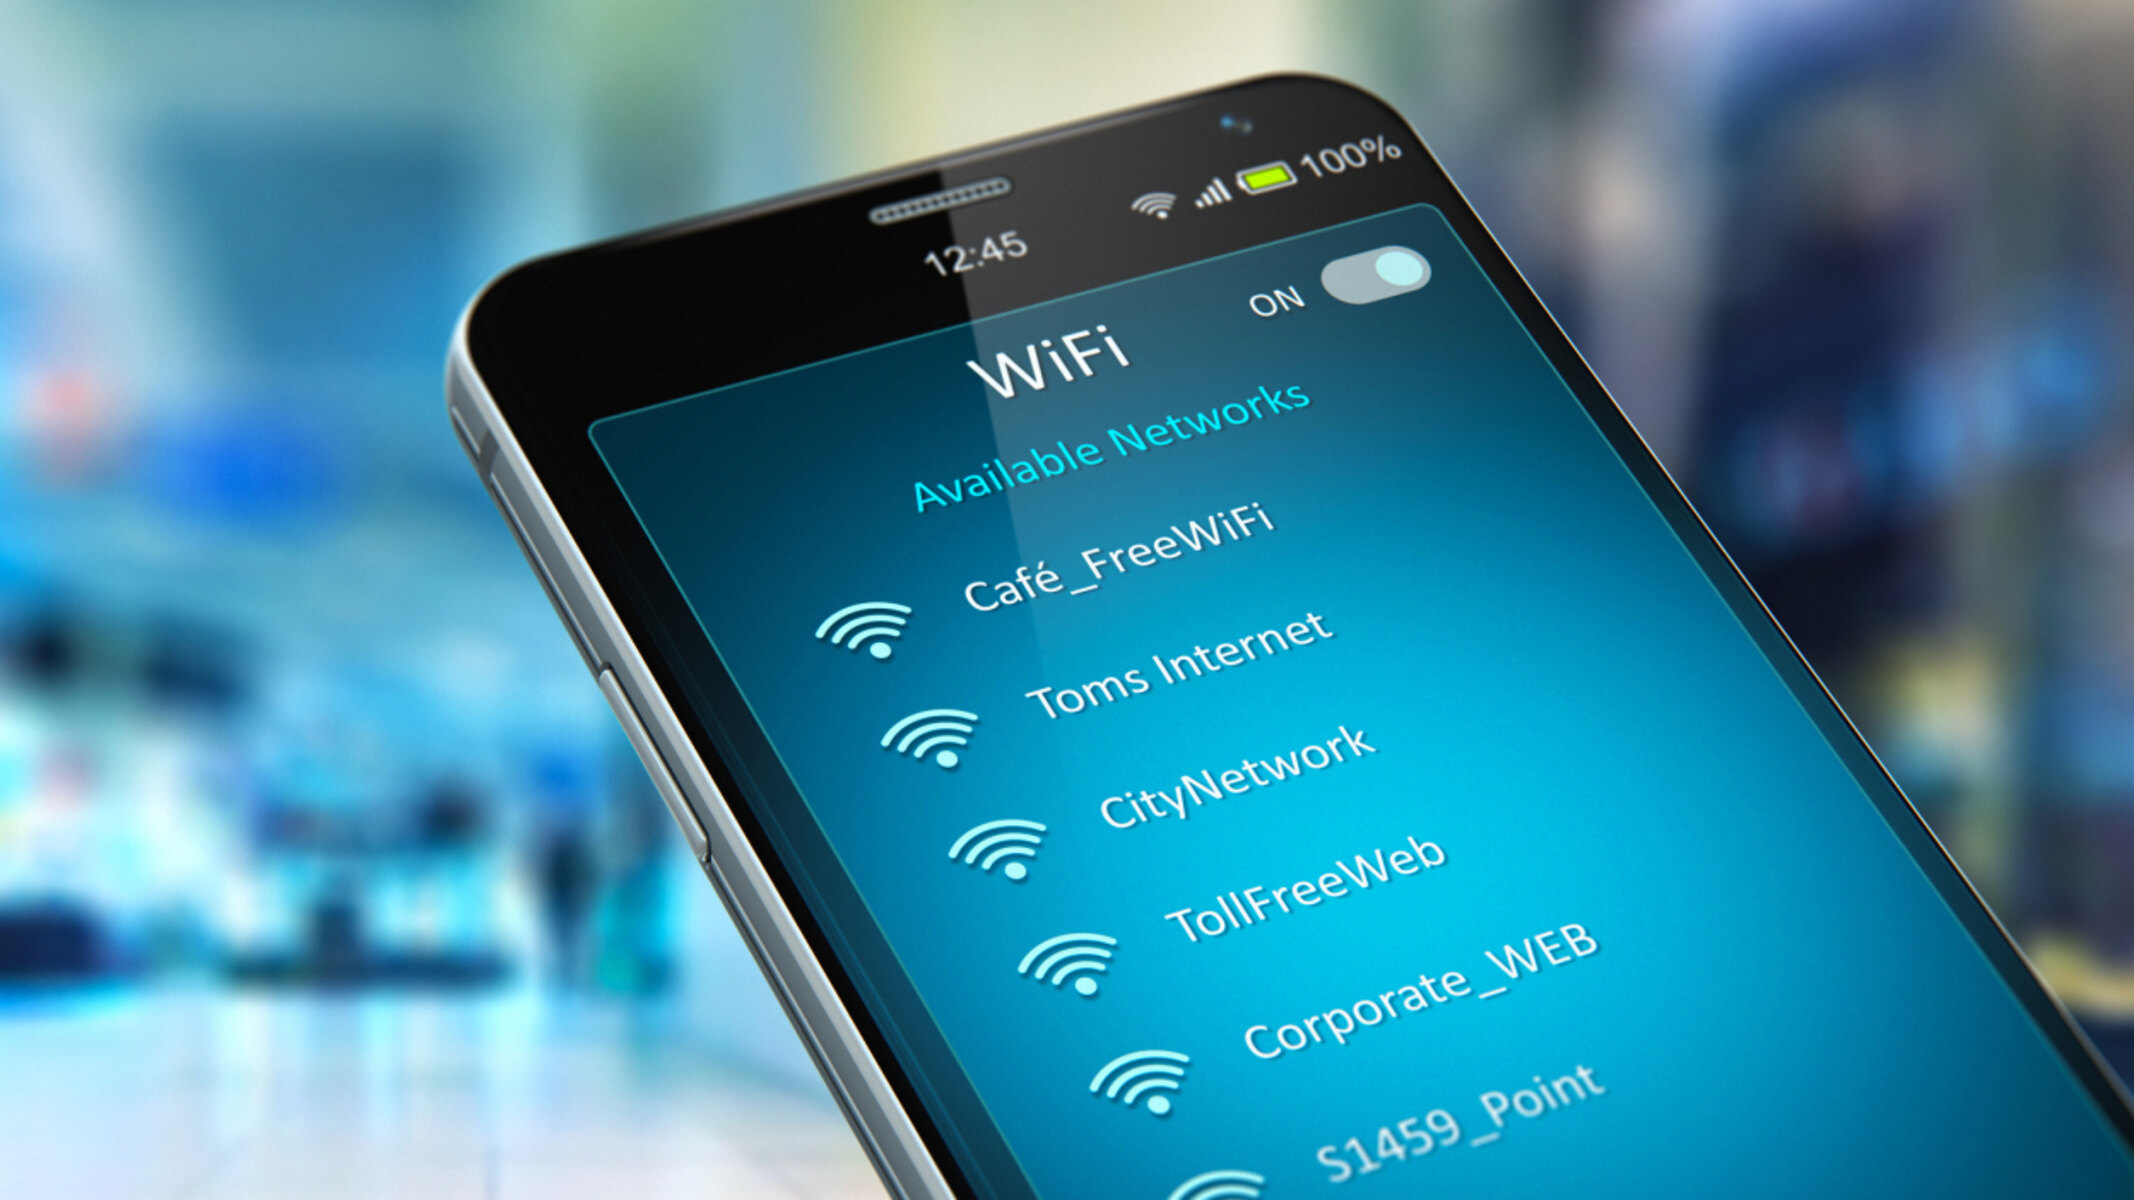
Another crucial aspect of mobile networking is network connection. Android phones support various types of network connections, including 2G, 3G, 4G LTE, and 5G (where available). These different network types offer varying speeds and coverage areas. By understanding the available network options and their implications, we can choose the most appropriate one based on our location and network conditions.
Switching between mobile networks is also an important consideration. We may need to manually switch between different networks, such as switching from 4G to 3G in areas with weak 4G signal. Android phones provide options to enable or disable certain network types, allowing us to control our network connection based on our specific requirements.
Additionally, configuring Access Point Name (APN) settings is essential for establishing a proper mobile network connection. APN settings provide the necessary information for our devices to connect to the cellular network. By correctly configuring these settings, we can ensure a stable and reliable connection for our Android phones.
Despite efforts to optimize mobile networking, issues may arise from time to time. In such cases, troubleshooting techniques can help identify and resolve common network issues. Restarting the phone, resetting network settings, or contacting our mobile service provider for assistance are some of the potential steps to resolve mobile network problems.
Monitoring the speed of our mobile network is essential to ensure optimal performance. Various mobile apps and online tools are available to measure network speed, allowing us to identify any performance issues and take appropriate actions to improve our mobile network experience.
Furthermore, optimizing mobile network performance can enhance the speed and stability of our connection. Clearing cache data, disabling unnecessary background apps, and keeping our devices updated can contribute to a smoother mobile network experience.
Finally, considering the impact of mobile data usage on battery life is crucial. While mobile networking is essential, it can consume a significant amount of battery power. By managing our mobile data usage efficiently, we can minimize battery drain and extend the battery life of our Android phones.
Managing Mobile Data Usage
Managing mobile data usage is crucial to avoid exceeding our data limits, incurring additional charges, and ensuring a consistent internet connection on our Android phones. By adopting effective data management strategies, we can stay connected while keeping our data consumption in check.
One of the first steps in managing mobile data usage is to monitor our usage regularly. Android phones provide built-in data usage tracking features that allow us to keep an eye on how much data each app consumes. By reviewing this information, we can identify data-hungry apps and adjust our usage accordingly.
Setting data usage warnings and limits is another helpful tool for managing mobile data consumption. We can configure our Android phones to notify us when we reach a certain percentage or amount of data usage. This early warning system helps us stay aware of our data consumption and make adjustments as needed.
To further control our data usage, we can restrict background data for specific apps. Background data refers to the data that apps use while running in the background, even when we’re not actively using them. By restricting background data for apps that don’t require constant updates, we can minimize unnecessary data consumption and maximize our available data allocation.
Enabling data saver mode is an effective way to manage mobile data usage. This mode saves data by reducing the amount of data that apps can use in the background. It also compresses data to minimize the overall data consumption while still allowing essential functions, such as email syncing and messaging, to operate normally.
When connecting to Wi-Fi networks, we can take advantage of Wi-Fi offloading. Wi-Fi offloading automatically switches our Android phones to a Wi-Fi network when available. This helps reduce data usage by utilizing Wi-Fi for data-intensive tasks, such as downloading large files or streaming videos.
Another tip for managing mobile data usage is to download content for offline use whenever possible. Apps like video streaming platforms and music streaming services often allow us to download movies, TV shows, songs, or podcasts for offline playback. By pre-downloading content on Wi-Fi networks, we can enjoy our favorite media without consuming our mobile data.
Regularly updating our apps and operating system is important for optimizing data usage. App and system updates often include performance improvements and bug fixes, which can help reduce data consumption. Developers constantly work on enhancing data efficiency, so keeping our apps and operating system up to date can contribute to more efficient data usage overall.
Lastly, understanding which apps and services use the most data can help us make informed decisions about our data usage. Some apps, like video streaming or cloud storage services, tend to consume more data than others. By being mindful of these data-intensive activities, we can prioritize their usage and allocate our data accordingly.
By implementing these practices and actively managing our mobile data usage, we can stay within our data limits, prevent unexpected charges, and enjoy a reliable internet connection on our Android phones.
Setting Up Network Connection
Setting up a network connection on our Android phones is essential for accessing the internet, making phone calls, and sending text messages. By correctly configuring our network settings, we can ensure a stable and reliable connection. Here are some steps to set up a network connection on an Android phone:
1. Open the Settings app: On your Android phone, navigate to the Settings app. This app contains all the necessary settings to configure your network connection.
2. Select “Network & Internet”: Within the Settings app, find and tap on the “Network & Internet” option. This section contains various settings related to your network connection.
3. Choose “Mobile network”: In the “Network & Internet” section, you’ll find the “Mobile network” option. Tap on it to access settings specifically related to your mobile network connection.
4. Enable mobile data: To use your mobile network for internet access, make sure the “Mobile data” toggle switch is turned on. This allows your phone to connect to the internet using your cellular network.
5. Configure network mode: Android phones support multiple network modes, such as 2G, 3G, 4G LTE, and 5G (where available). You can choose the most appropriate network mode based on your location and network conditions. In the “Mobile network” settings, find the “Preferred network type” or “Network mode” option, and select the desired network mode.
6. Access Point Name (APN) settings: APN settings provide the necessary information for your device to connect to the cellular network. In the “Mobile network” settings, look for the “Access Point Names” or “APN” option. Tap on it to access and configure your APN settings. If you’re unsure about the correct APN settings, contact your mobile service provider for assistance.
7. Network operator selection: Android phones automatically connect to the available network operator based on signal strength. However, in some cases, you may want to manually select a network operator. In the “Mobile network” settings, look for the “Network operators” or “Carrier” option, and choose either “Automatic” or “Manual” selection, depending on your preference.
8. Roaming settings: If you frequently travel and need to use your phone in different countries or regions, it’s important to configure your roaming settings. In the “Mobile network” settings, find the “Roaming” option and select the appropriate setting based on your needs. You can choose to enable or disable roaming or set it to prompt you to choose each time you travel.
9. Wi-Fi calling: Some Android phones support Wi-Fi calling, which allows you to make and receive calls over a Wi-Fi network instead of using your cellular network. In the “Network & Internet” settings, look for the “Wi-Fi calling” option, and enable it if available and desired. This can be useful in areas with weak cellular signal but strong Wi-Fi signal.
10. Save the settings: After configuring the network settings, make sure to save your changes. Usually, there’s a “Save” or “Apply” button at the top or bottom of the settings screen. Tap on it to save your settings and apply them to your network connection.
By following these steps and correctly setting up your network connection, you can ensure a stable and reliable connection on your Android phone. Remember to consult your mobile service provider if you have any specific questions or need assistance with your network settings.
Switching Between Mobile Networks
When using an Android phone, there may be instances where you need to switch between different mobile networks, such as switching from 4G to 3G or vice versa. Whether you’re looking to improve network signal strength or prioritize different network types, here’s how you can switch between mobile networks on your Android phone:
1. Open the Settings app: Start by accessing the Settings app on your Android phone. This app contains all the necessary settings to manage your network connections.
2. Select “Network & Internet”: Within the Settings app, locate and tap on the “Network & Internet” option. This section contains various settings related to your network connections.
3. Choose “Mobile network”: In the “Network & Internet” section, you’ll find the “Mobile network” option. Tap on it to access settings specifically related to your mobile network connections.
4. Select “Preferred network type”: The “Preferred network type” or “Network mode” setting allows you to choose the specific network technology your phone uses, such as 2G, 3G, 4G LTE, or 5G (if available). Tap on this option to view and select the preferred network type.
5. Switching to a different network: To switch to a different network type, simply tap on the desired option. The available options will depend on your phone’s capabilities and the networks supported by your service provider. Your phone will then attempt to connect to the selected network type.
6. Manual network selection: If you’re in an area with multiple available network operators, you may want to manually select a specific network to connect to. To do this, go to the “Mobile network” settings and look for the “Network operators” or “Carrier” option. From there, you can choose to manually select a network operator or have your phone automatically select the best available network.
7. Network switching apps: Some third-party apps are designed to help you switch between networks more conveniently. These apps typically provide a simplified interface or quick toggles to switch between different network types or network operators. You can explore the Google Play Store to find network switching apps that suit your needs.
It’s important to note that not all Android phones or network operators support all network types. Additionally, the availability of network types may vary based on your location. Therefore, it’s crucial to check with your mobile service provider or refer to your phone’s specifications to determine which network types are supported and available to you.
Switching between mobile networks can be helpful in situations where you have a weak signal on a particular network or when you want to prioritize certain network types, such as using 3G for better call quality or switching to 4G for faster data speeds. By understanding the available network options and utilizing the network switching capabilities on your Android phone, you can optimize your network connection based on your specific needs and preferences.
Configuring APN Settings
Access Point Name (APN) settings are a vital part of configuring the network connection on your Android phone. These settings provide the necessary information for your device to connect to the cellular network and establish a stable and reliable connection. Here’s how you can configure APN settings on your Android phone:
1. Open the Settings app: Begin by opening the Settings app on your Android phone. This app contains all the settings to manage your network connections.
2. Select “Network & Internet”: Within the Settings app, find and tap on the “Network & Internet” option. This section contains various settings related to your network connections.
3. Choose “Mobile network”: In the “Network & Internet” section, locate and tap on the “Mobile network” option. This is where you’ll find settings specifically related to your mobile network connections, including APN settings.
4. Access the APN settings: Look for the “Access Point Names” or “APN” option within the “Mobile network” settings. Tap on it to access and configure your APN settings.
5. Add a new APN: If no APN settings are available or if you need to add a new one, look for the “Add” or “+ (plus)” button to create a new APN entry. The exact location and appearance may vary depending on your phone’s manufacturer and software version.
6. Fill in the APN details: When adding a new APN, you’ll need to provide specific information based on your mobile service provider. This information usually includes:
– Name: Provide a name for the APN, such as the name of your service provider.
– APN: Enter the Access Point Name provided by your service provider.
– Proxy, Port, Username, and Password: If your service provider requires additional settings, enter them accordingly.
– MCC (Mobile Country Code) and MNC (Mobile Network Code): These codes identify your service provider’s network. You can usually leave these fields blank, and your phone will automatically populate them based on your SIM card.
– Authentication Type: Depending on your service provider, you may need to select a specific authentication type, such as PAP (Password Authentication Protocol) or CHAP (Challenge Handshake Authentication Protocol).
7. Save the APN settings: Once you’ve filled in the necessary details, save your APN settings by tapping on the “Save” or “Apply” button. Your phone will then use these settings to connect to the cellular network.
8. Select the active APN: If you have multiple APN settings available, you can choose the active APN by tapping on the desired entry. Often, you can select the active APN by tapping on the radio button next to it.
Configuring the APN settings correctly is crucial for establishing a proper network connection on your Android phone. If you are unsure about the correct APN settings, it’s recommended to contact your mobile service provider directly. They will be able to provide you with the accurate APN details specific to your SIM card and service plan.
By configuring the APN settings properly, you can ensure a stable and reliable network connection on your Android phone, allowing you to browse the internet, make phone calls, and send text messages with ease.
Troubleshooting Mobile Network Issues
Encountering mobile network issues can be frustrating, but with a few troubleshooting techniques, you can resolve common problems and restore a stable network connection on your Android phone. Here are some troubleshooting steps to help you address mobile network issues:
1. Restart your phone: A simple yet effective troubleshooting step is to restart your Android phone. Restarting can clear temporary glitches and refresh network settings, potentially resolving connectivity issues.
2. Check your signal strength: Poor network signal strength can lead to weak or intermittent connections. Ensure you’re in an area with good network coverage and move closer to windows or open areas if indoors. If signal strength remains low, contact your mobile service provider for assistance.
3. Enable and disable Airplane mode: Toggling Airplane mode on and off can help reset your network connection. Access the Quick Settings panel or go to the Settings app to enable Airplane mode. Wait for a few seconds and then disable it to reestablish your network connection.
4. Reset network settings: Resetting your network settings can resolve persistent network issues. This action clears saved network configurations, Wi-Fi credentials, and Bluetooth pairings. In the Settings app, look for the “System” or “General Management” section and select “Reset” or “Reset Network Settings.”
5. Update your phone’s software: Outdated software can contribute to network issues. Ensure your Android phone is running the latest software version available. Check for system updates in the Settings app under “System” or “Software Update.” Install any available updates and restart your phone if necessary.
6. Remove and reinsert SIM card: A faulty or loose SIM card can cause network connectivity problems. Power off your phone, carefully remove the SIM card, and inspect it for any damage. Reinsert the SIM card securely and power on your phone to see if the network connection improves.
7. Check APN settings: Incorrect APN settings can hinder your network connection. Verify that your APN settings match those provided by your mobile service provider. Access the “Mobile network” or “Cellular network” settings in the Settings app and ensure the correct APN details are entered.
8. Contact your mobile service provider: If the above steps don’t resolve the issue, reach out to your mobile service provider for further assistance. They can help troubleshoot network problems specific to your account and offer guidance or escalate the issue if necessary.
9. Factory reset as a last resort: If all else fails, you can perform a factory reset, rescreen the network. This will erase all data on your phone, so ensure you have backups in place. Access the “System” or “General Management” section in the Settings app, select “Reset,” and choose “Factory data reset.”
Remember, troubleshooting steps may vary slightly depending on your phone’s manufacturer and Android version. If you’re unsure about specific steps or need further guidance, consult your phone’s user manual or visit the manufacturer’s support website for detailed instructions.
By following these troubleshooting techniques, you can address common mobile network issues and regain a reliable network connection on your Android phone.
Monitoring Mobile Network Speed
Keeping track of your mobile network speed is important to ensure optimal performance and a satisfying user experience on your Android phone. By monitoring the speed of your mobile network, you can identify potential issues and take appropriate actions to improve your network connection. Here are some methods to monitor your mobile network speed:
1. Use speed testing apps: Numerous apps are available on the Google Play Store that can measure your mobile network speed. Popular apps include Ookla Speedtest, Fast.com, and OpenSignal. Simply download and install one of these apps, open it, and initiate a speed test. The app will measure and display your upload and download speeds, as well as ping latency, allowing you to evaluate the performance of your mobile network connection.
2. Check network speed in phone settings: Some Android phones have built-in network speed test features in their settings. This feature measures your network speed without the need for third-party apps. Access the “Network & Internet” or “Connections” section in your phone’s settings, and look for a “Network speed” or “Speed test” option. Follow the on-screen instructions to initiate a speed test and view the results.
3. Use online speed testing tools: If you prefer not to install additional apps on your phone, you can use online speed testing tools through your device’s web browser. Websites such as speedtest.net and fast.com offer in-browser speed testing services. Open the website on your phone’s browser, and click the “Go” or “Start” button to begin the speed test. The website will provide your network speed results after a few seconds.
4. Conduct regular speed tests: It’s important to conduct speed tests periodically to monitor any changes in your network speed. Perform tests at different times of the day and in various locations to gather a comprehensive understanding of your network’s performance. Keeping a record of your speed test results can help identify trends or patterns that may indicate network congestion or other performance issues.
5. Analyze upload and download speeds: When monitoring your network speed, pay attention to both upload and download speeds. Upload speed refers to the speed at which data is transmitted from your device to the internet, while download speed measures the rate at which data is received. Both speeds are important for activities such as streaming, uploading files, or video conferencing. If you notice severely low upload or download speeds, it might indicate a problem with your network connection or service provider.
6. Compare results with expected speeds: Familiarize yourself with the expected speeds for your specific mobile network technology (such as 4G or 5G) and your service plan. Compare your speed test results with the expected speeds to assess if your network is operating within the expected range. Significant deviations from the expected speeds may indicate a need to troubleshoot or contact your service provider for assistance.
7. Consider factors that may impact speed: Keep in mind that various factors can affect your mobile network speed. These include network congestion, signal strength, geographical location, time of day, and even the type of content or service you’re accessing. Understanding these factors can help you interpret your speed test results and take appropriate action if needed.
By regularly monitoring your mobile network speed, you can stay informed about the performance of your network connection. If you consistently experience slow speeds or other issues, it’s recommended to reach out to your mobile service provider for assistance.
Optimizing Mobile Network Performance
Optimizing your mobile network performance is crucial to ensure a smooth and reliable connection on your Android phone. By implementing the following tips and techniques, you can enhance your network’s speed, stability, and overall performance:
1. Clear cache data: Cached data can accumulate over time and slow down your network performance. Clearing the cache regularly can free up storage space and improve the responsiveness of your apps. To clear cache data, go to the Settings app, select “Storage” or “Storage & Memory,” and tap on “Cached data” to clear it.
2. Disable unnecessary background apps: Background apps contribute to network congestion and consume valuable resources, including network bandwidth. Disable or restrict background activity for apps that you don’t need running in the background. To do this, go to the Settings app, select “Apps” or “Applications,” choose the desired app, and disable background activity or restrict data usage.
3. Keep your apps and device updated: App and system updates often include performance improvements and bug fixes that can optimize your network usage. Regularly check for updates in the Google Play Store or your device’s settings. Install updates for your apps and the operating system to benefit from enhanced network compatibility and efficiency.
4. Limit auto-sync and push notifications: Auto-sync and push notifications can constantly use the network to keep your apps and services updated. Disable or adjust the settings for auto-syncing and push notifications to reduce unnecessary data usage. You can find these settings in the Accounts or Sync section of the Settings app.
5. Enable data compression: Some web browsers and apps offer data compression features that can reduce data usage without compromising browsing or app functionality. Enable data compression in compatible apps to optimize your network performance and save on data usage. Look for options like “Data Saver” or “Data Compression” in your app settings.
6. Manage app and system permissions: Review and manage the permissions granted to your apps and system services. Some apps might unnecessarily access your network or use data in the background. Go to the App permissions or Privacy settings in the Settings app to customize and restrict app permissions as needed.
7. Optimize DNS settings: DNS (Domain Name System) translates domain names into IP addresses, allowing your device to connect to websites and services. Switching to a faster and more reliable DNS server can improve network performance. Download a DNS changer app from the Play Store and configure it to use a preferred DNS server, such as Google DNS (8.8.8.8 and 8.8.4.4) or Cloudflare DNS (1.1.1.1).
8. Reduce video streaming quality: Video streaming can consume a significant amount of data and put a strain on your network. Reduce the streaming quality or enable a data-saving mode in video streaming apps to lower data usage. This can improve streaming performance and reduce buffering on slower network connections.
9. Restart your router: If you’re connected to a Wi-Fi network, restarting your router can help resolve network issues and improve performance. Power off the router, wait for a few seconds, and then turn it back on. This action refreshes the router’s settings and can help resolve temporary connection problems.
10. Minimize network interference: Reduce physical or signal interference that can affect your network performance. Keep your device away from other electronic devices, metal objects, and dense walls that may obstruct Wi-Fi signals. Additionally, try switching to a less crowded Wi-Fi channel if you experience interference from neighboring networks.
By implementing these strategies, you can optimize your mobile network performance and enjoy a fast, reliable, and efficient connection on your Android phone. Experiment with different techniques to find the ones that work best for your specific network conditions and usage patterns.
Improving Battery Life for Mobile Data
Using mobile data on your Android phone consumes battery power, which can impact the overall battery life. To ensure your battery lasts longer while using mobile data, consider implementing the following tips and techniques:
1. Manage background app activity: Apps running in the background can consume valuable battery life. Limit background app activity by going to the Settings app and accessing “Battery” or “Battery Usage.” Identify apps that consume excessive battery power and restrict background activity or optimize their settings to minimize battery drain.
2. Enable battery-saving mode: Android devices offer battery-saving modes that optimize power consumption. When enabled, these modes temporarily limit certain device functionalities and adjust settings to conserve battery life. Go to the Settings app, select “Battery” or “Battery Usage,” and enable the battery-saving mode that suits your preferences.
3. Restrict background data usage: Restricting background data for specific apps can conserve battery life when using mobile data. To do this, go to the Settings app, select “Apps” or “Applications,” choose the desired app, and disable background data usage. This prevents the app from consuming data and associated battery power when not in active use.
4. Manage auto-sync settings: Auto-syncing, where apps continuously update data in the background, can drain both data and battery life. Consider disabling auto-sync for apps that don’t require real-time updates. Go to the Settings app, select “Accounts” or “Accounts & Sync,” and disable auto-sync for specific apps or adjust the sync frequency.
5. Adjust app update settings: Some apps may automatically update themselves using mobile data, leading to increased battery drain. To avoid this, go to the Google Play Store app, access the settings, and configure app updates to occur only over Wi-Fi. This way, apps will update when connected to a Wi-Fi network, reducing battery consumption.
6. Monitor data usage: Frequently monitoring your mobile data usage allows you to identify excessive data-consuming apps and take appropriate action. By reducing data usage, you indirectly improve battery life. Go to the Settings app and access the “Network & Internet” or “Data Usage” section to view data usage details and adjust any necessary settings.
7. Enable data saver mode: Activating the data saver mode on your Android phone can restrict background data usage, preventing unnecessary data consumption and conserving both data and battery life. Look for the data saver option in the “Network & Internet” or “Data Usage” settings and enable it to optimize your data and battery usage.
8. Lower screen brightness and timeout: Reducing screen brightness and shortening the screen timeout duration can significantly conserve battery life while using mobile data. Lower the screen brightness level manually or enable adaptive brightness in the display settings. Additionally, reduce the screen timeout interval to a shorter duration in the display or lock screen settings.
9. Enable Wi-Fi offloading: If you’re in an area with a reliable Wi-Fi network, enable Wi-Fi offloading on your Android phone. Wi-Fi offloading automatically switches your device to use Wi-Fi instead of mobile data for data-intensive tasks. This not only conserves mobile data but also reduces battery drain associated with data transmission.
10. Keep apps and system up to date: Regularly updating your apps and the Android operating system can improve battery performance. Developers often release updates to optimize performance, fix bugs, and enhance battery efficiency. Enable automatic app updates in the Google Play Store settings and regularly check for system updates in the device settings.
By implementing these battery-saving techniques, you can improve battery life when using mobile data on your Android phone. Experiment with different settings and strategies to find the combination that works best for your specific device and usage patterns.
Securing Mobile Network Connection
Securing your mobile network connection is essential to protect your data, privacy, and overall online safety. By implementing the following measures, you can enhance the security of your mobile network connection on your Android phone:
1. Activate a screen lock: Setting up a secure screen lock, such as a PIN, password, pattern, or fingerprint, adds an extra layer of protection to your device. This prevents unauthorized access to your phone in case it gets lost or stolen, ensuring your network connection remains secure.
2. Use trusted Wi-Fi networks: When connecting to Wi-Fi networks, ensure you choose networks from trusted sources. Public Wi-Fi networks can be vulnerable to security risks. Stick to networks you trust or consider using a virtual private network (VPN) for an extra layer of encryption and privacy.
3. Enable mobile data encryption: Enable mobile data encryption to safeguard your data while it’s being transmitted over the network. Go to the Settings app, select “Security” or “Privacy,” and enable the option for mobile data encryption. This ensures that your data is protected from unauthorized access or interception.
4. Disable Wi-Fi auto-connect: Auto-connecting to open Wi-Fi networks can expose your device to potential security threats. Disable the Wi-Fi auto-connect feature to prevent your phone from connecting to unfamiliar or unsecured networks automatically. This allows you to manually choose trusted networks and avoid potential security risks.
5. Update your device regularly: Keep your Android phone’s software and apps up to date. Developers release updates that address security vulnerabilities and provide necessary patches for potential threats. Enable automatic updates for your apps and regularly check for system updates in the Settings app to ensure you’re running the latest, most secure versions.
6. Install reliable security apps: Install reputable security apps from trusted sources in the Google Play Store. These apps can provide additional protection against malware, viruses, and other security threats. Look for comprehensive security apps that offer features like antivirus scanning, anti-theft protection, and safe browsing.
7. Be cautious with app permissions: Pay close attention to the permissions requested by apps during installation or updates. Only grant permissions that are necessary for the app’s functionality. Avoid granting unnecessary or excessive permissions that could potentially compromise your data or privacy.
8. Use strong and unique passwords: Use strong, complex passwords for your accounts and avoid using the same password across multiple accounts. Utilize a password manager app to securely store and manage your passwords. This prevents unauthorized access to your accounts and adds an extra layer of protection to your network connection.
9. Enable two-factor authentication (2FA): Two-factor authentication provides an additional layer of security by requiring a second verification step, usually through a separate device or app. Enable 2FA whenever possible for your accounts to add an extra layer of protection to your mobile network connection.
10. Regularly review app permissions and access: Periodically review the permissions granted to your installed apps. Remove apps that are no longer in use or that have excessive permissions. Additionally, regularly review and revoke access granted to apps or services that you no longer use. This helps reduce the potential risk of unauthorized access to your network connection and data.
By implementing these security measures, you can significantly enhance the security of your mobile network connection on your Android phone. These steps will help safeguard your personal information, protect your privacy, and ensure a secure online experience.