
Accessing Notification Center
Notification Center is a central hub for managing all your notifications on your iPhone. It provides a convenient way to stay updated on important information, including incoming calls, text messages, emails, and app notifications. Here’s how you can access Notification Center:
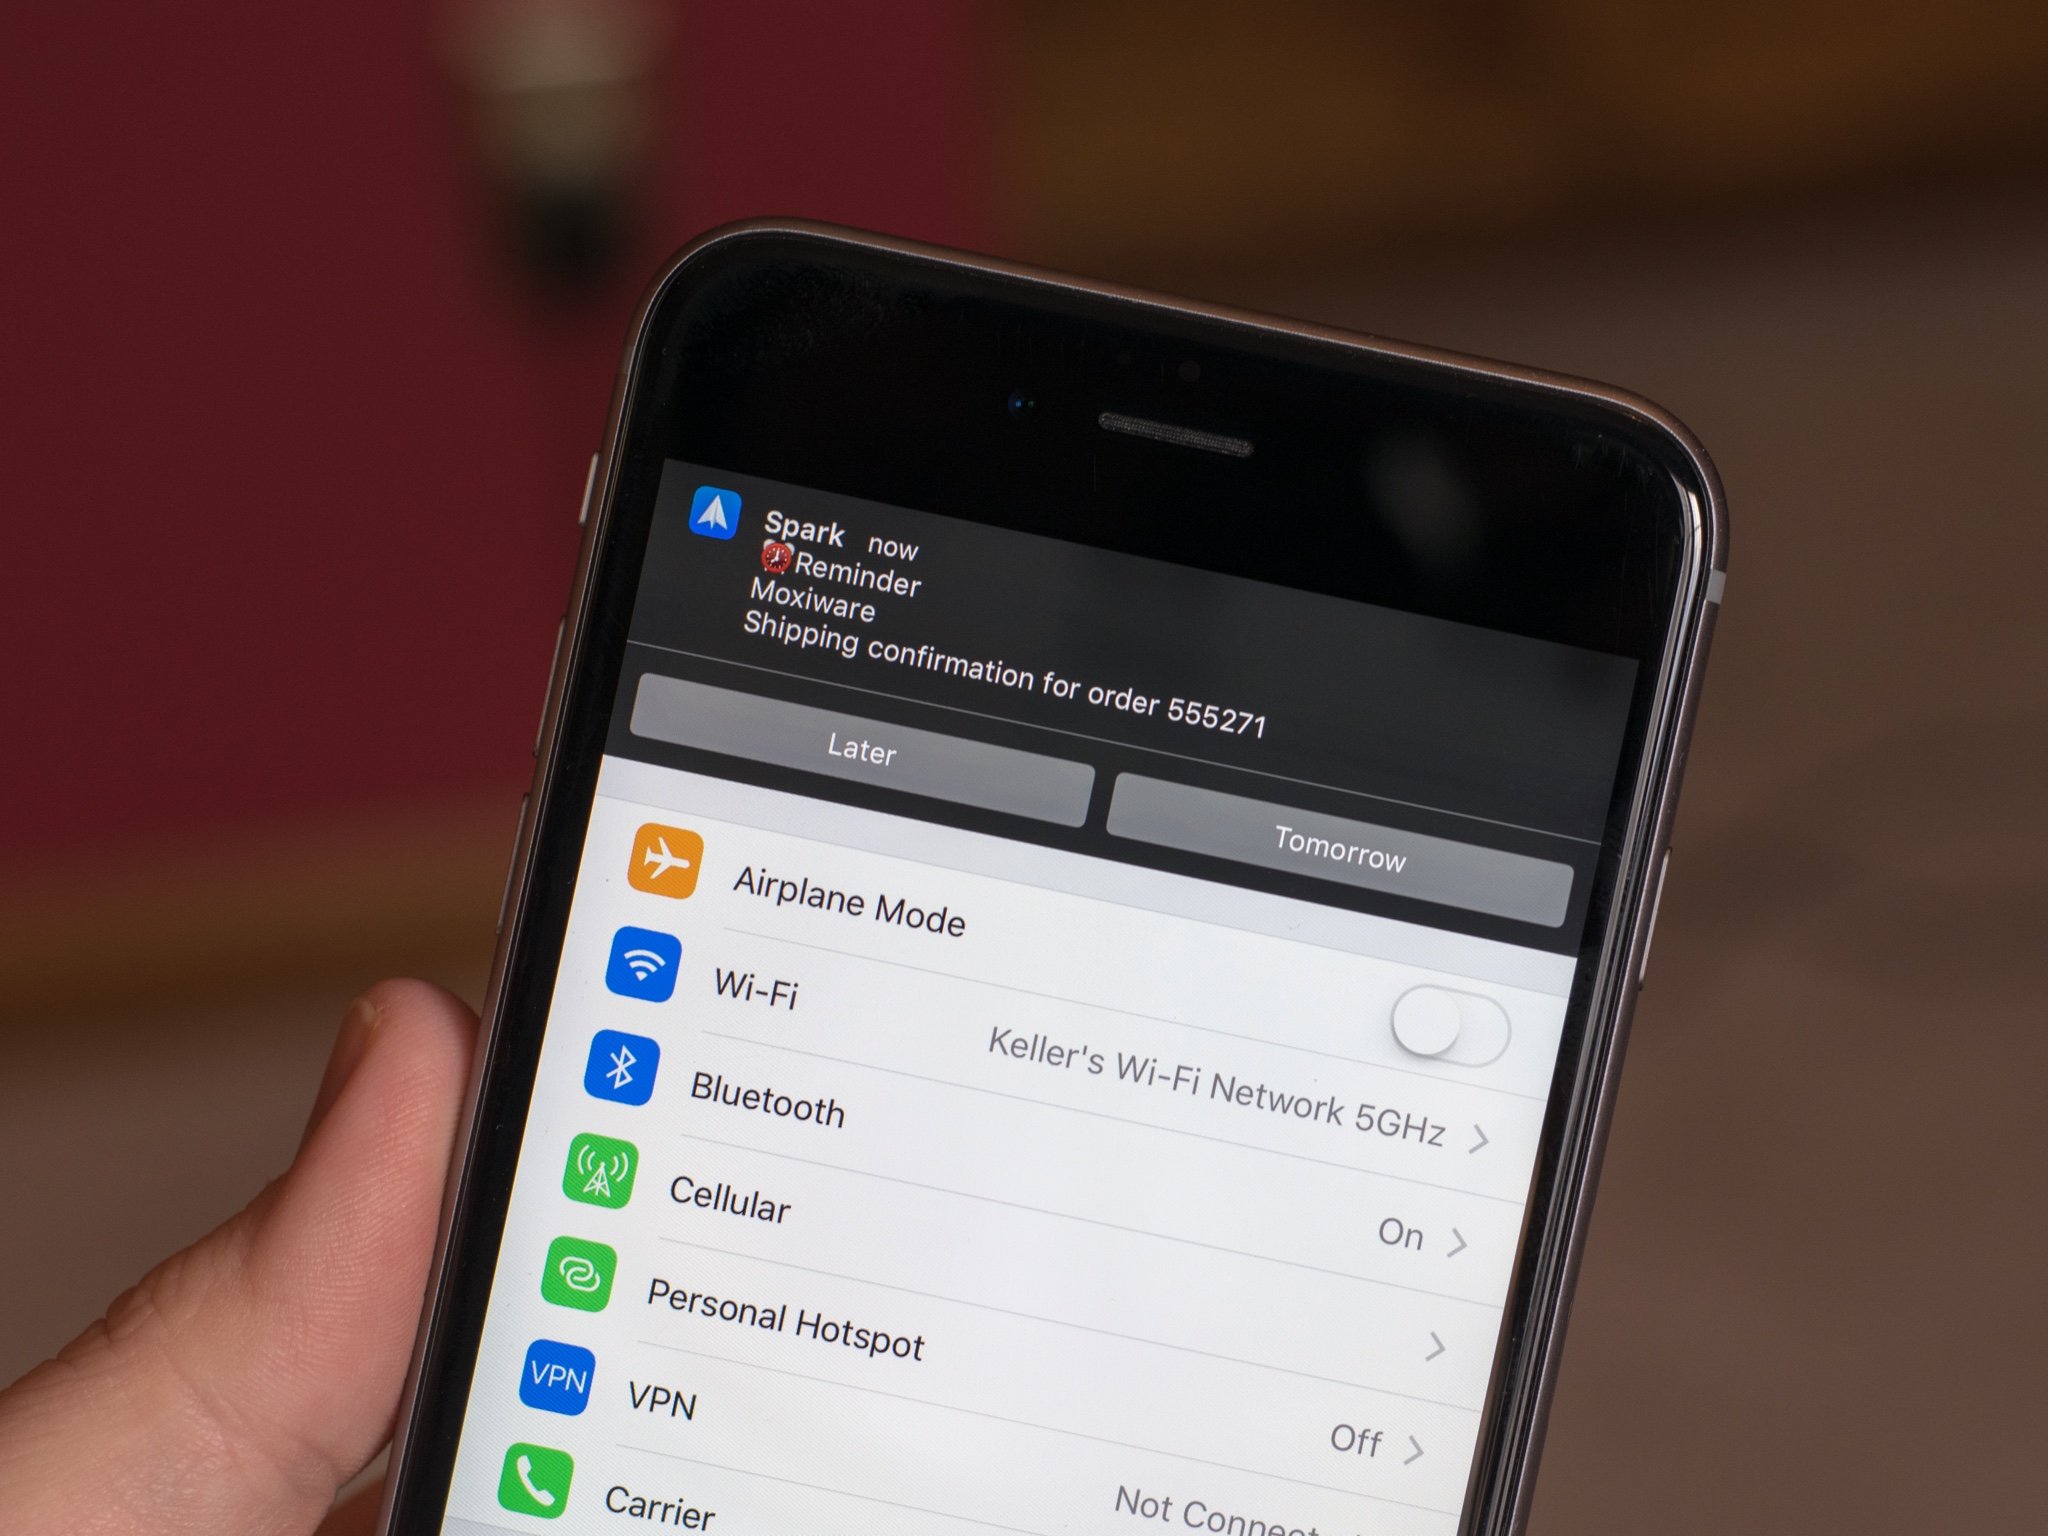
1. To open Notification Center, simply swipe down from the top of your iPhone screen. This can be done from the lock screen, home screen, or even when you’re using an app.
2. Alternatively, you can use the “Pull Down” gesture on the middle of your screen to access Notification Center. This gesture can be particularly useful if you’re using an iPhone with a larger display.
Upon accessing Notification Center, you’ll be presented with a range of information and options. The layout may vary slightly depending on the version of iOS you’re using, but the core functionality remains the same. Keep reading to learn more about the different sections of Notification Center and how to manage your notifications effectively.
Understanding the different sections of Notification Center
Notification Center consists of various sections that are designed to help you organize and manage your notifications efficiently. Here’s an overview of the different sections you’ll find in Notification Center:
1. Today: The Today section provides a summary of your day, including the current date, weather information, upcoming events, and a customizable list of widgets. You can personalize the widgets to display information from your favorite apps, such as news headlines, stock updates, or your daily fitness progress.
2. All: The All section displays a chronological list of all your notifications, grouped by app. You can easily scroll through this list to catch up on any missed notifications or to review recent activity on your iPhone.
3. Missed: The Missed section shows notifications that you might have missed while your iPhone was locked or when you were unable to attend to them. This section is particularly useful to quickly catch up on any important notifications that require your attention.
4. Other: The Other section contains notifications from apps that are not displayed in the other sections. These notifications might include system alerts or notifications from less frequently used apps.
It’s important to note that you can customize which sections are displayed and the order in which they appear. This allows you to prioritize the information that is most relevant to you and easily access it from Notification Center.
By understanding the different sections of Notification Center, you can navigate and utilize its features effectively. Whether you want a quick glance at your day in the Today section or need to catch up on missed notifications in the All or Missed sections, Notification Center is designed to keep you informed and in control of your iPhone’s notifications.
Managing notifications from different apps
Managing notifications from different apps is essential for a clutter-free and organized Notification Center experience. Here are some tips to effectively manage notifications from various apps:
1. Review app notification settings: Go to your iPhone’s Settings and select “Notifications.” From there, you can see a list of all the apps installed on your device. Tap on an app to customize its notification settings. You can choose whether to allow or disable notifications, determine the notification style (banner, alert, or none), and even customize the sound or vibration pattern for each app.
2. Schedule Do Not Disturb: To prevent interruptions during specific times, utilize the Do Not Disturb feature. Open Settings, select “Do Not Disturb,” and set a time range. During this period, notifications will be silenced, and only calls from your Favorites or repeated calls will come through.
3. Enable app grouping: By enabling app grouping, you can keep your Notification Center organized. Under Settings > Notifications, choose “Notification Grouping” and select “Automatic.” This will group notifications from the same app together, making it easier to manage and dismiss them.
4. Manage notification alerts: For frequently used apps, it’s important to configure the notification alerts to your preference. You can choose to receive banners or alerts that appear at the top of your screen, or opt for the quieter option of notifications appearing in the Notification Center only. To customize this, go to Settings > Notifications and select an app to adjust its alert style.
5. Utilize app-specific settings: Some apps offer additional settings to further refine their notifications. For example, messaging apps may allow you to customize notification sounds for specific contacts. Take the time to explore the settings within each individual app to personalize your notification experience.
By managing notifications from different apps, you can minimize distractions and ensure that you only receive the alerts that are relevant and important to you. Take control of your Notification Center by customizing settings and fine-tuning your preferences.
Customizing the order of widgets in Today View
One of the key features of Notification Center is the ability to customize the order of widgets in the Today View. This allows you to prioritize the information that is most important to you. Here’s how you can customize the order of widgets:
1. Accessing Today View: To begin customizing your widgets, swipe right from the home screen or lock screen to access Today View. Alternatively, you can swipe down from the top of your screen and navigate to the Today tab.
2. Scroll to the bottom: In Today View, scroll all the way down to the bottom until you see the “Edit” button.
3. Entering Edit mode: Tap on the “Edit” button to enter edit mode. You will now see a list of all the available widgets that you can add or remove from Today View.
4. Reordering widgets: To customize the order of widgets, simply tap and hold the three horizontal lines next to a widget and drag it up or down to rearrange it. The widgets at the top of the list will appear first in Today View.
5. Adding or removing widgets: To add a new widget to Today View, scroll down to the “More Widgets” section and tap the green “+” button next to the widget you want to add. Conversely, to remove a widget, tap the red “-” button next to it.
6. Exiting Edit mode: Once you’re satisfied with the order of your widgets, tap the “Done” button in the top-right corner to exit edit mode. Your changes will be saved automatically.
By customizing the order of widgets in Today View, you can have quick access to the information that matters most to you. Whether it’s viewing your upcoming calendar events, checking the weather, or staying on top of your favorite news sources, take advantage of this customization feature to tailor Today View to your specific needs and preferences.
Adding or removing widgets from Today View
One of the great features of Notification Center is the ability to add and remove widgets from the Today View. This allows you to customize the information that is displayed and ensures that you have quick access to the most relevant content. Here’s how you can add or remove widgets:
1. Accessing Today View: Swipe right from the home screen or lock screen to access Today View. Alternatively, you can swipe down from the top of your screen and navigate to the Today tab.
2. Scroll to the bottom: Scroll all the way down to the bottom of Today View until you see the “Edit” button.
3. Entering Edit mode: Tap on the “Edit” button to enter edit mode. You will now see a list of all the available widgets that you can add or remove from Today View.
4. Adding a widget: To add a new widget, scroll down to the “More Widgets” section. Here, you’ll find a selection of widgets that you can add to Today View. Tap the green “+” button next to the widget you want to add.
5. Removing a widget: If you want to remove a widget from Today View, simply tap the red “-” button next to the widget you want to remove. Confirm the removal by tapping the “Remove” button when prompted.
6. Reordering widgets: In edit mode, you can also customize the order of the widgets. Tap and hold the three horizontal lines next to a widget, then drag it up or down to rearrange its position in the list. The widgets at the top of the list will appear first in Today View.
7. Exiting Edit mode: Once you’re done adding, removing, and rearranging widgets, tap the “Done” button in the top-right corner to exit edit mode. Your changes will be saved automatically.
By adding or removing widgets from Today View, you can personalize your Notification Center and ensure that the information you need is just a swipe away. Experiment with different widgets and find the combination that best suits your preferences and daily routine.
Configuring Do Not Disturb settings
Do Not Disturb is a powerful feature that allows you to stay focused and avoid interruptions on your iPhone. It mutes incoming calls, notifications, and alerts during specific times or when the device is in use. Here’s how you can configure Do Not Disturb settings:
1. Accessing Do Not Disturb: Open the Settings app on your iPhone and tap “Do Not Disturb.” You can also access it quickly from Control Center by swiping down from the upper-right corner of the screen and tapping the crescent moon icon.
2. Enable scheduled Do Not Disturb: By default, Do Not Disturb is turned off. To enable it, toggle the switch for “Scheduled.” You can then set a specific time range when Do Not Disturb should automatically activate each day. This is useful for preventing disruptions during sleep or important meetings.
3. Allow calls from specific contacts: If there are certain contacts whose calls you never want to miss, you can customize the Do Not Disturb settings to allow calls from them. From the Do Not Disturb settings, tap “Allow Calls From” and choose whether to allow calls from Everyone, No One, Favorites, or specific groups.
4. Configure repeated calls: To ensure urgent calls can still get through in case of an emergency, you can enable the “Repeated Calls” option. When this feature is enabled, if someone from your Favorites or a contact calls you twice within three minutes, their call will bypass Do Not Disturb and ring through.
5. Allow notifications from specific apps: If you don’t want to be completely disconnected from all notifications, you can customize Do Not Disturb to allow notifications from certain apps. Tap “Allow Notifications” and choose whether to allow notifications from Everyone, No One, or select specific groups or contacts.
6. Silence and alerts: You can choose whether to silence calls and notifications completely or allow them to be delivered without sound or vibration. You can enable options such as “Silence” to mute all incoming calls and notifications or “Always” to receive them with sound even when Do Not Disturb is active.
7. Bedtime and Do Not Disturb: Additionally, you have the option to enable the Bedtime mode, where Do Not Disturb is automatically activated during your specified sleep schedule. This helps create a peaceful environment while you sleep and avoids any disruptions from notifications.
By configuring your Do Not Disturb settings, you can have uninterrupted periods of focus and relaxation without being constantly interrupted by notifications and calls. Customize these settings to match your preferences and ensure that you have control over when and how interruptions are allowed on your iPhone.
Managing notification privacy and app preferences
Managing notification privacy and app preferences is important to maintain control over the information that is displayed on your iPhone and ensure that your privacy is protected. Here are some tips for managing notification privacy and app preferences:
1. Review notification preview settings: Open the Settings app and tap “Notifications”. From there, you can select individual apps and configure how their notifications are displayed. Choose whether to show notification previews always, when unlocked, or never, depending on your desired level of privacy.
2. Manage sensitive app notifications: Some apps may contain sensitive or personal information that you don’t want to be displayed in notifications. In the app’s notification settings, you can choose to disable specific types of notifications or customize which content is shown in the notifications. This way, you can ensure that private information remains secure.
3. Disable lock screen notifications: If you want to keep your notifications private when your iPhone is locked, you can disable lock screen notifications. Head to Settings > Notifications, select an app, and toggle off the “Show on Lock Screen” option. This prevents sensitive information from being displayed on your device’s lock screen.
4. Configure app-specific preferences: In addition to notification settings, many apps have specific preferences that can further customize your user experience. For example, messaging apps may offer options to control whether incoming messages display a preview or play a sound. Explore the settings within each app to tailor its behavior and privacy features to your liking.
5. Regularly audit app permissions: Take the time to review and manage the permissions granted to different apps on your iPhone. Head to Settings > Privacy and go through the different categories to see which apps have access to sensitive information, such as your location, contacts, photos, and more. Revoke permissions for apps that you no longer use or feel uncomfortable granting access to.
6. Stay updated: Keep your iPhone’s software and apps up to date to ensure that you have access to the latest privacy features and enhancements. These updates often include important security patches that can protect your device and personal information from potential vulnerabilities.
By managing notification privacy and app preferences, you can maintain control over your notifications and ensure that your personal information remains secure. Customize and review these settings regularly to align with your privacy preferences and to stay informed about the data accessed by different apps on your iPhone.
Clearing all notifications at once
Over time, as notifications accumulate on your iPhone, it can become overwhelming to sort through them individually. Fortunately, there is a convenient feature that allows you to clear all notifications at once. Here’s how you can easily clear all notifications on your iPhone:
1. Accessing Notification Center: Swipe down from the top of your iPhone screen to access Notification Center. You can do this from the lock screen, home screen, or while using an app.
2. Viewing the notifications: Once in Notification Center, you will see a list of all your notifications, grouped by app and arranged chronologically. Take a moment to review them if needed.
3. Clearing all notifications: At the top of Notification Center, you will find a button labeled “Clear All.” Tap on this button to instantly clear all the notifications on your iPhone. This will remove all the displayed notifications, regardless of which app they came from.
4. Confirmation: Depending on the version of iOS you’re using, you may be prompted with a confirmation dialog box asking if you are sure you want to clear all notifications. Tap “Clear All Notifications” to confirm the action.
By using this feature to clear all notifications at once, you can quickly declutter your Notification Center and start with a clean slate. This is especially useful when you want to get rid of a large number of notifications or simply want to start fresh and focus on the most recent alerts.
It’s important to note that clearing all notifications will permanently remove them from Notification Center. If you accidentally clear a notification that you need to reference later, you may need to check the respective app for the specific information that was contained in the notification.
Using gesture controls to manage notifications
In addition to the traditional method of using Notification Center to manage notifications on your iPhone, there are also convenient gesture controls that allow you to quickly interact with and dismiss notifications. These gestures provide a seamless and efficient way to manage your notifications without the need for additional taps. Here’s how you can use gesture controls to manage notifications:
1. Swipe left to view options: When a notification appears on your lock screen or in Notification Center, you can swipe left on it to reveal options for managing that specific notification. Depending on the app and its settings, the available options may include Reply, Snooze, Archive, and more. This gesture allows you to take direct actions on the notification without having to open the app itself.
2. Swipe right to clear notifications: Instead of using the “Clear All” button in Notification Center, you can swipe right on an individual notification to quickly dismiss it. This gesture is especially useful when dealing with notifications one by one and wanting to clear them without leaving the current screen you are on.
3. Long press for more options: On newer iPhone models with 3D Touch or Haptic Touch, you can perform a long press on a notification to reveal additional options and actions. This varies depending on the app, but you might see options like “View” for a message or “Mark as Read” for an email. Experiment with long pressing on notifications to discover more functionality.
4. Manage notifications on the lock screen: When your iPhone is locked, you can interact with notifications directly on the lock screen. For example, you can swipe left to view options, swipe right to clear notifications, and even reply to messages without unlocking your device. This provides quick and convenient access to manage important notifications on the go.
Gesture controls offer a streamlined and efficient way to manage notifications on your iPhone. By utilizing these gestures, you can save time and quickly take action on notifications, whether it’s replying to a message, snoozing a reminder, or dismissing an alert, all with just a few simple swipes.
Accessing and replying to messages from the lock screen
One of the convenient features of the iPhone is the ability to access and reply to messages directly from the lock screen. This allows you to quickly respond to incoming messages without having to unlock your device or open the messaging app. Here’s how you can access and reply to messages from the lock screen:
1. Receiving message notifications: When you receive a new message, a notification will appear on your lock screen. You can identify it by the app icon and a preview of the message content.
2. Viewing the message: To view the full message content, simply press your finger on the notification and swipe left. This action will reveal the “View” button. Alternatively, on newer iPhone models with Face ID, just look at the notification to reveal additional options.
3. Replying from the lock screen: Once you can see the message content, you have several options for replying. You can swipe left on the notification to expose the “Reply” button or use the “View” button mentioned earlier. Tap on the chosen option to open a reply field.
4. Typing and sending your reply: With the reply field open, you can type your response using the keyboard that appears on the lock screen. After composing your message, tap the “Send” button to send it to the sender.
5. Sending quick replies: In addition to typing a message, you may also see suggested quick reply options below the reply field. These are pre-defined responses that you can select with a single tap, saving you time and effort when sending a simple response.
6. Unlocking to access more options: If you need to access additional features or actions within the messaging app, you can unlock your iPhone by using Face ID, Touch ID, or entering your passcode. Once unlocked, you can open the messaging app directly or access other conversation threads for more extensive replies and interactions.
Being able to access and reply to messages from the lock screen provides convenience and efficiency, allowing you to quickly respond to important messages without the need to unlock your iPhone and navigate through your apps. This feature is particularly useful when you’re on the go or need to send a prompt response without any delay.
Troubleshooting Notification Center issues
Notification Center is a critical feature on your iPhone that keeps you informed about important updates and events. However, there may be times when you encounter issues with Notification Center not working as expected. If you’re facing problems with notifications, here are some troubleshooting steps you can take:
1. Check Do Not Disturb settings: Ensure that you haven’t accidentally enabled Do Not Disturb, which silences all notifications. Go to Settings > Do Not Disturb and turn it off if it’s enabled or adjust its settings accordingly.
2. Restart your iPhone: Sometimes, restarting your iPhone can resolve minor software glitches and restore normal functionality. Simply turn off your device, wait a few seconds, and then turn it back on again.
3. Check notification settings for individual apps: Open Settings > Notifications and make sure that the apps you’re not receiving notifications from have notifications enabled. You can also check the specific settings within each app to ensure notifications are properly configured.
4. Clear cache for problematic apps: Some apps may experience notification issues due to corrupt cached data. Try clearing the cache for the specific app by going to Settings > General > iPhone Storage, selecting the app, and tapping “Offload App” or “Delete App”. Then reinstall the app from the App Store and reconfigure its notification settings.
5. Update iOS and apps: Outdated software can sometimes cause notification issues. Make sure your iPhone is running the latest version of iOS by going to Settings > General > Software Update. Additionally, keep your apps up to date by regularly checking for updates in the App Store.
6. Reset all settings: If the issue persists, you can try resetting your iPhone’s settings. Go to Settings > General > Reset and select “Reset All Settings.” This will not erase your data, but it will reset all personalized settings to their default values, including notification preferences.
7. Contact Apple Support: If none of the above steps resolve the issue, it’s recommended to reach out to Apple Support for further assistance. They can provide more targeted troubleshooting steps or advise if there might be a known issue with your specific device or software version.
By following these troubleshooting steps, you can often resolve issues with Notification Center on your iPhone. Restoring normal functionality to Notification Center ensures that you stay informed and receive important notifications without any disruptions.