
Aperture
Aperture is one of the fundamental manual camera settings that controls the amount of light entering your camera. It refers to the size of the opening in the lens through which light passes. The aperture size is measured in f-stops, represented as f/stop numbers.
Aperture not only affects the exposure of your image by controlling how much light reaches the camera’s sensor but also determines the depth of field. A wider aperture, represented by a lower f-stop number (e.g., f/2.8), allows more light to enter and results in a shallow depth of field with a blurred background. Conversely, a narrower aperture, represented by a higher f-stop number (e.g., f/16), lets in less light and creates a greater depth of field, resulting in a sharper background.
Understanding how to use aperture effectively can greatly impact the aesthetics of your photographs. A wider aperture is often used in portrait photography to create a pleasing background blur and isolate the subject. On the other hand, a narrower aperture is commonly employed in landscape photography to ensure most elements, from the foreground to the background, are in focus.
To adjust the aperture on your DSLR camera, switch to manual mode and locate the aperture adjustment dial on your camera body or lens. Turn the dial to select your desired f-stop number. Keep in mind that different lenses have varying maximum and minimum aperture capabilities.
Experimenting with different aperture settings can open up a world of creative possibilities. By mastering the art of aperture, you can take control of the depth of field in your images and create visually striking photographs that stand out from the crowd.
Shutter Speed
Shutter speed is another crucial manual camera setting that determines the length of time your camera’s sensor is exposed to light. It controls the motion blur in your photographs and plays a vital role in capturing fast-moving subjects or creating stunning long exposure shots.
Shutter speed is measured in seconds or fractions of a second. A faster shutter speed, such as 1/1000s, freezes action and is ideal for photographing sports or wildlife. On the other hand, a slower shutter speed, like 1/30s, allows for longer exposure time, resulting in motion blur. This can be used creatively to capture the movement of waterfalls, flowing traffic, or even star trails in night photography.
When adjusting the shutter speed, it’s essential to consider the lighting conditions. In bright situations, a faster shutter speed can help reduce overexposure and maintain sharpness. In low light conditions, a slower shutter speed may be necessary to allow enough light to reach the sensor, but this can introduce camera shake, resulting in blurry images.
Keep in mind that when shooting handheld at slower shutter speeds, it’s crucial to maintain stability to prevent camera shake. A good rule of thumb is to use a shutter speed that is equal to or faster than the focal length of your lens. For example, if you are using a 50mm lens, try to keep your shutter speed at 1/50s or faster.
Modern DSLR cameras often offer a range of shutter speed options, including bulb mode, which allows you to keep the shutter open as long as you hold down the shutter button. This is useful for capturing long exposures in situations like astrophotography or light painting.
Understanding and experimenting with shutter speed will help you capture images with the desired amount of motion blur. Whether you want to freeze action or create beautiful blur effects, mastering this manual camera setting is essential for taking your photography to the next level.
ISO
ISO is a vital manual camera setting that controls the sensitivity of your camera’s sensor to light. It plays a crucial role in allowing you to capture well-exposed photographs in various lighting conditions.
ISO is represented by a numeric value, typically ranging from 100 to 3200 or higher, depending on your camera model. A lower ISO, such as ISO 100, is generally used in bright conditions, such as outdoor photography on a sunny day. Lower ISO values result in less digital noise and better image quality.
Conversely, a higher ISO, such as ISO 800 or above, is useful in low-light situations where you need your camera to be more sensitive to light. However, increasing the ISO also increases the digital noise or graininess in your images. Therefore, finding the optimal ISO balance is crucial to maintain image quality while achieving the desired exposure.
In automatic mode, your camera will typically adjust the ISO based on the lighting conditions. However, in manual mode, you have full control over the ISO setting. To adjust the ISO, simply locate the ISO adjustment button or menu option on your camera and select your desired ISO value. It’s important to note that higher-end cameras tend to handle higher ISO settings more effectively, producing cleaner images with less noise.
Understanding the relationship between ISO, aperture, and shutter speed is essential for achieving the desired exposure. For example, if you want to capture a well-exposed image in low light, you may need to increase the ISO, widen the aperture, or use a slower shutter speed. However, finding the optimal balance between these settings will depend on the specific conditions and the creative effect you want to achieve.
Experimenting with different ISO settings in various lighting situations will help you understand how your camera handles different ISO values and the trade-offs between noise and exposure. By mastering the ISO setting, you can confidently adapt to any lighting condition and capture stunning images with optimal exposure.
White Balance
White balance is a crucial manual camera setting that ensures accurate color representation in your photographs. It helps adjust the color temperature of the light source to neutralize any unwanted color casts and capture images with natural and realistic colors.
Every light source has its own color temperature. For instance, sunlight appears warm and has a higher color temperature, while fluorescent lighting tends to be cooler and has a lower color temperature. If your camera’s white balance is not properly calibrated, it may result in images with a yellow, blue, or green color cast.
By selecting the appropriate white balance setting, you can ensure that the colors in your photographs appear true to life. Most DSLR cameras offer pre-set white balance options, such as daylight, cloudy, fluorescent, and tungsten, to match specific lighting conditions. You can also set a custom white balance by using a gray card or an object with neutral colors in the scene.
Additionally, newer cameras often have an auto white balance mode, which automatically adjusts the color temperature based on the lighting conditions. While this can be a convenient option, it may not always produce the desired results. In some situations, it’s better to manually set the white balance for more accurate color reproduction.
Understanding white balance is particularly important when shooting in RAW format, as it gives you more flexibility in post-processing to fine-tune the color temperature. However, it’s always recommended to get the white balance as accurate as possible in-camera to minimize the amount of adjustments needed later.
Experimenting with different white balance settings in various lighting conditions will help you understand how each setting affects the overall color tone of your images. By mastering the white balance setting, you can produce photos that accurately represent the colors in the scene and create a more engaging and visually pleasing final result.
Metering Modes
Metering modes are manual camera settings that determine how your camera measures the light in a scene to achieve the desired exposure. Different metering modes allow you to prioritize different areas of the frame, ensuring accurate exposure for your subject.
There are typically three common metering modes found in most DSLR cameras:
- Evaluative or Matrix Metering: This mode takes into account multiple areas of the frame, analyzing brightness, contrast, and color to calculate the exposure. It provides a well-balanced exposure for most scenes and is the default mode for many cameras.
- Spot Metering: Spot metering allows you to meter the light from a specific spot in the frame, usually a small area around the focus point. It is ideal for capturing subjects with high contrast or when you want precise control over the exposure in a specific area of the scene.
- Center-Weighted Metering: This mode gives priority to the metering at the center of the frame and is particularly useful for capturing portraits or subjects that are centered in the composition. It provides a balanced exposure while considering the overall brightness of the frame.
Understanding how different metering modes work and when to use them is crucial for achieving accurate exposure in various lighting situations. For example, in a backlit situation, spot metering can help meter the light on the subject’s face to avoid underexposure, while evaluative metering may result in an overall balanced exposure that sacrifices the highlights.
It’s important to note that the effectiveness of metering modes can vary depending on the camera model and the scene’s complexity. In challenging lighting conditions or when you want more control over the exposure, it’s worth experimenting with different metering modes to find the one that works best for your specific situation.
By understanding and utilizing the various metering modes available on your camera, you can ensure accurate exposure and retain detail in both highlight and shadow areas, resulting in well-balanced and visually pleasing photographs.
Focus Modes
Focus mode is a vital manual camera setting that determines how your camera focuses on the subject. Different focus modes offer varying levels of control and are designed to cater to different shooting scenarios and subject types.
There are typically three common focus modes found in most DSLR cameras:
- Single Shot or One-Shot Autofocus (AF-S): This focus mode locks the focus on a subject when the shutter button is half-pressed, and the focus is maintained until the image is captured. It is ideal for stationary subjects, such as landscape photography or posed portraits.
- Continuous Autofocus (AF-C): Continuous autofocus continuously adjusts the focus as long as the shutter button is half-pressed. It is useful for capturing moving subjects, such as sports, wildlife, or any scenario where the subject is in motion.
- Manual Focus (MF): Manual focus allows you to manually adjust the focus by turning the focus ring on the lens. It is handy in situations where the autofocus struggles, such as low light conditions or scenes with low contrast.
Each focus mode has its advantages and should be chosen based on the specific shooting situation. For example, using single-shot autofocus is ideal when photographing a static subject, as it ensures the focus is locked before capturing the image, resulting in a sharp and precise focus point.
On the other hand, continuous autofocus is excellent for capturing action or subjects that are constantly moving. It tracks the subject’s movement and adjusts the focus accordingly, allowing you to capture sharp and in-focus images even in fast-paced scenarios.
Manual focus provides full control over focusing, allowing you to fine-tune the focus manually. It is particularly useful when dealing with difficult lighting conditions, subjects with low contrast, or when you want to intentionally create a specific focus effect.
Understanding the different focus modes and their applications will help you achieve precise focus in various shooting situations. It’s important to experiment with different focus modes and understand how they perform with your camera and lens combination to master the art of focusing.
Ultimately, choosing the right focus mode based on the subject, lighting, and intended effect will result in images that are sharp, well-focused, and visually captivating.
Shooting Modes
Shooting modes are manual camera settings that determine how your camera operates and what level of control you have over the exposure settings. Understanding and utilizing different shooting modes can greatly enhance your photography by allowing you to adapt to different shooting scenarios and achieve the desired creative effects.
Here are some common shooting modes found in most DSLR cameras:
- Auto Mode: This mode is fully automatic, where the camera makes all exposure decisions, including aperture, shutter speed, ISO, and white balance. It is ideal for beginners or when you want to quickly capture moments without worrying about manual settings.
- Program Mode (P): Program mode is an automatic mode that allows you to have some control over certain settings, such as ISO and white balance, while the camera chooses the optimal aperture and shutter speed. This mode provides a balance between automation and user control.
- Aperture Priority (A or Av): In aperture priority mode, you manually select the desired aperture, and the camera adjusts the shutter speed accordingly to achieve proper exposure. This mode is useful when you want control over the depth of field.
- Shutter Priority (S or Tv): Shutter priority mode allows you to set the desired shutter speed, and the camera adjusts the aperture to achieve proper exposure. This mode is ideal for situations where you want to control motion blur or freeze action.
- Manual Mode (M): Manual mode gives you full control over all exposure settings, including aperture, shutter speed, ISO, and white balance. It offers the most creative freedom but requires knowledge and experience to adjust settings accurately.
Each shooting mode serves a specific purpose and offers different levels of control. Beginners may start with auto or program mode to familiarize themselves with basic camera operations. As you gain more confidence and photographic skills, you can gradually transition to aperture priority, shutter priority, and eventually manual mode for complete creative control.
Understanding how different shooting modes work and when to use them will allow you to adapt to different shooting scenarios and achieve the desired results. Experimenting with different shooting modes in various lighting conditions and subject types will help you develop a deeper understanding of how your camera behaves in different modes.
By utilizing the appropriate shooting mode, you can have more creative control over your images and capture photographs that truly reflect your artistic vision.
Exposure Compensation
Exposure compensation is a valuable manual camera setting that allows you to adjust the exposure determined by your camera’s metering system. It is especially useful in situations where the automatic exposure may not produce the desired results.
Exposure compensation is typically represented in stops (+/-) and allows you to make your images brighter or darker by adjusting the exposure value. For example, if you are photographing a bright scene and the camera’s automatic metering tends to underexpose, you can use positive exposure compensation (+1 or +2) to add brightness to the image.
Conversely, if you are capturing a scene with a lot of dark tones and the automatic metering tends to overexpose, you can use negative exposure compensation (-1 or -2) to decrease the brightness and retain details in the highlights.
Exposure compensation is particularly helpful in tricky lighting situations, such as backlit scenes or high-contrast environments. It allows you to override the camera’s automatic exposure settings and ensure your subject is properly exposed.
To adjust exposure compensation, locate the exposure compensation button on your camera (usually labeled with a +/- symbol). Press the button and use the control dial or arrow buttons to increase or decrease the exposure compensation value. This adjustment can usually be made while in aperture priority, shutter priority, or program mode.
It’s important to note that exposure compensation changes the overall exposure value and is primarily used to correct the metering of the camera. However, it doesn’t directly affect other exposure-related settings like aperture, shutter speed, or ISO.
Experimenting with exposure compensation in different lighting conditions will help you develop an understanding of how it affects your images. By mastering this setting, you can achieve accurate exposure in challenging situations, maintain highlight and shadow detail, and create the desired mood or atmosphere in your photographs.
Manual Focusing Techniques
Manual focusing allows you to have precise control over the focus of your image, especially in situations where autofocus may struggle or when you want to achieve a specific effect. By mastering manual focusing techniques, you can ensure tack-sharp focus in your photographs and expand your creative possibilities.
Here are some techniques to help you achieve accurate manual focus:
- Use the Focus Magnifier: Many modern cameras offer a feature called focus magnifier, which allows you to zoom in on a specific area of the frame to check focus. Activate the focus magnifier in your camera settings and use it to ensure precise manual focus.
- Focus Peaking: Another helpful feature available in some cameras is focus peaking. This displays colored highlights on the areas of the scene that are in focus, making it easier to determine sharpness.
- Use Live View: Switching to live view mode can provide a clear and enlarged view of the scene on your camera’s LCD screen. You can then manually adjust the focus by using the focus ring on the lens until the desired area appears sharp.
- Focus Bracketing: For critical focus in situations with narrow depth of field, consider using focus bracketing. This technique involves taking multiple shots, each with a slightly different focus point, and later blending them together for maximum sharpness.
- Look for Focus Indicators: Many cameras have focus indicators in the viewfinder or on the LCD screen to assist with manual focusing. Keep an eye out for these indicators to ensure your subject is in sharp focus.
- Take Your Time: Manual focusing requires patience and attention to detail. Take your time to adjust the focus ring slowly and carefully to achieve the desired sharpness. Use a tripod or stabilize your camera to minimize potential camera shake.
Mastering manual focusing techniques can be challenging at first, but with practice, you will develop a better understanding of your camera’s focusing capabilities and become more confident in achieving sharp focus in various situations.
Manual focusing provides you with complete control over where you want to place your focus, allowing you to create striking images with pinpoint sharpness. Whether you are shooting portraits, macro photography, or landscapes, manual focusing techniques can elevate the quality and impact of your photographs.
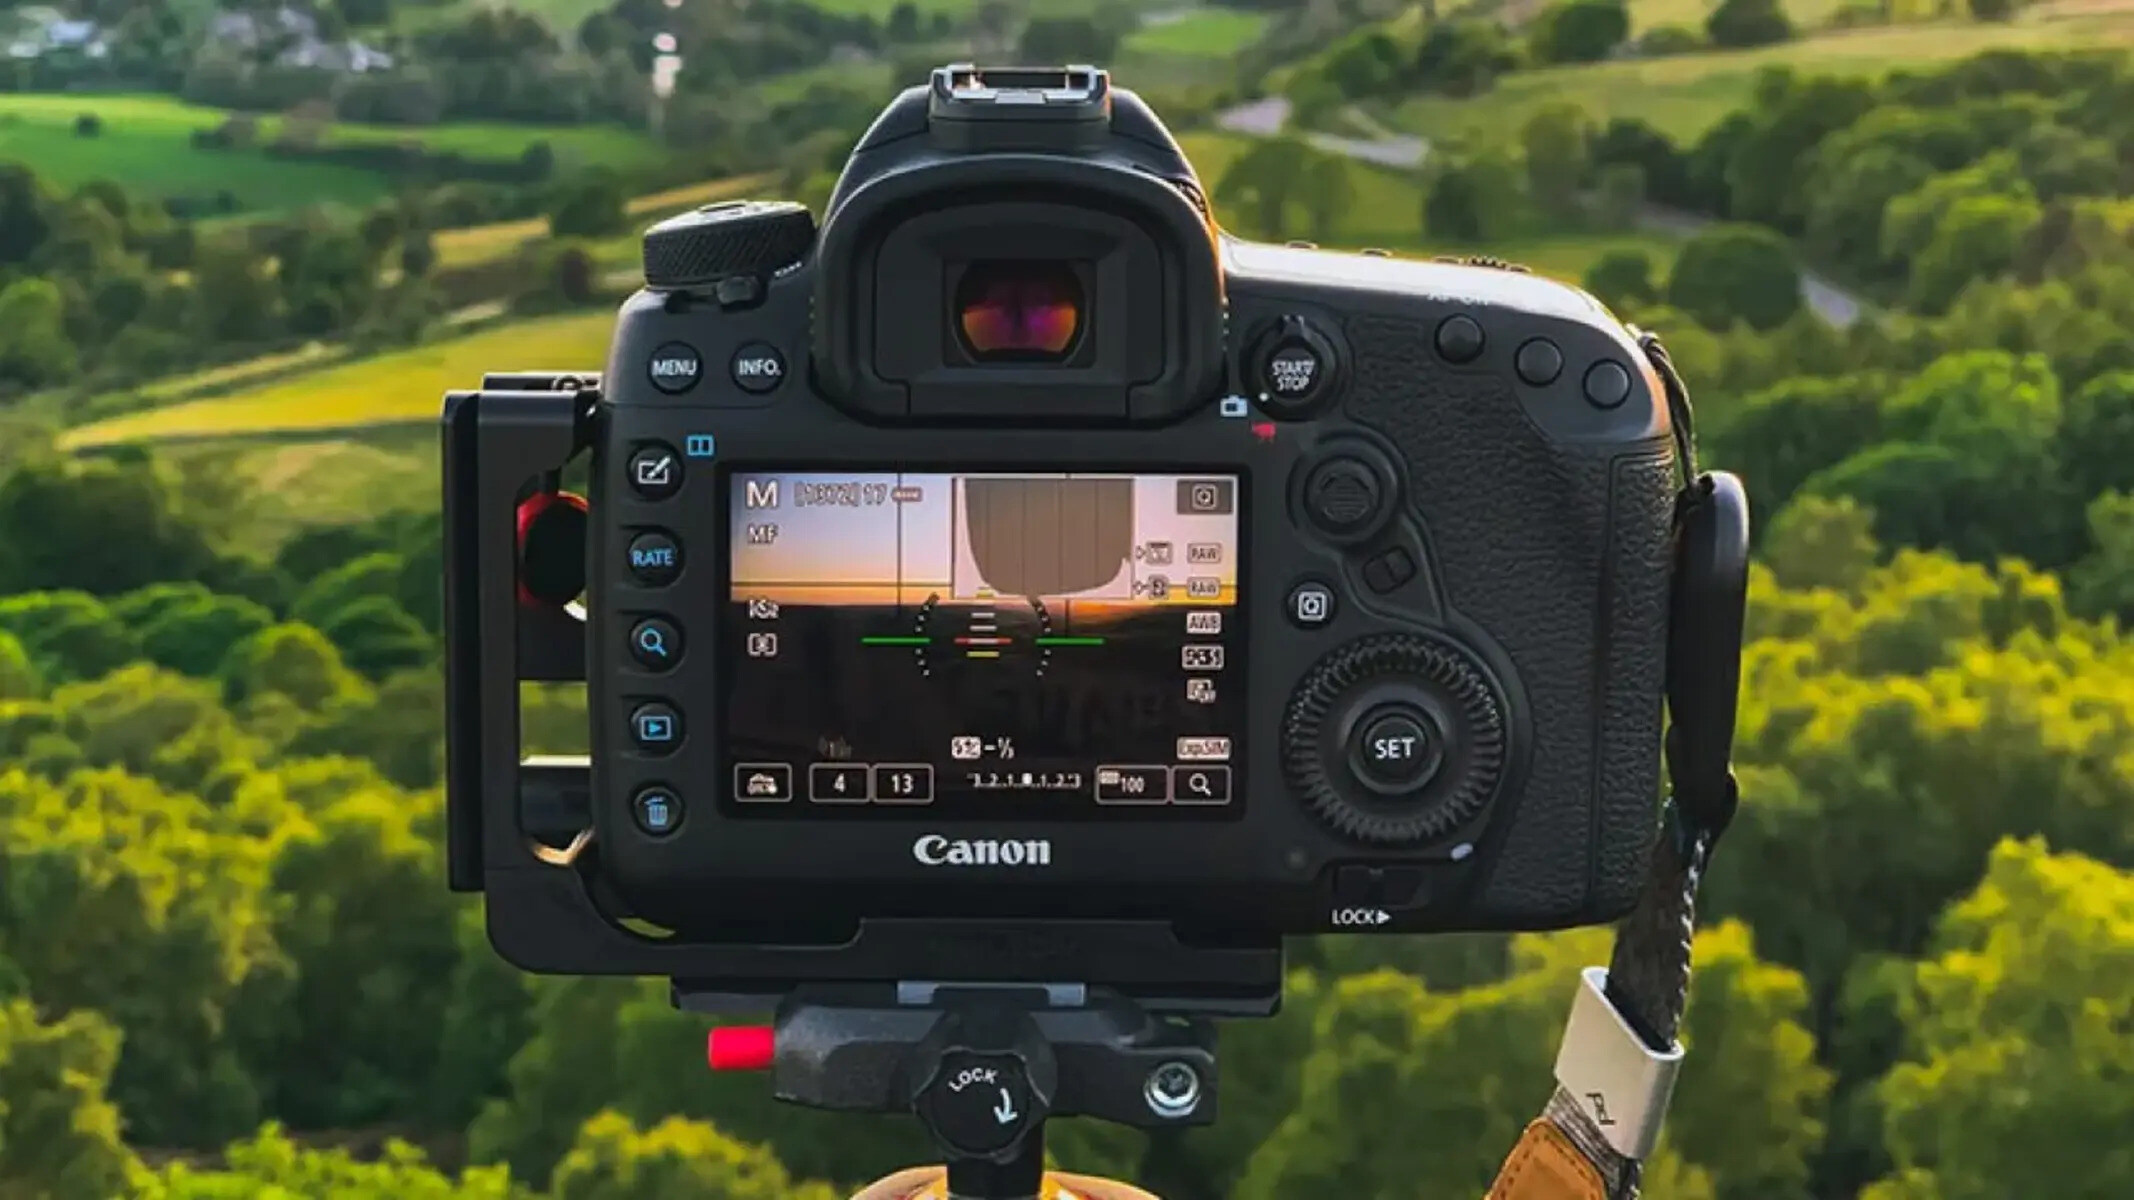
Using a Tripod
A tripod is an essential tool for any photographer, offering stability and allowing you to capture sharp and well-composed images. Whether you’re shooting landscapes, long exposures, or any situation that requires a steady camera, using a tripod can greatly enhance the quality of your photographs.
Here are some reasons why using a tripod is beneficial:
- Increased Stability: A tripod provides a solid foundation for your camera, eliminating the risk of handheld camera shake, resulting in sharper images. It is especially useful in low-light situations or when using longer shutter speeds.
- Composition Control: With a tripod, you can carefully compose your shots by adjusting the height and angle of the camera. It gives you the freedom to experiment with different perspectives and capture images with greater precision.
- Long Exposure Photography: When shooting in low light or capturing long exposures, a tripod is essential to keep the camera steady during longer exposure times. This allows you to capture breathtaking motion blur in waterfalls, light trails, or starry skies.
- Macro Photography: Close-up shots often require precise focusing and depth of field control. Using a tripod helps you achieve precise focus and stability, ensuring sharp details and maximizing the image quality.
- Multiple Exposures and Image Blending: A tripod facilitates capturing multiple exposures of the same scene for blending in post-processing techniques like HDR (High Dynamic Range) or focus stacking. The stability of the tripod ensures that the images align perfectly, resulting in seamless blends.
When using a tripod, it’s important to follow a few key practices:
- Securely mount your camera onto the tripod to prevent any accidental slips or falls.
- Avoid touching the camera or tripod during exposure to minimize any potential camera shake.
- Use a remote shutter release or the camera’s self-timer to trigger the shutter and further reduce any vibrations.
- Choose a sturdy and reliable tripod that can support the weight of your camera and lens.
- Adjust the tripod legs to ensure it is level and stable on uneven surfaces.
By incorporating a tripod into your photography workflow, you gain stability, control, and the ability to capture images that are sharp and well-composed. It is a valuable tool for photographers of all levels and is particularly beneficial in situations that require long exposures, precise compositions, or ensuring maximum image quality.