
Selecting and preparing an image for your Outlook signature
Having a visually appealing email signature can leave a lasting impression on your recipients. One way to enhance your signature is by including an image. However, before you can add an image to your Outlook signature, you need to select and prepare the right image. Follow these steps to ensure your image is suitable for use in your Outlook signature.
1. Choose a professional and relevant image: Select an image that is representative of your brand or business. Avoid using personal photos or unprofessional images that may detract from your signature’s purpose.
2. Optimize the image size: Large images can hinder the loading speed of emails and increase file sizes. Resize and compress your image to an appropriate size. Aim for a width of around 200-300 pixels to ensure the image fits well within the signature area.
3. Crop and edit the image if necessary: If your chosen image contains unnecessary elements or distractions, use photo editing software to crop and refine the image. Focus on the essential elements that convey your message effectively.
4. Save the image in a compatible format: To ensure compatibility across different email clients, save your image in a widely supported format such as JPEG, PNG, or GIF. Consider the image’s subject matter and the level of detail when selecting the appropriate file format.
5. Optimize the image resolution: Balancing the image resolution is crucial. Too low, and the image may appear blurry or pixelated. Aim for medium to high resolution, around 72 to 96 DPI (dots per inch), to ensure optimal visual quality.
By following these steps, you can ensure your image is suitable for use in your Outlook signature. Next, we will discuss how to add the image to your Outlook signature and adjust its placement and alignment to achieve your desired look.
Resizing and cropping the image to fit your signature
Now that you have selected an image for your Outlook signature, the next step is to resize and crop it to fit perfectly within the signature area. Follow these guidelines to ensure your image looks polished and professional:
1. Open the image in a photo editing software: Use an image editing tool like Photoshop, GIMP, or even Microsoft Paint to open and modify your image.
2. Determine the desired dimensions: Measure the dimensions of the signature area in your Outlook email client. This will depend on the email layout and any space limitations. Typically, a signature image should be no wider than 300 pixels and no taller than 100 pixels.
3. Resize the image: In your photo editing software, select the image and choose the “resize” or “image size” option. Enter the desired dimensions, making sure to maintain the aspect ratio to avoid distorting the image. Preview the resized image and make any necessary adjustments.
4. Crop the image: If the resized image doesn’t fit perfectly within the signature area, you may need to crop it. Select the “crop” tool in your editing software and adjust the cropping frame to focus on the most important elements of the image. Be mindful not to cut off any crucial details.
5. Save the resized and cropped image: Once you are satisfied with the image dimensions and cropping, save the modified image in a compatible format (JPEG, PNG, or GIF) with a clear file name for easy identification.
Remember, the goal is to create a visually pleasing and visually balanced image. By resizing and cropping the image to fit your signature, you can ensure that it harmoniously integrates with the rest of your email content.
Next, we will discuss how to save the image in a format that is compatible with Outlook and how to add it to your signature.
Saving the image in a compatible format
Once you have resized and cropped the image for your Outlook signature, it’s important to save it in a compatible format. By choosing the right format, you can ensure that your image displays correctly across various email clients. Follow these steps to save your image in a suitable format:
1. Consider the image content and quality: The format you choose depends on the type of image and its level of detail. JPEG is ideal for photographs, PNG for images with transparency or sharp edges, and GIF for simple graphics or animations.
2. Save in JPEG format: If your image is a photograph or contains a wide range of colors, saving it in the JPEG format is often the best choice. JPEG is widely supported and offers good compression without sacrificing too much quality. Make sure to set the appropriate compression level to balance file size and image quality.
3. Save in PNG format: If your image has transparency or requires high levels of detail, saving it in the PNG format is recommended. PNG supports transparency and offers lossless compression, preserving image quality. However, keep in mind that PNG files can be larger in size compared to JPEG.
4. Save in GIF format: If your image consists of simple graphics or animations, consider saving it as a GIF. GIF is suitable for logos, icons, or other small, animated elements. Keep in mind that the GIF format has limited colors and may not be ideal for highly detailed images.
5. Choose an appropriate file name: Before saving the image, give it a descriptive and meaningful file name. This will make it easier to identify and locate the image when adding it to your Outlook signature.
By saving your image in a compatible format, you can ensure that it displays correctly across different email clients and devices. In the next section, we will discuss how to add the image to your Outlook signature and adjust its placement and alignment.
Adding the image to your Outlook signature
Now that you have resized, cropped, and saved your image in a compatible format, it’s time to add it to your Outlook signature. Follow these steps to incorporate the image into your email signature:
1. Open Outlook and go to the “File” menu: In Outlook, click on the “File” tab located in the upper-left corner of the screen to access the menu options.
2. Access the “Options” menu: From the file menu, select “Options” to open the Outlook Options dialog box.
3. Navigate to the “Mail” tab: In the Outlook Options dialog box, click on the “Mail” tab located on the left-hand side.
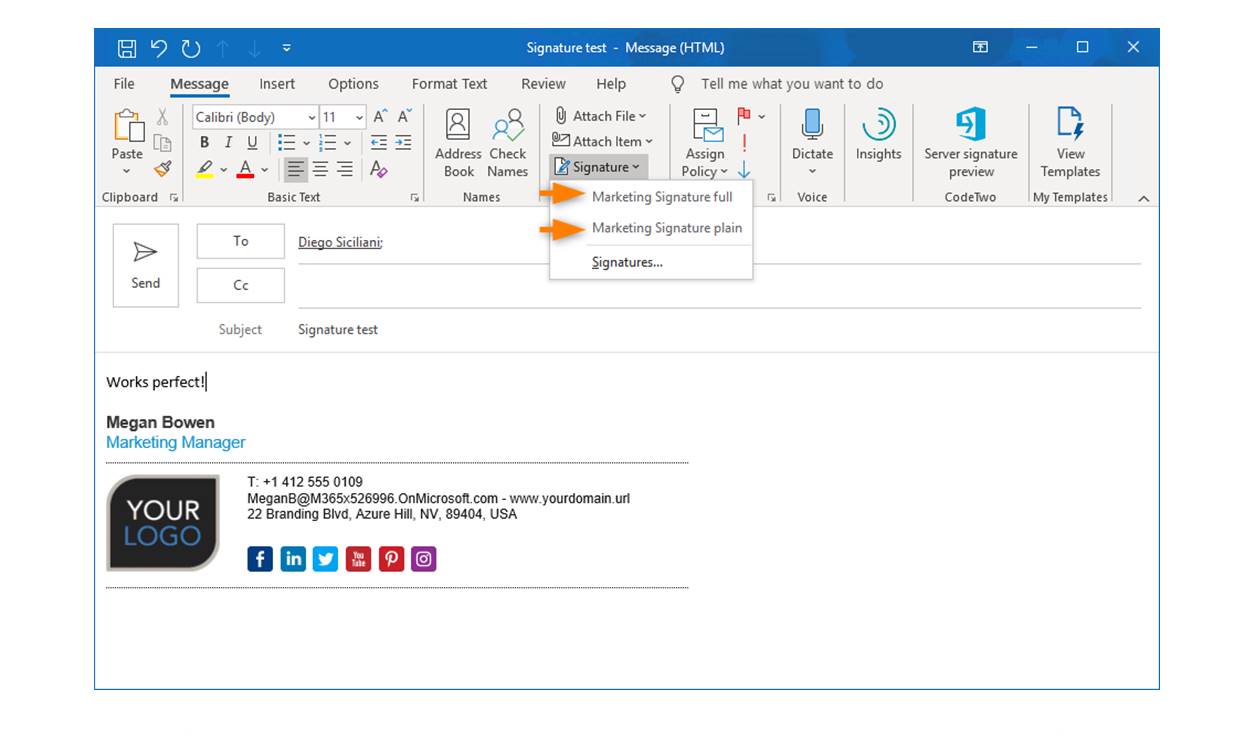
4. Select “Signatures”: Under the “Compose messages” section, click on the “Signatures” button to open the Signatures window.
5. Create or edit your signature: In the Signatures window, either create a new signature or select an existing one that you want to add the image to. If creating a new signature, enter the desired text and formatting for your signature.
6. Add the image: To insert the image into your signature, place the cursor where you want the image to appear. Then, click on the “Insert Picture” icon (usually represented by a mountain or a picture frame) in the formatting toolbar. Navigate to the location where you saved the image, select it, and click “OK” or “Insert” to add it to your signature.
7. Adjust the image size (if needed): After adding the image, you can further adjust its size by clicking on it and selecting the resizing handles. Drag the handles to increase or decrease the image size as desired.
8. Customize the image properties: Right-click on the image and select “Image Properties” or a similar option. Here, you can adjust the image alignment, border, spacing, and other properties to fine-tune its appearance in your signature.
9. Save your changes: Once you are satisfied with the image placement and appearance in your signature, click “OK” or “Save” to save your changes.
By following these steps, you can successfully add an image to your Outlook signature. In the next section, we will discuss how to adjust the image placement and alignment to achieve your desired look.
Adjusting the image placement and alignment
After adding the image to your Outlook signature, you may need to fine-tune its placement and alignment to achieve the desired look. Follow these guidelines to adjust the image to your preference:
1. Select the image: Click on the image in your signature to activate it. You may see resizing handles around the image, indicating that it is selected.
2. Align the image: Use the alignment options in the formatting toolbar to align the image left, center, or right within your signature. Experiment with different alignments to see which one works best with your overall signature design.
3. Adjust the image spacing: If you want to create space between the image and other elements in your signature, such as text or other images, you can modify the image padding or margins. Right-click on the image and select “Image Properties” or a similar option to access these settings. Adjust the padding or margins to create the desired spacing around the image.
4. Test different placements: If you’re not satisfied with the image’s placement, you can try moving it to a different position in your signature. Simply click and drag the image to a new location. Experiment with various placements until you find the most visually appealing arrangement.
5. Maintain overall balance: Ensure that the image placement and alignment complement the rest of your signature. Consider the overall design and layout of your signature to achieve a balanced and professional appearance.
6. Preview your signature: Before finalizing your changes, preview your signature by composing a test email or using the preview feature in the Outlook Signature settings. This will allow you to see how the image looks in the context of an actual email.
By adjusting the image’s placement and alignment, you can fine-tune its visual impact within your Outlook signature. In the next section, we will discuss how to ensure the image in your signature is visible in both new emails and replies/forwards.
Ensuring the image is visible in both new emails and replies/forwards
When creating an Outlook signature with an image, it’s important to ensure that the image is visible not only in new emails but also in replies and forwards. Follow these steps to make sure your image remains visible in all situations:
1. Use inline images: To ensure consistent visibility, it’s recommended to use inline images in your signature. Inline images are embedded directly within the email content, making them visible regardless of the recipient’s email settings or client.
2. Avoid referencing external images: If your signature relies on an image hosted on an external server or website, there is a possibility that the image may not display properly or be blocked by the recipient’s email client. Therefore, it’s best to avoid using external image references in your signature.
3. Save the image as part of your signature: When adding an image to your signature, choose the option to save the image as part of the signature itself. This ensures that the image is included within the email content and doesn’t require separate external references to display.
4. Test across different email clients: To ensure cross-compatibility, test your signature with the image across different email clients, such as Outlook, Gmail, Yahoo Mail, and mobile email apps. This will help you identify any compatibility issues and make necessary adjustments.
5. Use alternative text: In situations where the image cannot be displayed, having alternative text, also known as Alt text, can provide context to recipients. Add descriptive alt text to your image that conveys the purpose or content of the image. This alt text will be visible in place of the image for recipients who cannot see the image.
6. Keep image file size in check: Large image file sizes can result in slow loading times and potential display issues. Optimize your image file size without compromising the image quality to ensure smooth rendering across email clients and devices.
By following these steps, you can ensure that the image in your Outlook signature remains visible and enhances the overall impact of your emails, whether they are new, replies, or forwards. In the next section, we will discuss how to test your signature to ensure the image displays correctly.
Testing your signature to ensure the image displays correctly
After creating your Outlook signature with an image, it’s crucial to test it to ensure that the image displays correctly for your recipients. Follow these steps to conduct thorough testing of your signature:
1. Send test emails: Send test emails to different email accounts, including accounts with various email clients and devices. This will help identify any compatibility issues specific to certain email clients or devices.
2. Check image visibility: Open the test emails in different email clients and devices to verify that the image is displaying properly. Ensure that the image appears as intended and is not distorted, truncated, or blocked by any email security settings.
3. Test in different email environments: Test your signature in various email environments, such as webmail platforms, desktop email clients, and mobile email apps. These environments may render emails differently, so it’s important to ensure the image displays correctly across all of them.
4. Verify image loading speed: Check the loading time of your email signature, particularly when the image is being loaded. Slow loading times can impact the overall user experience. Ensure that the image loads smoothly and there are no significant delays in displaying the signature.
5. Review on different devices and screen sizes: Test your signature on different devices with varying screen sizes, including desktops, laptops, tablets, and mobile phones. This will help you assess the responsiveness and adaptability of your signature, ensuring the image looks good across all devices.
6. Request feedback: Reach out to colleagues, friends, or clients and request their feedback on how the image displays in their email clients. They may spot any potential issues that you may have missed during your testing process.
By thoroughly testing your signature, you can ensure that the image displays correctly and consistently for your recipients, regardless of the email client or device they are using. In the final section, we will discuss common issues with image signatures in Outlook and how to troubleshoot them.
Troubleshooting common issues with image signatures in Outlook
While creating and adding an image to your Outlook signature can enhance its visual appeal, you may encounter some common issues that can affect the display of your image. Here are some troubleshooting tips for resolving these issues:
1. Image not displaying: If the image is not showing up in your signature, double-check that the image is properly inserted and saved within the signature itself, rather than referencing an external source. Verify that the image file is in a compatible format (JPEG, PNG, or GIF) and the file path is correct.
2. Image blocked by email client: Some email clients have security settings that may block or disable images by default. In such cases, inform your recipients to enable the display of images or add your email address to their trusted senders list to ensure the image is not blocked.
3. Distorted or stretched image: If the image appears distorted or stretched in the signature, it may be due to incorrect resizing or aspect ratio settings. Make sure to resize the image while maintaining the proper aspect ratio to avoid distortion.
4. Image appearing blurry or pixelated: If the image appears blurry or pixelated, it may be due to low resolution. Ensure that you’re using a high-quality image with a resolution of at least 72 to 96 DPI. Avoid stretching or enlarging low-resolution images as it can further degrade their quality.
5. Signature not responsive on mobile devices: If the image or signature as a whole is not responsive on mobile devices, review the HTML code of your signature. Ensure that it is properly coded with responsive design techniques, such as using media queries and fluid image sizes. Consider using a simplified version of your signature for mobile devices to optimize the display.
6. Issues with image alignment and placement: If you’re experiencing problems with image alignment or placement, double-check the HTML code of your signature. Ensure that you have specified the correct alignment attributes and used the appropriate CSS properties for positioning the image within the signature area.
7. Slow loading time: If the image takes a long time to load in the email, consider optimizing its file size without compromising too much on image quality. Compressing the image and reducing its dimensions can help improve loading speed and overall performance.
By troubleshooting these common issues, you can ensure a seamless and visually appealing display of your image signature in Outlook. With careful attention to detail and proper testing, you can create a professional and attractive signature that leaves a positive impression on your recipients.