
Check your current version
Before updating your Nest thermostat, it is important to check the current version installed on your device. This will help you determine if an update is necessary and if there are any new features or bug fixes that you can benefit from.
To check the current version of your Nest thermostat, follow these steps:
- On the main screen of your thermostat, tap the settings icon in the top right corner.
- Scroll down and select “Technical info.”
- You will see the current software version displayed under “Firmware.”
Take note of the current version number for reference. By regularly checking for updates, you can ensure that your thermostat is always running the latest software.
There are a few reasons why it is important to keep your Nest thermostat updated:
- Improved performance: Software updates often include performance enhancements that optimize the overall efficiency and functionality of your Nest thermostat.
- New features: Updates may introduce new features or improvements that enhance your user experience, such as additional energy-saving options or enhanced compatibility with other smart devices.
- Bug fixes: Updates address any known issues or bugs, improving the reliability and stability of your thermostat’s operation.
- Security: Software updates often include security patches that protect your thermostat against potential vulnerabilities and keep your home network secure.
By regularly checking for updates and ensuring your Nest thermostat is running the latest version, you can enjoy the full range of features and benefits that the device has to offer.
Determine if an update is available
Once you have checked the current version of your Nest thermostat, the next step is to determine if an update is available. Nest usually pushes updates automatically to its thermostats, but you can manually check for updates as well.
Here’s how to determine if an update is available for your Nest thermostat:
- Open the Nest app on your mobile device.
- Select your thermostat from the list of devices.
- Tap on the settings icon in the top right corner.
- Scroll down and select “Software update.”
- The app will display the current software version and check for any available updates.
If there is an update available, you will be prompted to install it. Follow the on-screen instructions to proceed with the update.
If there are no updates available, your thermostat is already running the latest version.
It’s worth noting that Nest thermostats require an internet connection for updates. Make sure your thermostat is connected to your Wi-Fi network to ensure a seamless update process.
Regularly checking for updates and installing them promptly ensures that your Nest thermostat is equipped with the latest features and improvements. This helps optimize performance, enhance user experience, and keep your device up to date with any security patches.
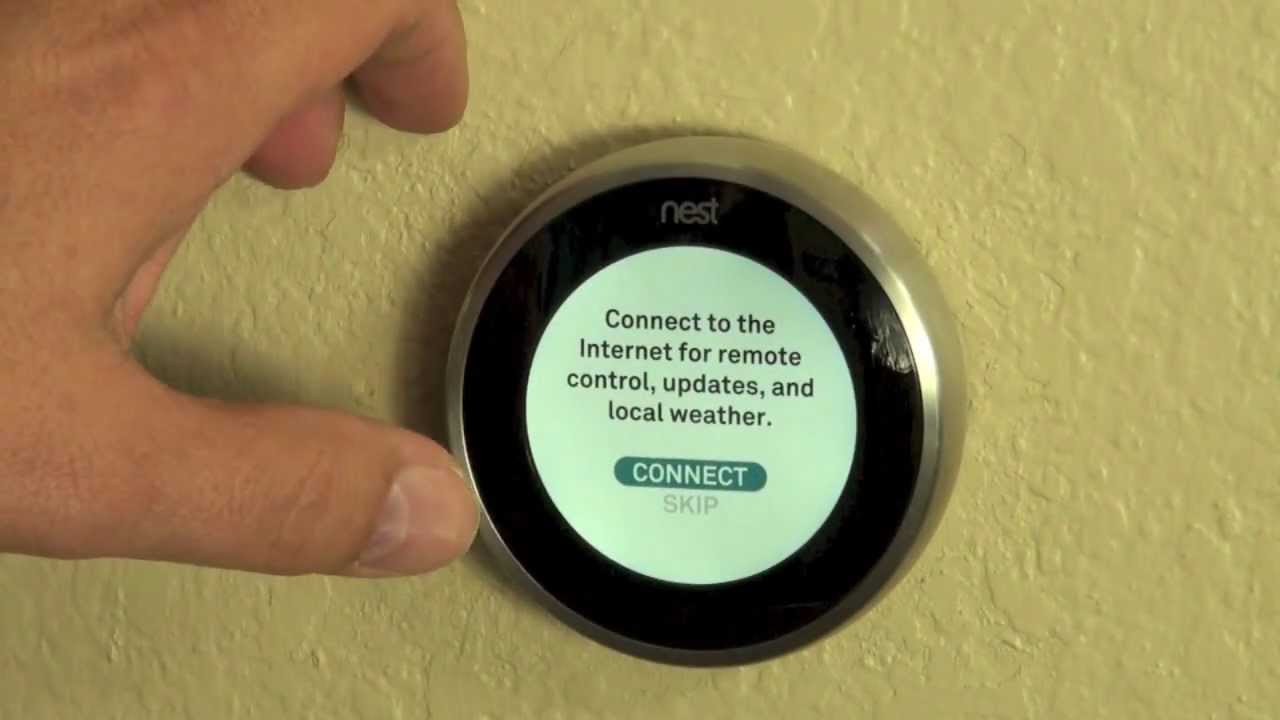
Connect your thermostat to Wi-Fi
Before you can update your Nest thermostat, it is essential to ensure that it is connected to your Wi-Fi network. A stable internet connection is necessary for downloading and installing the update.
Here is a step-by-step guide on how to connect your thermostat to Wi-Fi:
- On your Nest thermostat, go to the main screen and tap on the settings icon in the top right corner.
- Scroll down and select “Network.”
- Choose the option “Connect to Wi-Fi.”
- Select your Wi-Fi network from the displayed list.
- Enter the network password using the on-screen keyboard.
- Follow the on-screen prompts to complete the connection process.
Once connected, your Nest thermostat will display a Wi-Fi icon in the top right corner of the screen, indicating a successful network connection.
If you encounter any issues while connecting your thermostat to Wi-Fi, ensure that you are within range of your network and that the network name and password are entered correctly. Additionally, make sure that your Wi-Fi router is functioning properly. Restarting your router may help resolve connectivity problems.
Having a stable Wi-Fi connection is crucial not only for updating your Nest thermostat but also for accessing its full range of features, such as remote control, scheduling, and energy monitoring, through the Nest app.
Once your thermostat is successfully connected to Wi-Fi, you are ready to proceed with the update process and ensure your device is running the latest software.
Ensure your Nest app is up to date
Before updating your Nest thermostat, it is important to ensure that the Nest app on your mobile device is up to date. The Nest app allows you to control and monitor your thermostat, and having the latest version ensures compatibility with the latest features and updates.
Follow these steps to check for updates and ensure that your Nest app is up to date:
- Open the app store on your mobile device (App Store for iOS or Google Play Store for Android).
- Search for “Nest” in the search bar.
- If an update is available, you will see the option to update the Nest app. Tap the “Update” button.
- If no update is available, it means that you already have the latest version of the app installed.
By keeping your Nest app up to date, you can take full advantage of all the features and functionalities offered by Nest, including seamless thermostat control, scheduling, energy usage monitoring, and more.
In addition to updating the app, it is also a good practice to enable automatic updates on your mobile device. This ensures that you always have the latest version of the Nest app installed without manually checking for updates.
Having an up-to-date app is vital for a smooth and efficient update process for your Nest thermostat. It ensures that you have access to the latest features and improvements provided by Nest.
Once you have confirmed that your Nest app is up to date, you are ready to proceed with the update of your Nest thermostat.
Update your Nest thermostat
Now that you have checked your current version, determined if an update is available, and ensured that your Nest app is up to date, it is time to update your Nest thermostat. Updating your thermostat is a straightforward process that can be done through the Nest app.
Follow these steps to update your Nest thermostat:
- Open the Nest app on your mobile device.
- Select your thermostat from the list of devices.
- Tap on the settings icon in the top right corner.
- Scroll down and select “Software update.”
- If an update is available, you will see an option to update the thermostat. Tap on the “Update” button.
- The app will initiate the update process, and your thermostat will start downloading and installing the update.
- It is essential to keep your thermostat plugged in during the update process to ensure a successful installation.
The update process may take a few minutes to complete, depending on the size of the update and the speed of your internet connection.
During the update, your Nest thermostat may display a progress bar or other indicators to show the status of the update. Do not interrupt the process and avoid manually restarting your thermostat until the update is fully installed.
Once the update is successfully installed, your Nest thermostat will automatically reboot to apply the changes.
Remember, it is crucial to be patient during the update process and allow it to complete without interruptions. Interrupting the update may lead to software corruption or other issues with your thermostat.
Once the update is complete and your thermostat has restarted, you can proceed to verify the successful update and enjoy the benefits of the latest software version.
Monitor the update progress
While updating your Nest thermostat, it is essential to monitor the update progress to ensure a smooth installation and to address any issues that may arise. Fortunately, the Nest app provides updates and notifications to keep you informed about the status of the update.
Here are some steps to monitor the update progress:
- Once you have initiated the update process through the Nest app, the app will display a progress bar or other indicators to show the status of the update.
- Keep an eye on the update progress, which will vary in duration depending on the size of the update and your internet connection speed.
- If you encounter any issues or errors during the update process, the Nest app will usually provide error messages or prompts with instructions on how to resolve them.
- If the update progress appears to be stuck or taking longer than expected, ensure that your Wi-Fi connection is stable, and your thermostat is within range of the network.
- If the update fails or encounters any issues, you may need to restart the update process or contact Nest support for further assistance.
It is important to refrain from manually restarting your thermostat or interrupting the update process unless instructed to do so. Interrupting the update can lead to software corruption or other complications with your thermostat.
By monitoring the update progress, you can ensure that the update is successfully installed and address any potential issues promptly. Rest assured that Nest devices are designed to provide a seamless update experience, making the process as smooth as possible.
Once the update process is complete, your Nest thermostat will automatically restart to apply the changes. You can then proceed to verify the successful update and enjoy the benefits of the latest software version.
Restart your Nest thermostat
After the update process is complete, it is essential to restart your Nest thermostat to ensure that the changes are fully applied and that your device is running smoothly. Restarting your thermostat is a simple procedure that can help resolve any lingering issues and ensure optimal performance.
Here’s how to restart your Nest thermostat:
- On the main screen of your thermostat, tap the settings icon in the top right corner.
- Scroll down and select “Restart.”
- Confirm the restart by tapping on “Restart” again.
- Wait for your Nest thermostat to power off and then power back on.
During the restart process, you may notice the Nest logo or other indicators on the thermostat’s display. This is normal and indicates that the restart is in progress.
Restarting your thermostat helps to refresh the device’s memory and ensure that any lingering issues from the update process are resolved. It is a recommended step to complete the update process and ensure that your Nest thermostat is running smoothly.
Once your Nest thermostat has restarted, it will be ready for use, running on the latest software version with all the benefits and improvements that come with it.
If you encounter any issues after the restart, such as connectivity problems or unusual behavior, you may need to contact Nest support for further assistance. They can provide guidance and troubleshooting steps to help resolve any ongoing concerns.
By restarting your Nest thermostat, you ensure that the update process is complete and that your device is in optimal working condition, ready to regulate your home’s temperature efficiently and effectively.
Verify the successful update
After updating your Nest thermostat and restarting it, it is essential to verify that the update was successful. Confirming the successful update ensures that your thermostat is running on the latest software version and that all the new features, improvements, and bug fixes are now in effect.
Here are some steps to help you verify the successful update:
- Check the software version: On your Nest thermostat, go to the settings menu and navigate to the “Technical info” section. Verify that the software version displayed matches the latest version available.
- Test the functionality: Ensure that all the basic functions of your Nest thermostat, such as adjusting the temperature, scheduling, and using the app for remote control, are working as expected.
- Check for new features: If the update included new features or enhancements, explore your thermostat’s settings and documentation to learn about and take advantage of these additions.
- Monitor performance: Observe your thermostat’s performance over a few days to ensure that it is operating efficiently and accurately regulating the temperature of your home.
- Review the app: Update your Nest app to the latest version and check if any new features related to the software update are available in the app.
If you notice any issues or experience difficulties during any of these verification steps, it may indicate a problem with the update process. In such cases, you can try restarting your thermostat again or contact Nest support for further assistance.
Verifying the successful update is crucial to ensure that your Nest thermostat is running optimally and taking advantage of all the latest improvements. It allows you to experience the benefits of the updated software version and enjoy a more efficient and convenient home environment.
Remember to periodically check for future updates to keep your Nest thermostat up to date and continue benefiting from the latest features and enhancements.
Troubleshooting update issues
While updating your Nest thermostat is usually a smooth process, there may be instances where you encounter issues during the update. If you experience any problems or errors, here are some troubleshooting steps to help you resolve update issues:
- Check your Wi-Fi connection: Ensure that your Nest thermostat is connected to a stable Wi-Fi network. A weak or unstable connection can cause interruptions during the update process. Consider moving your thermostat closer to the Wi-Fi router or troubleshooting your network if the connection is not optimal.
- Restart your thermostat: Try restarting your Nest thermostat by turning it off and then turning it back on. This can help resolve any temporary glitches or issues that may be hindering the update process.
- Check for compatibility issues: Ensure that your thermostat and the Nest app are compatible with each other. If you are using an older version of the app or have an incompatible device, it may prevent the update from progressing. Check the Nest website or contact support for information on compatibility.
- Update the app: Ensure that you have the latest version of the Nest app installed on your mobile device. An outdated app may cause compatibility issues or prevent the update from proceeding. Update the app through your device’s app store to ensure the latest version is installed.
- Factory reset: If all else fails, you can perform a factory reset on your Nest thermostat. This will clear all settings and data on the device, including any update issues. Refer to the Nest website or contact support for instructions on how to perform a factory reset.
- Contact Nest support: If you have tried all the troubleshooting steps and are still experiencing update issues, it is advisable to contact Nest support for further assistance. They can provide guidance tailored to your specific situation and help resolve any persistent issues you may be facing.
It is essential to remember that updating your Nest thermostat is a delicate process, and interruptions or errors may occur. By following the troubleshooting steps and reaching out to support if necessary, you can address any update issues and ensure that your device is running on the latest software version.
Regularly updating your Nest thermostat helps to keep it in optimal working condition, ensures compatibility with new features, and enhances the overall performance and functionality of the device.
Benefits of keeping your Nest thermostat updated
Keeping your Nest thermostat updated is crucial to fully enjoy its features and ensure optimal performance. Here are some of the key benefits of regularly updating your Nest thermostat:
- Enhanced energy efficiency: Updates often include new energy-saving features and optimizations that can help reduce your energy consumption and lower utility bills. Keeping your thermostat updated ensures that you have access to the latest energy-saving capabilities.
- Improved temperature accuracy: Software updates can address any calibration issues or discrepancies in temperature reading, ensuring that your Nest thermostat accurately reflects the temperature in your home.
- Compatibility with new devices: Updates may include compatibility enhancements that allow your Nest thermostat to work seamlessly with new smart home devices or platforms, giving you greater control and convenience.
- Bug fixes and stability improvements: Updates often include bug fixes and stability improvements, addressing any issues or glitches that may arise. Keeping your thermostat updated ensures a more reliable and stable performance.
- Access to new features: Updates often introduce new features and functionalities to enhance your user experience. These features may include improved scheduling options, advanced automation settings, or additional integration capabilities.
- Security patches: Software updates typically include important security patches to protect your thermostat and your home network from potential vulnerabilities or cyber threats. Keeping your thermostat updated ensures that you have the latest security measures in place.
- Compatibility with future updates: Regularly updating your Nest thermostat ensures that it remains compatible with future updates from Nest. This allows you to continue enjoying the latest features and improvements as they become available.
By keeping your Nest thermostat updated, you can take full advantage of its capabilities, maximize energy efficiency, and enjoy a more comfortable and convenient living environment. Regular updates also ensure that your device remains secure and compatible with future advancements in smart home technology.
Make it a habit to check for updates regularly through the Nest app, and ensure that both your thermostat and the app are running on the latest software versions. By doing so, you can ensure optimal performance and enjoy all the benefits that your Nest thermostat has to offer.