
Check Your Current Java Version
Before diving into the process of updating Java, it’s crucial to determine the version of Java currently installed on your device. This step ensures that you have the necessary information to proceed with the update process.
There are a few simple steps you can follow to check your current Java version:
- Open the Command Prompt or Terminal on your computer. This can typically be accessed by searching for “Command Prompt” or “Terminal” in your computer’s search bar or Start menu.
- Once the Command Prompt or Terminal is open, type “java -version” and press Enter.
- After pressing Enter, you will see a response displaying the current Java version installed on your computer.
For example, the response may look like this:
java version "1.8.0_271"

Java(TM) SE Runtime Environment (build 1.8.0_271-b09)

Java HotSpot(TM) 64-Bit Server VM (build 25.271-b09, mixed mode)
The response will provide you with the specific Java version number, such as “1.8.0_271” in the above example.
Once you have identified the version of Java installed on your computer, you can compare it to the latest version available. This step will help determine if an update is necessary.
Keep in mind that it is essential to regularly update Java to ensure your computer’s security and compatibility with the latest software and web applications. Updated Java versions often include bug fixes, security enhancements, and improved performance.
Determine if an Update is Necessary
Now that you know the current version of Java installed on your device, it’s time to determine if an update is needed. While it’s generally advisable to keep your software up to date, there are a few factors to consider before deciding to update Java:
1. Security: Java updates often include important security patches to protect your computer from vulnerabilities. If your current version is outdated and susceptible to security risks, it’s crucial to update to the latest version.
2. Compatibility: Some software and applications require a specific version of Java to function correctly. If you encounter issues running certain programs, it’s worth checking if an updated Java version is recommended or required.
3. Performance: Newer Java versions often come with performance improvements, bug fixes, and optimized features. If you’re experiencing performance issues with Java-based applications or websites, updating Java may help resolve these problems.
4. Vendor Recommendations: If you rely on software or hardware provided by a specific vendor, they may have specific recommendations regarding Java versions. Check the vendor’s documentation or support resources to see if they advise updating Java.
To determine if an update is necessary, compare your current Java version with the latest version available on the official Java website. If there is a newer version, consider the factors mentioned above to determine if it’s advisable to update.
Note that updating Java is generally a straightforward process, and newer versions are designed to be backward compatible with older applications. However, if you have concerns about compatibility or specific applications that rely on an older Java version, it’s advisable to consult the application vendor or developer before proceeding with the update.
Download the Latest Java Version
Once you have determined that an update is necessary, it’s time to download the latest version of Java. Follow these steps to download Java:
- Open your web browser and go to the official Java website. The website URL is https://www.oracle.com/java/technologies/javase-jre8-downloads.html.
- On the Java website, you will find various options for downloading Java. Choose the appropriate version based on your operating system (Windows, macOS, or Linux) and architecture (32-bit or 64-bit).
- Click on the “Download” button next to the version you need. This will initiate the download process.
- Once the download is complete, locate the downloaded file on your computer. It is usually saved in the downloads folder or the location specified by your browser’s settings.
Before proceeding with the installation, ensure that you are downloading Java from a trusted source, such as the official Oracle website. This helps prevent the installation of potentially harmful or compromised versions of Java.
If you are unsure about the appropriate version to download or have specific requirements, consult the documentation or support resources provided by the application or system you are using. They may have specific recommendations or instructions for downloading the appropriate Java version.
It is worth mentioning that Java Development Kits (JDKs) are also available for developers, which include additional tools and libraries for Java development. If you are a developer or require the JDK, visit the official Oracle website to download the appropriate JDK version for your needs.
Now that you have downloaded the latest version of Java, you are ready to proceed with the installation process.
Run the Java Installer
After downloading the latest version of Java, the next step is to run the Java installer to install the software on your computer. Here’s how you can run the Java installer:
- Locate the downloaded Java installation file on your computer.
- Double-click on the file to start the installation process. For Windows users, the file will have a “.exe” extension, while macOS users will have a “.dmg” or “.pkg” extension.
- Follow the instructions provided by the installer. The specific steps may vary depending on your operating system and Java version.
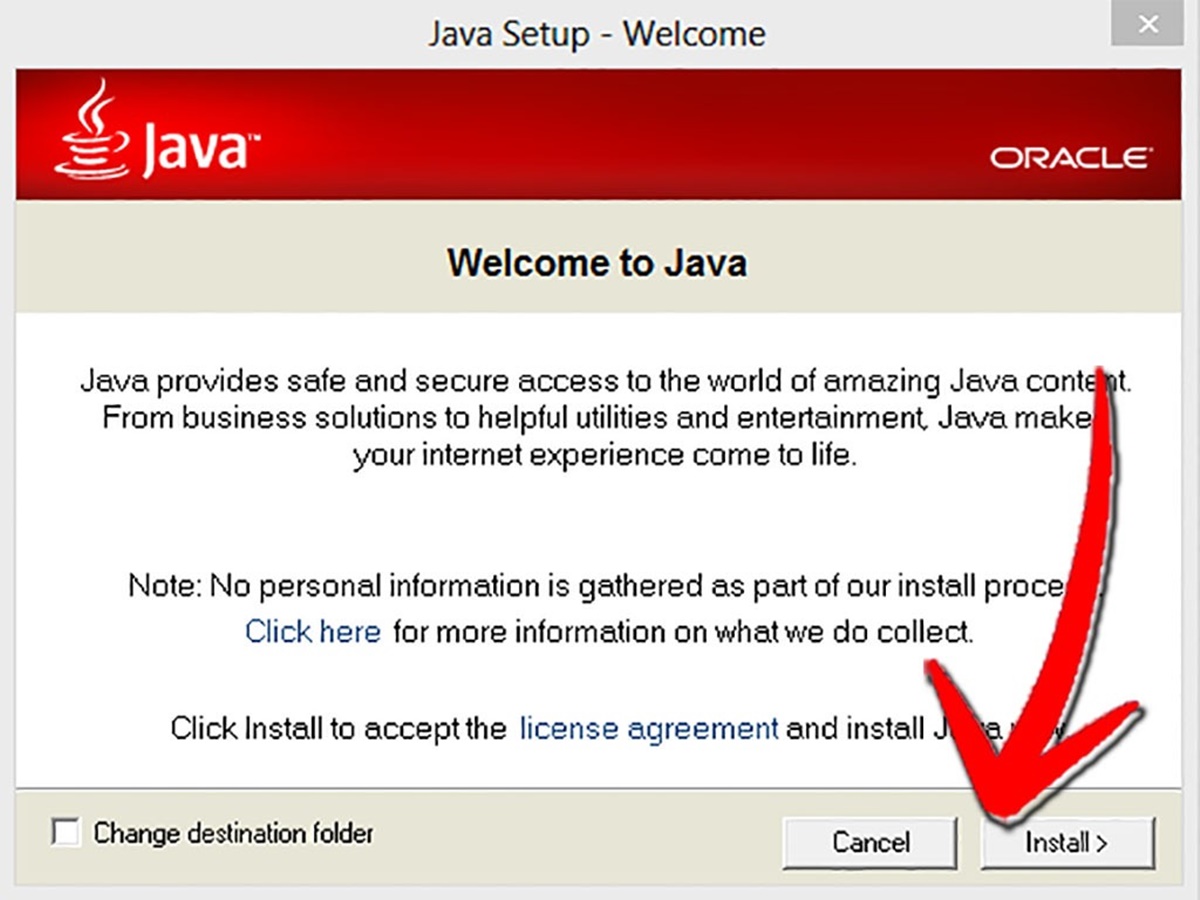
- During the installation process, you may be prompted to review and accept the license agreement. Read through the agreement and click on the appropriate option to proceed.
- You may also have the option to customize the installation. If you have specific preferences or requirements, you can choose the components and features you want to install.
- Once you have reviewed the installation settings, click on the “Install” or “Finish” button to begin the installation process.
- Wait for the installer to complete the installation of Java on your computer. The progress bar or indicator will show you the installation progress.
It is important to note that during the installation process, you may encounter additional prompts or notifications from your operating system’s security settings. These prompts are designed to ensure the security of your computer and may require your permission to proceed with the installation.
After the Java installer finishes installing the software on your computer, you’re ready to verify the installation and ensure that everything is functioning correctly.
Verify the Installation
Once you have successfully installed Java on your computer, it is important to verify the installation to ensure that it was completed correctly. Follow these steps to verify the Java installation:
- Open the Command Prompt or Terminal on your computer.
- Type “java -version” and press Enter.
- If the installation was successful, you should see the version of Java that you installed, along with other information about the Java Runtime Environment (JRE) or Java Development Kit (JDK).
For example, the response may look similar to this:
java version "1.8.0_271"

Java(TM) SE Runtime Environment (build 1.8.0_271-b09)

Java HotSpot(TM) 64-Bit Server VM (build 25.271-b09, mixed mode)
If you see the Java version and other information displayed, congratulations! Your Java installation was successful.
If you encounter any errors or receive a message indicating that Java is not recognized as a command, it may be necessary to check your system’s environment variables. Ensure that the Java installation directory is included in the system’s PATH variable. This allows your computer to locate and run the Java executable files.
Additionally, you may need to restart your computer after installing Java for the changes to take effect and for the Java commands to be recognized by your operating system.
By verifying the Java installation, you can be confident that the software is correctly installed and ready to be used for running Java applications and programs on your computer.
Uninstall Previous Java Versions
Before updating Java, it is recommended to uninstall any previous versions that may be installed on your computer. This ensures a clean and streamlined update process. Here’s how you can uninstall previous Java versions:
- Open the Control Panel on your Windows computer. You can do this by searching for “Control Panel” in the Start menu.
- In the Control Panel, locate the “Programs” or “Programs and Features” option and click on it.
- A list of installed programs will be displayed. Look for any Java entries, such as “Java SE Development Kit” or “Java Runtime Environment.”
- Select the Java entry and click on the “Uninstall” or “Remove” button at the top of the program list. Follow the prompts to complete the uninstallation process.
- Repeat this process for any other Java versions that are listed.
It is important to note that if you have multiple Java versions installed, you may want to uninstall all except the latest version. However, if you have specific requirements or dependencies with older Java versions, consult the documentation or support resources of the software or applications you use before uninstalling any Java versions.
Additionally, if you’re using a macOS or Linux operating system, the uninstallation process may differ. Consult the Java documentation or the official Oracle website for specific instructions on how to uninstall Java on your operating system.
After uninstalling the previous Java versions, you are now ready to proceed with the installation of the latest version and enjoy the updated features, enhancements, and security patches it offers.
Troubleshooting Common Issues
While updating and installing Java is usually a straightforward process, you may encounter some common issues along the way. Here are a few troubleshooting tips to help you overcome these issues:
1. Installation Errors: If you encounter errors during the installation process, ensure that you are running the installer with administrative privileges. Right-click on the installer file and choose the “Run as administrator” option. If the issue persists, try downloading the Java installer again in case the previous download was incomplete or corrupted.
2. Compatibility Issues: If you are experiencing compatibility issues with specific applications or software after updating Java, double-check the system requirements of the application. Some applications may require a specific version of Java or have compatibility limitations with newer versions. In such cases, you may need to consult the application vendor or developer for guidance.
3. Security Warnings: Some web browsers or security software may display warnings when running Java applets or applications due to security concerns. Make sure you download Java updates from the official Oracle website to reduce the risk of installing compromised versions. If you trust the source of the applet or application, you can adjust your browser or security software settings to allow Java to run.
4. Environmental Variables: If you are encountering issues with Java commands not being recognized or not working in the Command Prompt or Terminal, check your system’s environment variables. Ensure that the Java installation directory is added to the system’s PATH variable. You may need to adjust the PATH variable in the System Properties or Environment Variables settings on your computer.
5. Uninstalling Older Versions: If you encounter any difficulties uninstalling previous Java versions, such as incomplete or failed uninstallation, consider using the Java Uninstall Tool provided by Oracle. This tool can help remove stubborn or problematic Java installations.
If you have exhausted these troubleshooting tips and are still facing issues with Java, consider consulting online resources, forums, or the official Java documentation for further assistance. Additionally, reaching out to Java support forums or contacting Oracle support directly may provide the necessary guidance to resolve your specific problem.