
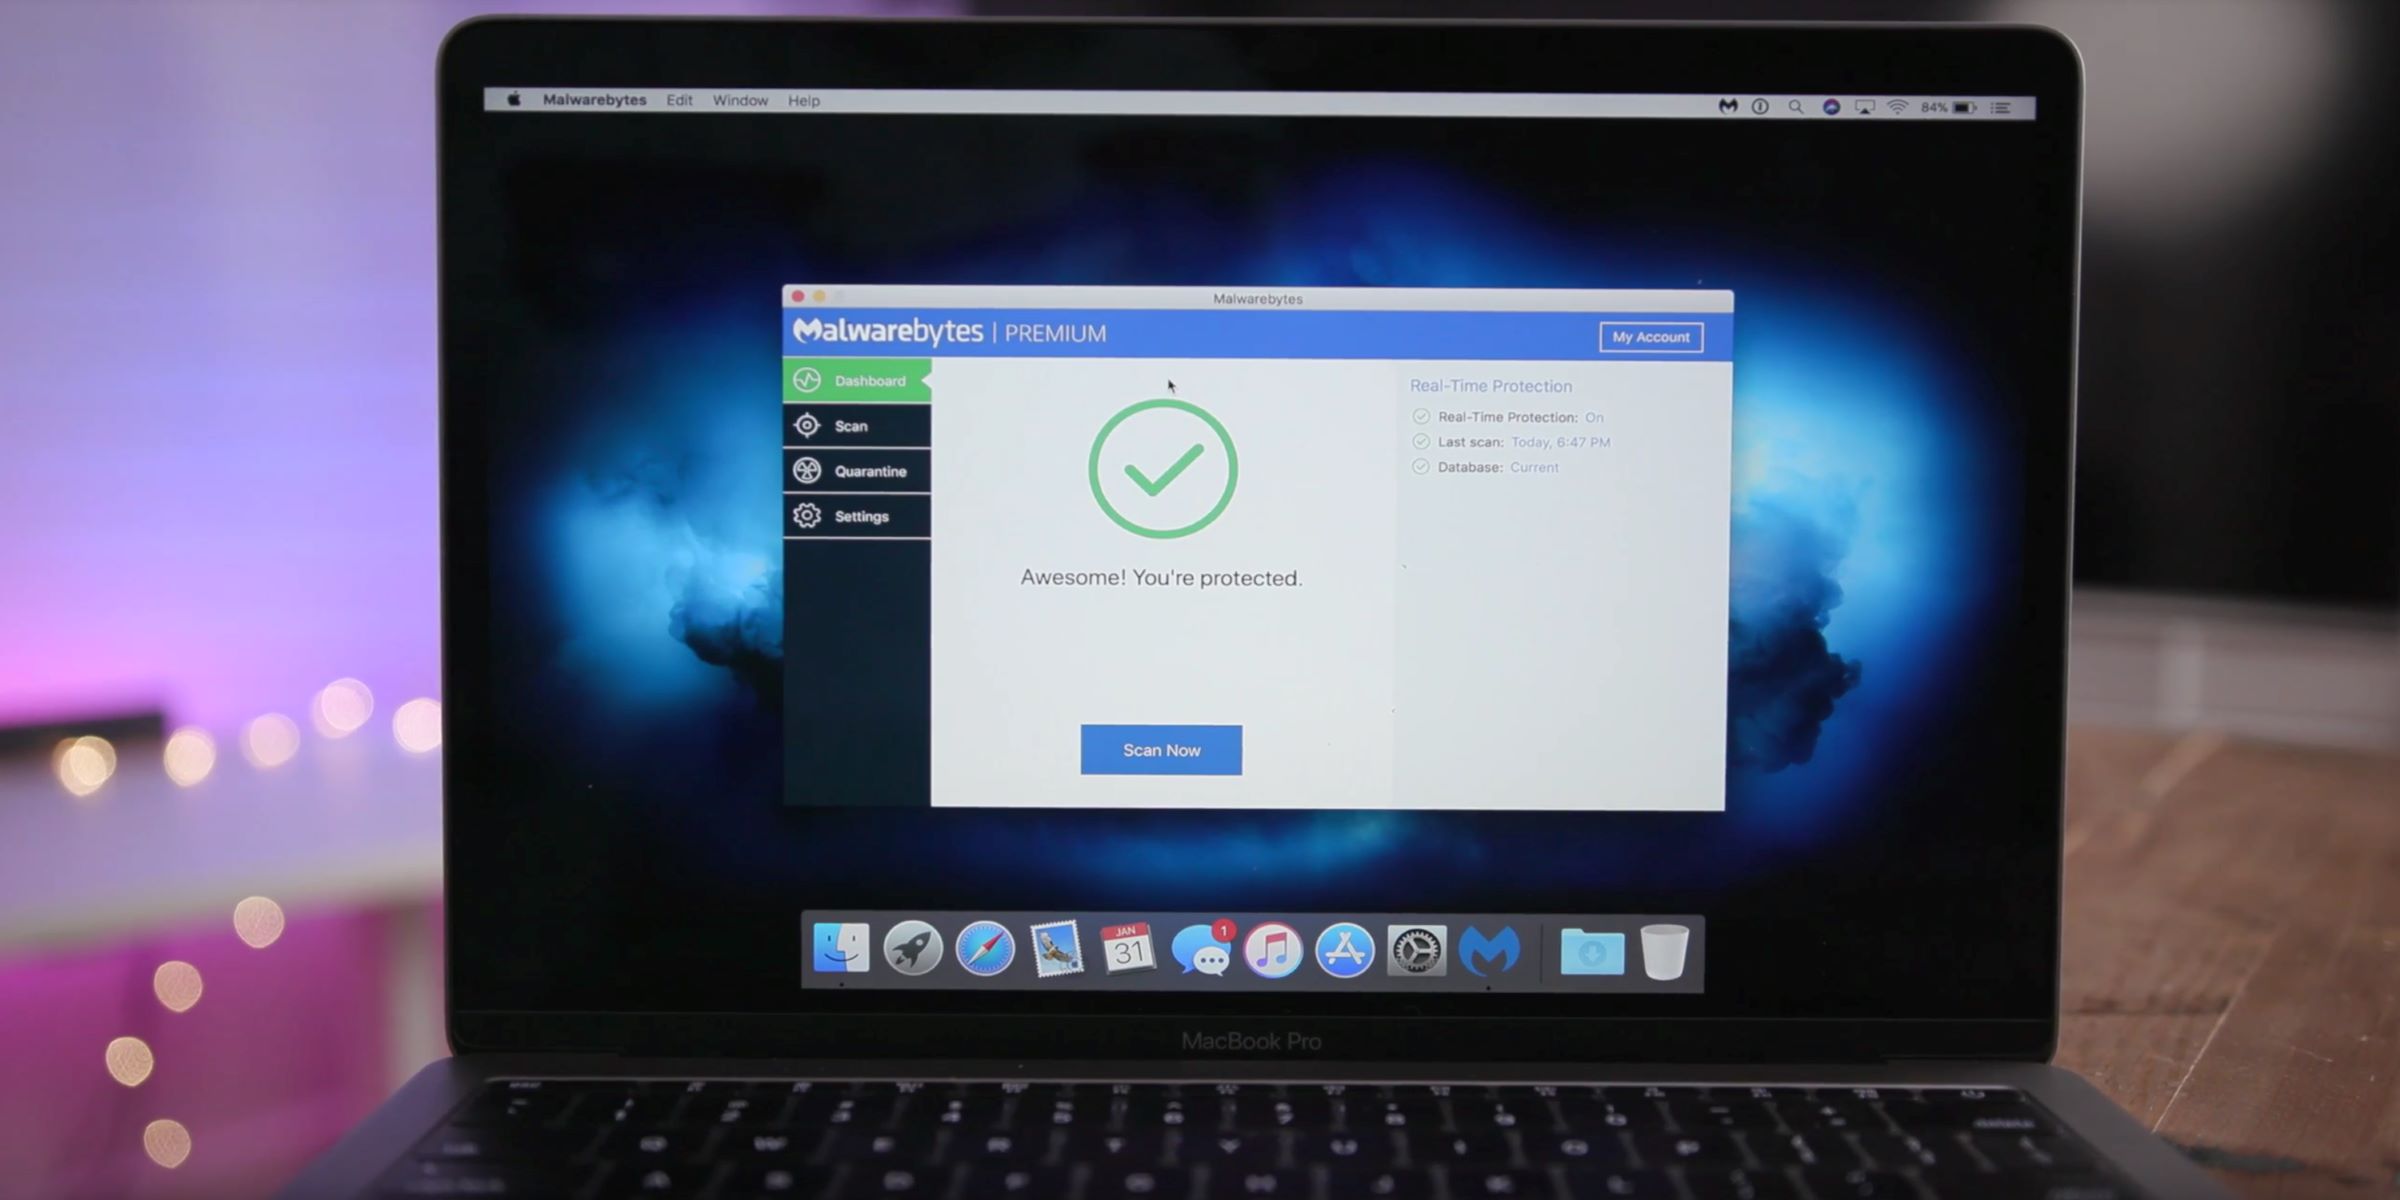
How to Open Malwarebytes
Malwarebytes is a powerful anti-malware software that helps protect your computer from various threats, including malware, ransomware, and potentially unwanted programs. To start using Malwarebytes, you’ll first need to open the application. Here’s how you can do it:
-
Locate the Malwarebytes Icon: Look for the Malwarebytes icon on your desktop, taskbar, or in the Start menu. It typically features a blue shield with a white letter “M” in the center. Double-click on the icon to launch the application.
-
Open from the System Tray: If you don’t see the Malwarebytes icon on your desktop or taskbar, it might be running in the background. Look for the Malwarebytes icon in the system tray, which is located in the bottom-right corner of your screen. Click on the arrow to expand the system tray icons, and then double-click on the Malwarebytes icon to open the application.
-
Search for Malwarebytes: If you still can’t find the Malwarebytes icon, you can search for it using the Windows search function. Press the Windows key on your keyboard or click on the Windows icon in the taskbar to open the Start menu. Type “Malwarebytes” in the search bar, and then click on the Malwarebytes application when it appears in the search results.
-
Launch from the Start Menu: Another way to open Malwarebytes is by accessing it from the Start menu. Click on the Windows icon in the taskbar to open the Start menu, and then scroll through the list of installed applications. Look for the Malwarebytes folder and click on it to expand the menu. Finally, click on the Malwarebytes application to open it.
Once you have successfully opened Malwarebytes, you can start using its powerful features to protect your computer and keep it safe from malware attacks. From here, you can access various settings and features to enhance the security of your system.
Accessing the Settings Menu
In order to customize and configure the various features of Malwarebytes, you will need to access the settings menu. The settings menu allows you to fine-tune the application according to your preferences and optimize its performance. Here’s how you can access the settings menu:
-
Open Malwarebytes: Launch the Malwarebytes application by following the steps outlined in the previous section.
-
Navigate to the Settings Tab: Once Malwarebytes is open, click on the “Settings” tab located at the top of the window. This tab is situated alongside other options such as “Dashboard,” “Scan,” and “Quarantine.”
-
Explore the Settings: The settings menu is organized into several categories. You can explore each category by clicking on the corresponding option in the left sidebar. Some common categories include “General Settings,” “Protection,” “Scan Schedule,” “Exclusions,” and “Notifications.” Each category provides specific options and configurations for different aspects of the application.
-
Adjust the Settings: Within each category, you will find various options that you can modify according to your preferences. For example, in the “General Settings” category, you can configure settings such as language, startup options, and toast notifications. In the “Protection” category, you can enable or disable real-time protection, web protection, and ransomware protection. Take your time to review each setting and adjust them to meet your requirements.
-
Save Changes: After making any necessary adjustments, click on the “Apply” or “Save” button to apply the changes and update the settings in Malwarebytes.
By accessing the settings menu in Malwarebytes, you have the flexibility to tailor the application to suit your specific needs. Whether you want to enable certain protection features, schedule scans, or customize notifications, the settings menu provides you with the necessary tools to optimize the performance and effectiveness of Malwarebytes.
Enabling Real-time Protection
Real-time protection is a crucial feature in Malwarebytes that continuously monitors your system for any suspicious activity and prevents malware from infecting your computer in real-time. Enabling this feature ensures that your device is protected round the clock. Here’s how you can enable real-time protection in Malwarebytes:
-
Open Malwarebytes: Launch the Malwarebytes application by following the steps mentioned earlier.
-
Access the Settings Menu: Click on the “Settings” tab located at the top of the Malwarebytes window to access the settings menu.
-
Navigate to the “Protection” Category: In the left sidebar of the settings menu, click on the “Protection” category. This category contains options related to various protection features offered by Malwarebytes.
-
Enable Real-time Protection: Within the “Protection” category, look for the option labeled “Real-Time Protection.” To enable this feature, simply toggle the switch to the “On” position. When enabled, real-time protection actively scans files and processes in real-time to detect and block any malicious activity.
-
Configure Advanced Settings: If you want to further customize the real-time protection feature, you can click on the “Advanced Settings” button. This will open a window where you can adjust specific settings such as the scanning behavior, detection method, and exclusions. However, these settings are optional, and the default configuration is generally sufficient for most users.
-
Save Changes: After enabling real-time protection and making any desired adjustments, click on the “Apply” or “Save” button to save the changes and activate real-time protection in Malwarebytes.
Enabling real-time protection in Malwarebytes is a vital step in safeguarding your computer from malware threats. With this feature enabled, Malwarebytes will actively monitor your system and promptly block any malicious files or processes. Remember to regularly update Malwarebytes to ensure you have the latest protection against emerging threats.
Configuring Scan Schedule
Regular system scans are crucial to detect and eliminate any hidden malware on your computer. By configuring a scan schedule in Malwarebytes, you can automate the scanning process, ensuring that your system is thoroughly checked for threats at specified intervals. Here’s how you can configure the scan schedule in Malwarebytes:
-
Open Malwarebytes: Launch the Malwarebytes application on your computer.
-
Access the Settings Menu: Click on the “Settings” tab at the top of the Malwarebytes window to open the settings menu.
-
Navigate to the “Scan Schedule” Category: In the left sidebar of the settings menu, click on the “Scan Schedule” category. This category contains options related to setting up and managing scan schedules.
-
Enable Scheduled Scans: To configure the scan schedule, toggle the switch labeled “Scheduled Scans” to the “On” position. This will enable the ability to set up regular scans.
-
Choose Scan Type: Under the “Scheduled Scans” section, you can select the type of scan you want to schedule. Malwarebytes offers three scan options: “Threat Scan,” “Custom Scan,” and “Hyper Scan.” The “Threat Scan” is the most comprehensive and recommended option for regular scanning.
-
Select Scan Frequency: Next, specify the frequency at which the scan should run. You have the option to choose between daily, weekly, or monthly scans. Select the desired frequency that suits your needs.
-
Set Scan Time: After choosing the frequency, you can define the exact time at which the scan should start. Click on the calendar icon or input the time manually to set the scan time that is most convenient for you.
-
Save Changes: Once you have configured the scan schedule according to your preferences, click on the “Apply” or “Save” button to save the changes and activate the scheduled scans.
By configuring the scan schedule in Malwarebytes, you ensure that your computer is regularly scanned for any potential threats. This proactive approach helps maintain the security of your system by identifying and eliminating malware before it can cause significant harm. Adjust the scan schedule as needed to strike a balance between comprehensive scanning and system performance.
Setting up Quarantine for Detected Threats
When Malwarebytes detects a malicious file or program on your computer, it is important to take immediate action to mitigate any potential harm. One of the key features that Malwarebytes offers is the ability to quarantine detected threats, isolating them from your system to prevent further damage. Here’s how you can set up quarantine for detected threats in Malwarebytes:
-
Open Malwarebytes: Launch the Malwarebytes application on your computer.
-
Access the Settings Menu: Click on the “Settings” tab at the top of the Malwarebytes window to open the settings menu.
-
Navigate to the “Quarantine” Category: In the left sidebar of the settings menu, click on the “Quarantine” category. This category contains options related to handling and managing quarantined items.
-
Enable Automatic Quarantine: To automatically quarantine detected threats, toggle the switch labeled “Automatically quarantine detected items” to the “On” position. This ensures that any identified malicious files or programs are immediately isolated from your system.
-
Review Quarantined Items: Malwarebytes provides a list of quarantined items that have been detected and isolated from your system. Scroll through this list to review the items that have been placed in quarantine.
-
Take Action on Quarantined Items: For each quarantined item, you have several options available. You can choose to restore an item if you believe it was mistakenly quarantined, delete the item permanently if you are certain it is malicious, or add the item to the exclusions list if it is a false positive.
-
Manage Quarantine Settings: If you want more control over how quarantine is handled, you can click on the “Advanced” button. This allows you to configure additional settings such as the maximum quarantine size, automatic deletion of aged items, and the ability to exclude certain file types or locations from quarantine.
-
Save Changes: Once you have reviewed and adjusted the quarantine settings according to your preferences, click on the “Apply” or “Save” button to save the changes and ensure that detected threats are automatically quarantined moving forward.
By setting up quarantine for detected threats in Malwarebytes, you establish a protective barrier to prevent malicious files or programs from causing harm to your computer. Regularly review the quarantined items to ensure that legitimate files are not mistakenly flagged and take appropriate action on the quarantined items to maintain the security and integrity of your system.
Activating Web Protection
In today’s digital world, web browsing is an essential part of our daily activities. However, it also exposes us to various online threats and malicious websites. Malwarebytes helps protect you while browsing the web by offering a web protection feature that blocks access to dangerous sites. Here’s how you can activate web protection in Malwarebytes:
-
Open Malwarebytes: Launch the Malwarebytes application on your computer.
-
Access the Settings Menu: Click on the “Settings” tab at the top of the Malwarebytes window to open the settings menu.
-
Navigate to the “Protection” Category: In the left sidebar of the settings menu, click on the “Protection” category. This category contains options related to various protection features offered by Malwarebytes.
-
Enable Web Protection: Within the “Protection” category, look for the option labeled “Web Protection.” To activate this feature, simply toggle the switch to the “On” position. When enabled, web protection scans and blocks access to malicious websites, protecting you from potential threats while browsing the internet.
-
Configure Advanced Settings: If you want to customize the web protection feature further, click on the “Advanced Settings” button. This will open a new window where you can adjust specific settings related to web protection, such as turning on or off the blocking of ads and potentially unwanted programs (PUPs).
-
Save Changes: After enabling web protection and making any desired adjustments, click on the “Apply” or “Save” button to save the changes and activate web protection in Malwarebytes.
By activating web protection in Malwarebytes, you add an additional layer of security to your browsing experience. This feature helps you stay safe online by blocking access to known malicious websites and preventing your computer from getting infected with malware. Remember to keep Malwarebytes up to date to ensure that you have the latest protection against emerging online threats.
Enabling Ransomware Protection
Ransomware is a type of malicious software that encrypts your files and holds them hostage, demanding a ransom for their release. To protect your valuable data from such attacks, Malwarebytes offers a powerful feature called ransomware protection. Enabling this feature provides an extra layer of defense against ransomware threats. Here’s how you can enable ransomware protection in Malwarebytes:
-
Open Malwarebytes: Launch the Malwarebytes application on your computer.
-
Access the Settings Menu: Click on the “Settings” tab at the top of the Malwarebytes window to open the settings menu.
-
Navigate to the “Protection” Category: In the left sidebar of the settings menu, click on the “Protection” category. This category contains options related to different protection features offered by Malwarebytes.
-
Enable Ransomware Protection: Within the “Protection” category, look for the option labeled “Ransomware Protection.” To activate this feature, simply toggle the switch to the “On” position. When enabled, ransomware protection monitors your system and actively detects and blocks ransomware threats, keeping your files safe.
-
Configure Advanced Settings: If you want to customize and fine-tune the ransomware protection feature, click on the “Advanced Settings” button. This will open a new window where you can adjust specific settings, such as enabling or disabling automatic sample submission and configuring exclusions.
-
Save Changes: After enabling ransomware protection and making any desired adjustments, click on the “Apply” or “Save” button to save the changes and activate ransomware protection in Malwarebytes.
By enabling ransomware protection in Malwarebytes, you add an additional layer of security to your system, protecting your important files from being hijacked by ransomware. This feature continuously monitors your system for any suspicious activities and helps safeguard your data from encryption and ransom demands. Regularly updating Malwarebytes ensures you have the latest defense against evolving ransomware threats.
Customizing Exclusion List
Malwarebytes is designed to identify and eliminate potential threats on your computer. However, in some cases, you may want to exclude certain files, folders, or applications from being scanned or blocked. This is where the exclusion list in Malwarebytes comes into play. By customizing the exclusion list, you can specify items that you trust and prevent them from being flagged as false positives. Here’s how you can customize the exclusion list in Malwarebytes:
-
Open Malwarebytes: Launch the Malwarebytes application on your computer.
-
Access the Settings Menu: Click on the “Settings” tab at the top of the Malwarebytes window to open the settings menu.
-
Navigate to the “Exclusions” Category: In the left sidebar of the settings menu, click on the “Exclusions” category. This category contains options related to managing the exclusion list.
-
Add Items to the Exclusion List: To add files, folders, or applications to the exclusion list, click on the “Add Exclusion” button. You can choose to exclude a specific file, folder, website, or even a whole application from being scanned or blocked by Malwarebytes.
-
Select the Type of Exclusion: After clicking on the “Add Exclusion” button, choose the type of exclusion you want to add. Malwarebytes offers various options, including “Exclude a File or Folder,” “Exclude a Web Address,” and “Exclude an Application.”
-
Specify the Excluded Item: Depending on the type of exclusion you chose, provide the necessary information such as the file path, website URL, or application name. You can use the browse button to locate and select the file or folder, or simply enter the details manually.
-
Save Changes: After adding an exclusion to the list, click on the “Apply” or “Save” button to save the changes. The excluded item will no longer be scanned or blocked by Malwarebytes.
By customizing the exclusion list in Malwarebytes, you have control over which files, folders, or applications are exempt from scanning or blocking. This can be useful for excluding trusted files that may trigger false positives or excluding specific websites or applications that you know to be safe. Regularly review and update the exclusion list according to your needs to maintain the balance between security and functionality.
Adjusting Notification Settings
Malwarebytes keeps you informed about the status of your system and the actions it takes through notifications. These notifications help you stay up to date with any potential threats and ensure that you have the necessary information regarding your computer’s security. By adjusting the notification settings in Malwarebytes, you can customize the frequency and type of notifications you receive. Here’s how you can adjust the notification settings:
-
Open Malwarebytes: Launch the Malwarebytes application on your computer.
-
Access the Settings Menu: Click on the “Settings” tab at the top of the Malwarebytes window to open the settings menu.
-
Navigate to the “Notifications” Category: In the left sidebar of the settings menu, click on the “Notifications” category. This category contains options related to managing notification settings.
-
Choose Notification Type: Malwarebytes allows you to adjust the notification settings based on various actions. You can choose to receive notifications for threat detections, scheduled scans, program updates, and more. Simply toggle the switches next to the desired notification types to turn them on or off.
-
Configure Frequency: Once you have selected the notification types, you can further customize how often you receive these notifications. Malwarebytes offers options such as “Never,” “Once per day,” or “After every detection.” Choose the frequency that best suits your preferences and requirements.
-
Manage Tray Notifications: In addition to system notifications, Malwarebytes can also display tray notifications in the system tray area. You can enable or disable tray notifications by toggling the switch next to “Show notification tray icon” option.
-
Save Changes: After adjusting the notification settings according to your preferences, click on the “Apply” or “Save” button to save the changes and update the notification settings in Malwarebytes.
By adjusting the notification settings in Malwarebytes, you can tailor the information and frequency of notifications to match your preferences. Customizing the notification settings allows you to stay informed about important security events without being overwhelmed by excessive notifications. Regularly review and update the notification settings based on your needs to maintain an optimal balance between being informed and uninterrupted workflow.
Updating Malwarebytes
Keeping your Malwarebytes software up to date is crucial to ensuring that you have the latest protection against emerging threats. Regular updates include important bug fixes, feature enhancements, and the latest virus definitions, empowering Malwarebytes to effectively detect and eliminate the newest malware variants. Here’s how you can update Malwarebytes to maintain optimal security:
-
Open Malwarebytes: Launch the Malwarebytes application on your computer.
-
Check for Updates: Click on the “Settings” tab at the top of the Malwarebytes window to open the settings menu. Within the settings menu, navigate to the “General” category. Look for the “Application Updates” section and click on the “Check for Updates” button. Malwarebytes will then check for any available updates.
-
Install Updates: If there are any updates available, Malwarebytes will prompt you to install them. Click on the “Install” or “Update” button to initiate the update process. Allow the software to download and install the updates. It is essential to stay connected to the internet during this process.
-
Restart if Required: After the updates are installed, Malwarebytes may prompt you to restart your computer. It is recommended to follow this prompt and restart your system to ensure that the updated version of Malwarebytes is fully functional.
-
Enable Automatic Updates: To ensure that you always have the latest updates, navigate to the “General” category in the settings menu and find the “Application Updates” section. Toggle the switch next to “Automatically download and install application updates” to the “On” position. This will enable automatic updates for Malwarebytes, keeping your software up to date without manual intervention.
Regularly updating Malwarebytes is essential to stay protected against the ever-evolving landscape of malware and other security threats. By following these steps and enabling automatic updates, you can ensure that your Malwarebytes software remains at the forefront of defense, providing you with the best possible protection for your computer and personal data.