
Getting started with your Nest Thermostat
So, you’ve finally got your hands on a shiny new Nest Thermostat. Congratulations! With its advanced features and sleek design, your home’s heating system is about to get a major upgrade. But where do you start?
The first step is to install your Nest Thermostat. The installation process is quite straightforward, and you can find detailed instructions in the user manual or on the Nest website. Make sure to turn off the power to your HVAC system before starting the installation.
Once your Nest Thermostat is installed and powered on, you’ll need to connect it to your home’s Wi-Fi network. This will allow you to control the thermostat remotely using the Nest app on your mobile device or computer.
After connecting to Wi-Fi, you’ll need to set up your Nest account and link your thermostat to it. This will enable you to access additional features and personalize your thermostat settings.
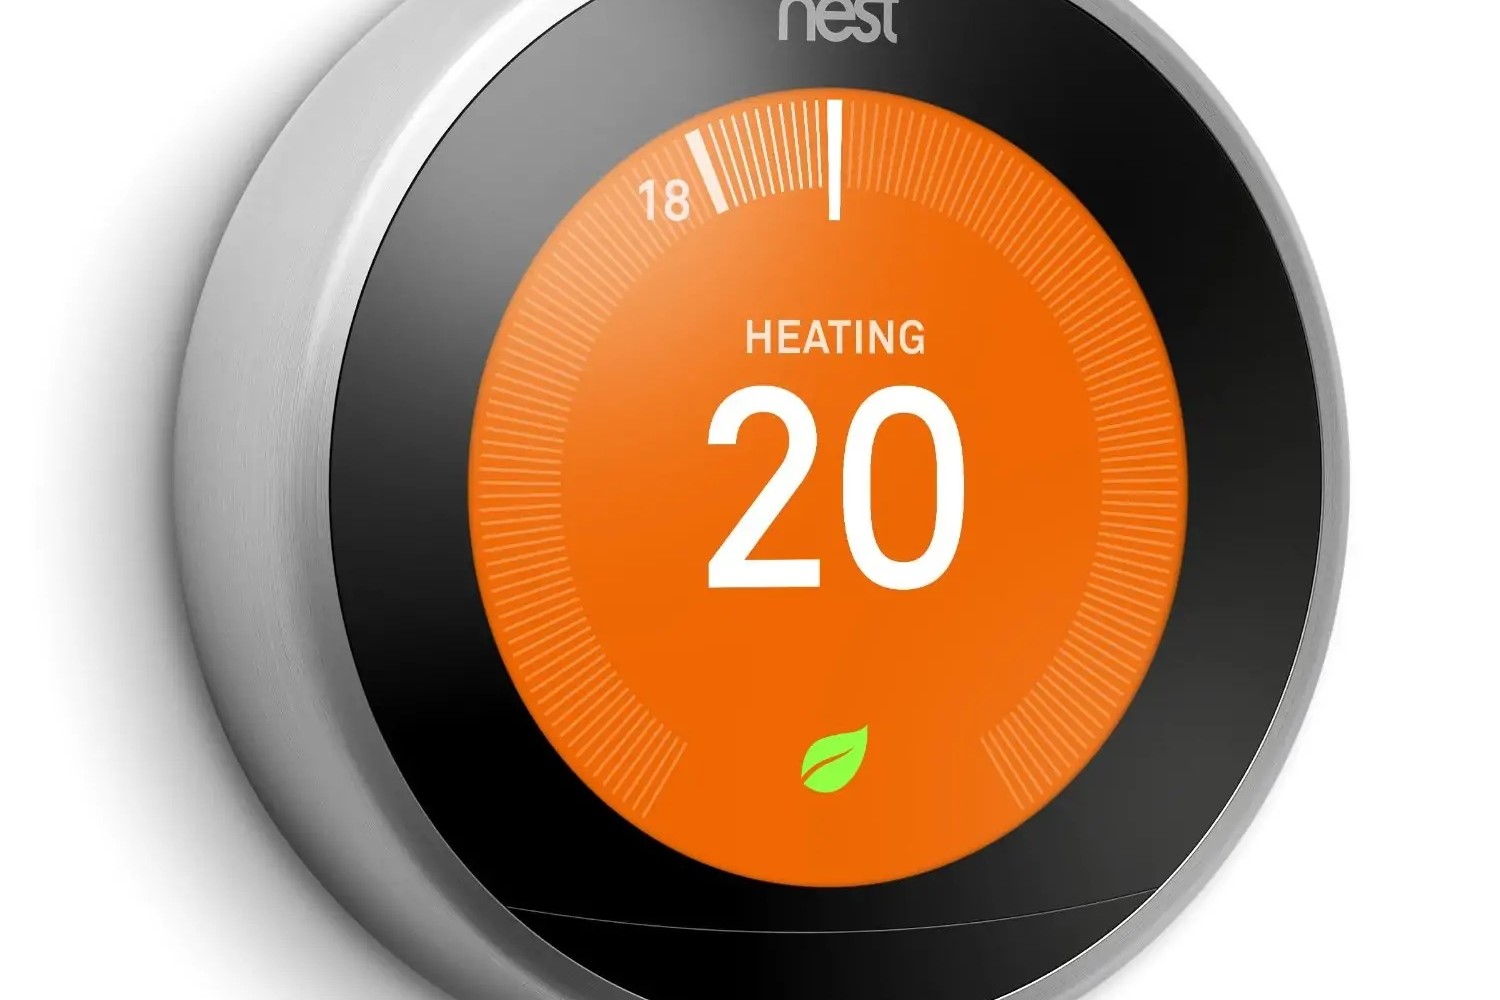
Now that the initial setup is complete, let’s explore the basic features of your Nest Thermostat. The device has a large, easy-to-read display that shows the current temperature, time, and other relevant information. You can navigate through the menu using the ring around the display.
One of the key features of the Nest Thermostat is its ability to learn your schedule and adjust the temperature accordingly. This feature, known as Auto-Schedule, can help save energy and money by automatically lowering the heat when you’re away from home and raising it when you return.
To take full advantage of the Auto-Schedule feature, it’s important to provide feedback to your Nest Thermostat. This includes manually adjusting the temperature when you’re home and using the Nest app to indicate your presence or absence.
Now that you’re familiar with the basics, you’re ready to start using your Nest Thermostat. In the next sections, we’ll dive deeper into the various features and settings that will allow you to customize your heating experience and maximize energy efficiency.
Understanding the basic features of your Nest Thermostat
Your Nest Thermostat is packed with a range of innovative features that aim to make your heating experience more efficient and convenient. By understanding these features, you can fully harness the power of your Nest Thermostat and take control of your home’s heating system.
One of the standout features of the Nest Thermostat is its ability to adapt and learn your preferred temperature settings. The device uses sensors and algorithms to track your usage patterns and create a personalized schedule. This means that over time, your thermostat will automatically adjust the temperature to keep you comfortable while saving energy.
The Nest Thermostat also offers remote control functionality through the Nest app. This allows you to adjust the temperature, monitor usage, and receive energy reports from anywhere via your smartphone or tablet. Whether you’re at work, on vacation, or simply relaxing on the couch, you have full control over your heating system.
Another important feature is the Farsight display. This function activates when the thermostat detects movement in the room, displaying the time, temperature, or weather information, depending on your settings. It’s a convenient way to check the current conditions without having to get up or interact with the thermostat directly.
The Nest Thermostat also integrates with other smart home devices and platforms, such as Google Assistant and Amazon Alexa. This allows you to control your thermostat using voice commands, creating a seamless connected home experience.
Additionally, the Nest Thermostat provides energy-saving features like Eco Mode. When enabled, Eco Mode automatically sets the temperature to an energy-efficient level when you’re away from home. This helps to reduce energy consumption and lower your utility bills.
Finally, the Nest Thermostat’s built-in airwave technology optimizes the cooling power of your air conditioner by leveraging the residual cool air after the compressor shuts off. This feature keeps your home comfortable while reducing energy waste.
Understanding these basic features will help you make the most of your Nest Thermostat’s capabilities. In the next sections, we’ll explore how to enable the heat mode, set the desired temperature, and configure the schedule to tailor your home’s heating to your lifestyle.
Enabling the Heat mode on your Nest Thermostat
When the temperature starts to drop, it’s time to switch your Nest Thermostat to heat mode. Enabling the heat mode will ensure that your home stays warm and cozy during the colder months. Here’s how to do it:
First, locate the thermostat on your wall and turn it on. You should see the main screen displaying the current temperature.
Next, using the ring around the display, scroll to the settings menu and select “Mode.” Here, you’ll find different options such as Heat, Cool, and Off. Choose “Heat” to activate the heat mode.
Once you’ve selected heat mode, your Nest Thermostat will start heating your home to the temperature you’ve set. You can either manually adjust the desired temperature using the ring or use the Nest app to set it remotely.
It’s important to note that when the heat mode is enabled, your Nest Thermostat will only activate your heating system, such as a furnace or boiler. If you have a separate cooling system, like an air conditioner, it will not turn on in the heat mode.
If you experience any issues with the heat mode, such as no warm air or inadequate heating, there are a few troubleshooting steps you can try. First, check that the power to your heating system is on and that the circuit breaker is functioning correctly. You should also ensure that the air filters are clean and not obstructing the airflow.
If you’re still facing issues, you can consult the Nest Thermostat user manual or contact Nest customer support for further assistance.
Enabling the heat mode on your Nest Thermostat is a simple process that ensures your home remains comfortable and warm during the colder months. In the next section, we’ll explore how to set the desired temperature and adjust it according to your preferences.
Setting the desired temperature on your Nest Thermostat
One of the key functions of your Nest Thermostat is allowing you to set and control the desired temperature in your home. Whether you prefer a toasty warm environment or a cool and crisp atmosphere, here’s how you can easily set the temperature on your Nest Thermostat:
Using the ring around the display, navigate to the main settings menu and select “Temperature.” You’ll see the current temperature displayed on the screen, along with an option to adjust it. Turn the ring to increase or decrease the temperature until you reach your desired level of comfort.
Alternatively, you can use the Nest app on your mobile device or computer to set the temperature remotely. Open the app, select your thermostat, and you’ll find a similar interface to adjust the temperature settings.
Setting a specific temperature is helpful when you want your home to maintain a consistent level of comfort. However, if you’re looking to save energy and optimize your heating system, consider using the Nest Thermostat’s scheduling features.
The scheduling feature allows you to program your Nest Thermostat to automatically adjust the temperature based on your daily routine. For example, you can set a lower temperature while you’re asleep or away from home, and have the thermostat raise it to your preferred level just before you wake up or return.
To create a schedule, go to the settings menu and select “Schedule.” Here, you can set different temperature levels for various times of the day. The Nest Thermostat will then follow this schedule, providing you with the perfect temperature at any given time.
The beauty of the scheduling feature is that it not only offers convenience but also helps you save energy and reduce your heating costs. By avoiding unnecessary heating when you’re not home or when you’re sleeping, you can make your heating system more efficient.
Experiment with different temperature settings and schedules to find what works best for you and your household. You can always adjust and fine-tune the settings as needed to ensure optimal comfort and energy savings.
Setting the desired temperature on your Nest Thermostat is a breeze, and by utilizing the scheduling features, you can automate your heating system for maximum efficiency. In the next section, we’ll delve into how to configure the schedule on your Nest Thermostat to tailor it to your daily routine.
Configuring the schedule for your Nest Thermostat
To fully optimize your Nest Thermostat and achieve the perfect balance between comfort and energy efficiency, it’s essential to configure a schedule that matches your daily routine. By setting up a schedule, your thermostat will automatically adjust the temperature based on your preferences throughout the day. Here’s how you can configure the schedule on your Nest Thermostat:
Start by accessing the settings menu on your thermostat’s display. Look for the “Schedule” option and select it. You’ll be presented with a graphical representation of the 24-hour day, broken down into different time blocks.
Using the ring around the display, scroll to the specific time block you want to adjust. For each time block, you can set the desired temperature by turning the ring. You can also add or remove time blocks as per your schedule.
For example, if you typically wake up at 7:00 AM, you can set a higher temperature during that time block to ensure your home is comfortably warm when you get out of bed. Similarly, if you’re usually away from home during the day, you can set lower temperatures to conserve energy.
The Nest Thermostat also offers the option to set different schedules for weekdays and weekends. This flexibility allows you to accommodate different routines and preferences during the workweek and leisure time.
In addition to the manual scheduling, your Nest Thermostat also utilizes the Auto-Schedule feature to learn and adapt to your patterns. It observes your temperature adjustments and time changes, using this information to create a personalized schedule over time. The more feedback you provide to your Nest Thermostat, the more accurate and customized your schedule will become.
If you prefer to configure your schedule using the Nest app, simply open the app on your mobile device or computer and select your thermostat. From there, you can access the scheduling settings and make adjustments remotely.
Remember to regularly review and update your schedule as your routine changes. Seasons, work schedules, and vacations can all impact your heating needs, so it’s important to ensure that your Nest Thermostat’s schedule continues to align with your lifestyle.
By customizing and configuring a schedule that suits your needs, you can optimize your Nest Thermostat’s performance and enjoy the perfect temperature throughout the day, all while minimizing unnecessary energy consumption.
In the next section, we’ll explore how you can use the Nest app to control the heat remotely, providing you with convenience and flexibility in managing your home’s heating system.
Using the Nest app to control the heat remotely
The Nest app offers a convenient and easy way to control your Nest Thermostat remotely, giving you the flexibility to manage your home’s heating system from anywhere. With just a few taps on your smartphone or tablet, you can adjust the temperature, view energy reports, and even receive alerts about your heating system. Here’s how you can use the Nest app to control the heat remotely:
First, ensure that your Nest Thermostat is connected to your home’s Wi-Fi network and properly linked to your Nest account. This will enable the communication between your Nest Thermostat and the Nest app.
Once everything is set up, download and install the Nest app on your mobile device. It’s available for both iOS and Android platforms and can be found in their respective app stores. Sign in to your Nest account within the app to access your thermostat.
On the app’s main screen, you’ll find a clear display of the current temperature in your home and the thermostat’s settings. Simply tap the temperature display to access the controls.
From here, you can easily adjust the desired temperature by sliding your finger up or down on the temperature scale. The Nest app provides a smooth and intuitive interface for precise temperature control.
Additionally, the app allows you to view and access various settings and features of your Nest Thermostat. You can set up schedules, enable Eco Mode, and even check energy usage reports to track your heating habits and identify opportunities for energy savings.
Another useful feature of the Nest app is the ability to receive notifications and alerts about your heating system. For example, if your home’s temperature drops below a certain threshold, you can receive an alert on your device. This feature provides peace of mind and allows you to take immediate action, such as adjusting the thermostat or contacting a technician if necessary.
With the Nest app, you can control your home’s heating system even when you’re not physically present. This is particularly useful when you’re away on vacation or if you simply forgot to adjust the thermostat before leaving the house. By remotely accessing the Nest app, you have full control over your home’s temperature settings, ensuring comfort and energy efficiency.
Make sure to keep the Nest app updated to access the latest features and capabilities. The app regularly receives updates to enhance functionality and improve user experience.
Using the Nest app to control the heat remotely makes managing your home’s heating system effortless and convenient. In the next section, we’ll explore the Auto-Schedule feature on your Nest Thermostat, which adapts to your routine and helps optimize energy usage.
Utilizing the Auto-Schedule feature on your Nest Thermostat
The Auto-Schedule feature on your Nest Thermostat is designed to make your life easier by automatically creating a personalized schedule based on your heating preferences and routine. With this feature, your Nest Thermostat learns from your temperature adjustments and time patterns to create a schedule that optimizes energy usage and provides comfort. Here’s how you can utilize the Auto-Schedule feature on your Nest Thermostat:
When you first install your Nest Thermostat, it starts by offering a default schedule based on common usage patterns. As you manually adjust the temperature over time, the thermostat begins to learn your preferences and starts refining the schedule to align with your routine.
To enable the Auto-Schedule feature, go to the settings menu on your Nest Thermostat’s display and select “Auto-Schedule.” Once activated, the thermostat will automatically adjust the temperature based on your previous choices and patterns.
For example, if you consistently increase the temperature when you wake up in the morning, your Nest Thermostat will start adjusting the temperature accordingly. Over time, it learns when you typically wake up and will make sure that your home is comfortable by the time you get out of bed.
The Auto-Schedule feature also takes into account other factors, such as the weather and occupancy patterns in your home. It adjusts the temperature based on this information to ensure optimal comfort and energy efficiency.
To provide additional feedback and make the Auto-Schedule feature even more precise, you can manually adjust the temperature as needed throughout the day. By doing so, your Nest Thermostat learns your preferences and adapts accordingly.
Using the Nest app, you can also view and make adjustments to the schedule created by the Auto-Schedule feature. This provides a convenient way to review and refine the schedule to better suit your lifestyle.
The Auto-Schedule feature is continuously improving and refining itself as it learns from your behavior. It takes into account changes in your routine, seasonal variations, and even adjustments made through the app to ensure that your thermostat operates smoothly and efficiently.
Utilizing the Auto-Schedule feature on your Nest Thermostat not only provides a personalized comfort experience but also helps save energy and reduce your heating costs. By automatically adjusting the temperature based on your routine, it eliminates the need for manual adjustments and ensures that your home is always just the right temperature.
In the next section, we’ll explore the Home/Away Assist feature on your Nest Thermostat, which helps further optimize heat efficiency by adjusting the temperature based on occupancy.
Adjusting the heat settings based on occupancy with the Home/Away Assist feature
The Home/Away Assist feature on your Nest Thermostat takes heat efficiency to the next level by adjusting the temperature based on occupancy. This intelligent feature detects whether you’re home or away and automatically adjusts the heat settings accordingly. By utilizing the Home/Away Assist feature, you can optimize energy usage and ensure a comfortable environment when you’re at home. Here’s how it works:
The Home/Away Assist feature uses a combination of activity sensors, your phone’s location, and your thermostat’s algorithms to determine whether you’re at home or away. When the feature detects that your home is unoccupied, it will adjust the temperature to an energy-saving setting to conserve energy.
To enable the Home/Away Assist feature, access the settings menu on your Nest Thermostat or through the Nest app. Look for the option called “Home/Away Assist” and make sure it is activated. You can customize the temperature settings for both Home and Away modes to your preference.
If you have family members or roommates who also have the Nest app, they can link their accounts to the thermostat. This allows the feature to take their occupancy into account as well, making the adjustments even more accurate.
The Home/Away Assist feature is designed to be smart and adaptive. It learns from your behavior patterns and fine-tunes its temperature adjustments accordingly. For example, if you tend to arrive home at a consistent time, the feature will anticipate your arrival and start heating your home in advance.
If you prefer manual control over the temperature adjustments, you can always override the Home/Away Assist feature through the Nest app or directly on your thermostat. This gives you the flexibility to customize the temperature based on your preferences, regardless of occupancy status.
Additionally, the Home/Away Assist feature can integrate with other smart home devices, such as motion sensors or smart locks. This allows for even more accurate detection of occupancy and enhances the overall efficiency of your heating system.
By utilizing the Home/Away Assist feature on your Nest Thermostat, you can ensure that you’re only heating your home when it’s actually occupied, reducing energy waste and lowering utility bills. The thermostat intelligently adjusts the temperature to provide a comfortable environment while conserving energy when no one is home.
In the next section, we’ll explore some common issues you may encounter with the heat mode on your Nest Thermostat and how to troubleshoot them effectively.
Troubleshooting common issues with your Nest Thermostat’s heat mode
While the Nest Thermostat is designed to provide efficient and reliable heating, you may occasionally encounter some issues with the heat mode. Fortunately, many common problems can be resolved through simple troubleshooting steps. Here are some troubleshooting tips to help you address common issues with your Nest Thermostat’s heat mode:
No Warm Air: If your thermostat is set to heat mode but you’re not getting any warm air, there could be a few potential causes. First, check that the power to your heating system is turned on. Ensure that the circuit breaker or fuse is functioning correctly. Additionally, check if the air filters in your furnace or boiler are clean and not obstructing the airflow. Clogged filters can cause reduced heating performance.
Inadequate Heating: If your Nest Thermostat is running but not providing sufficient heat to warm your home, you might need to check the temperature settings. Make sure that the desired temperature is correctly set and that you’ve allowed sufficient time for the heater to reach that temperature. Keep in mind that it may take some time for the heating system to adjust to the desired temperature.
Inconsistent Heating: If you’re experiencing inconsistent heating, where some areas of your home are warmer than others or the temperature fluctuates frequently, it could be due to issues with your home’s ductwork or ventilation system. Inspect the vents and make sure they are free from any obstructions. Additionally, ensure that the thermostat is installed in an optimal location, away from direct sunlight, drafts, or other sources of heat that could affect its temperature readings.
Constant Running: If your heating system runs continuously without reaching the desired temperature, it could indicate a problem with the thermostat’s temperature sensor or a malfunction in the heating system itself. Check if the temperature sensor is clean and not obstructed by any debris. If the problem persists, it may be necessary to contact a professional HVAC technician for further assistance.
Thermostat Not Responding: If your Nest Thermostat is not responding or not displaying any information, try resetting the device. Press and hold the thermostat display for 10 seconds until it restarts. This can often resolve minor software glitches. If the issue persists, check the Wi-Fi connection and ensure that the thermostat is properly connected to your home network. If needed, reconnect the thermostat to Wi-Fi following the manufacturer’s instructions.
If you’ve tried the troubleshooting steps above and are still experiencing issues with your Nest Thermostat’s heat mode, it’s recommended to consult the Nest Thermostat user manual or contact the Nest customer support team for further guidance. They can provide specific troubleshooting steps or assist with scheduling a professional technician to assess and resolve the issue.
Addressing and resolving common issues with your Nest Thermostat’s heat mode will ensure that you can enjoy reliable and efficient heating throughout your home. In the next section, we’ll explore some energy-saving adjustments you can make to optimize heat efficiency with your Nest Thermostat.
Making energy-saving adjustments to optimize heat efficiency with your Nest Thermostat
Your Nest Thermostat offers several energy-saving features and adjustments that can help optimize the efficiency of your heating system. By implementing these adjustments, you can reduce your energy consumption and lower your heating costs while still maintaining a comfortable home environment. Here are some energy-saving tips to optimize heat efficiency with your Nest Thermostat:
1. Set a lower temperature: Lowering the temperature by just a few degrees can significantly reduce energy usage. Consider setting your thermostat to a slightly cooler temperature when you’re at home, and even lower when you’re away or asleep. This minor adjustment can make a noticeable impact on your heating bills.
2. Utilize the scheduling feature: Take advantage of the scheduling feature on your Nest Thermostat to automatically adjust the temperature based on your daily routine. Program lower temperatures during periods when you’re typically away from home, and have the thermostat raise the temperature right before you return. This ensures that you’re not wasting energy heating an empty house.
3. Enable Eco Mode: The Eco Mode on your Nest Thermostat activates when you’re away from home for an extended period. It sets a temperature range that is energy-efficient while keeping your home from becoming too cold. This helps you save energy without compromising comfort when you’re not around.
4. Use the Home/Away Assist feature: Enable the Home/Away Assist feature, which automatically adjusts the temperature based on occupancy. When the thermostat detects that no one is home, it will set the temperature to an energy-saving level. This feature ensures that you’re not wasting energy heating an empty house and saves you from manually adjusting the thermostat every time you leave.
5. Take advantage of sunlight: Harness the natural warmth of sunlight by keeping curtains or blinds open during the day. This allows sunlight to naturally heat your home, reducing the need for additional heating. However, make sure to close the curtains or blinds once the sun sets to retain the heat inside and prevent drafts.
6. Regularly maintain your heating system: Ensure that your heating system is well-maintained by scheduling routine maintenance checks. Clean or replace air filters regularly to allow for proper airflow. A well-maintained system operates more efficiently, reducing energy consumption and maximizing heat efficiency.
7. Monitor and track energy usage: Use the energy reports and monitoring features of the Nest app to keep track of your heating usage. This allows you to identify any inefficiencies and make necessary adjustments to improve heating efficiency further.
Implementing these energy-saving adjustments with your Nest Thermostat can have a significant impact on both your energy consumption and heating costs. Not only will you be reducing your carbon footprint, but you’ll also be saving money in the process.