
Method 1: Using the Display Settings on Windows
One of the easiest ways to turn off a laptop display when using an external monitor is by using the display settings on Windows. This method allows you to control the display settings directly from your computer’s operating system. Here’s how you can do it:
- First, ensure that your laptop is connected to the external monitor.
- Right-click on the desktop of your Windows laptop and select “Display settings” from the drop-down menu. This will open the Display settings window.
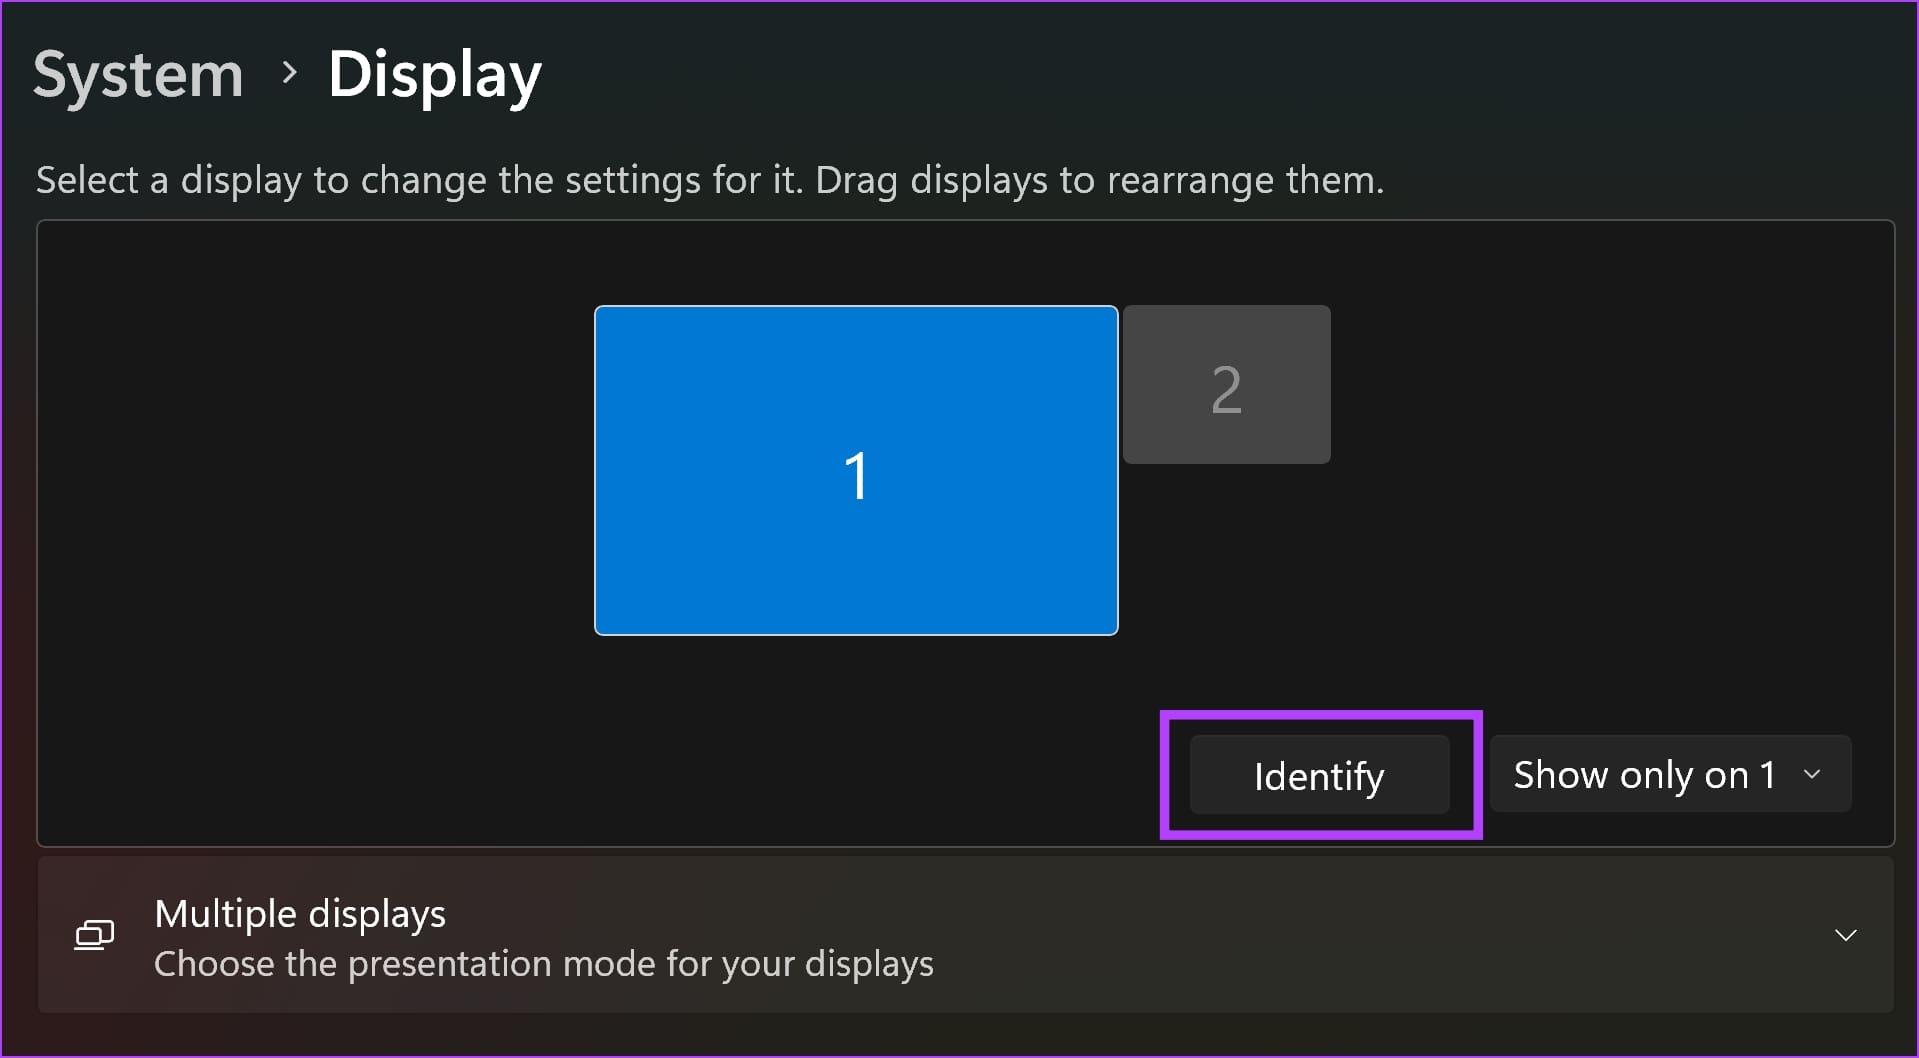
- In the Display settings window, scroll down to the “Multiple displays” section.
- Under the “Multiple displays” section, you will see a dropdown menu labeled “Choose display.” Click on the dropdown menu and select the external monitor that you want to use as the primary display.
- Next, check the box that says “Make this my main display” to designate the external monitor as the primary display.
- If you want to turn off the laptop display completely, uncheck the box that says “Extend these displays” or “Duplicate these displays.” This will disable the laptop display while keeping the external monitor active.
- Click on the “Apply” button to save the changes.
By following these steps, you can easily turn off the laptop display while using an external monitor. This method is simple and quick, allowing you to switch between using both displays or just the external monitor seamlessly.
Method 2: Using Keyboard Shortcuts
Another convenient way to turn off a laptop display when using an external monitor is by utilizing keyboard shortcuts. This method allows you to quickly toggle the display settings without navigating through various menus. Here’s how you can do it:
- Start by ensuring that your laptop is connected to the external monitor.
- Press the Windows key and the P key simultaneously on your keyboard. This will open the “Project” menu.
- In the “Project” menu, you will see different projection modes, such as “PC screen only,” “Duplicate,” “Extend,” and “Second screen only.”
- To turn off the laptop display, select the “Second screen only” option. This will disable the laptop display and use only the external monitor.
Alternatively, if your keyboard has dedicated function keys for display settings, you may find a specific key with an icon resembling two squares or monitors. Pressing this key can also allow you to switch between different projection modes, including turning off the laptop display.
Using keyboard shortcuts offers a quick and efficient way to control display settings without the need for accessing menus or settings windows. It allows you to seamlessly switch between using both displays or utilizing only the external monitor.
Method 3: Using Third-Party Software
If you’re looking for more advanced options and customization features, you can use third-party software to turn off a laptop display while using an external monitor. These software solutions provide additional functionalities and flexibility. Here’s how you can utilize third-party software:
- Start by researching and selecting a reliable third-party software that can assist you in managing display settings. Examples of such software include DisplayFusion, MultiMonitorTool, and Ultramon.
- Download and install the chosen software on your laptop.
- Launch the software, and it will provide you with various options and settings related to display management.
- Explore the software’s interface to find the option to disable or turn off the laptop display. The exact steps will vary depending on the software you choose.
- Once you have located the option, select it to turn off the laptop display while still using the external monitor.
- Configure any additional settings or preferences as desired.
- Save your changes and exit the software.
Using specialized third-party software can offer you greater control over your display settings and additional features. These software solutions often come with customizable settings and convenient shortcuts, making it easier to switch between different display configurations.
Keep in mind that while third-party software can provide more options, it is important to ensure that you download software from reputable sources to avoid any potential security risks or compatibility issues.
Method 4: Using the Power Options
The power options settings in your laptop can also be used to turn off the display while using an external monitor. This method allows you to configure the power settings to automatically turn off the display when certain conditions are met. Here’s how to use the power options:
- Open the control panel on your Windows laptop.
- Click on “Power Options” to access the power settings.
- In the power options window, you will see different power plans. Select the power plan you are currently using (usually labeled as “Balanced” or “High Performance”).
- Click on “Change plan settings” next to the selected power plan.
- In the next window, click on “Change advanced power settings.”
- A new window will open with advanced power settings. Scroll down and find the “Display” category.
- Expand the “Display” category, and you will see subcategories like “Turn off display after” or “Display brightness.”
- Click on the dropdown next to “Turn off display after” and select the desired time interval or choose “Never” if you want to turn off the display manually.
- Click on “Apply” and then “OK” to save the changes.
By adjusting the power options settings, you can set the display to turn off after a specific period of inactivity. This way, when using an external monitor, if you are not actively using the laptop, the display will automatically turn off while the external monitor continues to be active.
Utilizing the power options settings is an effective way to save power and prolong the battery life of your laptop, especially when using an external monitor for an extended period.
Method 5: Using the Graphics Control Panel
Another method to turn off a laptop display when using an external monitor is by using the graphics control panel. Most laptops come with dedicated graphics cards or integrated graphics, which have their respective control panels that allow you to adjust display settings. Here’s how you can use the graphics control panel:
- Right-click on the desktop of your Windows laptop.
- From the context menu, select “Graphics Options,” “Graphics Properties,” or a similar option that corresponds to your graphics card or integrated graphics.
- The graphics control panel window will open, providing various customizable settings.
- Look for an option related to display configuration or multiple monitors.
- Within the display configuration settings, you will have the option to select the external monitor as the primary display and disable the laptop display.
- Save the changes within the graphics control panel.
The specific steps and options within the graphics control panel may vary depending on your graphics card or integrated graphics. If you are unsure about the exact method to disable the laptop display, consult the user manual or support documentation provided by the manufacturer of your graphics card or laptop.
The graphics control panel offers advanced features and customization options, making it a great choice for those who want more granular control over their display settings. Using the graphics control panel can provide a seamless and efficient way to manage your displays when using an external monitor.