
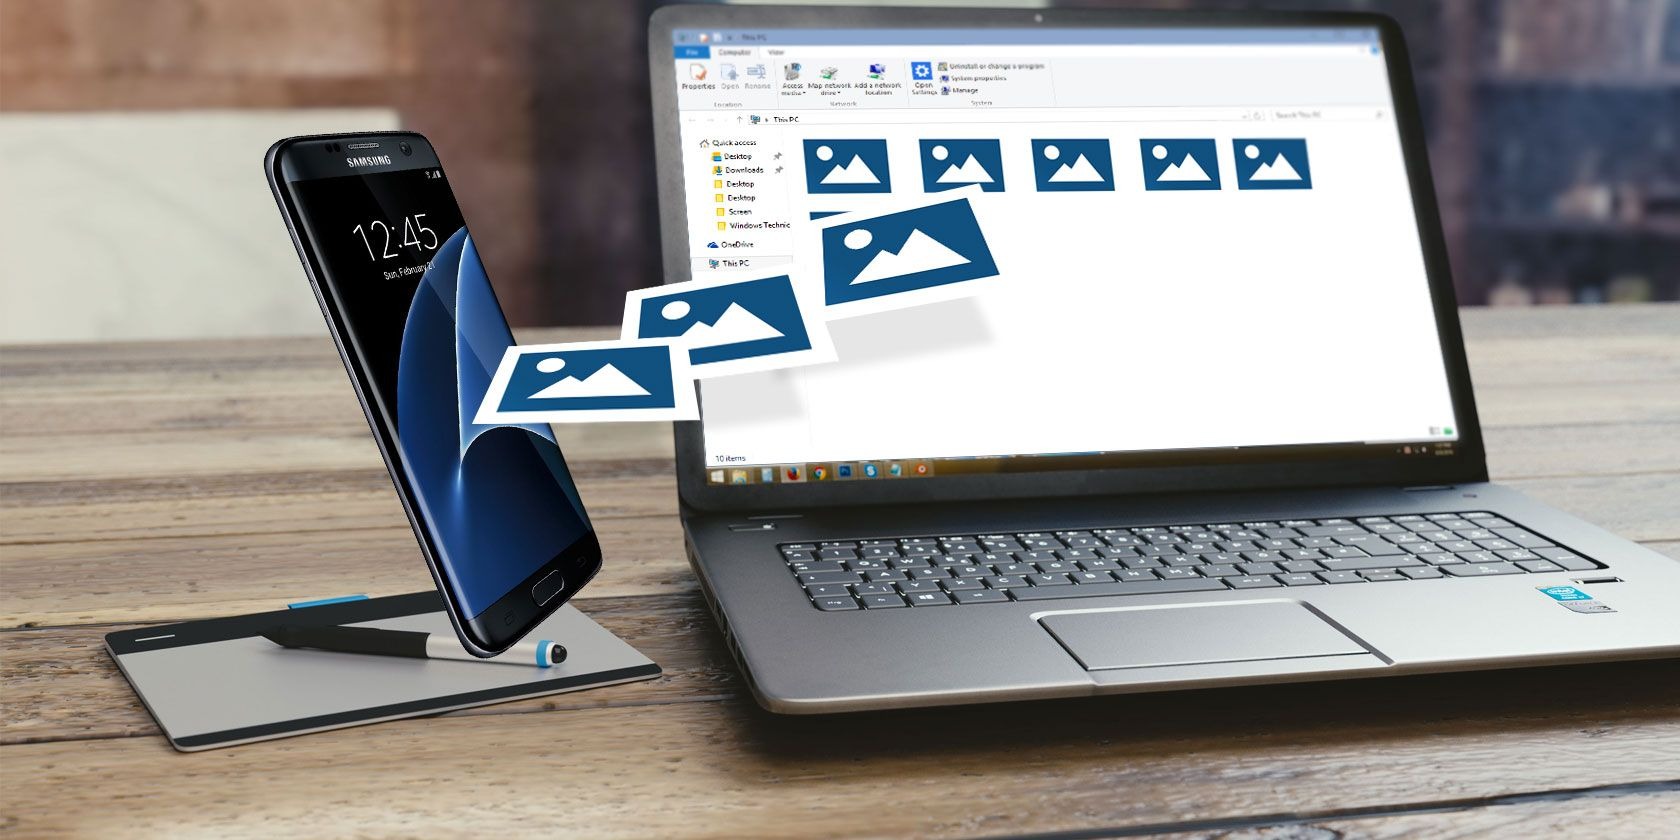
Transferring Photos via USB Cable
One of the most direct and reliable methods to transfer photos from your Android device to your computer is by using a USB cable. This method allows for a fast and secure connection, ensuring that your photos are transferred quickly and without any loss of quality.
To begin, you will need a USB cable that is compatible with your Android device. Most Android devices use a USB Type-C or Micro-USB port, so make sure you have the appropriate cable on hand. Once you have the cable ready, follow these simple steps:
- Connect one end of the USB cable to your Android device’s port.
- Connect the other end of the USB cable to an available USB port on your computer.
- Your Android device should display a notification indicating that it is charging via USB. Swipe down from the top of your screen and tap on the notification.
- Select the option to “Transfer files” or “File transfer” to establish a data connection between your Android device and computer.
- On your computer, navigate to the “My Computer” or “This PC” section, where you should see your Android device listed as a removable storage device.
- Double-click on your Android device to access its internal storage or SD card.
- Locate the “DCIM” folder, which contains your photos and videos.
- Select the photos you want to transfer and drag them to a folder on your computer.
- Wait for the transfer to complete and then safely disconnect your Android device from the computer by clicking on the “Safely Remove Hardware” icon in the system tray.
With the photos successfully transferred to your computer, you can now organize, edit, or share them as desired. Remember to keep your Android device connected until the transfer is complete, and always unplug it safely to avoid any data corruption.
Transferring photos via USB cable offers a simple and straightforward method to transfer your memories from your Android device to your computer. Whether you’re backing up your photos or freeing up space on your device, this method ensures a seamless transfer process with minimal effort.
Transferring Photos via Google Photos
Google Photos is a popular cloud-based service that allows you to store, organize, and share your photos across multiple devices. One of the key advantages of using Google Photos is the ability to easily transfer photos from your Android device to your computer without the need for any cables. Follow these steps to transfer your photos via Google Photos:
- Download and install the Google Photos app from the Play Store on your Android device.
- Open the Google Photos app and sign in with your Google account. If you don’t have a Google account, you can create one for free.
- Once you’re signed in, tap on the “Menu” icon (three horizontal lines) in the top-left corner of the app.
- Select “Settings” from the menu and then tap on “Backup & sync”.
- Toggle the “Backup & sync” switch to enable it. This will automatically back up your photos to your Google account.
- Wait for your photos to be uploaded to Google Photos. This process may take some time, depending on the number of photos and your internet connection speed.
- Once the photos are uploaded, open a web browser on your computer and go to photos.google.com.
- Sign in with the same Google account that you used on your Android device.
- You will see all your uploaded photos in the Google Photos interface. Use the search bar or browse through the different albums and folders to locate the photos you want to transfer.
- Select the photos you want to transfer by clicking on them. You can also use the “Select” option to choose multiple photos at once.
- Click on the “Three-dot” icon in the top-right corner and select “Download”.
- Your selected photos will be downloaded to your computer in a compressed zip file. Once the download is complete, you can extract the photos and access them on your computer.
Using Google Photos to transfer photos offers the convenience of accessing your photos from any device with an internet connection. Additionally, the photos are automatically backed up, providing an extra layer of security for your precious memories. Whether you want to view your photos on a larger screen, edit them, or simply create a backup, Google Photos simplifies the process and ensures that your photos are readily available whenever you need them.
Transferring Photos via Google Drive
Google Drive is a cloud storage service provided by Google that allows you to store, share, and access your files from anywhere. It offers a convenient method to transfer photos from your Android device to your computer. Follow these steps to transfer your photos via Google Drive:
- Download and install the Google Drive app from the Play Store on your Android device.
- Open the Google Drive app and sign in with your Google account. If you don’t have a Google account, you can create one for free.
- Tap on the “Add” button (represented by a “+” icon) to create a new folder or select an existing folder where you want to transfer your photos.
- Give your folder a name and tap on the checkmark or “Create” button to confirm.
- Go to the Photos app on your Android device and select the photos you want to transfer to Google Drive.
- Tap on the “Share” button (usually represented by an arrow or three dots) and select “Save to Drive”.
- You will be taken to the Google Drive app, where you can choose the destination folder you created earlier.
- Tap on the checkmark or “Save” button to start the transfer process.
- Wait for the photos to be uploaded to Google Drive. The time it takes will depend on the size of the photos and your internet connection speed.
- Once the transfer is complete, you can access your photos on your computer by signing in to Google Drive in a web browser.
- Navigate to the folder where you transferred your photos, and you will find them ready for download.
- Click on the photos you want to download and select the “Download” option.
- The photos will be downloaded to your computer for offline access and further editing or sharing.
Transferring photos via Google Drive is a convenient and efficient method, as it eliminates the need for cables and provides easy access to your photos across devices. It allows you to store your photos securely in the cloud and access them from any computer with an internet connection. Whether you want to share your photos with others or keep them as a backup, Google Drive offers a reliable solution for transferring photos from your Android device to your computer.
Transferring Photos via Dropbox
Dropbox is a popular cloud storage platform that allows you to store and share your files. It offers a convenient way to transfer photos from your Android device to your computer. Follow these steps to transfer your photos via Dropbox:
- Download and install the Dropbox app from the Play Store on your Android device.
- Open the Dropbox app and sign in with your Dropbox account. If you don’t have a Dropbox account, you can create one for free.
- Tap on the “Add” button (usually represented by a “+” icon) to create a new folder or select an existing folder where you want to transfer your photos.
- Give your folder a name and tap on the checkmark or “Create” button to confirm.
- Open the Photos app on your Android device and select the photos you want to transfer to Dropbox.
- Tap on the “Share” button (usually represented by an arrow or three dots) and select “Save to Dropbox”.
- You will be prompted to select the destination folder in Dropbox. Choose the folder you created earlier.
- Tap on the checkmark or “Save” button to start the transfer process.
- Wait for the photos to be uploaded to Dropbox. The time it takes will depend on the size of the photos and your internet connection speed.
- Once the transfer is complete, you can access your photos on your computer by signing in to Dropbox in a web browser or by installing the Dropbox desktop application.
- Navigate to the folder where you transferred your photos, and they will be ready for download.
- Select the photos you want to download and choose the “Download” option.
- The photos will be downloaded to your computer, allowing you to view, edit, or share them as desired.
Transferring photos via Dropbox offers a seamless and efficient way to transfer your photos from your Android device to your computer. It provides the advantage of storing your photos in the cloud, ensuring that they are safe and accessible from anywhere. Whether you want to share your photos with others or keep them as a backup, Dropbox simplifies the process and allows you to manage your photos effortlessly.
Transferring Photos via Bluetooth
If you prefer a wireless method to transfer photos from your Android device to your computer, Bluetooth can be a convenient option. Bluetooth allows for a direct connection between devices, making it easy to transfer files without the need for cables or internet connection. Follow these steps to transfer photos via Bluetooth:
- Enable Bluetooth on both your Android device and your computer. Go to the settings menu to turn on Bluetooth.
- On your Android device, open the Photos app and select the photos you want to transfer.
- Tap on the “Share” button (represented by an arrow or three dots) and select the option to share via Bluetooth.
- Your Android device will scan for available Bluetooth devices. Select your computer from the list of available devices.
- On your computer, you will receive a notification asking to accept the incoming file transfer. Confirm the transfer.
- Wait for the transfer to complete. The time it takes will depend on the size of the photos and the Bluetooth connection speed.
- Once the transfer is complete, the photos will be saved in a specified folder on your computer. You can view, edit, or share them as desired.
Transferring photos via Bluetooth can be a convenient solution when you want to quickly transfer a few photos between your Android device and computer. However, it may not be suitable for transferring large numbers of photos or high-resolution images due to the relatively slow transfer speed of Bluetooth. Additionally, Bluetooth range is limited, so make sure your devices are in close proximity for a reliable connection. Overall, Bluetooth offers a wireless and hassle-free method for smaller photo transfers, providing a straightforward solution for moving photos between your Android device and computer.
Transferring Photos via Email
Email is a widely used communication method, and it can also be utilized to transfer photos from your Android device to your computer. Although this method may not be suitable for transferring a large number of photos due to file size limitations, it can be a convenient option for sending a few photos at a time. Follow these steps to transfer photos via email:
- Open the Photos app on your Android device and choose the photos you want to transfer.
- Tap on the “Share” button (usually represented by an arrow or three dots) and select the option to share via email.
- Your default email client will open with the selected photos attached to a new email message.
- Enter your email address as the recipient, or you can email the photos to yourself if you want to access them on your computer.
- Add a subject to the email and include any additional message if desired.
- Tap on the “Send” button to complete the email sending process.
- On your computer, open your email client and access the received email.
- Download the attached photos to your computer by clicking on the download link or the attachment itself.
- The photos will be saved to your computer, allowing you to view, edit, or share them as needed.
Transferring photos via email provides a straightforward method to send selected photos from your Android device to your computer. However, it is important to note that email file size limitations can affect the number and size of photos you can send in one email. If you need to transfer a large number of photos, you may need to send multiple emails or consider alternative methods such as cloud storage or USB transfer. Nonetheless, email remains a versatile option for sharing a few photos and enables you to access them on your computer for further use.
Transferring Photos via Cloud Storage Apps
Cloud storage apps have become increasingly popular for storing and accessing files across multiple devices. They offer a convenient solution for transferring photos from your Android device to your computer. By using cloud storage apps like OneDrive, iCloud, or Amazon Drive, you can easily sync your photos and access them from any computer with an internet connection. Follow these steps to transfer photos via cloud storage apps:
- Download and install the cloud storage app of your choice on your Android device.
- Create an account or sign in with your existing account credentials.
- Open the cloud storage app and enable photo sync or backup in the settings.
- Select the photos you want to transfer to the cloud storage app from your Photos app.
- Tap on the “Share” button (usually represented by an arrow or three dots) and choose the option to share via the cloud storage app.
- The selected photos will be uploaded to the cloud storage server.
- On your computer, open a web browser and navigate to the cloud storage app’s website.
- Sign in to your account using the same credentials you used on your Android device.
- Locate the synced photos in the cloud storage app’s interface.
- Select the photos you want to download to your computer and choose the download option.
- The photos will be downloaded and saved to your computer, ready for viewing or further editing.
Transferring photos via cloud storage apps offers the benefit of seamless synchronization across devices. It allows you to access your photos from any computer with an internet connection, providing a convenient and secure way to transfer and store your photos. Furthermore, cloud storage apps often offer additional features such as automatic backup, file sharing, and collaboration, making them versatile tools for managing and organizing your photo collection.
Transferring Photos via Memory Card
Using a memory card is a simple and efficient method to transfer photos from your Android device to your computer. Most Android devices support external memory cards such as microSD cards, providing ample storage space for your photos. Follow these steps to transfer photos via a memory card:
- Insert a compatible memory card into your Android device’s microSD card slot.
- Open the Photos app on your Android device and select the photos you want to transfer.
- Tap on the “Share” button (usually represented by an arrow or three dots) and choose the option to save the photos to the SD card.
- Wait for the photos to be saved to the memory card. The time it takes will depend on the number and size of the photos.
- Safely remove the memory card from your Android device.
- Insert the memory card into the appropriate card slot on your computer (either built-in or using a card reader).
- Open the file explorer on your computer and navigate to the memory card.
- Locate the folder where the saved photos are located.
- Copy and paste or drag and drop the photos from the memory card to a folder on your computer.
- The photos will be transferred from the memory card to your computer’s local storage.
Transferring photos via a memory card provides a straightforward and reliable method for transferring your photos from your Android device to your computer. It is especially useful when working with a large quantity of photos or dealing with photos in high resolutions that may take up a significant amount of space. By using a memory card, you can easily transfer your photos without the need for additional cables or a stable internet connection. It is a versatile solution that allows for quick and convenient access to your photos on your computer.
Transferring Photos via Wi-Fi
Transferring photos via Wi-Fi is an efficient and wireless method to transfer your photos from your Android device to your computer. This method allows you to establish a connection between your Android device and computer over the same Wi-Fi network, enabling fast and convenient file transfer. Follow these steps to transfer photos via Wi-Fi:
- Ensure that your Android device and computer are connected to the same Wi-Fi network.
- On your Android device, download and install a file transfer app such as AirDroid or WiFi File Transfer from the Google Play Store.
- Open the file transfer app and follow the instructions to set it up for file transfer over Wi-Fi.
- On your computer, open a web browser and enter the IP address or provided URL displayed on the file transfer app on your Android device.
- A web page or interface will appear on your computer displaying the files and folders on your Android device.
- Navigate to the “Photos” or “Gallery” section and select the photos you want to transfer to your computer.
- Click on the “Download” or “Save” button to initiate the transfer process.
- Wait for the photos to be transferred from your Android device to your computer. The time it takes will depend on the number and size of the photos.
- Once the transfer is complete, the photos will be saved to a specified folder on your computer.
Transferring photos via Wi-Fi eliminates the need for cables or additional software and provides a wireless and efficient solution for transferring your photos. It is convenient when you need to transfer a large number of photos or when you want to quickly access your photos on your computer. Wi-Fi transfer also allows for the flexibility of transferring files between devices without restrictions imposed by file size limitations. Whether you are backing up your photos, editing them on a larger screen, or simply organizing your collection, transferring photos via Wi-Fi offers a convenient and seamless method for file transfer.