
A. Transfer Music from iPhone to iPhone via iTunes
Transferring music from one iPhone to another can be easily done using iTunes, the official media management software developed by Apple. Here’s a step-by-step guide on how to transfer your music:
- Connect your old iPhone to your computer using a USB cable and launch iTunes. If iTunes doesn’t automatically open, make sure to open it manually.
- Select your iPhone from the list of devices in iTunes. It should appear in the top-left corner of the screen.
- In the sidebar, click on “Music” to access your music library on the old iPhone.
- Choose the songs or playlists you want to transfer to the new iPhone. You can either select individual songs by holding down the “Ctrl” or “Command” key and clicking on each song, or you can transfer entire playlists by clicking on them.
- Click on “File” in the menu bar at the top of the screen, and then choose the “Library” option. From there, select “Export Playlist…”
- Choose a location on your computer where you want to save the exported playlist file and click “Save”.
- Disconnect your old iPhone from the computer and connect your new iPhone.
- In iTunes, select your new iPhone from the list of devices.
- Go to the “Music” tab and check the box that says “Sync Music”.
- Click on the “Apply” or “Sync” button to start transferring the music from your computer to the new iPhone.
Note that if the music on your old iPhone is not purchased from the iTunes Store, you may need to authorize your new iPhone to play the transferred music. To do this, sign in to your iTunes account on the new iPhone and go to “Account” under the “Store” tab in iTunes. From there, select “Authorize This Computer”.
Overall, transferring music from iPhone to iPhone via iTunes is a straightforward process that allows you to easily transfer your favorite songs and playlists to your new device. It’s a reliable method, especially for users who have their music library stored in iTunes on their computer.
B. Transfer Music from iPhone to iPhone using iCloud Music Library
If you’re an Apple Music subscriber or have your music library synced with iCloud, you can easily transfer your music from one iPhone to another using the iCloud Music Library feature. Here’s how:
- Ensure that both iPhones are signed in to the same Apple ID and connected to Wi-Fi.
- On your old iPhone, go to “Settings” and tap on your name at the top of the screen to access your Apple ID settings.
- Select “iCloud” and then scroll down to find “Music”. Toggle on the “iCloud Music Library” option.
- Wait for a while as your music library syncs with iCloud.
- On your new iPhone, go to “Settings” and repeat the previous steps to enable iCloud Music Library.
- Open the Music app on your new iPhone and wait for your music library to sync from iCloud.
Once the sync is complete, you should see your music library, including any playlists, albums, or songs you had on your old iPhone, on your new iPhone. Keep in mind that this method requires an active internet connection and sufficient iCloud storage to store your music library.
The iCloud Music Library feature not only allows you to transfer music from iPhone to iPhone but also keeps your music library in sync across all your Apple devices. This means that any changes or additions you make to your music library on one device will be reflected on all your devices.
Additionally, if you’re an Apple Music subscriber, you can also download songs from the Apple Music catalog directly to your new iPhone by searching for them in the Apple Music app and tapping the download button. This way, you can access your entire music collection, including both purchased and streaming music, on your new device without the need to transfer it from your old iPhone.
C. Transfer Music from iPhone to iPhone using Third-Party Apps
If you prefer using third-party apps, there are several options available that facilitate the transfer of music from one iPhone to another. Let’s explore a couple of popular third-party apps:
- iMazing: iMazing is a versatile iOS device management app that allows you to transfer various types of data, including music, between iPhones. Simply install iMazing on both iPhones and connect them to your computer. From there, you can easily select the music you want to transfer and initiate the transfer process. iMazing offers a user-friendly interface and provides comprehensive control over the transfer process.
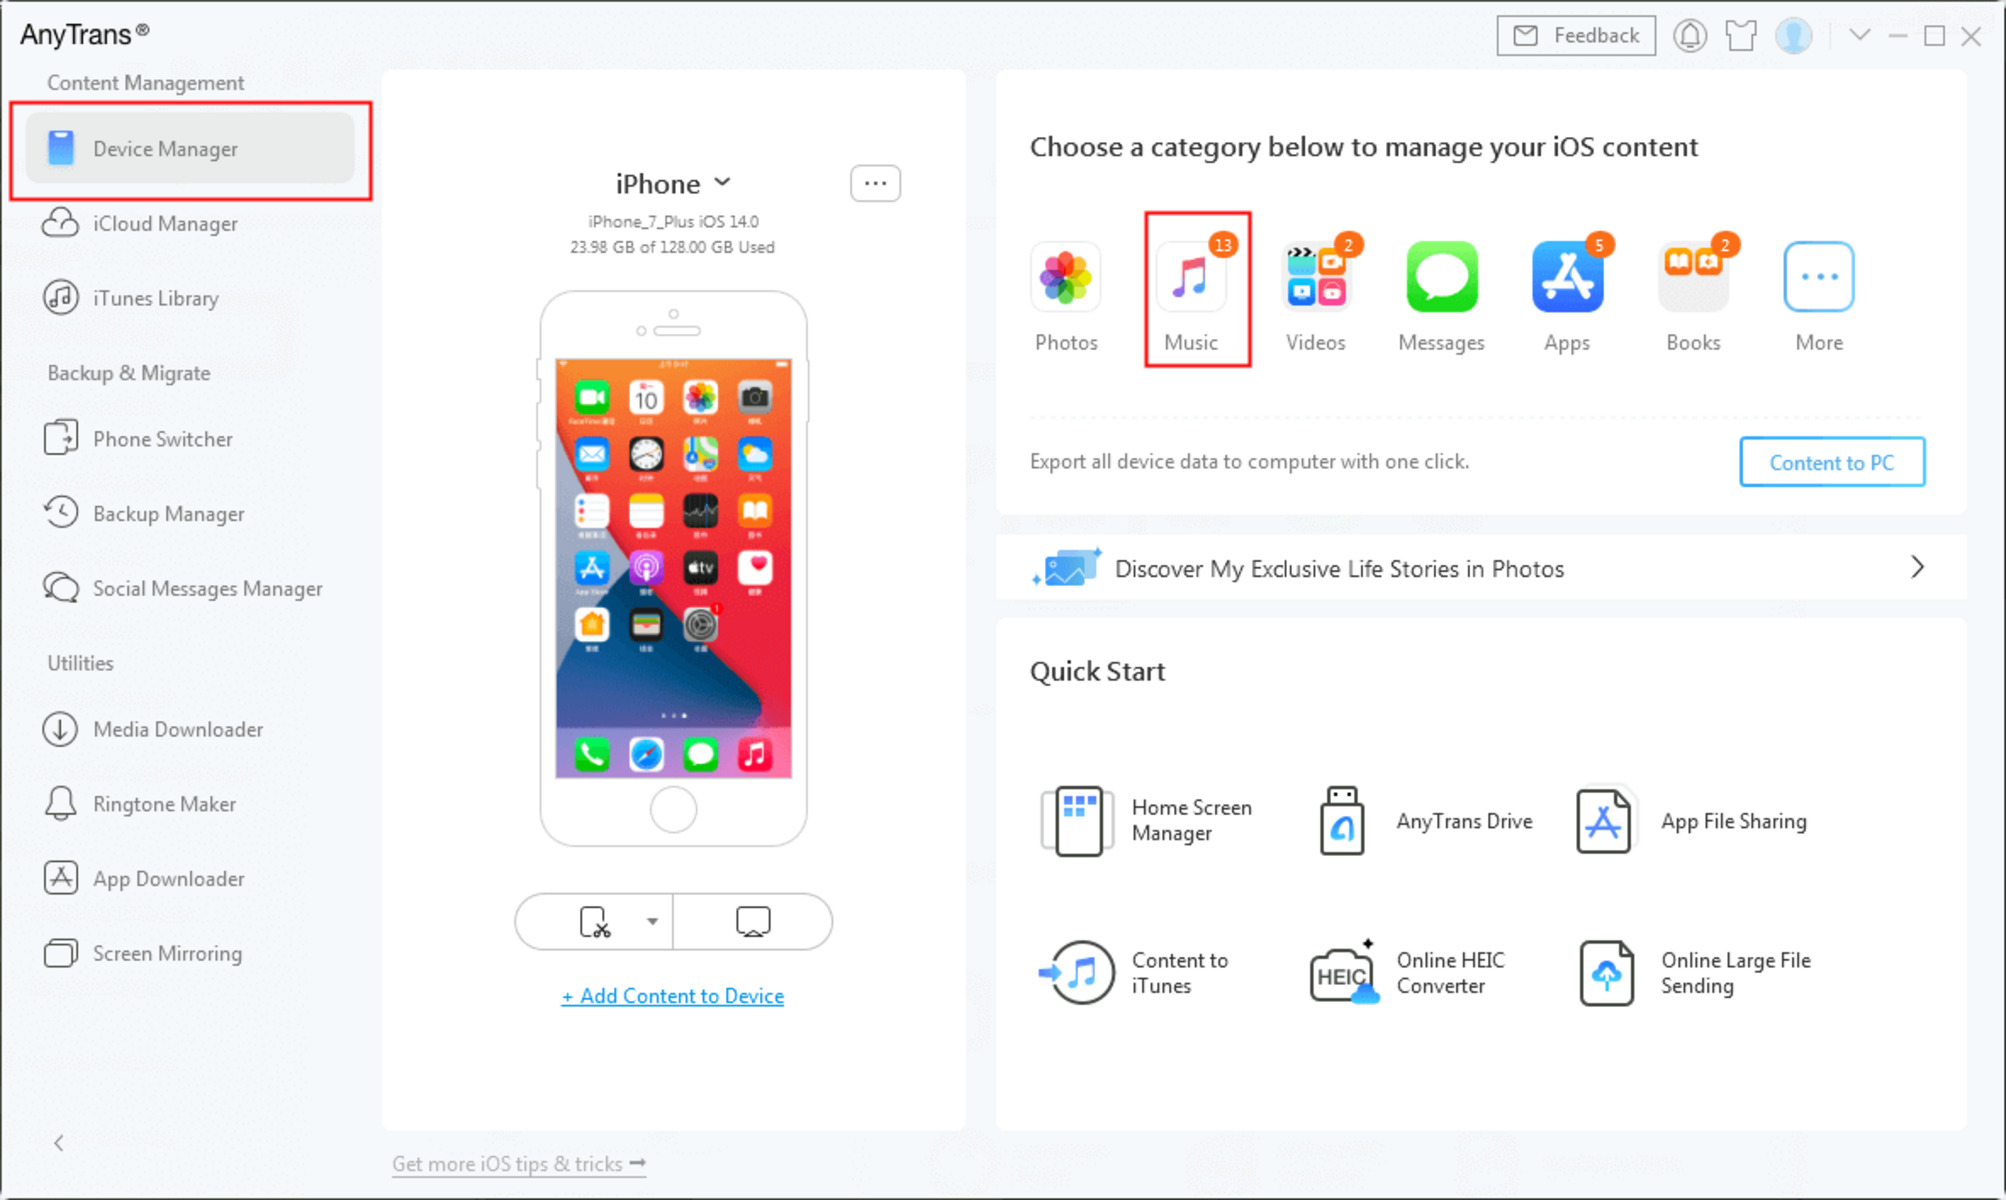
- AnyTrans: AnyTrans is another reliable app that enables seamless music transfer between iOS devices. With its intuitive interface, you can easily transfer music from one iPhone to another without the need for a computer. Simply install AnyTrans on both iPhones and follow the on-screen instructions to complete the transfer. AnyTrans also offers additional features such as managing backups, transferring other types of files, and even downloading videos.
When using third-party apps, it’s essential to carefully review the app’s features, user reviews, and compatibility with your iPhone’s operating system version. Additionally, consider the security and privacy aspects of using third-party apps to transfer your music. Ensure that the app you choose is reputable and trustworthy to protect your data from unauthorized access.
These third-party apps can provide a convenient solution for transferring music from one iPhone to another, especially for users who prefer an alternative to iTunes or iCloud. However, keep in mind that some apps may have limitations on the number of songs or the file formats they can transfer, so it’s important to check the app’s specifications before proceeding with the transfer.
Remember to back up your music library before using any third-party app to ensure that your music remains safe throughout the transfer process.
D. Transfer Music from iPhone to iPhone using AirDrop
One of the simplest and quickest methods to transfer music from one iPhone to another is through AirDrop. AirDrop is a built-in feature in iOS devices that allows you to wirelessly share files, including music, between iPhones. Here’s how to use AirDrop to transfer music:
- Ensure that AirDrop is turned on for both iPhones. To do this, swipe up from the bottom of the screen to access the Control Center, and tap on the “AirDrop” icon. Choose either “Contacts Only” or “Everyone” depending on who you want to share the music with.
- On your old iPhone, open the Music app and select the songs or playlists that you want to transfer.
- Tap on the “Share” button, which looks like a square with an arrow pointing up.
- You will see a list of options to share the music. Tap on the iPhone you want to transfer the music to. The recipient iPhone should appear in the AirDrop section of the share sheet.
- On the recipient iPhone, a prompt will appear, asking if you want to accept the incoming music transfer. Tap “Accept” to initiate the transfer.
- The songs or playlists will begin transferring via AirDrop from your old iPhone to the new iPhone. Depending on the file size and the number of songs, the transfer may take a few moments.
Once the transfer is complete, the music will be available on your new iPhone’s Music app. AirDrop makes it incredibly convenient to transfer music, as it eliminates the need for cables or external devices.
Note that both iPhones need to be in close proximity to each other for AirDrop to work. Additionally, make sure that both devices have Bluetooth and Wi-Fi enabled.
It’s worth mentioning that AirDrop is a secure way to transfer music, as the transfer is done directly between the two devices and doesn’t involve any third-party apps or online storage. This ensures the privacy and confidentiality of your music files.
Overall, AirDrop is a user-friendly and efficient method for transferring music from one iPhone to another without the need for any additional software or connections. It’s a great option for those who value simplicity and convenience.
E. Transfer Purchased Music from iPhone to iPhone using iTunes Store
If you have purchased music from the iTunes Store on your old iPhone, you can easily transfer it to your new iPhone using the iTunes Store app. Follow these steps to transfer purchased music:
- Ensure that both iPhones are signed in with the same Apple ID.
- On your new iPhone, go to the App Store and download the iTunes Store app if you don’t already have it installed.
- Open the iTunes Store app on your new iPhone and tap on the “More” tab located at the bottom of the screen.
- Tap on “Purchased” to access your purchased music.
- Select “Music” to view all the music you have purchased from the iTunes Store.
- You will see a list of your purchased songs. Find the songs you want to transfer to your new iPhone and tap on the cloud download button next to each song to start the download process.
- Alternatively, tap on “Not on This iPhone” to view a list of all your purchased songs that are not currently downloaded on your new iPhone. From there, you can tap on the cloud download button to download individual songs or choose “Download All” to download all the songs at once.
- Wait for the download process to complete. Once the songs are downloaded, they will be available in the Music app on your new iPhone.
Transferring purchased music from iPhone to iPhone using the iTunes Store is a simple and convenient method, especially if you have a large collection of purchased songs.
It’s important to note that this method works only for music that was purchased from the iTunes Store. If you have music on your old iPhone that was not purchased from the iTunes Store, you will need to use a different method to transfer that music.
The advantage of using the iTunes Store app to transfer purchased music is that you can easily access and re-download your purchased songs at any time, even if you didn’t initially transfer them to your new iPhone. This ensures that your purchased music is always available for you to enjoy on your new device.
Overall, using the iTunes Store app to transfer purchased music is a straightforward process and ensures that your music library remains intact on your new iPhone.
F. Transfer Non-Purchased Music from iPhone to iPhone using a Computer
Transferring non-purchased music from one iPhone to another requires the use of a computer. By following these steps, you can easily transfer your non-purchased music:
- Connect your old iPhone to your computer using a USB cable and open iTunes (make sure you have the latest version).
- In iTunes, click on the device icon that appears in the top-left corner of the window to access the summary page of your old iPhone.
- Under the “Settings” section, click on “Music”.
- Check the box next to “Sync Music” and choose to either sync your entire music library or select specific playlists, artists, albums, or songs by checking the respective boxes.
- Click on the “Apply” or “Sync” button to initiate the transfer of the selected music from your old iPhone to your computer.
- Once the sync is complete, disconnect your old iPhone from the computer and connect your new iPhone.
- In iTunes, select your new iPhone from the device list.
- Again, go to the “Music” tab and check the box next to “Sync Music”.
- Choose to sync your entire music library or select specific playlists, artists, albums, or songs that you want to transfer onto your new iPhone.
- Click on the “Apply” or “Sync” button to initiate the transfer of the selected music from your computer to your new iPhone.
This method allows you to transfer non-purchased music from your old iPhone to your computer, and then from your computer to your new iPhone. It is particularly useful for those who have downloaded music from other sources or manually added songs to their old iPhone.
It’s important to note that by syncing your music library with your computer, any existing music on your new iPhone will be replaced by the transferred music from your old iPhone. If you want to keep the existing music on your new iPhone, make sure to back it up or use a different method for transferring music.
Furthermore, it’s worth mentioning that this method applies to both Mac and Windows computers, as iTunes is available for both operating systems.
Overall, using a computer and iTunes to transfer non-purchased music provides a reliable and efficient way to move your music library from one iPhone to another, especially for those who have a significant collection of non-purchased songs.
G. Transfer Music from iPhone to iPhone using Dropbox
If you prefer a cloud-based solution to transfer your music from one iPhone to another, using Dropbox is a convenient option. Here’s how you can transfer music using Dropbox:
- Download the Dropbox app from the App Store on both iPhones and sign in with the same Dropbox account.
- Open the Dropbox app on your old iPhone and upload your music files to your Dropbox account. You can do this by tapping on the “+” icon, selecting “Upload Files”, and choosing the music files from your iPhone.
- Wait for the upload process to complete. The time it takes depends on the size and the number of music files you are transferring.
- On your new iPhone, open the Dropbox app and navigate to the location where you uploaded your music files.
- Select the music files you want to transfer and tap on the ellipsis (…) icon to reveal the options menu.
- Choose “Export” and then tap on “Save to Files”. This will allow you to save the files directly to your new iPhone’s local storage.
- Select a folder or create a new one to save the music files, and then tap on “Save”.
Once you have saved the music files to your new iPhone, they will be accessible through the Files app or any music player app on your device. You can organize them into playlists or play them directly, just like any other locally stored music.
Using Dropbox to transfer music provides the advantage of storing your files in the cloud, making them accessible from anywhere with an internet connection. It also allows you to share the music files with others easily.
Keep in mind that the performance of the transfer process may be affected by the speed of your internet connection and the size of the music files. It’s recommended to have a stable Wi-Fi connection or use cellular data if it provides a fast and reliable connection.
Overall, Dropbox offers a convenient and efficient method for transferring music from one iPhone to another, especially for users who prefer a cloud-based approach and want to have their music files readily available on multiple devices.
H. Transfer Music from iPhone to iPhone using Google Drive
Another cloud-based option to transfer music from one iPhone to another is by utilizing Google Drive. By following these steps, you can easily transfer your music using Google Drive:
- Download the Google Drive app from the App Store on both iPhones and sign in with the same Google account.
- Open the Google Drive app on your old iPhone and upload your music files to your Google Drive account. To do this, tap on the “+” icon, select “Upload”, and choose the music files from your iPhone.
- Wait for the upload process to complete. The time it takes depends on the size and the number of music files you are transferring.
- On your new iPhone, open the Google Drive app and navigate to the location where you uploaded your music files in your Google Drive account.
- Select the music files you want to transfer and tap on the three-dot menu icon to reveal the options menu.
- Choose “Make Available Offline” to download the music files directly to your new iPhone’s local storage.
- Wait for the download process to complete. The time it takes depends on the size and number of music files you are transferring, as well as your internet connection.
Once the download is complete, you will have the music files saved directly to your new iPhone’s local storage. You can then access them using the Files app or any music player app on your device, just like any other locally stored music.
Using Google Drive for music transfer offers the benefit of a cloud-based storage solution where you can access your music files from anywhere with an internet connection. Additionally, Google Drive provides easy sharing options, allowing you to share music files with others when needed.
It’s important to note that the transfer speed and performance may be influenced by the speed of your internet connection and the size of the music files. Therefore, it is recommended to have a stable and fast Wi-Fi connection or consider using cellular data if it provides a reliable connection.
I. Transfer Music from iPhone to iPhone using OneDrive
If you prefer a cloud-based solution for transferring music from one iPhone to another, using OneDrive is an excellent option. Here’s how you can transfer music between iPhones using OneDrive:
- Download the OneDrive app from the App Store on both iPhones and sign in with the same Microsoft account.
- On your old iPhone, open the OneDrive app and upload your music files to your OneDrive account. You can do this by tapping on the “+” icon, selecting “Upload”, and choosing the music files from your iPhone.
- Wait for the upload process to complete. The time it takes depends on the size and the number of music files you are transferring.
- On your new iPhone, open the OneDrive app and navigate to the location where you uploaded your music files in your OneDrive account.
- Select the music files you want to transfer and tap on the ellipsis (…) menu icon to reveal the options menu.
- Choose “Save offline” or “Download” to save the music files directly to your new iPhone’s local storage.
- Wait for the download process to complete. The time it takes depends on the size and number of music files you are transferring, as well as your internet connection speed.
Once the download is complete, you will have the music files saved directly to your new iPhone’s local storage. You can access them using the Files app or any music player app on your device, just like any other locally stored music.
The advantage of using OneDrive is the seamless integration with Microsoft services and the availability of various features like sharing, collaboration, and easy access to your files on different devices.
It’s worth mentioning that the transfer speed and performance may be affected by the speed of your internet connection and the size of the music files. Therefore, it is recommended to have a stable and fast Wi-Fi connection or consider using cellular data if it provides a reliable connection.
Using OneDrive to transfer music ensures that you can conveniently access your music files from anywhere with an internet connection, making it an ideal choice for users who want to have their music readily available on multiple devices.
J. Tips to Free Up Space on Both iPhones before Transferring Music
Before transferring music from one iPhone to another, it’s a good idea to free up space on both devices to ensure a smooth transfer process. Here are some helpful tips to free up space on your iPhones:
- Delete unwanted apps: Go through your apps and remove any apps that you no longer use or need. This will help free up valuable storage space on both iPhones.
- Delete old messages and attachments: Messages and attachments can take up a significant amount of space. Clear out old conversation threads or delete unnecessary attachments to reclaim storage space.
- Remove unused photos and videos: Review your photo library and delete any duplicate, blurry, or unwanted photos and videos. Consider transferring them to a computer or a cloud storage service to free up space on your iPhones.
- Offload unused apps: Enable the “Offload Unused Apps” feature in your iPhone settings. This will remove apps that you haven’t used in a while but keep their settings and data intact. You can easily redownload them when needed.
- Clear cache and temporary files: Over time, apps accumulate cache and temporary files that take up space. You can clear these files by going to Settings > General > iPhone Storage and selecting an app to offload or delete its data.
- Turn on iCloud Photo Library: Enable iCloud Photo Library to store your photos and videos in the cloud, freeing up space on your device. This allows you to access your media from any device with your Apple ID.
- Stream music instead of downloading: Consider using streaming services like Apple Music or Spotify to listen to music instead of downloading it. Streaming eliminates the need to store large music libraries on your iPhones.
- Remove unnecessary documents and files: Review the files and documents stored on your iPhones and delete any that are no longer needed. You can use file management apps or the native Files app to manage and delete files.
By following these tips, you can create more space on both iPhones, allowing for a smooth and hassle-free transfer of music. Additionally, it’s a good practice to regularly clean up and optimize your devices to maintain optimal performance and storage efficiency.
Remember to back up your iPhones before making any changes to ensure that your data is safely stored and can be restored if necessary.