
Enabling the Camera
If you own a Chromebook and want to take photos, the first step is to ensure that the camera is enabled. By default, the camera is usually enabled on most Chromebooks, but it’s always a good idea to double-check, especially if you haven’t used it before.
To enable the camera, you’ll need to access the settings of your Chromebook. Start by clicking on the time in the bottom-right corner of the screen. This will open a panel with various settings options.
Next, click on the gear icon labeled “Settings.” This will open the Chromebook settings page in a new tab. Scroll down until you find the “Privacy and security” section, and then click on “Site settings.”
In the “Permissions” section, locate the “Camera” option. Click on it to access the camera settings. Make sure that the toggle switch next to “Allow sites to access your camera” is turned on. This will enable the camera for both websites and apps.
Once you’ve enabled the camera, you can start taking photos on your Chromebook. Remember to grant camera access when prompted by websites or apps that require it.
Enabling the camera on your Chromebook opens up a world of possibilities, whether you want to capture memorable moments or use video-calling apps to stay connected with friends and family. So, ensure that the camera is enabled and get ready to start capturing your favorite moments with ease.
Accessing the Camera App
Once you have enabled the camera on your Chromebook, accessing the camera app is a breeze. There are a few different ways to open the camera app, depending on the Chromebook model and operating system version you are using.
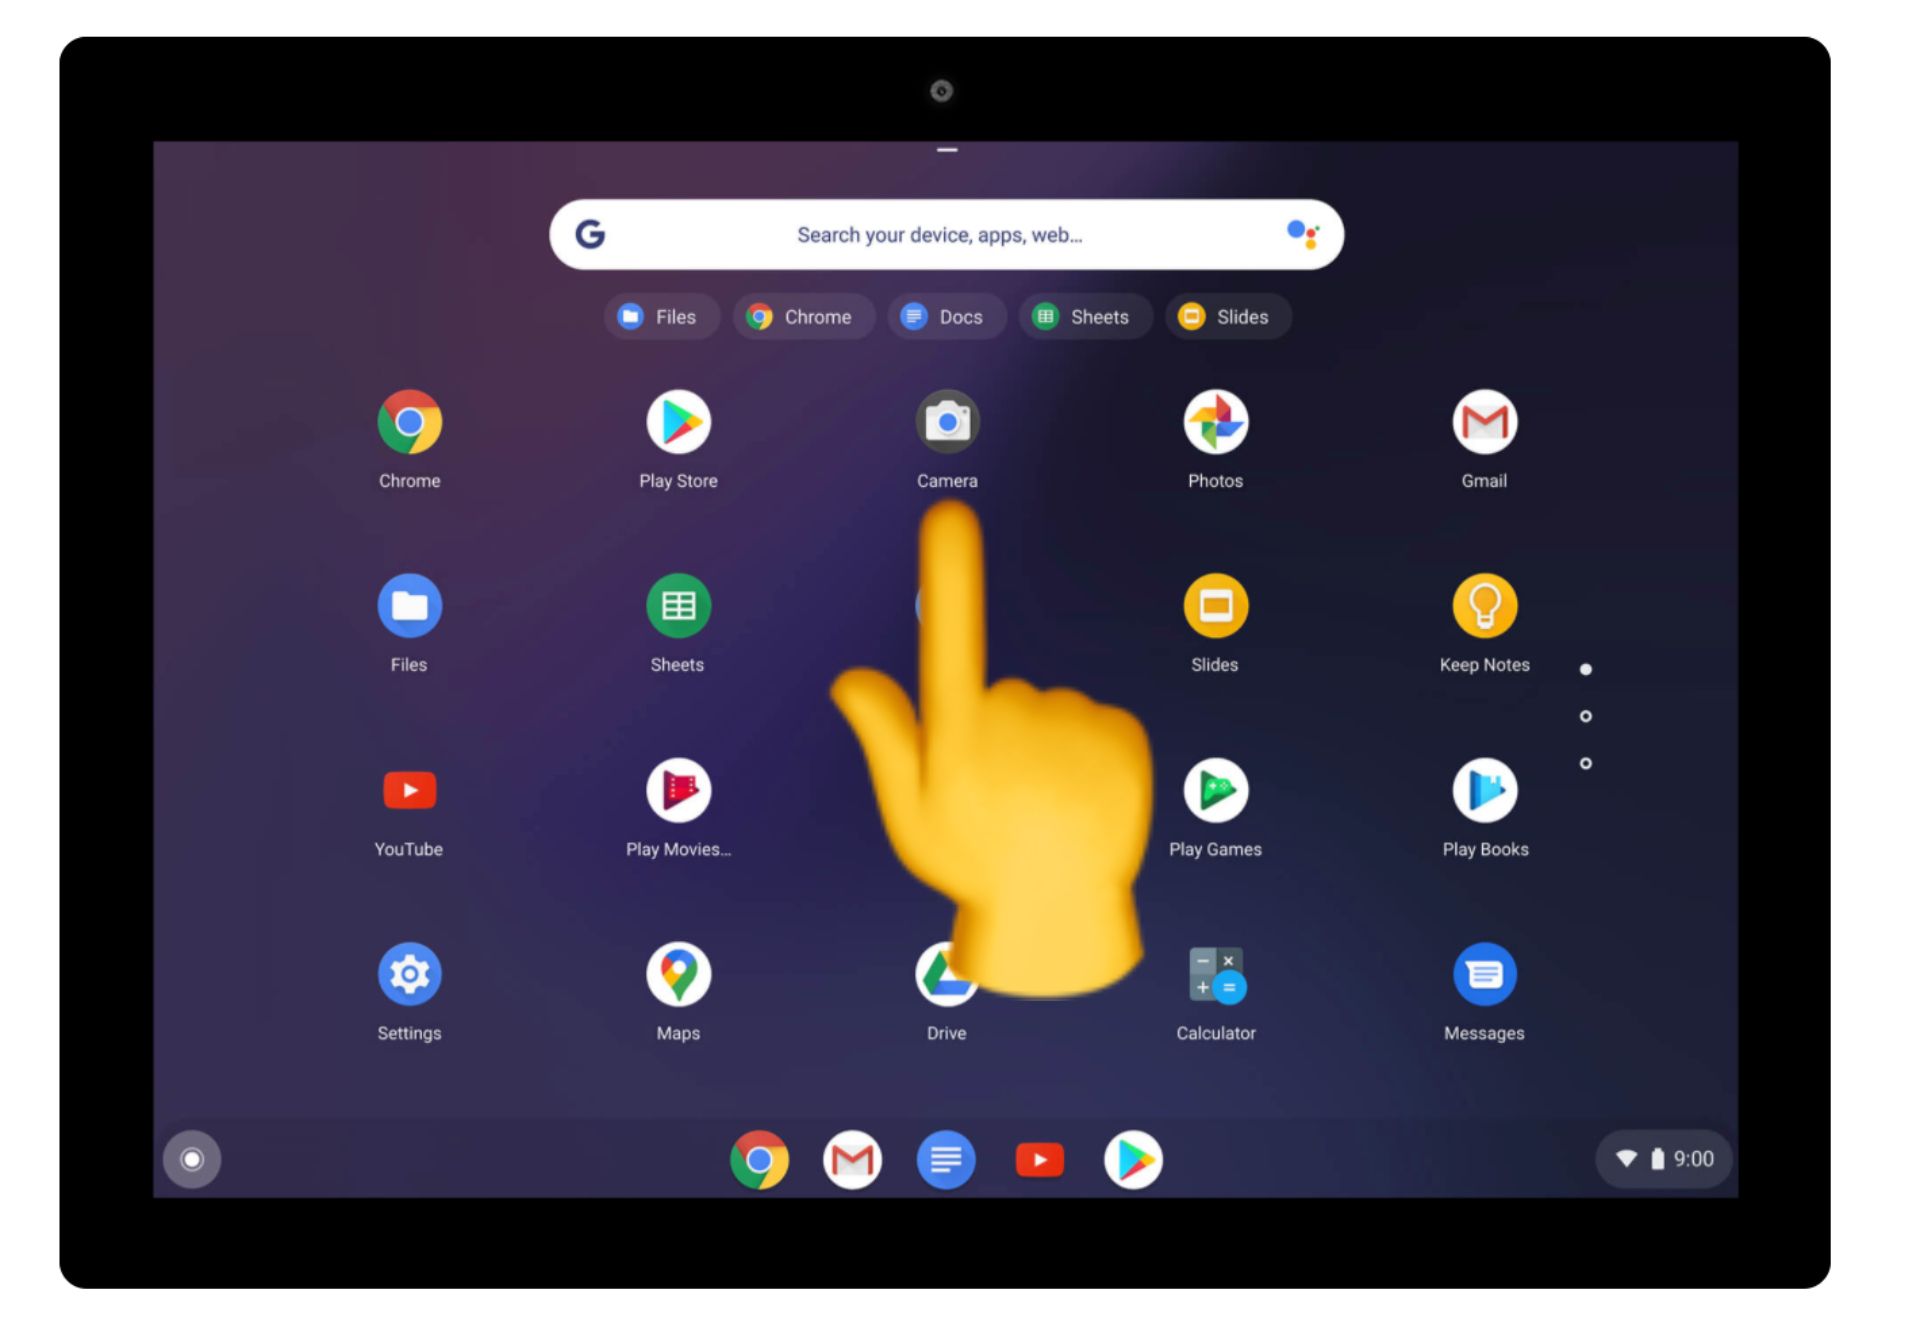
The most common method to access the camera app is by using the launcher. The launcher is typically located in the lower-left corner of the screen, represented by a circular icon with several dots. Click on the launcher icon, and you’ll see a list of available apps. Look for the camera app icon, which resembles a camera and click on it to open the camera app.
Another way to open the camera app is by using the keyboard shortcut. Pressing the “Ctrl” and “Shift” keys simultaneously, followed by the “3” key, will instantly open the camera app on most Chromebooks. This shortcut is handy when you want to open the camera quickly without navigating through the launcher or other menus.
On some Chromebooks, you may also have the option to access the camera app through the app drawer. To do this, click on the launcher icon and then locate and click on “All Apps.” This will display all the available apps on your Chromebook. Scroll through the list until you find the camera app icon and click on it to open the camera.
Regardless of the method you choose, once the camera app is open, you can start taking photos, recording videos, and exploring the various features it offers. Familiarize yourself with the app’s interface, including the shutter button, video recording button, and any additional settings or options available.
Accessing the camera app on your Chromebook is a simple process that allows you to easily capture moments and memories. Whether you’re a beginner or a more experienced photographer, you’ll find the camera app intuitive and user-friendly, providing you with the tools you need to take great photos.
Adjusting the Camera Settings
Before you start taking photos on your Chromebook, it’s important to familiarize yourself with the camera settings. Adjusting the camera settings can help you capture the perfect shot, whether you’re looking to change the resolution, adjust the exposure, or fine-tune other aspects of your photos.
To access the camera settings, open the camera app on your Chromebook. Once you have the camera app open, look for the settings icon, which usually resembles a gear or three vertical dots. Click on this icon to open the camera settings menu.
One of the commonly adjusted settings is resolution. By default, the camera app on your Chromebook will have a predetermined resolution setting. However, you can change this to meet your specific needs. Higher resolutions will result in larger file sizes but will offer more detail in your photos. Lower resolutions, on the other hand, will result in smaller file sizes but may compromise some details.
Another important setting is exposure. You can control the exposure to adjust the brightness of your photos. If your photo is too dark, increase the exposure to brighten it up. If it’s too bright, decrease the exposure to reduce the brightness levels. Experimenting with the exposure will help you achieve the desired lighting effects for your photos.
Other camera settings may include flash control, focus mode, and white balance. Flash control allows you to enable or disable the camera flash, depending on the lighting conditions. Focus mode allows you to choose between auto-focus, manual focus, or other focus options. White balance adjusts the color temperature of your photos to match the lighting environment.
Take some time to explore and experiment with different camera settings to find the configuration that works best for your needs. It’s a great way to enhance your photography skills and elevate the quality of your photos.
By adjusting the camera settings on your Chromebook, you’ll have more control over the outcome of your photos. Experiment with resolution, exposure, and other settings to achieve the desired effects and capture stunning images with your Chromebook’s camera.
Taking a Photo
Now that you’ve enabled the camera, accessed the camera app, and adjusted the settings, it’s time to capture your first photo on your Chromebook. Whether you’re snapping a quick selfie or capturing a breathtaking landscape, taking a photo on your Chromebook is a straightforward process.
To begin, make sure that you are in the camera app. Look for the viewfinder, which is the screen displaying what the camera sees. Position your Chromebook to frame the subject of your photo. You can hold the Chromebook in your hands or prop it up on a stable surface for steady shots.
Once your subject is framed in the viewfinder, you’re ready to take the photo. Locate the shutter button, which is usually represented by a circular icon resembling a camera. Click on the shutter button to snap the photo. You may hear a shutter sound or see a visual indication that the photo has been taken.
If you’re using the front-facing camera for a selfie, make sure to position yourself in the frame and look at the camera lens. You can use the viewfinder as a guide to ensure that you are in the shot before pressing the shutter button.
After taking the photo, you can review it in the camera app. Depending on the app’s functionality, you may be able to swipe left or right to access a gallery of your recently taken photos. From there, you can preview, edit, or share your photos as desired.
Remember, practice makes perfect. Take multiple shots from different angles and perspectives to capture the best image. Experiment with composition, lighting, and focal points to create visually appealing photographs.
By following these simple steps, you can easily take photos on your Chromebook and capture unforgettable moments. Whether it’s a candid shot, a scenic landscape, or a beautiful portrait, your Chromebook’s camera is a versatile tool that enables you to express your creativity and capture memories with ease.
Capturing a Screenshot
Not only can you take photos with your Chromebook, but you can also capture screenshots to save and share what’s on your screen. Whether you want to capture an important document, an interesting webpage, or an error message for troubleshooting, taking a screenshot on your Chromebook is a useful feature.
To capture a screenshot on your Chromebook, locate the area on your screen that you want to capture. It could be the entire screen, a specific window, or a portion of the screen.
If you want to capture the entire screen, press the “Ctrl” and “Window Switcher” keys simultaneously. The Window Switcher key is typically located in the top row, and it has an icon that looks like several squares overlapping each other. The screen will dim briefly, indicating that the screenshot has been captured. The screenshot will be saved in the “Downloads” folder.
If you prefer to capture a specific window, first, make sure that the window you want to capture is in focus. Press the “Ctrl,” “Shift,” and “Window Switcher” keys simultaneously. A crosshair cursor will appear on the screen. Click on the window you want to capture, and the screenshot will be saved in the “Downloads” folder.
To capture a specific portion of the screen, press the “Ctrl,” “Shift,” and “Window Switcher” keys simultaneously. The crosshair cursor will appear. Click and drag to select the portion of the screen you want to capture. Release the mouse button, and the screenshot will be saved in the “Downloads” folder.
Once you have captured a screenshot, you can access it in the “Downloads” folder by opening the Files app on your Chromebook. From there, you can view, rename, or share the screenshot as you please.
The ability to capture screenshots on your Chromebook is a handy feature for various purposes, whether it’s for documentation, troubleshooting, or simply capturing interesting content. Use this feature to save and share important information or preserve memorable moments from your screen.
Using the Timer Function
Have you ever been in a situation where you need to take a photo on your Chromebook, but you can’t reach the shutter button in time? The timer function on your Chromebook’s camera app can come to the rescue. This feature allows you to set a countdown timer before taking a photo, giving you enough time to compose yourself and get in the right position.
To use the timer function, open the camera app on your Chromebook. Once you’re in the camera app, look for the timer icon, which typically resembles a clock or an hourglass. Click on the timer icon to open the timer settings.
Depending on the camera app you’re using, you’ll have different timer options to choose from. The most common options are usually 2 seconds and 10 seconds. If you select the 2-second timer, there will be a 2-second delay before the camera captures the photo after you press the shutter button. The 10-second timer provides a 10-second delay for more extended setup time.
Once you’ve selected your desired timer option, compose your shot and click on the shutter button. The countdown will begin, and the camera will capture the photo automatically when the timer reaches zero.
The timer function is handy when you want to include yourself in a group photo, capture a dynamic action shot, or take a steady shot without accidentally shaking the camera. It ensures that you have enough time to position yourself or prepare the scene before the photo is taken.
Experiment with the timer function and explore its various applications. You can even get creative by using the timer to capture unique perspectives, such as throwing an object in the air and capturing the moment it lands. The timer function adds an extra layer of convenience and versatility to your Chromebook’s camera.
Remember to adjust the timer setting as needed based on the specific scenario and the time you require to set up your shot. With a little practice and experimentation, you’ll be able to harness the power of the timer function to capture amazing photos with precision and convenience.
Applying Filters and Effects
Adding filters and effects to your photos can enhance their visual appeal and give them a unique touch. The camera app on your Chromebook offers a variety of filters and effects that you can apply to your photos to unleash your creativity and achieve the desired aesthetic.
To apply filters and effects, open the camera app on your Chromebook. Once you’re in the camera app, look for the filter or effects icon, which is typically represented by a palette, a wand, or a series of dots. Click on this icon to access the available options.
Depending on the camera app you’re using, you’ll find a range of filters and effects to choose from. Common options include black and white, sepia, vintage, retro, and vibrant colors. Each filter or effect can significantly alter the mood and atmosphere of your photos, allowing you to convey a specific emotion or style.
To apply a filter or effect, simply click on the desired option. The camera app will instantly apply the chosen filter or effect to the live viewfinder. This gives you a real-time preview of how the final photo will look with the selected filter or effect. Take your time to experiment with different options and find the style that best suits your vision.
In addition to the filters and effects provided by the camera app, you can also explore third-party photo editing apps available on the Chrome Web Store. These apps offer more advanced editing features, including additional filters, effects, and editing tools. Installing and using these apps can further expand your creative possibilities and allow you to customize your photos to your heart’s content.
Remember that while filters and effects can enhance your photos, it’s important not to overdo it. It’s always best to start with a well-composed and properly exposed photo and use filters and effects as a complementary tool. Striking the right balance will result in stunning photos that stand out and captivate viewers.
By using the filters and effects in your camera app or exploring third-party photo editing apps, you can truly make your photos come to life with your personal touch. Embrace your artistic side and experiment with different filters and effects to unleash your creativity and create captivating visuals that leave a lasting impression.
Managing and Organizing Photos
As you capture and accumulate photos on your Chromebook, it’s important to have a system in place to manage and organize them effectively. This will ensure that you can easily locate and access your photos whenever you need them. Fortunately, the Chromebook provides various options to help you manage and organize your photo collection.
One of the primary tools for managing and organizing photos on your Chromebook is the Files app. The Files app allows you to view, organize, and manage all the files on your Chromebook, including your photos. To access the Files app, click on the launcher icon in the bottom-left corner of the screen and then click on “Files.”
Once you’re in the Files app, you can navigate to the “Downloads” folder where your photos are typically saved. From there, you can create folders to categorize your photos based on different criteria, such as date, event, or subject. To create a folder, right-click inside the “Downloads” folder and select “New folder.” Give the folder a descriptive name and move your photos into the respective folders to keep them organized.
Beyond the basic folder structure, you can also use tags or labels to further organize and categorize your photos. Tags allow you to assign keywords or labels to your photos, making it easier to search for specific images based on their content. To assign tags to your photos, select the photo(s) you want to tag, right-click, and choose “Add tags.” Enter relevant keywords and save the changes.
In addition to the built-in Files app, you can also utilize cloud storage services like Google Drive or Dropbox to store and organize your photos on the cloud. By uploading your photos to these cloud storage platforms, you can access them from any device with an internet connection and synchronize changes across multiple devices.
Lastly, consider using photo management software or applications specifically designed for organizing and editing photos. These tools often provide advanced features such as facial recognition, automatic organization, and comprehensive editing capabilities to streamline your photo management process.
Remember to regularly back up your photo collection to prevent data loss. The Chromebook provides automatic backup options to Google Drive, ensuring that your photos are safely stored in the cloud.
By implementing effective photo management and organization strategies, you’ll be able to keep your photo collection tidy, easily locate specific images, and enjoy a seamless browsing experience as you revisit your cherished memories on your Chromebook.