
Prerequisites
In order to switch audio from your Oculus Rift headset to your PC, there are a few prerequisites that you need to fulfill. Here are the necessary requirements:
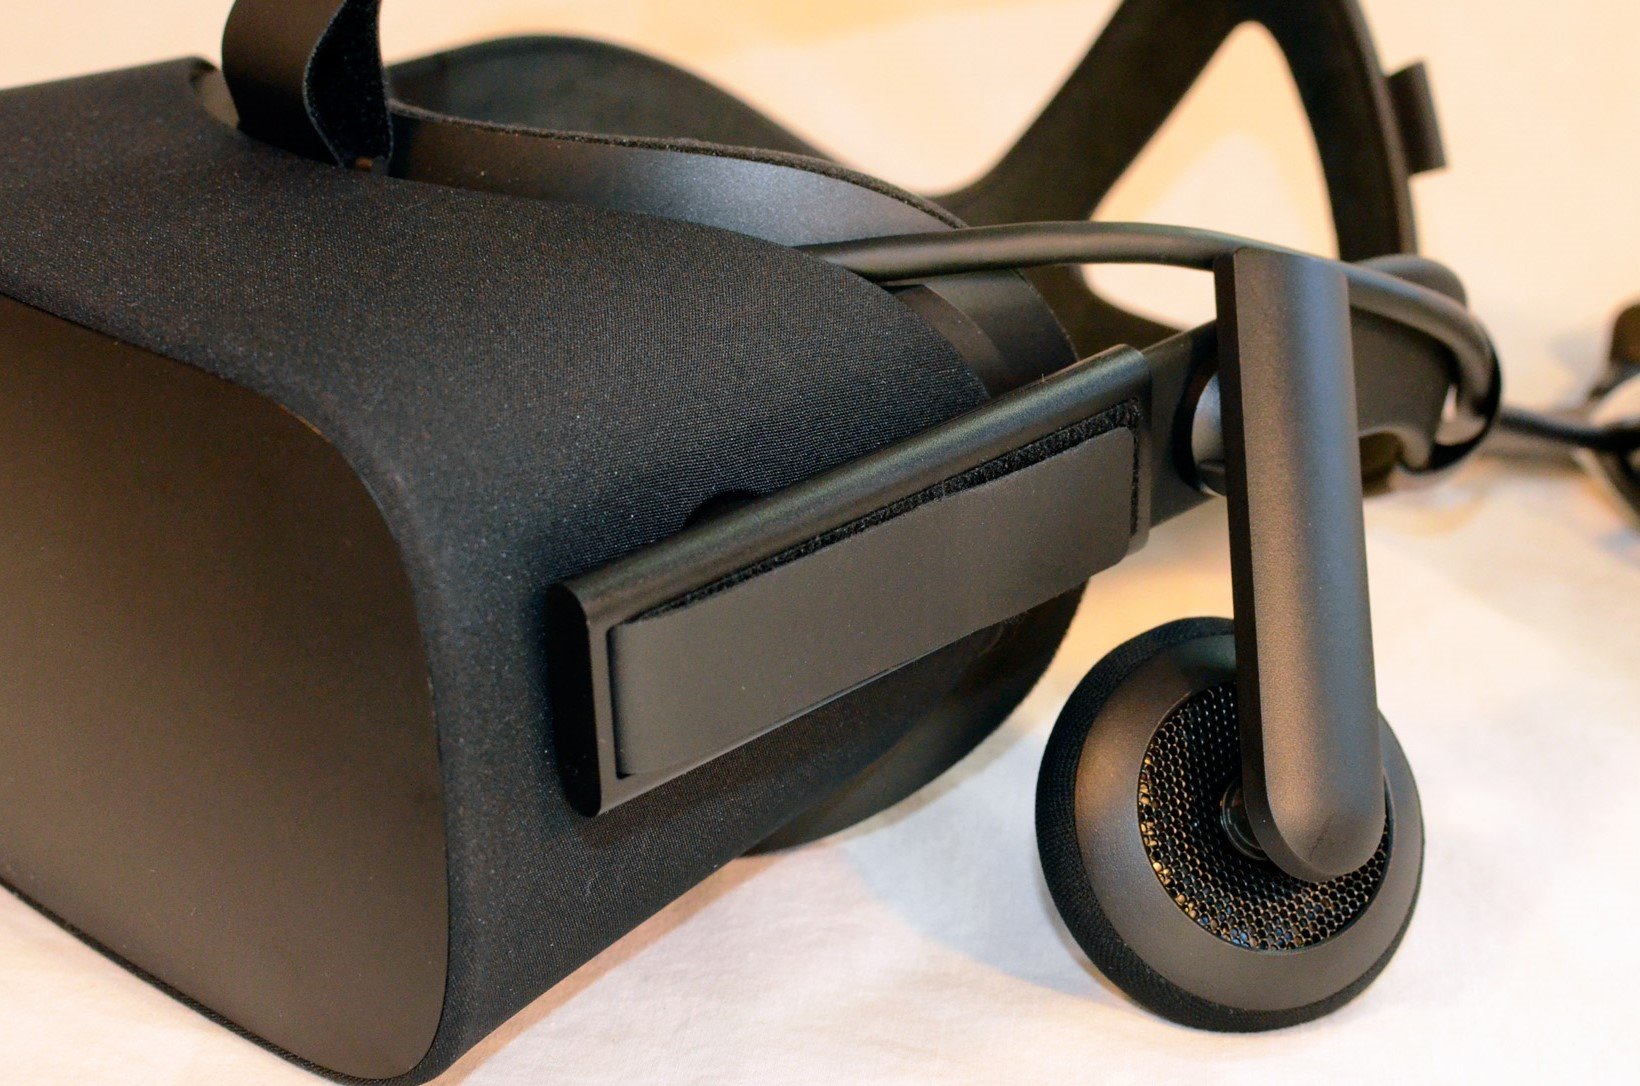
- Oculus Rift Headset: Ensure that you have an Oculus Rift headset. This virtual reality (VR) device allows you to experience immersive gaming and other VR applications.
- PC: You will need a PC that meets the minimum system requirements for running the Oculus Rift. Make sure your PC has enough processing power, RAM, and GPU capabilities to handle VR experiences.
- Oculus App: The Oculus app must be installed on your PC. This software acts as the central hub for managing your Oculus Rift device and its settings. You can download the Oculus app from the official Oculus website.
- Headphones or Speakers: To enjoy audio from your PC, you will need headphones or speakers connected to your computer. Ensure that they are in good working condition.
- Audio Drivers: Check that you have the latest audio drivers installed on your PC. Outdated or incompatible drivers can cause audio issues.
Once you have met these prerequisites, you will be ready to proceed with the steps to switch audio from your Oculus Rift to your PC.
Step 1: Connect your Oculus Rift to PC
The first step in switching audio from your Oculus Rift headset to your PC is to ensure that the device is properly connected to your computer. Follow these steps:
- Connect the Oculus Rift cables: Locate the cable that comes with your Oculus Rift headset. Connect one end of the cable to the headset, and the other end to the designated port on your PC. Ensure that the connections are secure.
- Secure the sensors: If your Oculus Rift setup includes external sensors, make sure they are properly positioned and securely mounted. They are essential for tracking your movements and providing an immersive VR experience.
- Connect USB and HDMI cables: Check that the USB and HDMI cables from your Oculus Rift are connected to the corresponding ports on your PC. These cables allow the transfer of data and video output from the headset to your computer.
- Power on your Oculus Rift: Press the power button on your Oculus Rift headset to turn it on. You should see the Oculus logo appear on the screen.
- Adjust the headset: Put on the Oculus Rift headset and adjust the straps to ensure a comfortable fit. Make sure the lenses are aligned with your eyes for optimal viewing.
- Set up the Oculus sensors: If prompted, follow the on-screen instructions to complete the sensor setup. This step ensures that the sensors accurately track your movements within the VR environment.
Once your Oculus Rift is successfully connected to your PC, you can proceed to the next step to switch the audio output to your computer.
Step 2: Launch Oculus app on your PC
After connecting your Oculus Rift headset to your PC, the next step is to launch the Oculus app. The Oculus app is the central hub for managing your Oculus Rift device and its settings. To launch the app, follow these steps:
- Locate the Oculus app icon: Look for the Oculus app icon on your desktop or in the Start menu. The icon resembles the Oculus logo, which is a white circle with a black eye in the center.
- Double-click the Oculus app icon: Use your mouse to double-click on the Oculus app icon. This action will launch the Oculus app on your PC.
- Wait for the app to load: Depending on your PC’s performance and the speed of your internet connection, it may take a few moments for the Oculus app to load. Be patient while it initializes.
- Sign in to your Oculus account: If you haven’t signed in to your Oculus account before, you will be prompted to do so. Enter your credentials (email address and password) to log in. If you don’t have an Oculus account, you can create one by following the on-screen instructions.
Once you have successfully launched the Oculus app and signed in to your account, you are ready to proceed to the next step of switching audio from your Oculus Rift to your PC.
Step 3: Locate the Oculus app settings
In order to switch audio from your Oculus Rift headset to your PC, you need to access the settings within the Oculus app. To locate the Oculus app settings, follow these steps:
- Open the Oculus app: Ensure that the Oculus app is open and running on your PC. If you have closed the app, repeat Step 2 to relaunch it.
- Navigate to the settings menu: Look for the menu bar at the top of the Oculus app window. Click on the “Devices” tab, which is the second option from the left.
- Access the settings: Within the “Devices” tab, you will find a drop-down menu that allows you to select different options. Click on the drop-down menu and choose “Settings” from the list.
By following these steps, you will successfully locate the Oculus app settings, which will enable you to proceed with switching the audio output from your Oculus Rift to your PC. The next step will guide you through the necessary actions within the settings menu to achieve this.
Step 4: Access the devices tab
In order to adjust the audio settings for your Oculus Rift headset, you will need to access the devices tab within the Oculus app. Follow these steps to access the devices tab:
- Make sure the Oculus app is open: Ensure that the Oculus app is running on your PC. If you have closed the app, repeat Step 2 to relaunch it.
- Locate the menu bar: Look for the menu bar at the top of the Oculus app window. The menu bar contains various options and tabs for managing your Oculus Rift device. Find the “Devices” tab, which is the second option from the left.
- Click on the devices tab: Once you have located the “Devices” tab, click on it to access the devices menu.
By following these steps, you will successfully access the devices menu within the Oculus app. This menu provides you with the necessary options to adjust and manage the settings of your Oculus Rift device, including the audio output configuration. Proceed to the next step to learn how to select your Oculus Rift headset within the devices menu.
Step 5: Select the Oculus Rift
Once you have accessed the devices menu within the Oculus app, the next step is to select your Oculus Rift headset. Follow these steps to choose your Oculus Rift headset:
- Ensure you are in the devices menu: Make sure you are still within the devices menu of the Oculus app. If you have navigated away from the menu, refer back to Step 4 to access it again.
- Look for the Oculus Rift: Within the devices menu, you will find a list of connected devices. Look for the entry that represents your Oculus Rift headset. It should be displayed with the name “Oculus Rift” or a similar identifier.
- Select your Oculus Rift headset: Click on the entry that represents your Oculus Rift headset in the list. This action will select your headset as the device you want to manage and configure.
By following these steps, you will successfully select your Oculus Rift headset within the devices menu of the Oculus app. This selection will allow you to access and modify the specific settings for your headset, including the audio output configuration. Proceed to the next step to learn how to enable the headphone option to switch audio to your PC.
Step 6: Enable the headphone option
In order to switch the audio output from your Oculus Rift headset to your PC, you need to enable the headphone option within the Oculus app. Follow these steps to enable the headphone option:
- Ensure you have selected your Oculus Rift headset: Confirm that you have followed Step 5 and have selected your Oculus Rift headset within the devices menu of the Oculus app. This step is crucial to access the specific settings for your headset.
- Navigate to the audio settings: Look for the audio settings within the devices menu of the Oculus app. Depending on the version of the app, you may find the audio settings under a tab labeled “Audio” or “Sound”. Click on this tab to proceed.
- Enable the headphone option: Within the audio settings, locate the option to enable headphones. This option may be labeled as “Headphone Audio” or something similar. Click on the toggle or checkbox next to this option to enable it.
By following these steps, you will successfully enable the headphone option within the Oculus app. This action will switch the audio output from your Oculus Rift headset to your PC. Remember to adjust the volume settings on your PC or the connected headphones/speakers to your preference. Proceed to the next step to learn how to switch the audio output on your PC.
Step 7: Switch audio output on PC
After enabling the headphone option within the Oculus app, the next step is to switch the audio output on your PC to ensure that the audio is directed to the headphones or speakers connected to your computer. Follow these steps to switch the audio output on your PC:
- Open the “Sound” or “Audio” settings: Right-click on the volume icon located in the system tray of your PC, typically found in the bottom right corner of the screen. From the context menu, select the option that says “Sounds” or “Open Sound Settings”.
- Choose the output device: Within the Sound or Audio settings window, look for the section that allows you to select the output device. This section may be labeled as “Output” or “Playback”. From the available options, choose the headphones or speakers that are connected to your PC.
- Set the selected device as the default: Once you have chosen the appropriate headphones or speakers, click on the “Set as Default” or “Set as Default Device” button. This action will make the selected device the default audio output for your PC.
By following these steps, you will successfully switch the audio output on your PC to the headphones or speakers connected to your computer. This will ensure that the audio from your Oculus Rift headset is directed to the desired output device. Proceed to the next step to test the audio settings and ensure everything is working correctly.
Step 8: Test the audio settings
After switching the audio output on your PC, it is important to test the audio settings to ensure that the audio is coming through your desired output device. Follow these steps to test the audio settings:
- Play audio: Open a video or audio file on your PC or launch a game/application that features sound. Make sure the volume is turned up on both your PC and the headphones or speakers.
- Listen for audio: Pay attention to the audio output and listen for any sound coming through your headphones or speakers. Check if the volume is at an appropriate level and if the audio quality is satisfactory.
- Test VR application: If you are using the audio settings specifically for a VR application, launch the application and ensure that the audio is playing through the correct output device. Move your head around to test if the audio follows your movements accurately.
By following these steps, you will be able to test the audio settings for your Oculus Rift headset. If the audio is playing through the headphones or speakers connected to your PC and the quality is to your satisfaction, then the audio settings have been successfully adjusted. If there are any issues, repeat the previous steps to ensure that the correct settings have been applied.
Now that you have tested the audio settings and confirmed that everything is working correctly, you can proceed to the final step and enjoy audio from your PC through your Oculus Rift headset.
Step 9: Enjoy audio from your PC
Now that you have successfully switched the audio from your Oculus Rift headset to your PC, you are ready to enjoy audio from your desired output device. Follow these steps to fully enjoy audio from your PC:
- Launch your desired application: Whether it’s a game, a movie, or any other application that utilizes audio, launch it on your PC.
- Put on your Oculus Rift headset: With the audio settings properly configured, put on your Oculus Rift headset and ensure that it fits comfortably.
- Experience immersive audio: As you navigate through your application, you will now experience immersive audio through your headphones or speakers connected to your PC. Enjoy the enhanced audio experience that complements your virtual reality (VR) or regular PC activities.
- Adjust volume and settings as needed: If you find that the volume needs adjustment or if you want to modify any audio settings, you can do so through the Oculus app on your PC or the settings of your output device.
By following these steps, you can fully enjoy audio from your PC through your Oculus Rift headset. Whether you’re embarking on virtual adventures, exploring captivating virtual environments, or simply listening to your favorite music, the enhanced audio experience will enhance your overall immersion and enjoyment.