
Setting up your development environment
Before you can start developing for the HTC Vive, it is essential to set up your development environment properly. This ensures that you have the necessary tools and software to create immersive virtual reality experiences. Follow these steps to get started:
- Install Unity: Unity is one of the most popular game engines for VR development. Download and install the latest version of Unity from the official website. Make sure to select the appropriate modules for HTC Vive development during installation.
- Get SteamVR: SteamVR is a software framework developed by Valve Corporation for virtual reality applications. It provides the necessary tools and APIs to interact with the HTC Vive hardware. Install SteamVR from the Steam client and set it up according to the documentation.
- Install the HTC Vive SDK: The HTC Vive SDK includes additional resources and tools to aid in VR development. Download and install the SDK from the official HTC developer website. Make sure to follow the installation instructions provided to ensure a smooth setup process.
- Connect the HTC Vive: Connect the HTC Vive headset to your computer using the provided cables. Ensure that all the required connections are secure and that the headset is powered on.
- Update device drivers: It is crucial to keep your device drivers up to date to ensure optimal performance. Check for updates for both your graphics card drivers and any additional devices connected to the HTC Vive, such as the controllers and base stations.
By following these steps, you will have a properly set-up development environment for creating HTC Vive applications. It is crucial to have these components in place to ensure seamless integration between your software and the VR hardware.
Now that your development environment is ready, you can move on to the next steps in the VR development process.
Installing the necessary software
Once you have set up your development environment, the next step is to install the necessary software for HTC Vive development. This software includes tools and frameworks that enable you to create and test immersive virtual reality experiences. Follow these steps to install the required software:
- Unity: If you haven’t already installed Unity during the setup process, download the latest version from the official website. Choose the appropriate version that supports HTC Vive development and follow the installation instructions. Unity provides a powerful and user-friendly interface for creating VR applications.
- SteamVR: SteamVR is an essential component for developing for HTC Vive. Install Steam on your computer if you haven’t already, and then navigate to the SteamVR page in the Steam Store. Click on the “Install” button to download and install SteamVR. This software layer allows your applications to communicate with the HTC Vive hardware.
- HTC Vive SDK: The HTC Vive SDK contains additional resources and tools that can enhance your development workflow. Visit the official HTC Vive developer website and download the SDK. Follow the provided installation instructions to integrate it with your development environment.
- Graphics card drivers: It is crucial to have up-to-date graphics card drivers for optimal performance. Visit the website of your graphics card manufacturer (NVIDIA or AMD) and download the latest drivers for your specific model. Install the drivers and restart your computer if prompted.
- Additional software: Depending on your application’s requirements, you might need to install additional software or plugins. For example, if you plan to incorporate physics simulations, you may need to install a physics engine like Unity’s built-in Physics or a third-party plugin like NVIDIA PhysX. Consider the specific features and functionality you want to include in your VR application and install the necessary software accordingly.
By installing these software components, you will have everything you need to begin developing for the HTC Vive. Ensuring that all the necessary software is installed and up to date is crucial for a smooth development experience.
With the required software now installed, it’s time to familiarize yourself with the HTC Vive hardware and its capabilities.
Getting familiar with the HTC Vive hardware
Before you start creating virtual reality experiences for the HTC Vive, it’s important to familiarize yourself with the hardware components and their functionalities. Understanding how the different elements of the HTC Vive work together will help you design immersive experiences that take full advantage of the device’s capabilities. Here are the key components of the HTC Vive:
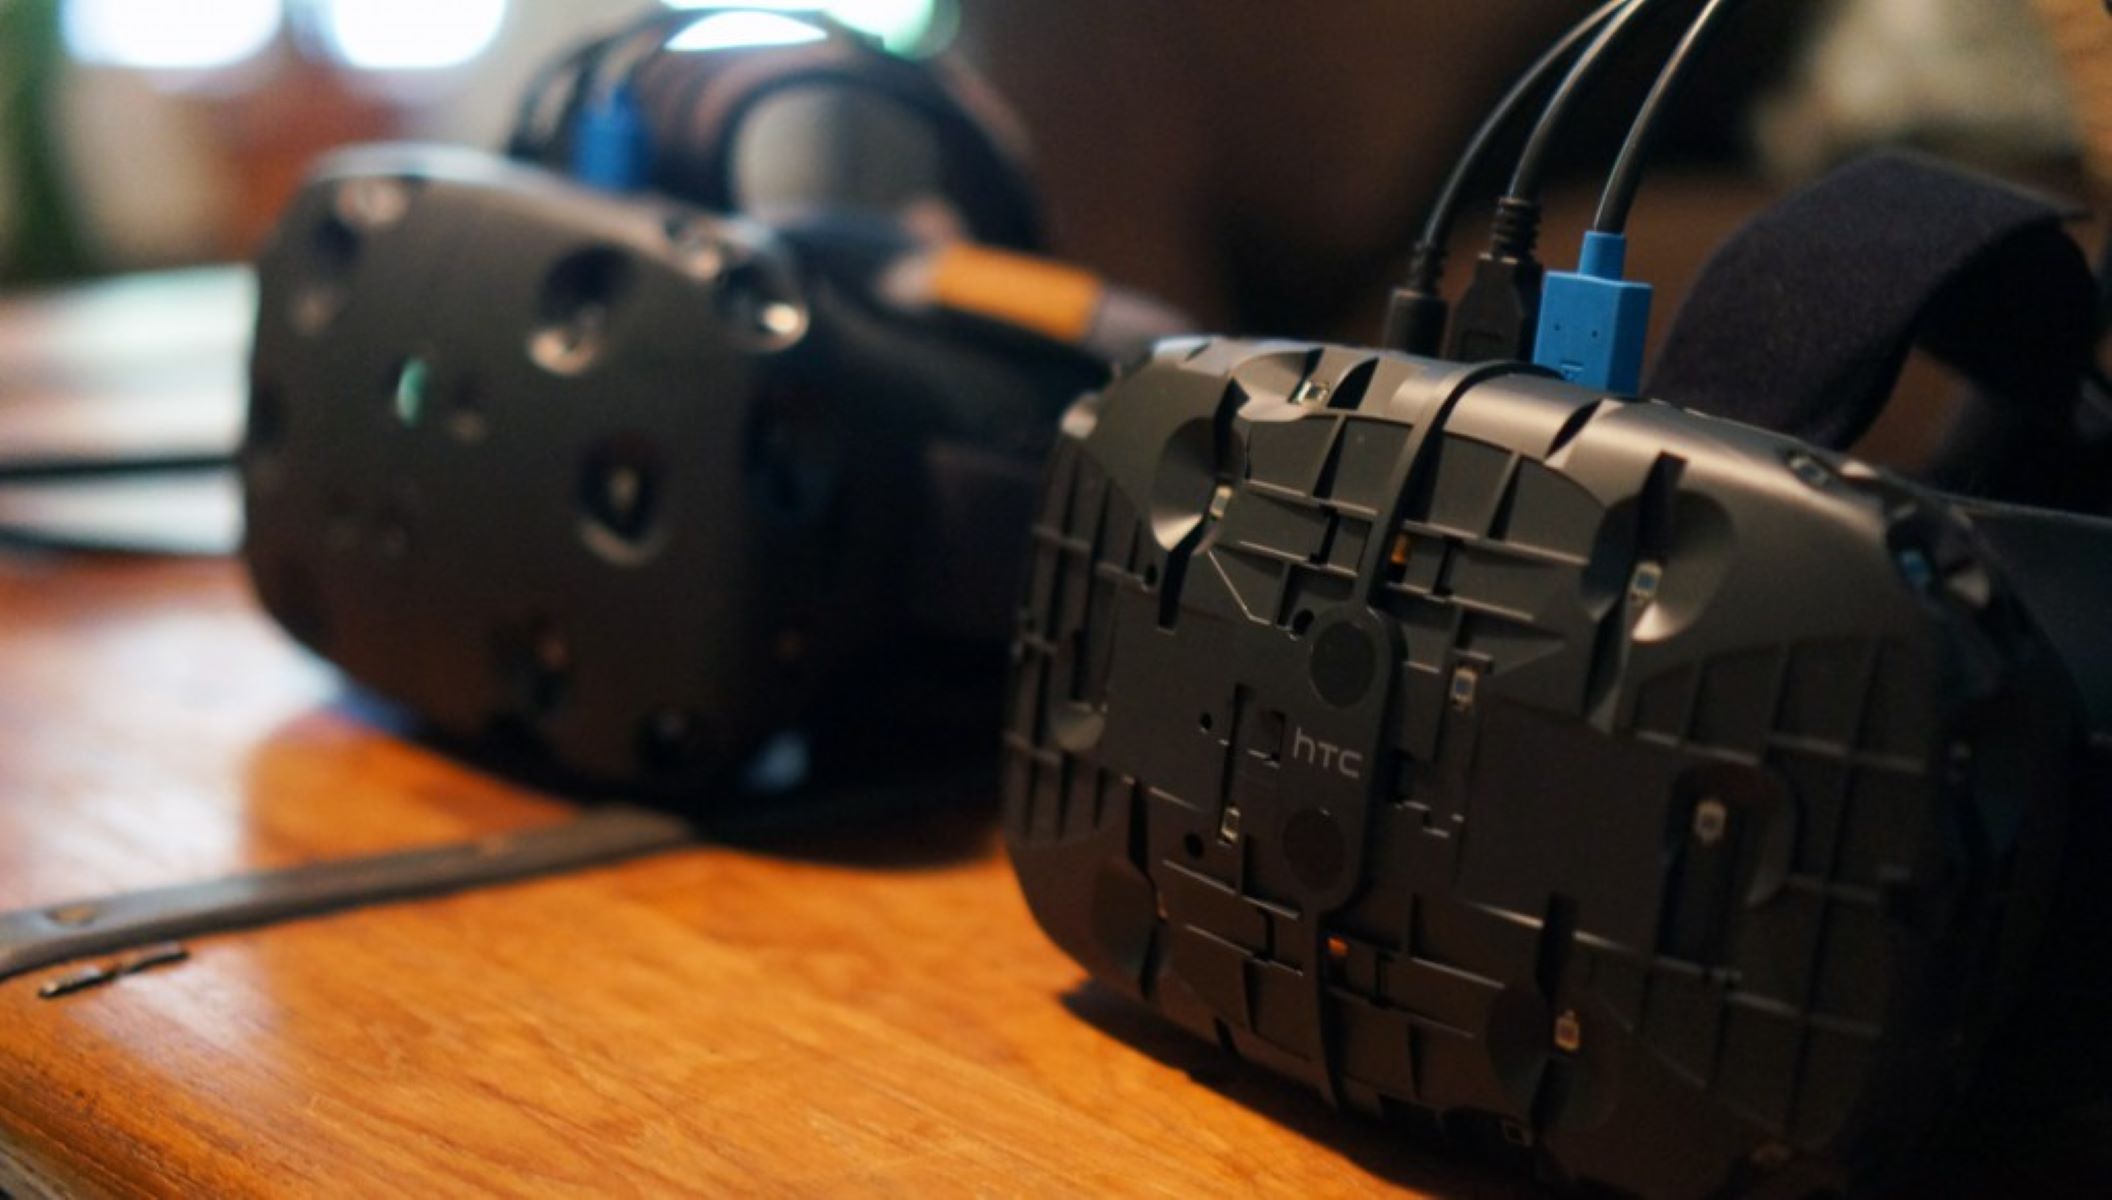
- Headset: The HTC Vive headset is the primary interface for experiencing virtual reality. It is equipped with dual OLED displays, providing a high-resolution and immersive visual experience. The headset also has built-in sensors to track head movements, allowing users to look around and interact with the virtual environment.
- Controllers: The HTC Vive comes with two handheld controllers, one for each hand. These controllers have a variety of input methods, including buttons, triggers, and trackpads. They are used to interact with objects within the virtual environment, providing a more intuitive and immersive experience for users.
- Base stations: The HTC Vive uses two base stations placed in the room to track the position of the user’s headset and controllers. These base stations emit laser beams that are detected by sensors on the headset and controllers, allowing for accurate and precise tracking in a room-scale VR setup.
- Link box: The link box acts as an intermediary between the HTC Vive headset and the computer. It connects to both the headset and the computer using HDMI and USB cables. The link box helps manage the power and data transfer between the headset and the computer.
- Cables and connectors: The HTC Vive utilizes various cables and connectors to connect the different components together. These include HDMI cables for video output, USB cables for data transfer and power delivery, and power cables to supply power to the base stations and the link box.
By understanding the hardware components and how they function together, you can better design VR experiences that utilize the capabilities of the HTC Vive. Remember to consider the limitations of the hardware and design experiences that provide a smooth and comfortable user experience.
Now that you are familiar with the HTC Vive hardware, the next step is to learn about the SteamVR platform and its role in HTC Vive development.
Understanding the SteamVR platform
When developing for the HTC Vive, it’s essential to have a good understanding of the SteamVR platform. SteamVR is a software framework developed by Valve Corporation, designed specifically for virtual reality applications. It provides the necessary tools and APIs to interact with the HTC Vive hardware and create immersive virtual reality experiences. Here are some key points to help you understand the SteamVR platform:
- SteamVR SDK: The SteamVR SDK is a development kit that includes documentation, APIs, and sample code to assist in the creation of VR applications. It provides access to various features and capabilities of the HTC Vive, such as tracking the position and orientation of the headset and controllers, handling input events, and rendering VR scenes.
- OpenVR: OpenVR is an open-source software development kit that forms the foundation of the SteamVR platform. It allows developers to create VR applications that are compatible with multiple VR devices, not just the HTC Vive. This makes it easier to target a broader audience and potentially port your application to other VR platforms in the future.
- Chaperone system: The Chaperone system is a safety feature in SteamVR that helps prevent users from colliding with real-world objects while immersed in virtual reality. It uses the tracking capabilities of the HTC Vive to create a virtual boundary, known as the Chaperone bounds, that users can see when they get too close to a physical obstacle. Understanding how to integrate and utilize the Chaperone system in your VR application is crucial for creating a safe and comfortable experience.
- SteamVR Input: SteamVR Input is a feature that simplifies the handling of input events from various VR controllers. It provides a unified interface for handling input regardless of the specific controller type. This allows you to design your VR application to be compatible with a wide range of VR controllers, making it more accessible to users with different setups.
- SteamVR Workshop: The SteamVR Workshop is a platform where developers can publish and distribute their VR applications to a large and active user base. It allows you to reach more users and potentially monetize your VR experiences. Understanding the process of publishing your VR application on the SteamVR Workshop is important if you intend to share your creations with the VR community.
By familiarizing yourself with the SteamVR platform and its components, you will be equipped with the knowledge and tools to create immersive and engaging experiences for the HTC Vive. Keep in mind that SteamVR is constantly evolving, so staying updated with the latest updates and features is essential for successful VR development.
Now that we have covered the fundamentals of the SteamVR platform, let’s move on to creating a basic VR application for the HTC Vive.
Creating a basic VR application
Now that you have set up your development environment and familiarized yourself with the HTC Vive hardware and SteamVR platform, it’s time to start creating your first VR application. Building a basic VR application will help you understand the workflow, interactions, and visual rendering required for virtual reality. Follow these steps to get started:
- Create a new Unity project: Open Unity and select “New Project.” Choose a name and location for your project, making sure to select the appropriate settings for HTC Vive development.
- Import SteamVR plugin: Download and import the SteamVR plugin into your Unity project. The plugin provides essential scripts, prefabs, and assets that enable interactions with the HTC Vive hardware. You can find the plugin on the Unity Asset Store or the official GitHub repository.
- Set up VR camera: Create a new game object and attach the SteamVR camera script to it. This script will handle the positioning and tracking of the headset’s movement. Adjust the camera settings to accommodate your scene and the desired user perspective.
- Create a VR scene: Design a virtual environment using Unity’s scene editor. Place objects, set up lighting, and create any interactive elements you want to include in your VR application. Think about the user’s perspective and design the scene in a way that provides an immersive and captivating experience.
- Add interactivity: Implement interactions by attaching SteamVR scripts to objects in your scene. For example, you can use the SteamVR_InteractableObject script to allow users to pick up and manipulate virtual objects using the HTC Vive controllers. Experiment with different interactions to make your application engaging and intuitive for users.
- Test and iterate: Regularly test your VR application on the HTC Vive device to ensure that the interactions, visuals, and overall experience meet your expectations. Iterate and make necessary adjustments based on user feedback and your own observations.
By following these steps, you can create a basic VR application for the HTC Vive. Remember to maintain a balance between immersive experiences and optimized performance by implementing best practices for VR development. This includes optimizing your scene, managing resources efficiently, and considering the limitations of the hardware.
Once you have created a basic VR application, you can further enhance its features and functionalities by exploring advanced HTC Vive development techniques.
Interacting with the HTC Vive controllers
One of the key aspects of developing for the HTC Vive is understanding how to interact with the controllers. The controllers play a crucial role in providing users with a sense of presence and immersion in virtual reality. They enable users to interact with the virtual environment and manipulate objects within it. To effectively utilize the HTC Vive controllers in your VR application, follow these guidelines:
- Controller tracking: The HTC Vive controllers are tracked using the base stations’ laser tracking system, allowing for precise positioning in the virtual world. Ensure that your application takes into account the position and orientation of the controllers to accurately represent them and enable interaction with virtual objects.
- Button and trigger events: The HTC Vive controllers have buttons and triggers that can be used to trigger specific actions in your application. Familiarize yourself with the button and trigger events provided by the SteamVR SDK, and map them to the corresponding interactions in your VR application. For example, you can use the trigger to grab and release virtual objects or use buttons for menu navigation.
- Haptic feedback: The HTC Vive controllers provide haptic feedback, which simulates physical sensations through vibrations. Utilize haptic feedback to enhance the sense of realism and feedback in your application. For example, you can provide subtle vibrations when a virtual object is touched or when a button is pressed.
- Teleportation and locomotion: Implementing teleportation and locomotion mechanics is essential for allowing users to navigate within the virtual environment. Consider incorporating features that enable smooth and comfortable movement, such as teleportation where users can point and choose their destination, or walking mechanics for room-scale experiences.
- Gesture recognition: Take advantage of the HTC Vive controllers’ motion tracking capabilities to recognize gestures and hand movements. This can add another layer of interactivity to your application. For example, you can interpret a specific hand gesture as a command to perform a specific action or trigger an event.
- Visual representation: Provide visual representations and feedback for the HTC Vive controllers in your VR application. This helps users visually locate their controllers and increases the feeling of immersion. You can display 3D models or simple representations of the controllers in the virtual world to provide users with a sense of presence.
By effectively utilizing the HTC Vive controllers’ capabilities, you can create immersive and interactive experiences for your VR application. Experiment with different interaction methods and gestures to find the most intuitive and engaging user experience. Regular testing and iteration are key to ensuring that the controller interactions in your application are responsive, smooth, and enjoyable.
Now that you have learned about interacting with the HTC Vive controllers, it’s time to explore how to implement room-scale VR features in your application.
Implementing room-scale VR features
Room-scale VR allows users to move freely within a designated virtual space, enhancing the sense of immersion and presence. Implementing room-scale VR features in your HTC Vive application can take user experiences to the next level. Here are some guidelines to help you incorporate room-scale VR features:
- Define the play area: Begin by defining the boundaries of the play area within your virtual environment. Use the SteamVR Chaperone system to create a safe and visually represented boundary that users can see when they approach the physical limits of their play area. Ensure that your application respects these boundaries to prevent users from colliding with real-world objects and provide a comfortable experience.
- Positional tracking: Leverage the HTC Vive’s positional tracking capabilities to accurately track the user’s physical movements within the play area. This enables your application to provide seamless and responsive interactions that align with the user’s real-world movements. Ensure that objects and environmental elements in your virtual world respond accordingly to the user’s position and orientation.
- Utilize room-scale interactions: Design interactions that take advantage of the available physical space. For example, you can create virtual objects that users can physically move, reach, or manipulate within the play area. Incorporate mechanics that encourage users to explore and interact with the virtual environment using their full range of movement.
- Consider safety: Pay close attention to safety considerations when designing room-scale VR experiences. Provide clear instructions and visual cues to guide users within their play area, minimizing the risk of accidental collisions with walls or furniture. Communicate any potential hazards or limitations clearly to users to ensure their safety during the VR experience.
- Performance optimization: Room-scale VR experiences can be more demanding on system resources. Optimize your application’s performance to ensure smooth, comfortable gameplay within the defined play area. This includes optimizing rendering techniques, managing resource usage efficiently, and implementing occlusion culling to maximize performance without compromising the quality of the experience.
- User feedback: Actively gather and incorporate user feedback in the development process. Users’ experiences and comfort levels may vary based on their personal preferences and physical limitations. Iteratively improve your room-scale VR features by addressing user concerns, enhancing accessibility, and refining the overall user experience.
By implementing room-scale VR features, you can create more immersive and engaging experiences for your HTC Vive application. The freedom to move and interact within a virtual space adds a new dimension of realism and interactivity for users. Ensure that your application respects the physical boundaries and provides a seamless and comfortable experience in the room-scale VR environment.
Next, let’s explore the process of optimizing performance for the HTC Vive to ensure a smooth and enjoyable VR experience.
Optimizing performance for the HTC Vive
Optimizing performance is crucial for creating a smooth and immersive VR experience on the HTC Vive. VR applications demand high-performance hardware and efficient software to maintain a high frame rate and minimize latency. Follow these guidelines to optimize performance in your HTC Vive application:
- Optimize rendering: Use optimization techniques to minimize the rendering workload. This includes reducing the number of draw calls, optimizing shaders and materials, implementing level-of-detail systems, and utilizing occlusion culling to avoid rendering objects that are not visible to the user.
- Manage resources efficiently: Ensure efficient usage of system resources, including CPU, GPU, and memory. Use resource pooling, object pooling, and efficient memory management techniques to minimize overhead and maximize performance.
- Use performance profiling tools: Leverage performance profiling tools, such as Unity’s built-in Profiler or external tools like NVIDIA Nsight, to identify performance bottlenecks within your application. Analyze the performance data to pinpoint and address areas of concern, such as long rendering times, excessive CPU usage, or inefficient GPU utilization.
- Consider graphics settings: Provide configurable graphics settings within your application to allow users to adjust the visual fidelity to their hardware capabilities. Offering options for resolution, antialiasing, and other graphics settings can ensure a more comfortable experience for users with lower-end systems.
- Implement dynamic quality adjustments: Implement dynamic quality adjustments based on the system’s performance. Monitor the frame rate and adjust the level of detail, draw distance, or other graphical settings dynamically to maintain a consistent frame rate and minimize performance drops.
- Optimize physics and collisions: Physics calculations and collision detection can impact performance in VR applications. Optimize physics simulations by using simplified physics models, efficient collision detection algorithms, and utilizing physics engine settings to strike a balance between accuracy and performance.
By following these performance optimization guidelines, you can create a more responsive and enjoyable HTC Vive experience for your users. Regularly test your application on various hardware setups to identify any performance issues and aim for a consistent and smooth frame rate.
Now that you have optimized your HTC Vive application’s performance, it’s important to thoroughly test and debug your VR application to ensure a high-quality user experience. Let’s explore the testing and debugging process next.
Testing and debugging your VR application
Thorough testing and debugging are essential steps to ensure a high-quality and bug-free VR application for the HTC Vive. Your application should provide a smooth and immersive experience while minimizing any technical issues or glitches. Follow these guidelines to effectively test and debug your VR application:
- Test on actual hardware: Always test your VR application on the HTC Vive hardware to accurately assess the user experience. Use the headset and controllers to navigate and interact with your application just as your users would. This allows you to identify any hardware-specific issues, such as tracking problems or controller responsiveness.
- Perform usability testing: Conduct usability testing with a diverse group of testers to gather feedback and insights into the user experience. Observe how users interact with your application and identify any usability issues or areas for improvement. This feedback can help you optimize user interactions and enhance the overall experience.
- Check for performance issues: Test your application under various scenarios to ensure optimal performance. Monitor frame rates, loading times, and resource usage. Identify any performance bottlenecks and make necessary adjustments to improve rendering times and reduce latency.
- Validate input and interactions: Test all possible interactions and input methods in your VR application to ensure they work as intended. This includes testing button presses, trigger interactions, controller tracking, and any gestures or hand movements. Verify that all inputs are correctly mapped and trigger the desired actions within the virtual environment.
- Debugging: Use debugging tools and techniques to identify and resolve any technical issues in your VR application. Unity provides a robust set of debugging tools, such as the Unity debugger and console logs, to help you track down and fix issues. Use these tools to analyze error messages, check variable values, and step through code to pinpoint and resolve bugs.
- Iterate and refine: Continuously iterate and refine your VR application based on the feedback and data collected during testing. Address any issues or bugs that arise, implement user suggestions, and make improvements to the overall usability and performance of your application. Regularly test and validate any changes or new features to ensure a smooth and bug-free user experience.
By thoroughly testing and debugging your VR application, you will be able to deliver a high-quality and polished experience for your users. Remember to gather user feedback, address any technical issues, and optimize performance to create a seamless and immersive HTC Vive application.
Now that your VR application is thoroughly tested and debugged, it’s time to explore advanced HTC Vive development techniques to push the boundaries of your virtual reality experiences.
Exploring advanced HTC Vive development techniques
Once you have mastered the basics of HTC Vive development, you can explore advanced techniques to push the boundaries of your VR experiences and create more immersive and engaging applications. Here are some advanced HTC Vive development techniques to consider:
- Advanced interaction mechanics: Go beyond simple controller interactions and incorporate more complex and realistic interactions. For example, you can implement hand gestures recognition, object physics simulations, or even full-body tracking to provide more intuitive and natural interactions within the virtual environment.
- Spatial audio: Leverage spatial audio techniques to create a more immersive audio experience in your VR application. Implement 3D positional audio, taking into account the user’s position and orientation in the virtual space, to enhance the sense of presence and provide a more realistic audio environment.
- Multiplayer and social interactions: Design your VR application to support multiplayer experiences, allowing users to interact and collaborate in virtual environments. Implement social features such as voice chat, hand gestures, or shared object interactions to enable social interaction and enhance the sense of shared presence.
- Advanced visual effects: Experiment with advanced visual effects and techniques to create stunning and visually appealing VR environments. Utilize dynamic lighting, particle systems, shaders, and post-processing effects to enhance the visual fidelity and create a more realistic and immersive virtual world.
- Dynamic environments: Create dynamic and interactive VR environments that respond to user actions and interactions. Design scenes where objects can be manipulated, environments can be reshaped, or interactive events can occur based on user input. This adds an extra layer of engagement and interactivity to your VR experiences.
- Integrating external hardware: Explore the possibility of integrating external hardware devices, such as motion capture systems or haptic feedback devices, to enhance the user experience. These devices can provide additional input possibilities, tactile feedback, or even simulate environmental effects, further immersing users in the virtual environment.
By exploring these advanced HTC Vive development techniques, you can elevate your VR experiences to new heights and create unique and memorable applications. As you delve into these advanced techniques, always keep in mind the importance of balancing performance optimization, usability, and user comfort to ensure a smooth and enjoyable VR experience.
Finally, it’s time to prepare for publishing your VR application on the SteamVR platform to share your immersive experiences with a wider audience.
Publishing your VR application on SteamVR
Once you have developed and polished your VR application for the HTC Vive, the next step is to publish it on the SteamVR platform. SteamVR provides a vast user base and a dedicated marketplace for VR experiences, allowing you to reach a wider audience. Here are the steps to publish your VR application on SteamVR:
- Create a Steamworks Developer Account: Before publishing on SteamVR, you need to create a Steamworks developer account. Visit the Steamworks website, complete the application process, and provide the necessary information for your developer account.
- Prepare your application build: Build your VR application for distribution on Steam. For Unity users, compile your application into an executable file or a package that can be easily installed. Ensure that your build adheres to the submission guidelines provided by Steamworks.
- Set up a Steam AppID: To publish your application on Steam, you need to request and set up a unique Steam AppID for your VR application. Follow the instructions provided in the Steamworks documentation to obtain an AppID for your application.
- Create a store page: Design and create a compelling store page for your VR application on the Steam Store. Include attractive visuals, videos, and descriptive text to showcase the features and benefits of your application. Make sure to highlight the HTC Vive compatibility and any unique selling points.
- Upload your build to Steamworks: Use the Steamworks backend tools to upload and manage your VR application’s build. This includes providing the necessary build files, graphics, and metadata required for the publishing process. Follow the guidelines and upload instructions provided in the Steamworks documentation.
- Test your application: Before making your VR application available to the public, thoroughly test it on the SteamVR platform. Ensure that all features are functioning as intended and that the application is stable and performs well on different hardware configurations.
- Submit your application for review: Once you are satisfied with your application and have completed all the necessary steps, submit your VR application for review by the Steamworks team. They will evaluate your application to ensure it meets the technical and content guidelines before it is made available on the Steam Store.
- Launch and promote your application: Upon approval, your VR application will be published on the Steam Store. Celebrate your launch and start promoting your VR application through various channels, including social media, forums, and VR communities. Engaging with your audience and gathering user feedback will help you continue to improve and update your VR application.
Publishing your VR application on SteamVR opens up opportunities to showcase and monetize your immersive experiences. Ensure that you regularly update your application with bug fixes, new features, and enhancements to maintain a positive user experience and attract new users to your VR application.
Congratulations on reaching this stage of your VR development journey! Now, embrace the publishing process and share your VR application with the world.