
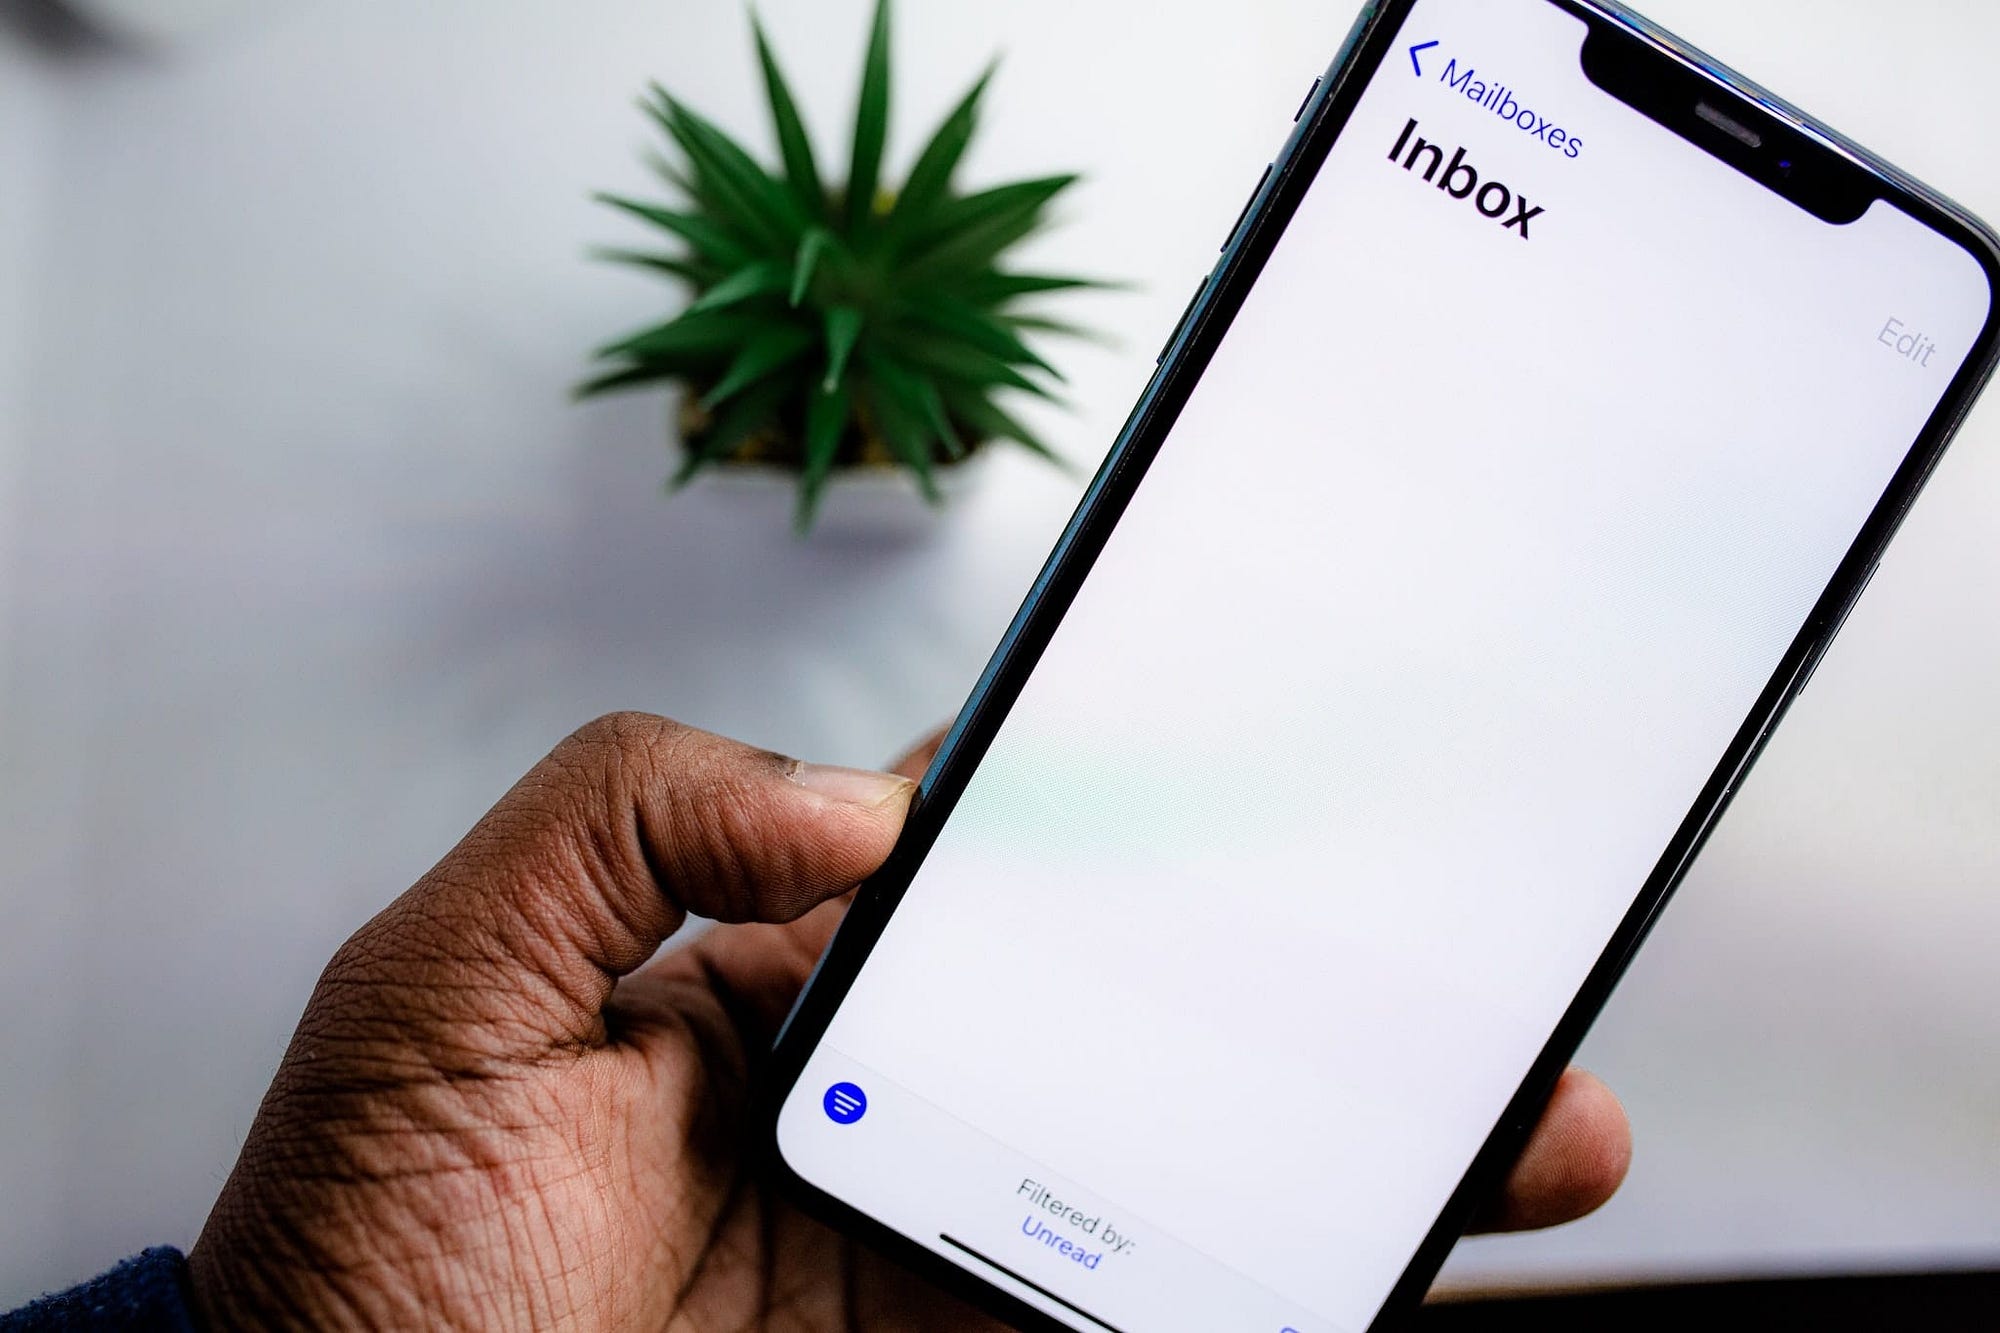
Why use Push Gmail in iPhone Mail?
Push Gmail is a powerful feature that allows you to receive instant email notifications on your iPhone Mail app. This means that as soon as an email arrives in your Gmail inbox, it will be pushed to your iPhone, keeping you up-to-date with your emails in real time. Unlike fetching or manual refresh, which requires you to manually check for new emails, push notifications eliminate the need for constant refreshing and provide a faster and more efficient way to stay connected.
There are several benefits to using Push Gmail in iPhone Mail. Firstly, it ensures that you never miss an important email again. Whether you use your Gmail account for personal or professional purposes, getting instant notifications helps you stay on top of your inbox and respond promptly. This is particularly crucial for time-sensitive communications or urgent business matters that require immediate attention.
Secondly, the convenience of push notifications means you can easily manage your emails without having to constantly open the app and manually check for new messages. This saves you time and allows you to stay focused on other tasks, knowing that you will be alerted as soon as a new email arrives.
Furthermore, Push Gmail helps streamline your email communication by ensuring that your inbox is always synchronized across all your devices. Whether you read or reply to an email on your iPhone, iPad, or computer, the changes are reflected across all platforms in real time. This seamless synchronization ensures that you have access to the latest email conversations, irrespective of the device you are using.
Additionally, using Push Gmail in iPhone Mail can enhance your productivity. By receiving instant email notifications, you can quickly assess the importance of an email and prioritize your response accordingly. This allows you to efficiently manage your inbox and allocate time and attention to urgent matters, improving your overall workflow and reducing the risk of missing critical communications.
Overall, Push Gmail in iPhone Mail offers a multitude of benefits – from ensuring real-time email updates, to streamlining communication, improving productivity, and reducing the risk of missing important messages. By enabling this feature, you can take full advantage of the seamless integration between your Gmail account and the iPhone Mail app, making it easier and more efficient to manage your emails on the go.
Adding your Gmail account to iPhone Mail
To start receiving Push Gmail notifications on your iPhone, you first need to add your Gmail account to the iPhone Mail app. Here’s a step-by-step guide to help you get started:
- Open the “Settings” app on your iPhone and scroll down to select “Mail.”
- Tap on “Accounts” and then select “Add Account.”
- From the list of email service providers, choose “Google” to add your Gmail account.
- Enter your Gmail email address and tap “Next.”
- Enter your Gmail password and tap “Next.”
- You will be presented with options for syncing your Gmail account. Toggle on the options you want to enable, such as “Mail” for email messages, “Contacts” for syncing contacts, and “Calendars” for syncing your calendar events. Once you have made your selections, tap on “Save” to proceed.
The Mail app will now verify your account credentials and establish a connection with your Gmail account. This may take a few moments, depending on your internet connection. Once the verification is complete, you will see a confirmation message indicating that your Gmail account has been added successfully.
Now, when you receive a new email in your Gmail inbox, the iPhone Mail app will instantly send a push notification to your device, alerting you to the arrival of a new message. You can tap on the notification to open the email directly or access it later by opening the Mail app.
It’s important to note that adding your Gmail account to iPhone Mail also allows you to send emails from your Gmail address using the Mail app. This means you can compose and reply to emails using your Gmail account, even though you’re accessing it through the iPhone Mail app. All your sent emails will be synced with your Gmail account, ensuring a seamless email experience across devices.
By adding your Gmail account to iPhone Mail, you can enjoy the convenience of receiving instant push notifications for new emails, as well as the ability to manage and send emails from your Gmail address directly through the Mail app. It’s a simple process that enhances your email workflow and keeps you connected to your Gmail inbox no matter where you are.
Enabling Push notifications
Once you have added your Gmail account to iPhone Mail, the next step is to enable Push notifications so that you can receive instant alerts for new emails. Here’s how you can do it:
- Open the “Settings” app on your iPhone and scroll down to select “Mail.”
- Tap on “Notifications” and then choose “Mail.”
- Under the “Mail” section, you will see a list of your email accounts. Select your Gmail account.
- On the next screen, toggle on the “Allow Notifications” option. This will activate notifications for your Gmail account in the iPhone Mail app.
- If you want to customize how the notifications appear, you can tap on “Alerts” and choose whether you want to show them as banners, alerts, or in the notification center. You can also enable other options like sounds, badges, and previews based on your preferences.
- To ensure that you receive push notifications for all your incoming emails, make sure that the “Show in Notification Center” and “Show on Lock Screen” options are toggled on.
Once you have enabled Push notifications for your Gmail account, the iPhone Mail app will send you instant alerts whenever a new email is received in your Gmail inbox. You will see a notification banner or alert on your device’s screen, displaying the sender’s name and subject line of the email. This allows you to quickly assess whether the email requires immediate attention and take appropriate action.
It’s worth mentioning that enabling Push notifications for multiple email accounts on your iPhone is also possible. You can repeat the above steps for each additional email account you want to receive push notifications for, ensuring that you don’t miss any important messages from any of your accounts.
By enabling Push notifications, you can stay informed about new emails in real time without having to constantly check your inbox manually. This feature enhances your email experience by providing instant updates, allowing you to stay connected and responsive even when you’re on the go.
Troubleshooting Push notifications
While Push notifications for Gmail in iPhone Mail generally work seamlessly, there may be times when you encounter issues with receiving instant alerts for new emails. Here are a few troubleshooting steps you can follow to resolve any problems with Push notifications:
- Check your internet connection: Ensure that your iPhone has a stable internet connection, as Push notifications rely on a data connection to receive new email alerts.
- Verify that Push notifications are enabled: Double-check the settings in the Mail app to confirm that Push notifications are enabled for your Gmail account. Go to “Settings” > “Mail” > “Notifications” > “Mail” and make sure that “Allow Notifications” is toggled on for your Gmail account.
- Restart your iPhone: Sometimes, a simple restart can resolve minor glitches or conflicts that may be affecting Push notifications. Press and hold the power button until the “Slide to power off” option appears, then slide to power off your device. Once it’s off, press and hold the power button again until the Apple logo appears to restart your iPhone.
- Check battery optimization settings: Some iPhone models have battery optimization settings that can affect Push notifications for certain apps. Go to “Settings” > “Battery” > “Battery Health” and ensure that “Optimized Battery Charging” is disabled. Also, make sure that your Mail app is not restricted from running in the background.
- Reset your network settings: If the issue persists, you can try resetting your iPhone’s network settings. Go to “Settings” > “General” > “Reset” > “Reset Network Settings.” Keep in mind that this will erase your saved Wi-Fi networks and passwords, so make sure you have them handy.
- Update your iPhone software: Ensure that your iPhone is running the latest iOS software version. Go to “Settings” > “General” > “Software Update” and tap on “Download and Install” if an update is available.
If none of the above steps resolve the issue, it may be helpful to contact Apple Support or Google Support for further assistance. They can provide additional troubleshooting steps specific to your device and help you solve any persistent issues with Push notifications for Gmail in iPhone Mail.
Remember, Push notifications are designed to deliver instant alerts, but occasional hiccups can occur. By following these troubleshooting steps, you can ensure that you are maximizing the effectiveness of Push notifications and staying informed about new emails in real time.
Maximizing battery life when using Push Gmail
While Push notifications for Gmail in iPhone Mail provide the convenience of real-time email updates, it’s important to note that they can have an impact on your device’s battery life. However, there are several strategies you can employ to maximize your battery life without compromising the benefits of Push Gmail. Here are some tips to help you save battery power when using Push Gmail:
- Adjust Fetch settings: By default, Push notifications and Fetch options are enabled in the Mail app. However, you can choose to disable Fetch and rely solely on Push notifications for email updates. To do this, go to “Settings” > “Mail” > “Accounts” > “Fetch New Data” and toggle off “Push.” This ensures that your device only retrieves new emails when a Push notification is received, reducing unnecessary background activity.
- Customize account settings: Within the Fetch New Data settings, you can customize the Fetch settings for individual email accounts. This way, you can set a longer interval for less important accounts or set them to manually fetch emails instead of using Push or Fetch. This helps conserve battery power by reducing the frequency of email updates for accounts that are less critical.
- Turn off unnecessary notifications: Besides Push notifications for email, you may also receive notifications for other app activities. Go to “Settings” > “Notifications” and review the apps that are sending you notifications. Disable notifications for apps or services that are not essential, as this helps reduce battery consumption by limiting unnecessary background activity.
- Reduce email frequency: If you find that the constant influx of emails is draining your battery, consider adjusting your email habits. Limit the number of times you check your inbox or enable “Do Not Disturb” mode during non-essential hours to minimize interruptions. By reducing the frequency of email notifications, you can extend your device’s battery life and focus on important tasks without distractions.
- Optimize battery settings: Take advantage of the battery optimization features on your iPhone. Go to “Settings” > “Battery” and enable “Low Power Mode” to conserve battery power. This temporarily reduces background activities, including Push notifications, to prolong battery life when you need it most. You can also manually manage background app refresh and disable it for apps that you don’t need to receive updates from frequently.
- Regularly update software: Keeping your iPhone’s software up to date is crucial for optimal performance, including battery efficiency. Software updates often include bug fixes and improvements that can help optimize battery usage. Go to “Settings” > “General” > “Software Update” to check for and install any available updates.
By following these tips, you can strike a balance between enjoying the benefits of Push Gmail and maximizing your device’s battery life. By customizing settings, reducing unnecessary notifications, and optimizing battery usage, you can ensure that your device stays powered up for longer while still staying connected to your Gmail inbox with Push notifications.