
What You Will Need
To set up your Merkury light bulb with Google Home, you will need the following:
- A Merkury Home app: This app is available for free on both iOS and Android devices. You will need to download and install it on your smartphone or tablet.
- A Wi-Fi network: Make sure you have a stable internet connection to connect your Merkury light bulb to Google Home.
- A compatible Google Home device: This can be a Google Home Mini, Google Home, or Google Nest Hub. Ensure that your Google Home device is set up and connected to the same Wi-Fi network as your smartphone or tablet.
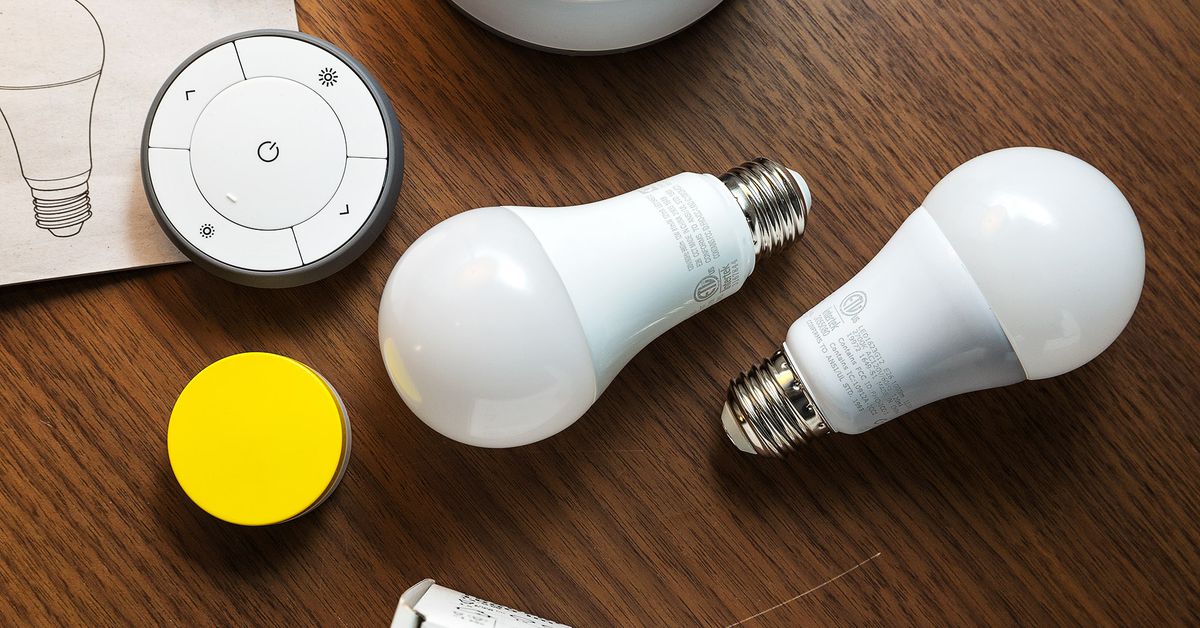
- Merkury light bulb: You will need a Merkury light bulb that is compatible with the Merkury Home app and Google Home. Ensure that your light bulb is in working condition and ready to be set up.
Once you have gathered all the necessary items, you can proceed with the setup process.
Step 1: Download the Merkury Home app
The first step in setting up your Merkury light bulb with Google Home is to download the Merkury Home app on your smartphone or tablet. Here’s how:
- Open the app store on your device: If you’re using an iPhone or iPad, open the App Store. If you’re using an Android device, open the Google Play Store.
- Search for “Merkury Home”: In the app store’s search bar, type in “Merkury Home” and tap the search button.
- Select the correct app: Look for the official Merkury Home app, which should be developed by Merkury Innovations LLC. Tap on the app to open its download page.
- Download and install the app: On the app’s download page, tap the “Install” or “Get” button to start the download process. Once the app is downloaded, it will automatically install on your device.
- Open the Merkury Home app: After the installation is complete, locate the app icon on your device’s home screen or app drawer. Tap on it to open the app.
- Create a Merkury Home account: If you don’t have an existing account, you will be prompted to create one. Follow the on-screen instructions to set up an account using your email address and a password.
- Log in to your Merkury Home account: If you already have a Merkury Home account, simply log in using your registered email address and password.
Once you have successfully downloaded and logged into the Merkury Home app, you are ready to proceed to the next step of setting up your Merkury light bulb with Google Home.
Step 2: Set up your Merkury light bulb
Once you have the Merkury Home app installed and logged in, you can start the setup process for your Merkury light bulb. Follow the instructions below:
- Ensure your Merkury light bulb is turned on: Make sure the light bulb is securely screwed into a compatible socket and powered on.
- Open the Merkury Home app: Launch the Merkury Home app on your smartphone or tablet.
- Tap the “+” icon: Look for the “+” icon usually located at the top right corner of the app’s home page. Tap on it to start the device setup process.
- Select “Lighting” category: In the list of device categories, locate and tap on “Lighting” to proceed.
- Choose “Merkury bulb” model: Look for the option that corresponds to your specific Merkury light bulb model and tap on it.
- Put the light bulb into pairing mode: Follow the instructions provided by the app to put your Merkury light bulb into pairing mode. This usually involves turning the light bulb on and off in a specific sequence.
- Connect your smartphone or tablet to the light bulb: In your device’s Wi-Fi settings, connect to the Wi-Fi network provided by the light bulb. It may have a name starting with “Merkury” or include the bulb’s model number.
- Return to the Merkury Home app: Once connected to the light bulb’s Wi-Fi network, return to the Merkury Home app.
- Enter your Wi-Fi network credentials: The app will prompt you to enter the credentials (Wi-Fi name and password) of your home network. This allows the Merkury light bulb to connect to your Wi-Fi network.
- Wait for the pairing process to complete: The app will initiate the pairing process between the light bulb and your smartphone or tablet. Please be patient and wait for the process to complete. This may take a few moments.
- Confirmation of successful setup: Once the pairing process is successful, you will receive a confirmation message in the app. This means your Merkury light bulb is now connected to your smartphone or tablet.
With the Merkury light bulb successfully set up, you can now proceed to the next step of connecting it to your Google Home device.
Step 3: Connect the Merkury light bulb to Google Home
After setting up your Merkury light bulb using the Merkury Home app, the next step is to connect it to your Google Home device. Follow the steps below:
- Open the Google Home app: Launch the Google Home app on your smartphone or tablet.
- Tap the “+” icon: Look for the “+” icon usually located at the top left corner of the app’s home page. Tap on it to add a new device.
- Select “Set up device”: In the list of options, choose “Set up device” to start the device setup process.
- Add device: From the available alternatives, select “Works with Google”. This will let you connect devices that are compatible with the Google Assistant, including the Merkury light bulb.
- Search for “Merkury Home” app: In the search bar, type in “Merkury Home” and tap on the app when it appears as a search result.
- Log in to your Merkury Home account: If you aren’t already logged in, you will need to enter your Merkury Home account credentials (email and password) to proceed.
- Authorize Google Home to access your Merkury Home devices: Grant permission to the Google Home app to connect to your Merkury Home account and access your devices.
- Choose your location: Select the location where the Merkury light bulb is located or choose “Assign a new home” if it’s your first device.
- Follow the on-screen instructions: The Google Home app will guide you through the process of scanning for devices and finding your Merkury light bulb. This may take a moment, so be patient.
- Naming your device: Once your Merkury light bulb is found, you can choose a name for it. This will allow you to easily identify and control it using voice commands.
- Confirm the setup: After naming your device, review the information and settings. If everything looks correct, tap “Next” to confirm the setup.
- Pairing complete: Once the setup process is complete, you will receive a confirmation message that your Merkury light bulb is now connected to your Google Home device.
With the Merkury light bulb successfully connected to your Google Home device, you can now move on to assigning the light bulb to a specific room in Google Home.
Step 4: Assign the light bulb to a room in Google Home
Once you have connected your Merkury light bulb to Google Home, the next step is to assign the light bulb to a specific room within the Google Home app. This allows for easier organization and control of your smart devices. Follow the steps below to assign the light bulb to a room:
- Open the Google Home app: Launch the Google Home app on your smartphone or tablet.
- Select the location: At the top of the home screen, tap on the location that you set during the Google Home setup. If it’s your first device, you may need to choose “Assign a new home”.
- Tap on the room: Scroll through the list of rooms or create a new one if needed. Tap on the room to which you want to assign the Merkury light bulb.
- Add devices to the room: On the room page, tap the “+” icon or the “Add devices” option to start adding devices to the room.
- Select the Merkury light bulb: From the list of available devices, locate and select the Merkury light bulb that you want to assign to the room.
- Confirm the assignment: Review the information and settings for the light bulb. If everything looks correct, tap “Next” or “Done” to confirm the assignment.
- Check the room control: Go back to the room page and ensure that the Merkury light bulb is now listed under the devices assigned to the room.
Once you have assigned the Merkury light bulb to a room in Google Home, you can control it more easily by simply mentioning the room’s name in your voice commands. For example, you can say, “Hey Google, turn on the lights in the living room”.
Now that your light bulb is assigned to a specific room, you are ready to move on to the next step of controlling it using Google Assistant.
Step 5: Control your Merkury light bulb with Google Assistant
With your Merkury light bulb connected to Google Home, you can now use Google Assistant to control and customize the lighting in your home. Here’s how you can control your Merkury light bulb using Google Assistant:
- Wake up Google Assistant: Say “Hey Google” or “OK Google” to wake up Google Assistant on your Google Home device or activate it on your smartphone or tablet.
- Give a voice command: Once Google Assistant is active, you can control your Merkury light bulb by giving voice commands. For example:
- “Turn on/off [room name] lights”
- “Set [room name] lights to [specific color]”
- “Dim/Brighten [room name] lights”
- “Change [room name] lights to [specific brightness level]”
- Customize your commands: Google Assistant allows you to create custom commands for specific actions. For example, you can set up a routine that turns on the lights in your living room, adjusts the brightness, and plays relaxing music by saying a single command like “Goodnight”.
- Control your lights remotely: If you have a compatible device, you can also use the Google Home app on your smartphone or tablet to control your Merkury light bulb remotely. This is useful when you’re not at home but still want to manage the lighting.
- Explore additional features: Google Assistant offers a variety of additional features that can enhance your smart lighting experience. Discover features like scheduling, grouping lights, or integrating with other smart devices to create a seamless smart home automation system.
With Google Assistant, you have the convenience of controlling your Merkury light bulb with simple voice commands or through the Google Home app. Enjoy the flexibility and ease of managing your lighting settings with the power of your voice.
Now that you know how to control your Merkury light bulb with Google Assistant, let’s move on to some additional tips and troubleshooting in the next step.
Step 6: Additional Tips and Troubleshooting
While setting up and using your Merkury light bulb with Google Home, you may encounter some challenges or have questions along the way. Here are some additional tips and troubleshooting steps to help you out:
- Ensure Wi-Fi connectivity: Make sure your Merkury light bulb, smartphone, and Google Home device are all connected to the same Wi-Fi network. Inconsistent connectivity can cause issues with the setup and control process.
- Reset the light bulb if needed: If you are experiencing difficulties during the setup process or controlling the light bulb, try resetting it. Refer to the manufacturer’s instructions on how to properly reset the device.
- Update firmware and software: Keep your Merkury Home app, Google Home app, and firmware of your devices up to date to ensure compatibility and access to the latest features and enhancements.
- Use unique names for rooms and devices: If you have multiple Merkury light bulbs or smart devices, create unique names for each room and device to avoid confusion and enhance voice command accuracy.
- Experiment with voice commands: Try different phrasings when giving voice commands to Google Assistant. Sometimes rephrasing or using alternative commands can lead to better results.
- Check for device compatibility: Ensure that your Merkury light bulb is indeed compatible with the Merkury Home app and Google Home. Refer to the manufacturer’s specifications for a list of supported devices.
- Power cycle the devices: If you are experiencing connectivity issues or unresponsiveness, try power cycling your Merkury light bulb, smartphone, and Google Home device by unplugging and powering them off for a few moments before turning them back on.
- Contact customer support: If you encounter persistent issues or require further assistance, don’t hesitate to reach out to the customer support of Merkury Innovations or Google Home for specialized help and troubleshooting guidance.
By following these additional tips and troubleshooting steps, you can maximize the functionality and performance of your Merkury light bulb with Google Home.
Now that you have successfully set up your Merkury light bulb with Google Home and learned how to control it using Google Assistant, you can enjoy the convenience and flexibility of managing your lighting with ease.