
What You Will Need
To connect smart bulbs to Google Home, there are a few essential items you will need. Before getting started, make sure you have the following:
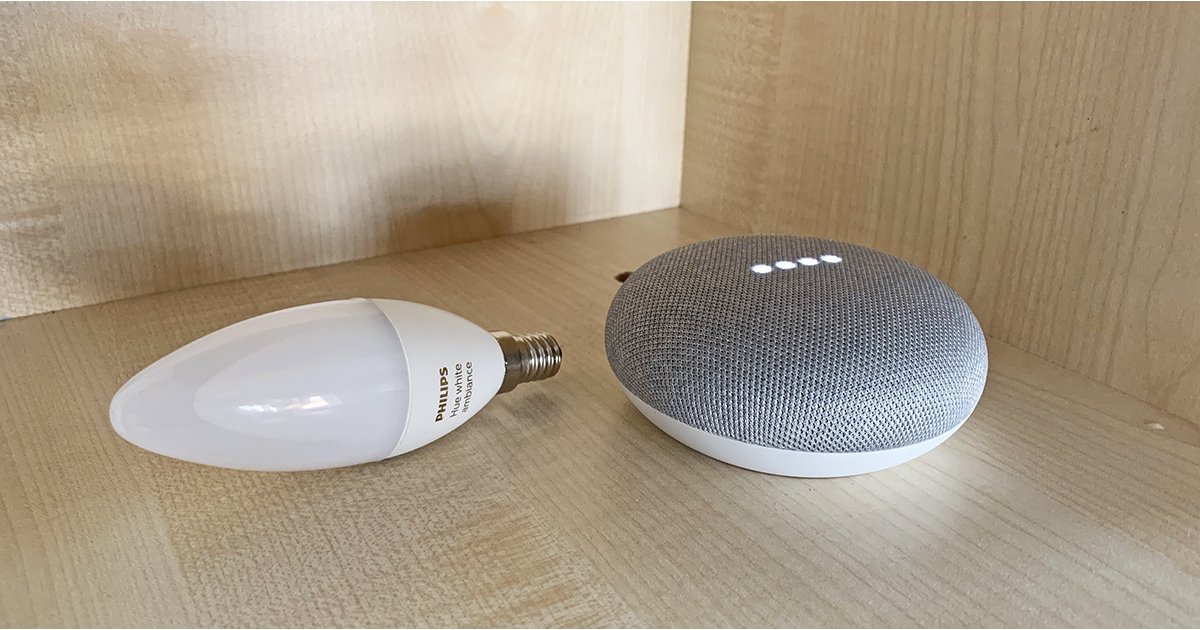
1. Smart Bulbs: Choose smart bulbs that are compatible with Google Assistant. Some popular options include Philips Hue, LIFX, and TP-Link. Make sure you have at least one smart bulb that you want to connect to your Google Home.
2. Google Home: You will need a Google Home device or a Google Nest speaker to act as the central hub and control your smart bulbs. Ensure that your Google Home is properly set up and connected to your Wi-Fi network.
3. Wi-Fi Network: A stable Wi-Fi connection is essential for your smart bulbs to function properly. Make sure your Wi-Fi network is up and running, and you have the Wi-Fi password handy for the setup process.
4. Smartphone or Tablet: You will need a smartphone or tablet with the Google Home app installed. Ensure that your device is compatible and running the latest version of the Google Home app.
5. Smart Home Integration: If you have an existing smart home setup, such as a smart hub or home automation system, ensure that it is compatible with Google Home. This will allow you to control your smart bulbs seamlessly with other connected devices.
Having these items ready will ensure a smooth and hassle-free setup process for connecting your smart bulbs to Google Home. Once you have everything prepared, you can proceed to the next steps.
Step 1: Set Up Smart Bulbs
The first step in connecting smart bulbs to Google Home is setting them up individually. Follow these steps:
1. Read the Instructions: Start by carefully reading the manufacturer’s instructions that come with your smart bulbs. Familiarize yourself with the setup process and any specific requirements or recommendations.
2. Install the Smart Bulbs: Replace your existing bulbs with the smart bulbs in the desired fixtures. Ensure that the power is switched off before making any changes. Depending on the brand, you may need to screw in or install the bulbs as per the instructions.
3. Power On the Bulbs: Once installed, turn on the power to the fixtures. The smart bulbs will usually light up or start blinking, indicating that they are ready to be connected.
4. Install the Manufacturer’s App: Most smart bulbs require a dedicated app provided by the manufacturer to complete the setup process. Download the app from the App Store or Google Play Store and install it on your smartphone or tablet.
5. Create an Account: Open the app and create an account if prompted. Enter the required information, such as your email address and password. This account will be used to manage and control your smart bulbs.
6. Follow the App Instructions: Launch the app and follow the on-screen instructions to connect the smart bulbs to your Wi-Fi network. This usually involves selecting your network and entering the Wi-Fi password. Ensure that your smartphone or tablet is connected to the same network.
7. Test the Bulbs: Once connected, use the app to verify that the smart bulbs are working correctly. Turn them on and off or adjust the brightness to ensure they respond as expected.
Once you have successfully set up your smart bulbs, you’re ready to move on to the next step: connecting them to your Wi-Fi network.
Step 2: Connect Smart Bulbs to Wi-Fi
After setting up your smart bulbs, the next step is to connect them to your Wi-Fi network. Follow these instructions:
1. Open the Manufacturer’s App: Launch the app you installed in the previous step to control your smart bulbs.
2. Access the Bulb Settings: Navigate to the settings section or look for an option to connect your bulbs to Wi-Fi. This option may be labeled differently depending on the brand and app interface.
3. Put Bulbs in Pairing Mode: Follow the app instructions to put your smart bulbs in pairing mode. This usually involves turning the bulbs on and off in a specific pattern or using the app to initiate the pairing process.
4. Connect to Wi-Fi Network: Once the bulbs are in pairing mode, the app will prompt you to select your Wi-Fi network from a list of available networks. Choose your network and enter the Wi-Fi password if required.
5. Wait for Connection: After entering your Wi-Fi credentials, the app will attempt to connect the smart bulbs to your network. This process may take a few minutes, so be patient and ensure that you have a stable Wi-Fi connection.
6. Test the Connection: Once the bulbs are successfully connected to your Wi-Fi network, use the app to test their functionality. Turn them on and off, change colors or brightness, to ensure that they respond to your commands.
7. Repeat for Multiple Bulbs: If you have multiple smart bulbs, repeat the above steps for each bulb to connect them all to your Wi-Fi network.
Once all your smart bulbs are connected to Wi-Fi, you can proceed to the next step of setting up Google Home to control them.
Step 3: Set Up Google Home
In order to connect your smart bulbs to Google Home, you’ll need to set up your Google Home device. Follow these steps:
1. Plug in Google Home: Start by plugging in your Google Home device or Google Nest speaker into a power outlet. Ensure that it is within range of your Wi-Fi network.
2. Download the Google Home App: On your smartphone or tablet, download and install the Google Home app from the App Store or Google Play Store. This app will be used to set up and control your Google Home device.
3. Open the App: Open the Google Home app and sign in with your Google account. Make sure your smartphone or tablet is connected to the same Wi-Fi network that you want to connect your Google Home device to.
4. Add Device: Tap on the “+” icon in the top left corner of the app to add a new device. Select “Set up device” and choose “Set up new devices” from the list of options.
5. Follow On-Screen Instructions: The app will guide you through the setup process. Make sure your Google Home device is powered on and connected to the same Wi-Fi network as your smartphone or tablet.
6. Connect to Google Home Device: The app will prompt you to connect your smartphone or tablet to your Google Home device. Follow the instructions to establish a connection between the two.
7. Customize Settings: Once your Google Home device is connected, you can customize its settings, such as language preferences, default music and video services, and more.
8. Test the Connection: Use the app to test the connection between your smartphone or tablet and the Google Home device. Make sure you can control the Google Home device through the app before proceeding to the next step.
Now that your Google Home device is set up, you’re ready to connect your smart bulbs to it in the next step.
Step 4: Connect Smart Bulbs to Google Home
After setting up your Google Home device, it’s time to connect your smart bulbs to it. Follow these steps:
1. Open the Google Home App: Launch the Google Home app on your smartphone or tablet.
2. Access Device Settings: Tap on the Google Home device you want to connect your smart bulbs to. This will take you to the device settings page.
3. Tap on the “+” Icon: On the device settings page, tap on the “+” icon to add new devices.
4. Select “Set Up Device”: Choose “Set Up Device” from the options presented in the app.
5. Select “Works with Google”: From the list of integration options, select “Works with Google” to connect your smart bulbs.
6. Search for the Bulb’s App: In the “Works with Google” section, search for the app that you used to set up your smart bulbs. For example, if you have Philips Hue bulbs, search for the “Philips Hue” app.
7. Link Your Account: Follow the on-screen instructions to link your smart bulb account to the Google Home app. This usually involves signing in with your account credentials for the bulb’s app.
8. Authorize Permissions: Grant the necessary permissions for the Google Home app to access and control your smart bulbs. This may include granting access to your location or other specific device permissions.
9. Sync Smart Bulbs: Once you’ve linked your smart bulb account, the Google Home app will sync with your smart bulbs. This may take a few moments, so be patient.
10. Assign Bulbs to Rooms: After syncing, you can assign each smart bulb to a specific room in your Google Home app. This will help you control them more conveniently with voice commands.
After completing these steps, your smart bulbs will be successfully connected to your Google Home device. You can now move on to the final step of controlling your smart bulbs with Google Home.
Step 5: Control Smart Bulbs with Google Home
Now that your smart bulbs are connected to Google Home, you can start controlling them using voice commands or the Google Home app. Here’s how:
1. Voice Commands: Use voice commands to control your smart bulbs by saying “Hey Google” or “OK Google” followed by your command. For example, you can say, “Hey Google, turn on the living room lights” or “OK Google, dim the bedroom lights to 50%”.
2. Room Specific Commands: Assign each smart bulb to a specific room in the Google Home app, and you can control the bulbs in that room using voice commands. For example, say, “Hey Google, turn off the lights in the kitchen”.
3. Grouping: Create groups of smart bulbs to control them simultaneously. For instance, you can create a group called “Living Room” and include all the smart bulbs in that room. Then, you can say, “Hey Google, turn on the living room lights” to control all the bulbs in that group at once.
4. Google Home App: Open the Google Home app on your smartphone or tablet to control your smart bulbs manually. From the app’s home screen, select the specific room or device to control and adjust the brightness, color, or turn them on/off as needed.
5. Schedules and Routines: Use the Google Home app to set schedules or routines for your smart bulbs. For example, you can schedule the lights to turn on automatically at sunset or create a routine that turns off all the lights when you say “Goodnight” to Google Home.
6. Away Mode: Utilize the “Away Mode” feature in the Google Home app to simulate occupancy when you’re away from home. This randomly turns your smart bulbs on and off to give the impression that someone is present in your house.
7. Control Via Other Devices: Besides voice commands and the Google Home app, you can also control your smart bulbs through other devices, such as Google Nest Hub or Chromecast-enabled televisions, using the same voice commands or app controls.
With these control options, you can easily manage and customize the lighting in your home using your smart bulbs and Google Home.
Troubleshooting Tips
While setting up and using smart bulbs with Google Home, you may encounter some issues. Here are some troubleshooting tips to help you resolve common problems:
1. Check Wi-Fi Connectivity: Ensure that both your Google Home device and smart bulbs are connected to the same Wi-Fi network. If there are any connectivity issues, try resetting your Wi-Fi router and reconnecting the devices.
2. Restart Devices: Sometimes, simply restarting your Google Home device, smart bulbs, and your smartphone or tablet can resolve connectivity issues and restore functionality.
3. Firmware Updates: Check for any available firmware updates for your smart bulbs. Updating to the latest firmware can address bugs, improve performance, and enhance compatibility with Google Home.
4. Ensure Compatibility: Double-check that your smart bulbs are compatible with Google Home. Some older or less popular smart bulb brands may not have direct integration with Google Assistant.
5. Reconfigure Bulb Settings: If the smart bulbs are not responding or not showing up in the Google Home app, try resetting them according to the manufacturer’s instructions and go through the setup process again.
6. Check Internet Connection: Make sure you have a stable internet connection. Poor connection may lead to delays or issues in controlling your smart bulbs with Google Home.
7. Voice Command Accuracy: Ensure that you are speaking clearly and using the correct voice commands when controlling your smart bulbs with Google Home. Mispronunciations or incorrect phrasing can result in commands not being recognized properly.
8. Unlink and Re-link Accounts: If you’re still facing issues, try unlinking and re-linking your smart bulb account with the Google Home app. This can refresh the connection and resolve any integration problems.
9. Contact Support: If all else fails, reach out to the customer support of your smart bulb manufacturer or the Google Home support team for further assistance and troubleshooting guidance.
By following these troubleshooting tips, you can overcome common issues and ensure a smooth and efficient experience with your smart bulbs connected to Google Home.