
What is Google Authenticator?
Google Authenticator is a free app developed by Google that adds an extra layer of security to your online accounts. It serves as a two-factor authentication (2FA) method, ensuring that only authorized individuals can access your accounts.
Unlike traditional methods that rely solely on a username and password, Google Authenticator combines something you know (your password) with something you have (your smartphone). This additional security measure greatly reduces the risk of unauthorized access and protects your sensitive information from hackers and online threats.
The app generates time-sensitive one-time passwords (OTP) for each of your accounts. These passwords are required alongside your regular login credentials when accessing your accounts from a new device or browser. Each OTP generated by Google Authenticator is unique and can only be used once, making it virtually impossible for anyone to gain access to your accounts without physical access to your smartphone.
Google Authenticator is compatible with a wide range of online platforms, including email services, social media accounts, cloud storage providers, and cryptocurrency exchanges. Whether you’re securing your personal email or protecting sensitive financial information, Google Authenticator offers a user-friendly and highly secure solution.
It’s important to note that while Google Authenticator is developed by Google, it can be used with any online service that supports two-factor authentication using time-based one-time passwords (TOTP). This means you can use the app even if you don’t have a Google account.
The app is available for both Android and iOS devices, making it accessible to a broad user base. With its ease of use and robust security features, Google Authenticator has become one of the most popular and widely used two-factor authentication apps across various industries and sectors.
Why Use Google Authenticator?
Google Authenticator offers several compelling reasons to incorporate it into your online security strategy. Here are some key benefits:
- Enhanced Security: By using two-factor authentication with Google Authenticator, you significantly bolster the security of your online accounts. It adds an extra layer of protection to ensure that even if someone guesses or steals your password, they won’t be able to access your accounts without the OTP generated by the app.
- Protection from Phishing Attacks: Phishing attacks are a common method used by hackers to trick users into revealing their login credentials. With Google Authenticator, even if you inadvertently fall victim to a phishing scam and provide your password, the attacker won’t be able to access your account without the unique OTP generated by the app.
- Universal Compatibility: Google Authenticator is widely supported by various online platforms and services, making it a versatile option for securing multiple accounts. Whether you’re using email, social media, cloud storage, or financial services, chances are that you can enable two-factor authentication using Google Authenticator.
- Convenience and Simplicity: Setting up and using Google Authenticator is straightforward and user-friendly. Once you’ve installed the app on your smartphone, linking it to your accounts is a simple process. Plus, generating OTPs is quick and easy, ensuring a hassle-free user experience.
- Offline Access: One advantage of Google Authenticator is that it works offline. The app generates OTPs based on the current time and a secret key, so even if you’re in an area with no internet connectivity, you can still generate OTPs and log in to your accounts.
- Securing Multiple Devices: In addition to smartphones, Google Authenticator also supports other devices, including tablets and smartwatches. This flexibility allows you to secure all your devices using a single app, adding an extra layer of protection across your digital ecosystem.
By leveraging the power of Google Authenticator, you can enjoy improved security, mitigate the risk of unauthorized access, and have peace of mind knowing that your online accounts are well-protected.
Download and Install Google Authenticator
To start using Google Authenticator, you’ll need to download and install the app on your smartphone. Here’s a step-by-step guide:
- Open the App Store (for iOS) or Google Play Store (for Android) on your smartphone.
- Search for “Google Authenticator” in the search bar.
- Click on the official Google Authenticator app.
- Tap the “Install” or “Get” button to begin the download and installation process.
- Once the app is installed, open it on your device.
- Before you can start using Google Authenticator, you’ll need to set it up. Follow the instructions provided in the next section specific to your device (Android, iOS, or computer).
It’s important to note that Google Authenticator is available for both Android and iOS platforms. However, the setup process may vary slightly between the two. If you have multiple devices, you can install Google Authenticator on each of them and link them to the same accounts for added convenience and security.
Downloading and installing Google Authenticator is a simple and quick process that takes just a few minutes. Once the app is installed, you’re ready to set it up and start securing your online accounts with two-factor authentication.
Set up Google Authenticator on Android
To set up Google Authenticator on your Android device, follow these steps:
- Open the Google Authenticator app on your Android device.
- Tap the plus (+) icon to add a new account.
- You have two options for adding an account:
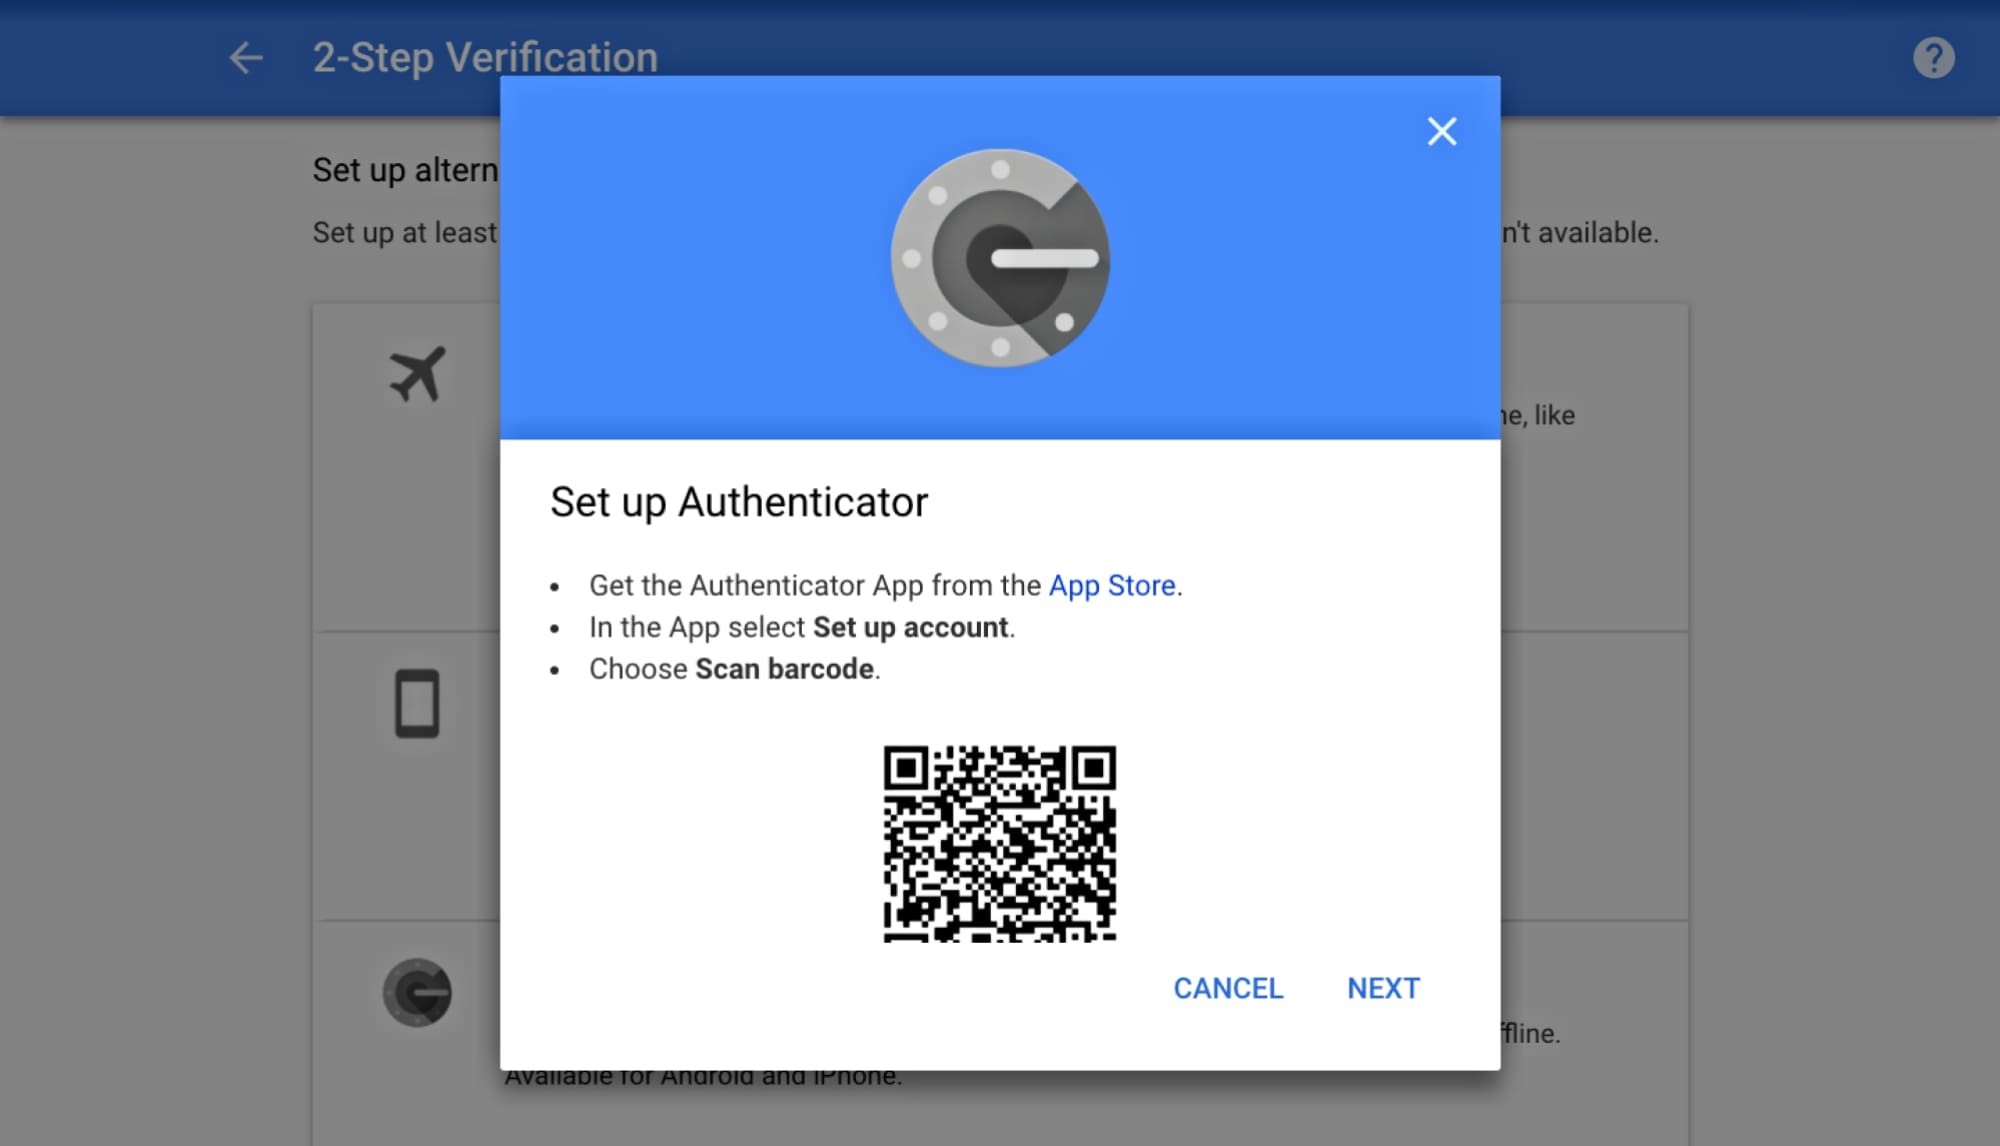
- Scan a QR code: If the service or platform you want to secure supports QR code scanning, choose this option. Point your device’s camera at the QR code displayed on the screen and let the app scan it.
- Manual entry: If the service or platform you’re adding doesn’t support QR code scanning, select this option. Enter the account name and the provided key manually. This key is typically a series of alphanumeric characters or a QR code.
- Once you’ve added the account, a six-digit verification code will be displayed.
- Go to the service or platform you’re securing and locate the two-factor authentication settings.
- Enter the verification code displayed on the Google Authenticator app into the appropriate field in the service’s settings.
- Once the code is accepted, your account is now protected by two-factor authentication using Google Authenticator.
- Repeat these steps for each account you want to secure with Google Authenticator.
It’s important to note that you should take precautions to backup your Google Authenticator codes (explained in a later section) in case you lose your device or need to switch to a new one. This ensures you can still access your accounts even if you no longer have access to your original smartphone.
Setting up Google Authenticator on Android is a simple and straightforward process. By taking a few minutes to enable two-factor authentication for your accounts, you can greatly enhance the security of your online presence.
Set up Google Authenticator on iOS
Setting up Google Authenticator on your iOS device is a straightforward process. Here’s how you can do it:
- Open the App Store on your iOS device.
- Search for “Google Authenticator” in the search bar.
- Tap on the official Google Authenticator app.
- Tap the “Get” button to download and install the app.
- Once the app is installed, open it on your iOS device.
- Tap the plus (+) icon to add a new account.
- You have two options for adding an account:
- Scan a QR code: If the service or platform you want to secure supports QR code scanning, choose this option. Point your device’s camera at the QR code displayed on the screen and let the app scan it.
- Manual entry: If the service or platform you’re adding doesn’t support QR code scanning, select this option. Enter the account name and the provided key manually. This key is typically a series of alphanumeric characters or a QR code.
- After adding the account, a six-digit verification code will be displayed.
- Go to the service or platform you’re securing and navigate to the two-factor authentication settings.
- Enter the verification code displayed on the Google Authenticator app into the appropriate field in the service’s settings.
- Once the code is accepted, your account is now protected by two-factor authentication using Google Authenticator.
- Repeat these steps for each account you want to secure with Google Authenticator.
It’s crucial to make sure you have a backup of your Google Authenticator codes (explained in a later section) in case you lose your device or switch to a new one. This ensures that you can still access your accounts even without your original iOS device.
Setting up Google Authenticator on iOS is a quick and simple process. By taking a few moments to enable two-factor authentication for your accounts, you significantly enhance the security of your online presence.
Set up Google Authenticator on a Computer
Google Authenticator is primarily designed for mobile devices, but you can still use it on your computer by following these steps:
- Open your preferred web browser on your computer.
- Search for the Google Authenticator website or navigate to https://www.google.com/landing/2step.
- Click on the “Get started” button.
- Sign in to your Google account. If you don’t have a Google account, you’ll need to create one.
- Click on the “Add Security Key” button.
- Follow the instructions to set up a security key, which can be a USB device or your smartphone.
- After setting up the security key, go back to the Google Authenticator website.
- Click on the “Add account” button.
- You’ll have two options for adding an account:
- Scan a QR code: If the service or platform you want to secure supports QR code scanning, choose this option. Use your phone’s camera to scan the QR code displayed on the computer screen.
- Manual entry: If the service or platform you’re adding doesn’t support QR code scanning, select this option. Enter the account name and the provided key manually.
- Once you’ve added the account, a six-digit verification code will be displayed on your computer.
- Go to the service or platform you’re securing and navigate to the two-factor authentication settings.
- Enter the verification code displayed on your computer into the appropriate field in the service’s settings.
- Once the code is accepted, your account is now protected by two-factor authentication using Google Authenticator.
- Repeat these steps for each account you want to secure with Google Authenticator.
Setting up Google Authenticator on a computer provides a convenient option for accessing your OTPs without relying solely on your mobile device. However, it’s crucial to note that you still need your security key (USB device or smartphone) to authenticate your accounts.
By following these steps, you can add an additional layer of security to your online accounts, even when accessing them from your computer.
Set up Two-Factor Authentication for an Account
Setting up two-factor authentication (2FA) for your accounts is a crucial step in securing your online presence. Here’s how you can enable 2FA using Google Authenticator:
- Open the account settings or security settings of the platform or service you want to enable 2FA for.
- Look for the option to enable two-factor authentication or 2FA. It may be labeled as “Security,” “Privacy,” or “Login & Security.”
- Select Google Authenticator as the 2FA method.
- Follow the on-screen instructions to set up 2FA using Google Authenticator.
- You’ll usually have two options for setting up 2FA:
- Scan a QR code: If the platform or service supports QR code scanning, use the Google Authenticator app on your mobile device to scan the QR code displayed on the screen.
- Manual entry: If the platform or service doesn’t support QR code scanning, manually enter the account name and the provided key into the Google Authenticator app.
- Once you’ve set up 2FA, the platform or service will ask you to verify your account using the verification code displayed on Google Authenticator.
- Enter the verification code into the appropriate field in the platform’s settings.
- After successful verification, your account is now protected with two-factor authentication using Google Authenticator.
- Repeat these steps for each account you want to enable 2FA for.
Enabling two-factor authentication adds an additional layer of security to your accounts, making it significantly harder for unauthorized individuals to gain access. By using Google Authenticator, you ensure that only authorized users with physical access to your smartphone can generate the required OTPs to log in.
Remember to store backup codes provided by the platform or service in a safe place. These codes can be used to access your account in case you lose your device or have trouble with Google Authenticator.
Take the time to enable two-factor authentication for all your online accounts to protect your personal information and secure your digital identity.
Troubleshooting Google Authenticator
While Google Authenticator is a reliable and widely used app, you may encounter some issues or challenges when setting up or using it. Here are some common troubleshooting steps to help you address these problems:
- Incorrect Time Settings: Google Authenticator relies on accurate time settings to generate OTPs. Make sure the time on your device is correctly set, including the date, time zone, and automatic time synchronization.
- Account Sync: If you’ve added multiple devices to Google Authenticator, ensure that the accounts are properly synced across all devices. Check that the same accounts are listed on all devices.
- Backup Codes: If you’re unable to access your Google Authenticator app on your device, make sure you have your backup codes readily available. These backup codes can bypass the need for OTPs generated by the app.
- Reinstalling the App: If you’re still experiencing issues, try uninstalling and reinstalling the Google Authenticator app. This can often resolve any temporary glitches or bugs that may be affecting its functionality.
- Generating New OTPs: If you’re unable to generate new OTPs or the codes aren’t working, you may need to re-add the account to Google Authenticator. Scan the QR code or enter the manual key again to refresh the codes for that account.
- Contact Support: If you’re encountering persistent issues or have questions about using Google Authenticator, consider reaching out to the support team of the platform or service you’re trying to secure. They may have specific instructions or troubleshooting steps tailored to their system.
Keep in mind that it’s important to regularly update your Google Authenticator app to ensure compatibility and to benefit from any bug fixes or security enhancements released by the developers.
In most cases, the troubleshooting steps mentioned above should help resolve any issues you encounter while using Google Authenticator. By being proactive and addressing any challenges promptly, you can continue to enjoy the added security and peace of mind provided by this powerful two-factor authentication app.
Backup and Recover Google Authenticator Codes
Backing up and recovering your Google Authenticator codes is essential to ensure that you can still access your accounts if you lose or replace your device. Here are some steps to help you backup and recover your Google Authenticator codes:
- Enable Account Recovery: Some platforms or services offer account recovery options in case you lose access to your Google Authenticator app. Before proceeding, check if the service you’re using offers this feature and enable it if available.
- Backup Codes: Many platforms provide backup codes that can be used as a backup authentication method. These codes are typically given during the initial setup of two-factor authentication. Make sure to save these codes in a secure location, such as a password manager or a physical backup.
- Take Screenshots: Consider taking screenshots of your QR codes or manual entry keys when you set up Google Authenticator for each account. Store these screenshots securely, as they can be used to re-add accounts to Google Authenticator in case of device loss or replacement.
- Cloud Backup: Transfer your Google Authenticator app settings to a cloud storage solution, such as Google Drive or iCloud. Some third-party apps can assist in this process. However, exercise caution when using cloud storage, as it may pose a security risk if not adequately protected.
- Recovery Codes: Some services provide recovery codes specifically for Google Authenticator. These codes can be used to recover your Google Authenticator settings on a new device. If available, make note of these codes and keep them in a safe place.
- Account Removal: If you lose your device or need to switch to a new one, you’ll need to remove your accounts from the previous Google Authenticator app. Make sure to remove the accounts using the account removal or deactivation feature provided by the app or service.
- Re-Adding Accounts: Once you have your backup, recovery, or screenshot codes and have installed Google Authenticator on your new device, re-add your accounts by scanning the saved QR codes or entering the manual entry keys. This will bring back your accounts and their associated OTPs.
It’s crucial to regularly review and update your backup methods to ensure that you can always recover your Google Authenticator codes. Remember to secure your backup methods and codes, as they represent a sensitive aspect of your account security.
With proper backup and recovery measures in place, you can confidently use Google Authenticator to secure your accounts, knowing that you can regain access even in the event of device loss or replacement.