
Enable the Emergency SOS feature
The Emergency SOS feature on your iPhone is a crucial tool that can provide quick access to emergency services in critical situations. By enabling this feature, you can rapidly contact emergency services and your designated emergency contacts with just a few taps. Here’s how you can enable the Emergency SOS feature:
To begin, open the Settings app on your iPhone and scroll down to find the “Emergency SOS” option. Tap on it to proceed.
On the next screen, you will see the “Call with Side Button” option. This allows you to make an emergency call by pressing the side button on your iPhone multiple times quickly. Ensure that this option is turned on.
Beneath the “Call with Side Button” option, you will find the “Auto Call” feature. When enabled, this feature automatically initiates a call to emergency services when the Emergency SOS feature is activated. Toggle the switch to the on position if you want this functionality.
Additionally, if you have an iPhone X or later model, you can activate Emergency SOS by holding the side button and one of the volume buttons simultaneously. This option can also be toggled on or off in the Emergency SOS settings.
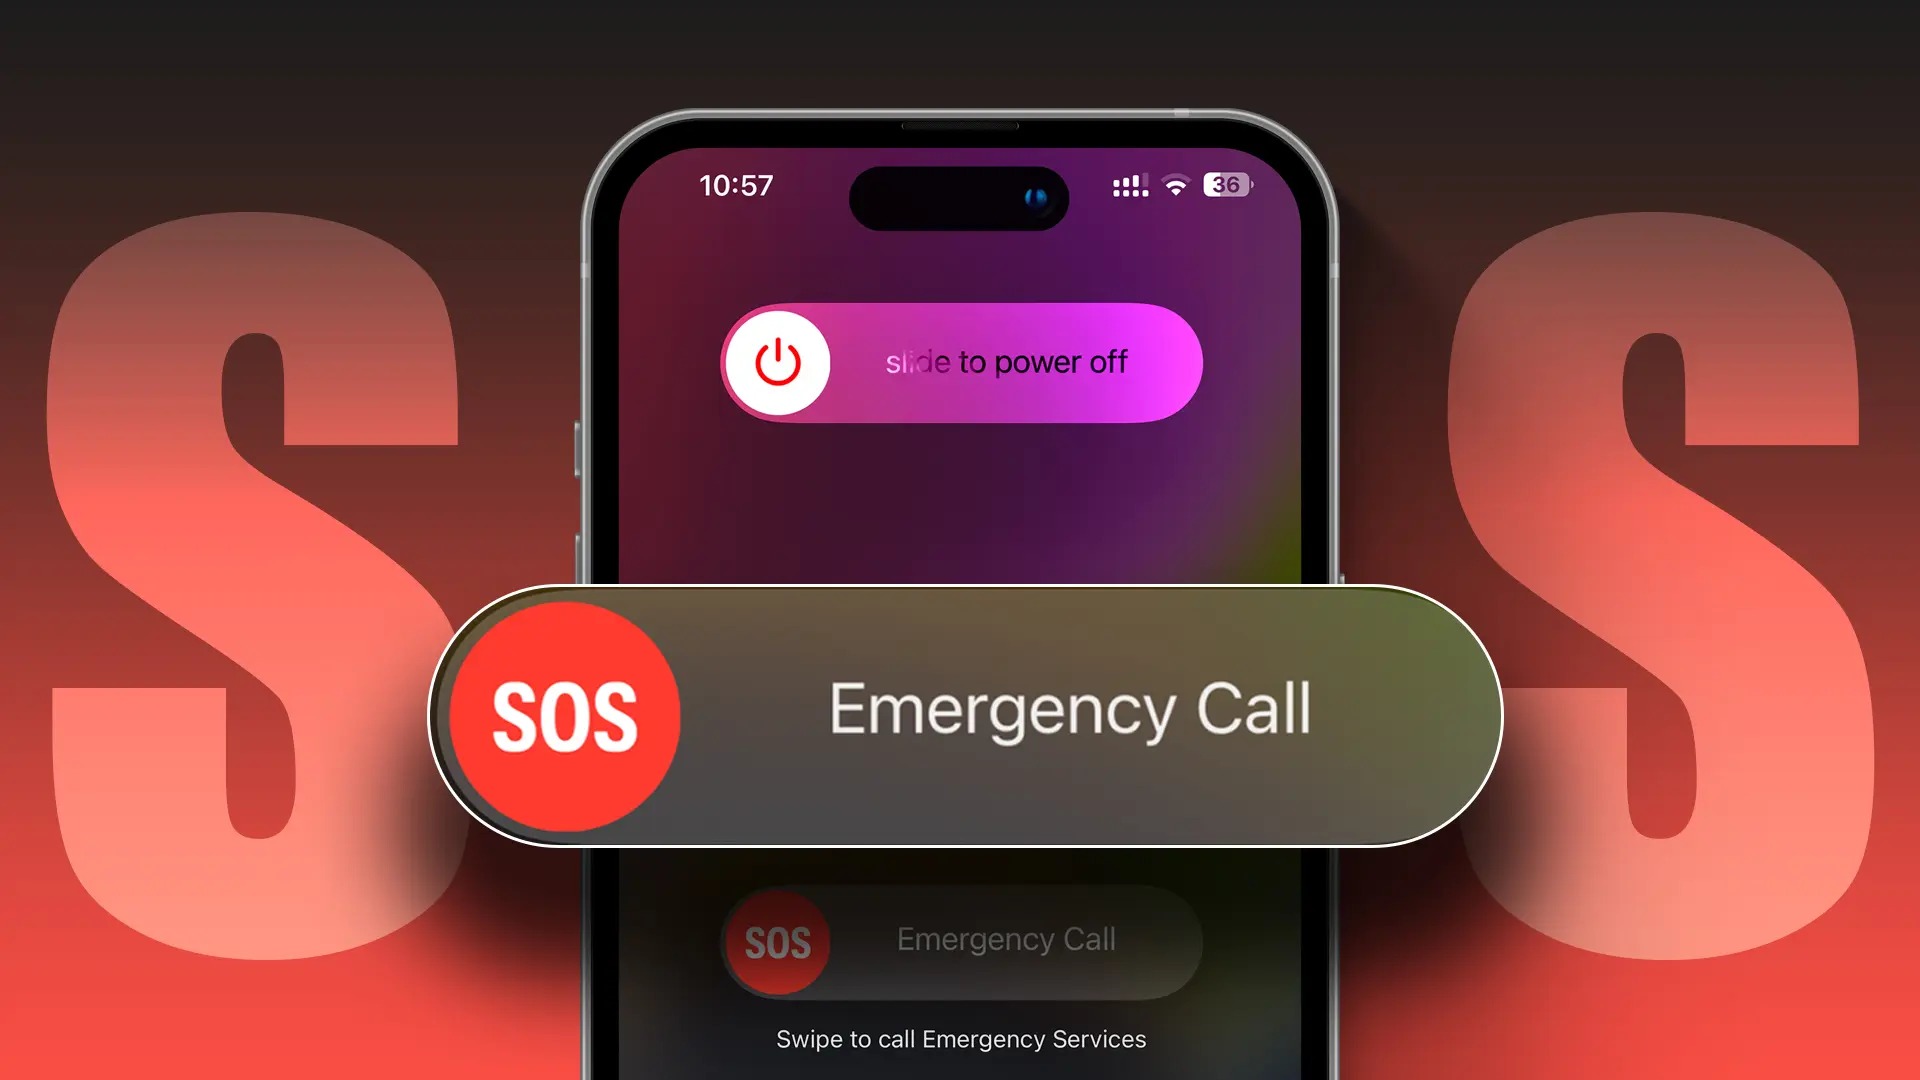
Once enabled, the Emergency SOS feature will be accessible by pressing the side button multiple times or holding the side and volume buttons, depending on your iPhone model. A slider will appear, allowing you to quickly call emergency services or access your Medical ID.
It’s essential to learn and understand how to use the Emergency SOS feature on your iPhone, as it can be a lifeline in emergencies. Take the time to familiarize yourself with the activation methods and practice using it, ensuring that you’re well-prepared to utilize this feature if the need arises.
Add emergency contacts to your Medical ID
In addition to enabling the Emergency SOS feature, you can further enhance your iPhone’s emergency capabilities by adding emergency contacts to your Medical ID. This information can be accessed by medical professionals or emergency responders even if your phone is locked. Here’s how you can add emergency contacts to your Medical ID:
First, open the Health app on your iPhone. If you can’t find it, you can swipe right on your home screen and use the search bar at the top to locate it.
Once you’re in the Health app, tap on the “Medical ID” tab located at the bottom right corner of the screen.
In the Medical ID section, tap on “Edit” in the top right corner.
Scroll down until you find the “Emergency Contacts” section. Tap on the green “+” button to add a contact.
You will then have the option to select a contact from your existing contacts list. Choose the appropriate contact and select their relationship to you (e.g., spouse, parent, sibling).
If the contact you want to designate as an emergency contact isn’t in your contacts list, tap on “Add Emergency Contact” and fill in their details manually.
Repeat the process if you have multiple emergency contacts that you want to add to your Medical ID.
Before you exit the Medical ID editing screen, ensure that the “Show When Locked” option is enabled. This allows emergency responders to access your Medical ID, including your emergency contacts, even if your iPhone is locked.
Once you’ve added your emergency contacts and made the necessary adjustments, tap on “Done” to save your changes.
Remember to keep your emergency contacts updated, especially if there are any changes to their contact information. Regularly reviewing and updating your Medical ID ensures that your emergency contacts can be reached promptly when necessary.
Set up the Emergency Contacts feature on your iPhone
In addition to adding emergency contacts to your Medical ID, you can also set up the Emergency Contacts feature on your iPhone. This feature allows you to quickly contact your designated emergency contacts in times of need. Follow the steps below to set up the Emergency Contacts feature on your iPhone:
Open the Settings app on your iPhone and scroll down to find the “Emergency SOS” option. Tap on it to access the Emergency SOS settings.
On the Emergency SOS settings screen, you will find the section titled “Emergency Contacts.” Tap on it to proceed.
In this section, you will see a list of your existing emergency contacts. To add a new one, tap on the “Add Contact” button.
You will then have the option to select a contact from your existing contacts list. Choose the appropriate contact and select their relationship to you.
If the contact you want to designate as an emergency contact isn’t in your contacts list, tap on “Add New Contact” and fill in their details manually.
Repeat the process if you have multiple emergency contacts that you want to add.
Once you’ve added your emergency contacts, tap on “Done” to save your changes.
Now, when you activate the Emergency SOS feature by pressing the side button multiple times, a slider will appear with the option to call emergency services. Below the emergency call option, you will see the option to share your location with your emergency contacts.
If you want to enable the option to share your location with your emergency contacts, toggle the switch next to “Share My Location” to the on position. This way, your emergency contacts will be able to see your location when you activate the Emergency SOS feature.
Keep in mind that you should inform your emergency contacts about their designation and ensure they are comfortable with being included in your emergency contacts list.
By setting up the Emergency Contacts feature on your iPhone, you can quickly reach out to your designated contacts in emergency situations, providing you with an added sense of security and peace of mind.
Customize the SOS settings for emergency contacts
Customizing the SOS settings for your emergency contacts allows you to tailor how they receive notifications and access to your location when the Emergency SOS feature is activated. Follow the steps below to customize the SOS settings for your emergency contacts:
Start by opening the Settings app on your iPhone and navigate to the “Emergency SOS” section.
In the Emergency SOS settings, you will find the “Call with Side Button” option. This setting determines whether the emergency call is automatically made when you press the side button multiple times. Toggle the switch to the desired position based on your preference.
Beneath the “Call with Side Button” option, you will see the list of emergency contacts you have added. Tap on the contact for which you want to customize the settings.
In the contact details screen, you will find various options that you can customize for that particular emergency contact:
- You can choose whether to enable the “Share My Location” option for that contact. This allows the contact to access your location when the Emergency SOS feature is activated.
- You can select the “Call Emergency Number” option to determine if the contact should automatically make a call to the emergency services number in your country.
- There is also an option to enable “Send SOS Location” which will send a message with your current location to the emergency contact.
- You can even set a custom vibration pattern for their incoming SOS notifications.
Make the desired changes for each emergency contact individually, based on your preferences and their specific needs.
Remember to tap on “Done” to save your changes for each contact before moving on to the next one.
By customizing the SOS settings for your emergency contacts, you can ensure that they receive the necessary information and assistance when the Emergency SOS feature is activated. This allows for a personalized and efficient response in emergency situations.
Test the Emergency Contacts feature on your iPhone
After setting up the Emergency Contacts feature on your iPhone, it’s essential to test it to ensure that it functions correctly. Performing a test can give you peace of mind knowing that your emergency contacts will receive the necessary notifications and information in case of an emergency. Here’s how you can test the Emergency Contacts feature on your iPhone:
To begin, make sure you are in a safe and non-emergency situation before proceeding with the test.
First, activate the Emergency SOS feature by quickly pressing the side button multiple times or using the designated method for your iPhone model.
When the Emergency SOS slider appears on the screen, slide it to the right to initiate the emergency call.
The emergency call will connect to the designated emergency services number based on your location. Inform the operator that it is a test and not an actual emergency.
Once you have confirmed that the emergency call went through successfully, wait for a few moments to ensure that the test message, including your location, is sent to your emergency contacts.
If you have enabled the “Share My Location” option, your emergency contacts should receive the message with your location. Ask your contacts to confirm that they have received the test message.
It is essential to communicate with your emergency contacts regarding the test, so they are aware that it is not a real emergency and can respond accordingly.
If there are any issues during the test, such as your contacts not receiving the notifications or location message, double-check your settings and ensure that the Emergency SOS feature is enabled correctly.
Consider performing the test periodically to ensure that the Emergency Contacts feature continues to function properly and that your emergency contacts are readily accessible.
Remember, testing the Emergency Contacts feature is crucial for your peace of mind and your contacts’ preparedness. It ensures that everyone involved understands how the feature works and can respond effectively in case of a real emergency.
Update your emergency contacts as needed
As time goes on, circumstances may change, and it might become necessary to update your emergency contacts on your iPhone. It’s crucial to keep this information up to date so that the right people can be reached during an emergency. Here’s what you need to do to update your emergency contacts:
Open the Settings app on your iPhone and navigate to the “Emergency SOS” section.
Within the Emergency SOS settings, tap on the “Edit Emergency Contacts” option.
You will see a list of your current emergency contacts. To update an existing contact, tap on their name.
Make the necessary changes to the contact information. You can edit their phone number, name, and relationship to you.
If you need to remove a contact, simply swipe left on their name and tap the “Delete” button.
To add a new emergency contact, tap on the “Add Contact” button at the bottom of the emergency contacts list.
You can choose a contact from your existing contacts list or add a new contact manually by selecting the “Add New Contact” option.
Fill in the contact’s information, including their name, phone number, and relationship to you.
Once you have made the necessary changes or additions, tap on “Done” to save your updated emergency contacts.
Remember to inform your emergency contacts about the changes or additions you have made, especially if they are new contacts. Ensuring they are aware of their designation as emergency contacts and have the correct information is vital.
Regularly reviewing and updating your emergency contacts is crucial, especially if there are changes in phone numbers, relationships, or individuals who are no longer available to serve as emergency contacts. By taking the time to keep this information current, you can ensure that the appropriate people are contacted when needed.
Allow emergency contacts access to your location
Granting your emergency contacts access to your location can provide them with valuable information during an emergency. It allows them to track your whereabouts and assist emergency responders in quickly finding and assisting you. Here’s how to allow emergency contacts access to your location:
Start by opening the Settings app on your iPhone and navigating to the “Privacy” section.
Within the Privacy settings, tap on “Location Services.”
Scroll down and locate the “Share My Location” option. Tap on it to proceed.
If the “Share My Location” option is not already enabled, toggle the switch to the on position.
Next, tap on “Emergency Contacts” located below the “Share My Location” toggle switch.
On the Emergency Contacts screen, you will see a list of your designated emergency contacts. Ensure that the toggle switch next to each contact is enabled.
Enabling the toggle switch for a contact allows them to access your location in case of an emergency.
By default, your emergency contacts have access to your location for 24 hours when the Emergency SOS feature is activated. If you want to extend this duration, you can tap on the contact and choose an option such as “1 hour” or “Until End of Day.”
Once you have confirmed that the toggle switches are enabled for the necessary emergency contacts and set the preferred duration, tap on “Done” to save your changes.
It’s important to communicate with your emergency contacts and inform them that you have granted them access to your location. This ensures that they are aware of their responsibilities and the information they can access during an emergency.
Remember, by allowing emergency contacts access to your location, you increase the efficiency of emergency response and provide valuable assistance to both your contacts and emergency responders.
Use the Emergency Contacts feature on a locked iPhone
The Emergency Contacts feature on your iPhone can be accessed even when your device is locked, allowing you to quickly reach out to your designated emergency contacts in times of need. Here’s how you can use the Emergency Contacts feature on a locked iPhone:
On the lock screen of your iPhone, locate and tap on the “Emergency” button found at the bottom left corner of the screen. This will bring up the Emergency SOS keypad.
On the Emergency SOS keypad, you will see the “Emergency” button at the bottom left corner and the “Cancel” button at the bottom right corner. Tap on the “Emergency” button to proceed.
Next, you will see an option labeled “Medical ID” at the bottom left corner of the screen. Tap on it to access your Medical ID information, including your emergency contacts.
In the Medical ID section, you will find a list of your emergency contacts along with their contact numbers and relationship to you. To call one of the emergency contacts, simply tap on their name or contact number.
If you have enabled the “Share My Location” option, your emergency contacts will also have the ability to access your location by tapping on “Get Directions” next to your name in the Medical ID section.
Remember that for this feature to work, you need to have set up your emergency contacts in advance and enabled the “Show When Locked” option for your Medical ID.
Using the Emergency Contacts feature on a locked iPhone allows you to quickly reach out to your designated emergency contacts without the need to unlock your device. This can be especially useful in urgent situations where time is of the essence.
However, it’s important to note that while the Emergency Contacts feature is accessible on a locked iPhone, it does not provide access to the rest of your device’s functionalities or personal information.
Regularly review and update your emergency contacts to ensure that the correct individuals are listed and that their contact information is up to date. This ensures that you can rely on the Emergency Contacts feature to swiftly connect with the right people during emergencies.