
Checking for Errors on a Hard Drive
Regularly scanning your hard drive for errors is crucial to maintain its performance and data integrity. Over time, your hard drive can accumulate corrupt files, bad sectors, and other issues that can affect its functionality. By identifying and fixing these errors early on, you can prevent further damage and improve your hard drive’s reliability.
There are several reasons why it is important to periodically check for errors on your hard drive. Firstly, errors can cause data loss or corruption. If your hard drive develops bad sectors or encounters corrupt files, it can lead to data errors and potentially render important files unreadable. By running regular error checks, you can detect and repair these issues, ensuring the safety of your data.
Secondly, hard drive errors can impact your computer’s performance. When errors accumulate, your hard drive needs to work harder to access and process data, resulting in slower performance and longer load times. By identifying and resolving errors during a scan, you can optimize your hard drive’s performance, allowing your computer to run more efficiently.
Fortunately, Windows provides a built-in error checking tool called “Error Checking” that allows you to scan your hard drive for errors. This tool thoroughly examines your hard drive for issues and provides options for fixing them.
In the following sections, we will guide you through the process of using the Error Checking tool to scan and fix errors on your hard drive. We will explain the steps involved, the options available, and how to interpret the results of the scan. By the end of this guide, you will have the knowledge and confidence to effectively scan your hard drive for errors and ensure its optimal performance.
Why is it Important to Scan a Hard Drive for Errors?
Regularly scanning your hard drive for errors is a crucial maintenance task that should not be overlooked. A hard drive is where all your important files, documents, and software are stored, making it essential to ensure its health and reliability. Here are a few reasons why scanning a hard drive for errors is of utmost importance:
1. Data Integrity: Maintaining the integrity of your data is vital. Hard drive errors, such as bad sectors or corrupt files, can lead to data loss or data corruption. By scanning your hard drive, you can identify and resolve these errors, safeguarding your valuable data and preventing potential disasters.
2. Performance Optimization: Hard drive errors can significantly impact your computer’s performance. When your hard drive encounters errors, it takes extra time and effort to read and process data. This can result in slower system performance, longer boot times, and delayed file access. Regularly scanning and fixing errors can enhance your hard drive’s performance, making your computer run faster and more efficiently.
3. Early Detection of Issues: By regularly scanning your hard drive, you can detect and address issues at an early stage. Hard drives tend to develop problems over time, such as bad sectors or file system errors. Identifying these issues early on allows you to take necessary action, preventing the problems from worsening and potentially causing irreversible damage.
4. Prevention of Future Errors: Scanning your hard drive not only helps identify existing errors but also aids in preventing future errors. Regular maintenance and error checking can help identify underlying issues, allowing you to take proactive steps to prevent future errors and maintain the overall health of your hard drive.
5. Peace of Mind: Knowing that your hard drive is error-free provides peace of mind. It helps build confidence in the stability and reliability of your computer system. You can work on your projects, store important files, and carry out tasks without the constant worry of potential data loss or system crashes.
By regularly scanning your hard drive for errors, you can ensure the safety and longevity of your data, optimize your computer’s performance, and proactively address any issues that may arise. The next section will guide you through the process of using the built-in Error Checking tool in Windows to scan your hard drive for errors and fix them effectively.
Getting Started with ‘Error Checking’
Before you begin scanning your hard drive for errors using the Error Checking tool in Windows, it’s important to understand the process and gather the necessary information. This section will guide you through the initial steps of getting started with ‘Error Checking’.
1. Determine the Drive to Scan: Identify the specific hard drive you want to scan for errors. This could be your main system drive (usually labeled as the C: drive) or any additional hard drives or external storage devices connected to your computer. Knowing which drive to scan will ensure that you target the correct location for error detection.
2. Backup Your Data: Before scanning your hard drive for errors, it’s always a good practice to back up your important data. While the Error Checking tool is designed to fix errors without causing data loss, there is always a small risk involved. Creating a backup will give you peace of mind, knowing that your files are safely stored in case of any unforeseen issues.
3. Close All Applications: Close all open applications and make sure no files are actively being accessed from the drive you intend to scan. Running the error check on a drive that is in use can lead to incomplete scans and inaccurate results. Closing applications will ensure that the scan runs smoothly and provides accurate information about the health of your hard drive.
4. Take Note of Available Disk Space: Error checking requires a certain amount of free disk space to perform its tasks effectively. Make sure you have enough free space on the drive you want to scan to allow the process to complete successfully. If your drive is running low on space, consider freeing up some space by deleting unnecessary files or transferring them to an alternate storage location.
5. Run Error Checking as an Administrator: To access and utilize all the features of the Error Checking tool, it’s recommended to run the scan as an administrator. Running the tool with administrative privileges ensures that it can perform the necessary tasks and make the required changes to your hard drive if errors are found during the scan.
By following these preliminary steps, you will be well-prepared to initiate the error checking process on your hard drive. In the next section, we will provide a step-by-step guide on how to use the Error Checking tool in Windows to scan and fix errors on your hard drive effectively.
Using the Error Checking Tool in Windows
The Error Checking tool in Windows is a built-in utility that helps you scan and fix errors on your hard drive. It provides a straightforward approach to identify and resolve various issues that may be affecting your hard drive’s performance. This section will walk you through the process of using the Error Checking tool in Windows.
Step 1: Open File Explorer: Begin by opening File Explorer. You can do this by pressing the Windows key and E simultaneously or by clicking on the File Explorer icon on your taskbar.
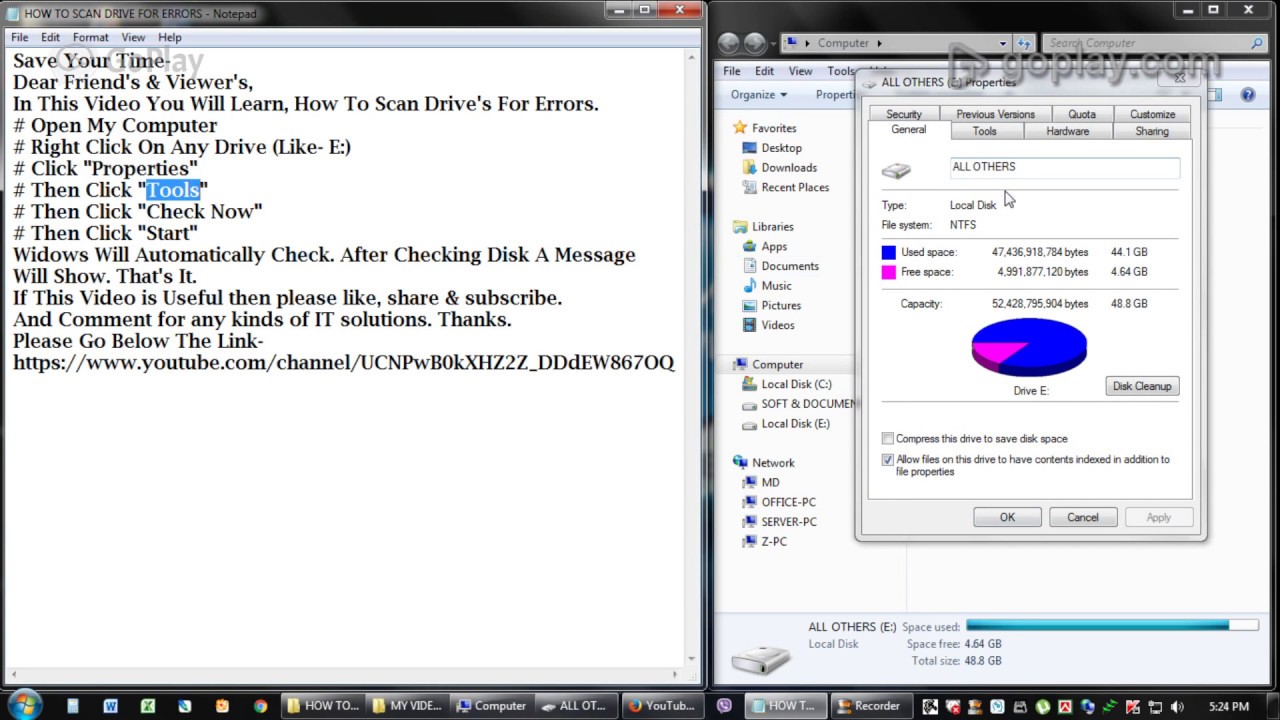
Step 2: Select the Drive to Scan: In the File Explorer window, locate the drive you want to scan for errors. Right-click on the drive and select “Properties” from the context menu.
Step 3: Access the Error Checking Tool: In the Properties window, navigate to the “Tools” tab. Under the “Error checking” section, click on the “Check” button.
Step 4: Initiate the Error Check: A new dialog box will appear, asking whether you want to scan the drive for errors. Click on the “Scan drive” option to initiate the error checking process.
Step 5: Wait for the Scan to Complete: The Error Checking tool will start scanning the selected drive for errors. The scan may take some time, depending on the size and health of the drive. During the process, Windows will attempt to fix any errors found automatically.
Step 6: View Scan Results: Once the scan is complete, a notification will appear, indicating whether any errors were found and fixed. To view a detailed report of the scan results, click on the “Show Details” link.
Step 7: Restart Your Computer (If Required): If the Error Checking tool was unable to fix all the errors while the drive was in use, it may prompt you to schedule a disk check during the next system restart. In such cases, follow the on-screen instructions and restart your computer to allow the tool to fix the remaining errors.
By following these steps, you can effectively use the built-in Error Checking tool in Windows to scan and fix errors on your hard drive. In the next section, we will delve into the different options available during the error checking process, allowing you to customize the scan according to your requirements.
Step-by-Step Guide to Scanning a Hard Drive for Errors
Scanning your hard drive for errors is a crucial maintenance task that ensures the stability and longevity of your system. This step-by-step guide will walk you through the process of scanning a hard drive for errors using the Error Checking tool in Windows.
Step 1: Open File Explorer: Begin by opening File Explorer. You can do this by pressing the Windows key and E simultaneously or by clicking on the File Explorer icon on your taskbar.
Step 2: Select the Drive to Scan: In the File Explorer window, locate the drive you want to scan for errors. Right-click on the drive and select “Properties” from the context menu.
Step 3: Access the Error Checking Tool: In the Properties window, navigate to the “Tools” tab. Under the “Error checking” section, click on the “Check” button.
Step 4: Choose Error Checking Options: In the Error Checking dialog box, you have the option to customize the scan according to your requirements. Check or uncheck the boxes as per your preference:
- Automatically fix file system errors: This option enables Windows to fix any file system errors it detects during the scan.
- Scan for and attempt recovery of bad sectors: By checking this box, the Error Checking tool will scan for and attempt to recover any bad sectors on the hard drive. This process may take considerably longer to complete.
Step 5: Initiate the Error Check: After selecting the desired options, click on the “Start” button to begin the error checking process.
Step 6: Wait for the Scan to Complete: The Error Checking tool will start scanning the selected drive for errors. The duration of the scan depends on the size and health of the drive. During the scan, Windows will attempt to fix any errors found automatically.
Step 7: Review the Scan Results: Once the scan is complete, a notification will appear, indicating whether any errors were found and fixed. To get a more detailed report of the scan results, click on the “Show Details” link.
Step 8: Restart Your Computer (If Required): If the Error Checking tool was unable to fix all the errors while the drive was in use, it may prompt you to schedule a disk check during the next system restart. Follow the on-screen instructions and restart your computer to allow the tool to fix the remaining errors.
By following these step-by-step instructions, you can effectively scan your hard drive for errors using the Error Checking tool in Windows. It is recommended to perform this scan periodically to maintain the health and performance of your hard drive.
Understanding the Error Checking Options
When using the Error Checking tool in Windows to scan your hard drive for errors, you have the option to customize the scan by selecting specific error checking options. Understanding these options will allow you to tailor the scan according to your specific needs. Here, we will explore the different error checking options available:
- Automatically fix file system errors: Checking this box instructs Windows to automatically fix any file system errors it detects during the scan. File system errors can occur due to power outages, improper shutdowns, or other system issues. Enabling this option ensures that the Error Checking tool will attempt to resolve these errors, ensuring the integrity of your file system.
- Scan for and attempt recovery of bad sectors: Bad sectors are areas on a hard drive that can no longer be reliably used for data storage. These sectors may develop due to physical damage or aging of the hard drive. Checking this box instructs the Error Checking tool to scan for and attempt to recover data from any bad sectors it detects. This process can be time-consuming, but it is crucial for preventing data loss and ensuring the continued functionality of your hard drive.
It’s essential to note that while enabling both options is recommended for a thorough scan, it can significantly increase the time required to complete the error checking process. The duration depends on the size of the hard drive and the presence of any errors. Therefore, for routine scans, you may choose to enable both options, but for a quick check, you may opt to enable only the “Automatically fix file system errors” option.
Additionally, the Error Checking tool also provides an option to schedule the scan to run during the next system restart (if it cannot be run immediately). This option allows the tool to perform the scan before Windows fully loads, ensuring maximum efficiency in detecting and fixing errors.
By understanding and selecting the appropriate error checking options, you can customize the scan according to your needs. This flexibility empowers you to choose between a quick scan and a more comprehensive scan, allowing you to maintain the health and performance of your hard drive.
Interpreting the Error Checking Results
After running the Error Checking tool in Windows to scan your hard drive for errors, you will receive results indicating whether any issues were detected and fixed. Understanding and interpreting these results is important in determining the health and performance of your hard drive. Here, we will guide you through interpreting the error checking results:
No Errors Found: If the error checking results indicate that no errors were found on your hard drive, it means that the scan did not detect any issues. This is a positive outcome, indicating that your hard drive is in good health and running smoothly.
Errors Found and Fixed: If the error checking results indicate that errors were found and fixed, it means that the scan detected issues on your hard drive and successfully resolved them. This is a favorable outcome, as it ensures that any problems were addressed, and the performance and integrity of your hard drive have been restored.
Errors Found but Not Fixed: If the error checking results indicate that errors were found but were not fixed, it means that the scan detected issues on your hard drive but was unable to resolve them while the drive was in use. In this case, Windows will prompt you to schedule a disk check during the next system restart to fix the remaining errors. Follow the on-screen instructions and restart your computer as advised.
Error Checking Cannot Continue: If the error checking process encounters any errors that prevent it from completing successfully, the results may indicate that the error checking cannot continue. This can occur due to various reasons, such as bad sectors that are preventing access to certain parts of the drive. In such cases, it is recommended to consult a professional or seek support from the manufacturer to address the issue.
It’s important to note that even when errors are found and fixed, regular maintenance and periodic error checking are still necessary. Hard drives can develop new issues over time, and regular scans help catch and resolve them before they escalate into more significant problems.
By understanding and interpreting the error checking results, you can assess the overall health and stability of your hard drive. If you encountered any errors during the scan, it is advisable to monitor your hard drive’s performance and consider taking proactive measures to prevent future issues.
Fixing Errors Found during the Scan
When running the Error Checking tool on your hard drive, it may detect errors that require further action to be resolved. It’s important to address these errors promptly to ensure the health and stability of your drive. This section will guide you through the process of fixing errors found during the scan:
1. Restart Your Computer: If the Error Checking tool was unable to fix all the errors while the drive was in use, it may prompt you to schedule a disk check during the next system restart. Follow the on-screen instructions and restart your computer. Windows will perform the required fixes during the startup process.
2. Run a Disk Cleanup: After the error checking process, it’s a good practice to run a disk cleanup to remove unnecessary files and optimize your hard drive. This can be done by using the built-in Disk Cleanup tool in Windows. Simply search for “Disk Cleanup” in the Start menu, select the drive you want to clean, and follow the on-screen prompts to remove unnecessary files.
3. Perform a System Restore: If the errors detected by the Error Checking tool have caused significant issues or changes to your system, you may need to perform a system restore to a previous point in time when your computer was functioning correctly. This can be done through the System Restore feature in Windows. Access it by searching for “System Restore” in the Start menu and follow the prompts to roll back your system to a stable state.
4. Seek Professional Help: If you encounter errors during the error checking process that persist or seem to have a more severe impact on your system, it’s advisable to seek professional assistance. Consult a knowledgeable technician or contact the manufacturer’s support for further guidance and assistance in resolving the issues.
It’s important to note that not all errors detected during the scan require immediate action. Some errors may be minor or have minimal impact on your system. However, it’s generally recommended to address any errors found to prevent potential complications in the future.
By following these steps and taking appropriate measures to fix errors found during the scan, you can ensure the continued health and stability of your hard drive. Regular error checking and maintenance are crucial for maintaining the performance and integrity of your system.
Tips to Optimize a Hard Drive’s Performance
Optimizing the performance of your hard drive is essential for maintaining a smooth and efficient computing experience. Here are some tips to help you maximize the performance of your hard drive:
1. Regularly Defragment Your Hard Drive: Over time, files on your hard drive can become fragmented, meaning they are scattered across different sectors. This can slow down file access speeds. Use the built-in Windows Defragment and Optimize Drives tool or a third-party defragmentation utility to defragment your hard drive and reorganize files for faster access.
2. Free Up Disk Space: A full hard drive can hamper performance. Delete unnecessary files, uninstall unused programs, and transfer large files to an external storage device to free up disk space. This will not only improve performance but also prevent future clutter and fragmentation.
3. Enable TRIM for Solid-State Drives (SSDs): If you have an SSD, ensure that TRIM is enabled. TRIM helps maintain the performance and lifespan of an SSD by allowing the drive to more efficiently manage and clean up unused data blocks.
4. Keep Your Operating System and Drivers Updated: Regularly updating your operating system and drivers ensures that you have the latest bug fixes, patches, and performance enhancements. These updates often include optimizations specifically designed to improve hard drive performance.
5. Disable Unnecessary Startup Programs: Many programs launch automatically when you start your computer, causing increased startup times and unnecessary resource usage. Disable or remove startup programs that you don’t need to improve boot times and system responsiveness.
6. Scan for Malware Regularly: Malware can significantly impact hard drive performance. Use a reliable antivirus program to regularly scan your system for any malicious software and remove it promptly to optimize your hard drive’s performance.
7. Avoid Fillling Your Hard Drive to Capacity: Leaving some free space on your hard drive helps maintain optimal performance. Avoid filling it to capacity, as it can slow down disk read/write speeds. Keep at least 10-20% of your hard drive space free to ensure smooth operation.
8. Use High-Quality Cables: If you have an external hard drive, ensure you’re using high-quality cables. Faulty or low-quality cables can result in slower data transfer speeds and decreased performance.
9. Consider Upgrading Your Hard Drive: If your hard drive is old or experiencing consistent performance issues, consider upgrading to a newer, faster hard drive or even a solid-state drive (SSD). The improved speed and reliability can provide a significant performance boost for your system.
By implementing these tips and best practices, you can optimize the performance of your hard drive, ensuring smoother operations, faster access to files, and an overall improved computing experience.