
What is the Samsung Bixby Button?
The Samsung Bixby button is a dedicated hardware button found on certain Samsung smartphones, including the Galaxy S, Note, and A series. It is positioned on the side of the device, within easy reach of the user’s thumb. As the name suggests, the Bixby button is specifically designed to activate Samsung’s virtual assistant, Bixby.
Bixby is an AI-powered assistant developed by Samsung to provide users with a range of helpful features and functions. It allows users to perform tasks, answer questions, and control various aspects of their Samsung devices using voice commands. Bixby can search the internet, set reminders, send messages, make phone calls, and even control other compatible smart home devices.
Since its introduction, the Bixby button has been a subject of debate. While some users find it convenient and enjoy the ease of accessing Bixby with a dedicated button, others find it unnecessary and wish to repurpose it for other functions.
If you fall into the latter category and would like to unlock the full potential of your Samsung device by reprogramming the Bixby button, you’re in luck. Samsung allows users to remap the Bixby button, giving you the freedom to assign it a different function or launch a different app of your choice.
Why Reprogram the Samsung Bixby Button?
There are several reasons why you might want to reprogram the Samsung Bixby button on your device:
- Personalization: By reprogramming the Bixby button, you can personalize your device to better suit your needs and preferences. Instead of launching Bixby, you can assign the button to perform a function or open an app that you use more frequently.
- Efficiency: Reprogramming the Bixby button can make your device more efficient and streamline your mobile experience. Instead of navigating through multiple screens or menus to perform a specific action, you can use the reprogrammed button for quick access to the function or app you need.
- Avoiding accidental triggers: Some users find that they accidentally trigger Bixby by pressing the Bixby button unintentionally. Reprogramming the button allows you to assign a different function or app, preventing accidental activations of Bixby.
- Preference for other virtual assistant: If you prefer using a different virtual assistant, such as Google Assistant or Amazon Alexa, you can reprogram the Bixby button to launch your preferred assistant with a single press. This way, you can access the virtual assistant that best meets your needs.
- Custom shortcuts: Reprogramming the Bixby button enables you to create custom shortcuts to your favorite features or frequently used apps. You can assign actions like taking a screenshot, toggling a system setting, or opening a specific app directly from the Bixby button.
By reprogramming the Samsung Bixby button, you can unlock new possibilities and make your device work even better for you. It’s a simple and effective way to enhance your smartphone experience and tailor it to your specific requirements.
Step 1: Update Bixby and Galaxy Apps
Before you start reprogramming the Samsung Bixby button, it’s important to ensure that Bixby and Galaxy Apps are up to date on your device. Here’s how you can do it:
- Open Bixby: Press the Bixby button on your device or swipe right from the home screen to open Bixby.
- Tap the three-dot menu: Look for the three-dot menu icon in the top right corner of the Bixby screen and tap on it.
- Select “Settings”: From the dropdown menu, select “Settings” to access the Bixby settings.
- Check for updates: Within the Bixby settings, scroll down and tap on “About Bixby” or “Software Updates” to check for the latest updates for Bixby and its related apps. If an update is available, follow the on-screen prompts to download and install it.
- Update Galaxy Apps: Once the Bixby updates are completed, go back to the home screen and open the Galaxy Apps store. Look for the three-dot menu icon, usually located in the top right corner, and tap on it. From the menu, select “My apps & games” or a similar option that allows you to view your installed apps.
- Check for updates in Galaxy Apps: Within the “My apps & games” section, tap on the “Update” tab to see if any updates are available for your installed apps, including the Bixby-related apps. If there are updates, tap on the update button next to each app to install the latest version.
By ensuring that Bixby and Galaxy Apps are up to date, you minimize the risk of compatibility issues and ensure that you have the latest features and bug fixes on your device. It’s an essential first step before proceeding to reprogram the Samsung Bixby button.
Step 2: Download and Install a Bixby Button Remapper
After updating Bixby and Galaxy Apps, the next step is to download and install a Bixby button remapper from the Google Play Store. Here’s how you can do it:
- Open the Google Play Store: On your Samsung device, find the Google Play Store app and tap on it to open it.
- Search for a Bixby Button Remapper: In the search bar at the top of the Google Play Store, type in “Bixby Button Remapper” and press Enter. You’ll see a list of apps that are designed to remap the Bixby button.
- Select a Remapper App: Review the list of remapper apps and choose one that has good ratings and positive reviews. Some popular options include “Bixbi Button Remapper” and “Bixby Button Reassignment.”
- Tap on the App: Once you’ve chosen an app, tap on it to open the app’s page in the Google Play Store.
- Install the App: On the app’s page, tap on the “Install” button to download and install the Bixby button remapper app on your device. Follow the on-screen prompts to complete the installation process.
- Grant Permissions (if necessary): After the installation is complete, open the remapper app. It might require certain permissions, such as accessibility or notification access, to function properly. Follow the on-screen instructions to grant the necessary permissions as per the app’s requirements.
Downloading and installing a Bixby button remapper app is crucial as it will provide you with the tools needed to customize the functionality of the Bixby button on your Samsung device. Once the remapper app is installed, you can move on to the next step of reprogramming the Bixby button.
Step 3: Open the Bixby Button Remapper App
Now that you have installed a Bixby button remapper app on your device, it’s time to open the app and get started with the button reprogramming process. Follow these steps:
- Locate the Remapper App: Go to your app drawer or home screen and find the Bixby button remapper app that you installed in the previous step. It is usually represented by an icon that signifies customization or remapping.
- Launch the App: Tap on the icon of the remapper app to open it. It may take a moment to load, depending on your device’s performance.
- Read the Instructions: Once the app is open, take a moment to read any instructions or on-screen explanations provided by the app developer. Familiarize yourself with the app’s interface and the options available for customizing the Bixby button.
- Grant Necessary Permissions: Some remapper apps may require additional permissions to function properly. These can include accessibility or notification access. If prompted to grant any permissions, follow the on-screen instructions to provide the necessary access.
- Explore the App Settings: Depending on the remapper app you have chosen, you may find various settings and options to customize the Bixby button’s behavior. These can include assigning a single press, double press, or long press action, choosing from a range of predefined functions or apps, or even creating custom commands.
Opening the Bixby button remapper app is an important step as it allows you to access the necessary tools and features to customize the functionality of the Bixby button. Take your time to explore the app’s settings and familiarize yourself with the available options before proceeding to the next step of assigning the desired function to the Bixby button.
Step 4: Customize the Bixby Button Function
Now that you have opened the Bixby button remapper app, you can begin customizing the function of the Bixby button on your Samsung device. Follow these steps to personalize the button according to your preferences:
- Select the Bixby Button: Within the remapper app, locate the option to customize the Bixby button. It may be labeled as “Bixby Button,” “Bixby Remap,” or something similar. Tap on this option to proceed.
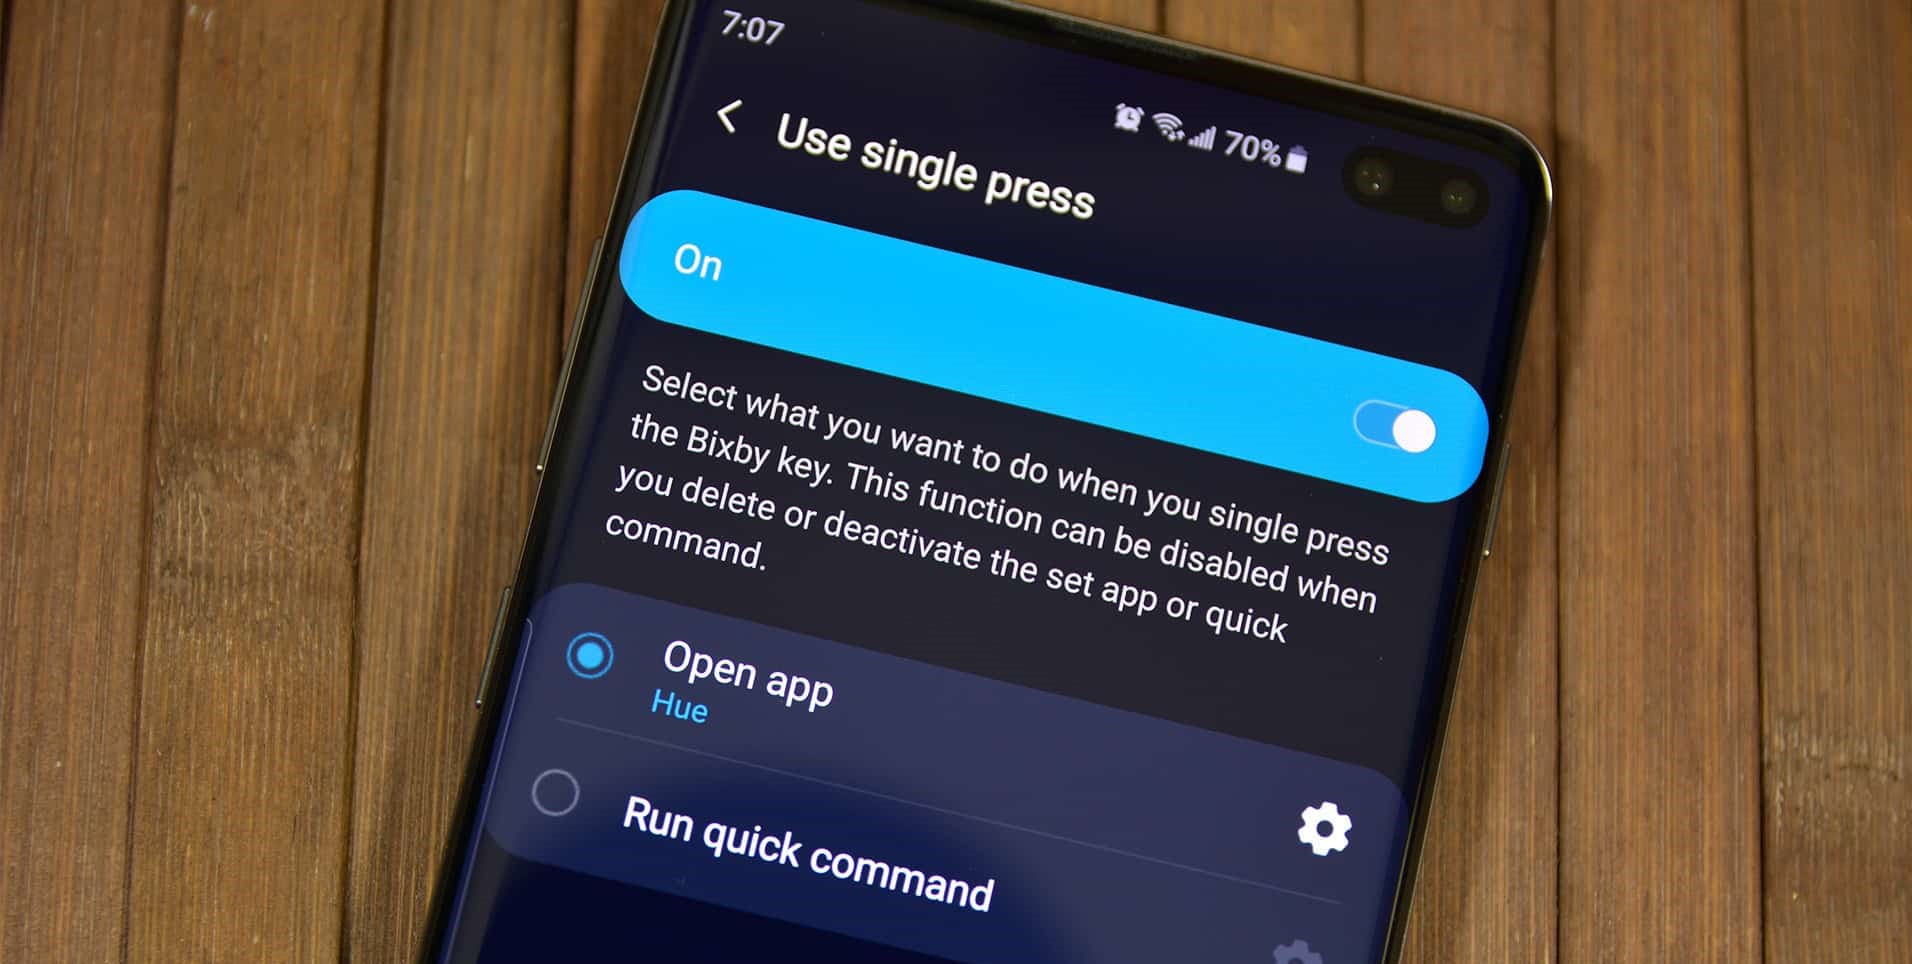
- Choose the Press Type: Depending on the remapper app you are using, you may have the option to assign different functions to various press types of the Bixby button, such as single press, double press, or long press. Select the press type that you want to customize.
- Assign a Function or App: Once you have selected the press type, you can choose the desired function or app to assign to the Bixby button. This could be launching a specific app, performing a system action, opening a shortcut, or executing a custom command. Explore the options provided by the remapper app and select the one that suits your preference.
- Configure Additional Settings: Some remapper apps offer additional settings to fine-tune the behavior of the Bixby button. This can include setting delays, adjusting sensitivity, or enabling advanced features. Take the time to explore these settings and customize them according to your needs.
- Save and Apply the Changes: Once you have personalized the function of the Bixby button, look for a “Save” or “Apply” button within the remapper app. Tap on it to save your changes and apply them to the Bixby button on your device.
Customizing the Bixby button function allows you to tailor your Samsung device to your specific needs and preferences. Take advantage of the features provided by the remapper app to assign functions or apps that you frequently use, making your smartphone experience more efficient and convenient.
Step 5: Test the Reprogrammed Bixby Button
After customizing the function of the Bixby button, it’s essential to test the changes you made to ensure that the button now performs the desired action or launches the assigned app. Here’s how you can test the reprogrammed Bixby button:
- Exit the Remapper App: Once you have saved the changes in the remapper app, exit or minimize the app to return to your device’s home screen or the app you were previously using.
- Locate the Bixby Button: Locate the Bixby button on the side of your Samsung device. Depending on the model, it is usually positioned below the volume keys or on the opposite side of the power button.
- Press the Bixby Button: Press the Bixby button according to the customized function you assigned. Whether it’s a single press, double press, or long press, perform the action on the button to activate the assigned function or launch the assigned app.
- Observe the Result: Pay attention to what happens when you press the reprogrammed Bixby button. Does it perform the action you intended? Does it open the desired app? Make sure that the button now behaves as you expect it to.
- Repeat and Test Different Press Types: If you have assigned different functions to different press types, such as single press, double press, or long press, test each of them to ensure they work as intended. Verify that each press type correctly triggers the assigned action or app.
Testing the reprogrammed Bixby button is crucial to ensure that your customization has been successfully implemented. By verifying the functionality and responsiveness of the button, you can confirm that it now operates according to your preferences, enhancing your overall user experience.
Troubleshooting Tips for Bixby Button Remapping
While reprogramming the Bixby button can be a straightforward process, you may encounter some challenges along the way. Here are some troubleshooting tips that can help you overcome common issues:
- Check App Compatibility: Ensure that the remapper app you are using is compatible with your specific Samsung device model and operating system version. Some apps may not work on certain devices or require specific software versions.
- Restart Your Device: If you are experiencing any unexpected behavior with the reprogrammed Bixby button, try restarting your device. This can help resolve minor software glitches and restore normal functionality.
- Reinstall the Remapper App: If the remapper app is not working correctly or crashing frequently, try uninstalling and reinstalling it from the Google Play Store. This can help resolve any potential issues with the app installation.
- Clear App Cache and Data: If the remapper app is not responding or behaving erratically, you can try clearing its cache and data. Go to the device settings, locate the app in the app list, and select “Clear Cache” and “Clear Data.”
- Update the Remapper App: Keep your Bixby button remapper app up to date by checking for updates in the Google Play Store. App updates often include bug fixes and performance improvements that can resolve any issues you may be facing.
- Reset Bixby Button Settings: If you want to restore the Bixby button to its default functionality, you can usually find a “Reset” or “Restore” option within the remapper app settings. This will undo any changes you made and revert the button back to launching Bixby.
If you are still encountering issues with the Bixby button remapping process, consider reaching out to the app developer’s support team or seeking assistance from online forums and communities. They can provide specific troubleshooting steps or suggest alternative remapper apps that might better suit your device or needs.
Restoring the Bixby Button to its Default Function
If you decide that you no longer want to use a custom function or app for the Bixby button and prefer to restore its default functionality, you can easily do so. Here’s how to revert the Bixby button back to its default function:
- Open the Bixby Button Remapper App: Locate and open the Bixby button remapper app that you used to customize the button’s function.
- Access the Settings: Look for a settings menu or an option that allows you to manage the Bixby button’s customization within the remapper app. It may be labeled as “Settings,” “Configure,” or something similar.
- Find the Reset or Restore Option: Within the settings menu, search for an option that enables you to reset or restore the Bixby button to its default function. This option is specifically designed to undo any changes you made to the button’s behavior.
- Select Reset or Restore: Once you find the reset or restore option, tap on it to initiate the process. The app will confirm your decision and inform you that the Bixby button will be restored to its original functionality.
- Confirm the Reset: A confirmation prompt will appear on the screen to ensure that you want to proceed with resetting the Bixby button. Confirm your choice by tapping “OK” or “Reset” to complete the process.
After performing these steps, the Bixby button will no longer be customized, and it will revert to its default function of launching the Bixby virtual assistant. You can now use the button as intended by Samsung.
Keep in mind that the steps for restoring the Bixby button to its default function may vary depending on the remapper app you used. If you encounter any difficulties or can’t find the reset or restore option, refer to the app’s documentation or reach out to the app developer’s support team for assistance.