
Why do you want to remove new tab shortcuts?
When you open a new tab in Google Chrome, you may have noticed that it displays a set of shortcuts to frequently visited sites. While this feature can be convenient for some users, others may find it overwhelming or unnecessary. There are a few reasons why you might want to remove these new tab shortcuts:
1.1 Reduce Clutter: The new tab page can quickly become cluttered with shortcuts, especially if you frequently visit different websites. This can make it difficult to find the site you want to visit or create a distracting visual experience.
1.2 Enhance Privacy: The shortcuts on your new tab page can reveal your browsing habits to anyone who has access to your computer. If you share your device with others or are concerned about your online privacy, removing the shortcuts can help protect your browsing history.
1.3 Customize the Experience: Some users prefer a minimalistic new tab page or have other tools and extensions that provide similar functionality. Removing the shortcuts allows you to create a personalized browsing experience that aligns with your preferences.
1.4 Streamline Productivity: If you use specific bookmarking or tab management tools, the new tab shortcuts may duplicate features that you already have in place. Removing them can help streamline your workflow and prevent redundancy.
Overall, removing the new tab shortcuts in Google Chrome can help create a cleaner, more private, and personalized browsing experience. Whether you want to reduce visual clutter, enhance privacy, customize your browsing, or streamline productivity, you have the flexibility to remove these shortcuts and tailor Chrome to your specific needs.
How to remove a single shortcut
If you want to remove a specific shortcut from the new tab page in Google Chrome, follow these simple steps:
2.1 Open a new tab: Launch Google Chrome and open a new tab by clicking on the “+” button located at the top of the browser window or by pressing Ctrl+T (Windows) or Command+T (Mac).
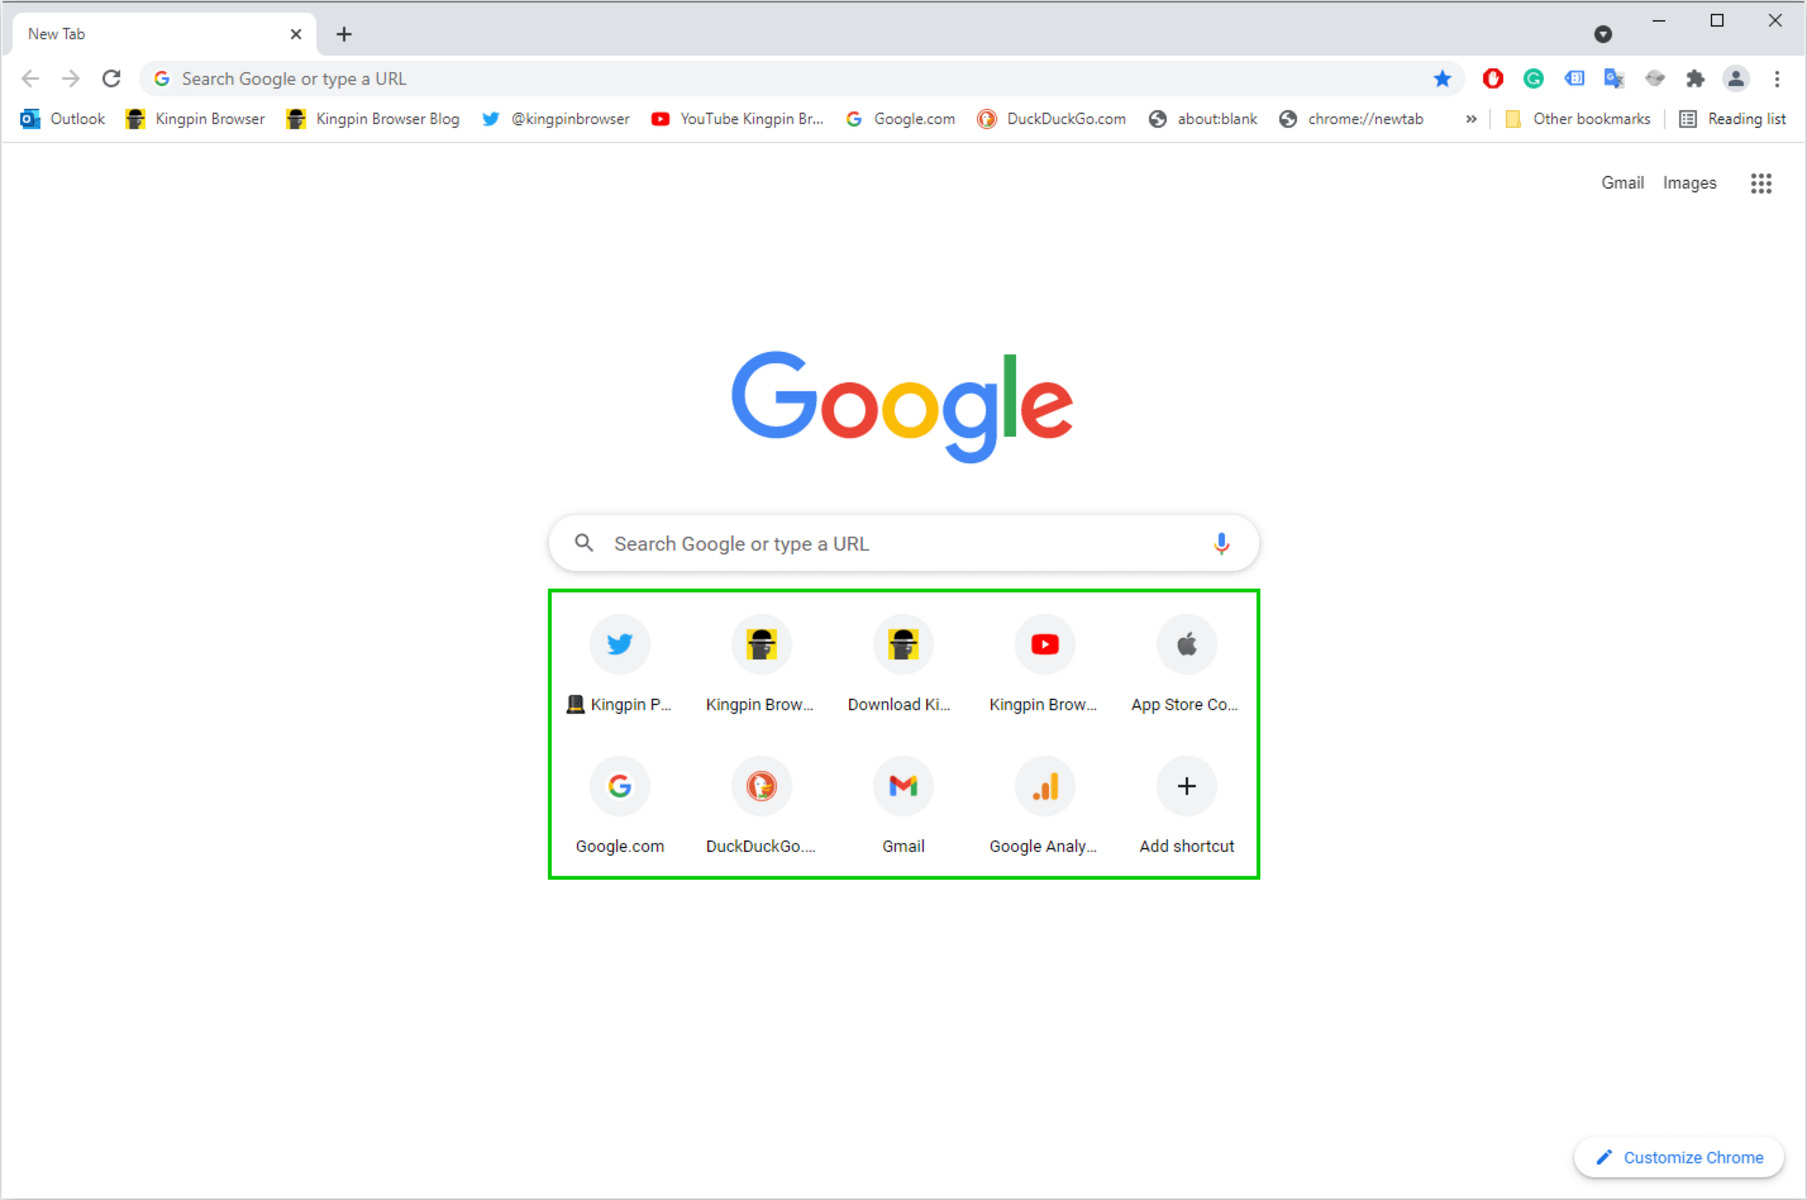
2.2 Locate the shortcut: Look for the shortcut that you want to remove. The shortcuts are represented by icons along with the website name.
2.3 Right-click the shortcut: Once you have identified the shortcut you wish to remove, right-click on it. This will open a context menu with various options.
2.4 Select “Remove”: From the context menu, click on the “Remove” option. This will remove the selected shortcut from the new tab page.
2.5 Verify the removal: After clicking on “Remove,” the shortcut will disappear from the new tab page. You can confirm that the shortcut has been successfully removed by refreshing the page or opening a new tab.
2.6 Repeat if necessary: If you want to remove additional shortcuts, simply follow the same process for each one. Right-click on the shortcut, select “Remove,” and verify its removal.
By following these steps, you can easily remove individual shortcuts from the new tab page in Google Chrome. This allows you to curate the shortcuts to your preferred websites and create a more personalized browsing experience.
How to remove all shortcuts at once
If you want to remove all the shortcuts from the new tab page in Google Chrome, there are a couple of methods you can use. Follow these steps:
3.1 Open the new tab customization menu: Open a new tab by clicking on the “+” button or pressing Ctrl+T (Windows) or Command+T (Mac). In the top-right corner of the new tab page, you’ll see a “Customize” button. Click on it to access the customization menu.
3.2 Remove shortcuts manually: In the customization menu, you’ll see all the shortcuts displayed. To remove each shortcut individually, simply hover over the shortcut and click on the “X” button that appears in the top-right corner. Repeat this process for all the shortcuts you want to remove.
3.3 Clear the entire page: If you want to remove all the shortcuts at once, open the customization menu and look for the “Customize this page” link at the bottom-left corner. Click on it, and you will be presented with a blank new tab page, free of any shortcuts.
3.4 Save the changes: Once you have removed the shortcuts to your satisfaction, click on the “Done” button in the top-right corner of the customization menu to save your changes.
3.5 Verify the removal: After saving the changes, refresh the new tab page or open a new tab to confirm that all the shortcuts have been successfully removed.
By following these steps, you can remove all the shortcuts from the new tab page in Google Chrome, giving you a clean and minimalistic browsing experience. Remember that you can always customize the page again in the future to add or remove specific shortcuts as per your preference.
How to add custom shortcuts
Google Chrome allows you to add custom shortcuts to the new tab page, making it easy to access your favorite websites or web applications. Follow these steps to add custom shortcuts:
4.1 Open the customization menu: Open a new tab in Google Chrome by clicking on the “+” button or pressing Ctrl+T (Windows) or Command+T (Mac). In the top-right corner of the new tab page, click on the “Customize” button.
4.2 Access the shortcuts section: In the customization menu, scroll down until you find the section labeled “Shortcuts.” This section contains the existing shortcuts on the new tab page.
4.3 Click on “Add shortcut”: To add a custom shortcut, click on the “Add shortcut” button located at the bottom of the shortcuts section.
4.4 Enter the website URL and name: A dialog box will appear, prompting you to enter the URL and name for the custom shortcut. Enter the full URL of the website you want to add, along with a name that will be displayed on the new tab page.
4.5 Save the custom shortcut: After entering the URL and name, click on the “Save” button to add the custom shortcut to the new tab page.
4.6 Verify the addition: Refresh the new tab page or open a new tab to see the newly added custom shortcut. It will appear alongside the existing shortcuts.
4.7 Repeat for additional custom shortcuts: If you want to add more custom shortcuts, simply follow the same process for each one.
By following these steps, you can easily add custom shortcuts to the new tab page in Google Chrome. This allows you to quickly access your favorite websites and applications with just a click, enhancing your browsing efficiency and convenience.
How to restore default shortcuts
If you have customized your new tab page in Google Chrome by adding or removing shortcuts and want to revert to the default settings, you can easily restore the default shortcuts. Here’s how:
5.1 Open the customization menu: Open a new tab in Google Chrome by clicking on the “+” button or pressing Ctrl+T (Windows) or Command+T (Mac). In the top-right corner of the new tab page, click on the “Customize” button.
5.2 Access the shortcuts section: In the customization menu, scroll down until you find the section labeled “Shortcuts.” This section contains the existing shortcuts on the new tab page.
5.3 Click on “Restore default shortcuts”: At the bottom-right corner of the shortcuts section, you’ll find a link that says “Restore defaults.” Click on this link to restore the default shortcuts on the new tab page.
5.4 Confirm the restoration: A confirmation dialog box will appear to verify if you want to restore the default shortcuts. Click on “Restore,” and the changes will take effect immediately.
5.5 Verify the restoration: Refresh the new tab page or open a new tab to see the default shortcuts restored. The new tab page will display the default set of shortcuts provided by Google Chrome.
By following these steps, you can easily restore the default shortcuts on the new tab page in Google Chrome. This can be helpful if you want to reset your new tab page to its original state or if you accidentally removed important default shortcuts and want them back.