
Gather the necessary tools
Before you can remove the hard drive from your desktop computer, it’s important to gather all the necessary tools. Having the right tools will make the process easier and help prevent any damage to the computer or the hard drive. Here are the tools you will need:
1. Screwdriver: Most desktop computers use standard Phillips head screws to secure the computer case. Check the size of the screws on your computer and make sure you have the appropriate screwdriver.
2. Anti-static wrist strap: This is an optional but highly recommended tool. An anti-static wrist strap helps to prevent static electricity from damaging sensitive components inside the computer.
3. Cable ties or twist ties: These are used to organize and secure cables during the removal process. Having cable ties will help to keep the cables out of the way and prevent them from getting tangled.
4. Cleaning cloth: It’s a good idea to have a cleaning cloth handy to wipe away any dust or debris that may have accumulated inside the computer case.
5. Portable storage device: If you need to save any data or files from the hard drive before removing it, it’s advisable to have a portable storage device, such as an external hard drive or USB flash drive, to transfer the data.
By having these tools ready before you begin, you can ensure a smooth and efficient process when removing the hard drive from your desktop computer. Remember to exercise caution and take your time to avoid any accidental damage. Now that you have gathered the necessary tools, you are ready to move on to the next step of the process: shutting down the computer and unplugging it from the power source.
Shut down the computer and unplug it from the power source
Before you start working on removing the hard drive from your desktop computer, it is crucial to shut down the system properly and ensure that it is disconnected from the power source. This step will help prevent any electrical shocks or damage during the removal process. Follow these simple instructions to shut down and unplug your computer:
1. Save and close all your open files and applications. Make sure you have saved and backed up any important data before proceeding.
2. Click on the “Start” button (in the bottom-left corner of the screen for Windows users) and select the “Shut Down” or “Power” option. Choose “Shut Down” from the drop-down menu. Allow the computer a few moments to complete the shutdown process.
3. Once your computer has shut down completely, locate the power cord at the back of the computer tower. Firmly grasp the plug and gently pull it out from the power outlet. Make sure that no cables are inadvertently pulled out, as this could cause damage or data loss.
4. After disconnecting the power cord, it is recommended to press the power button on the front of the computer tower once to discharge any remaining power in the system. This step is an added precaution to ensure that there is no residual electricity that could potentially harm you or the computer components.
By following these instructions, you have successfully shut down your computer and disconnected it from the power source. This step is essential before moving forward with the hard drive removal process. It’s important to note that safety should always be a top priority when working with electronic devices. Now that your computer is powered off and unplugged, you can proceed to the next step: removing the computer case.
Remove the computer case
Now that your computer is shut down and unplugged, it’s time to remove the computer case. The case is the outer shell that protects the internal components of the computer. Follow these steps to remove the computer case safely:
1. Place your computer on a stable and clean surface. Make sure you have enough space to work comfortably around the computer.
2. Take a look at the case and identify the screws holding it together. In most cases, you will find screws on the back or side panel of the case. Use a screwdriver with the appropriate size and type (usually Phillips head) to remove these screws. Set the screws aside in a safe place, as you will need them later to reassemble the computer.
3. Once you have removed all the screws, gently slide the side panel of the case away from the main body. Some cases may require you to lift or press a latch to release the panel. Take your time to avoid any unnecessary force that could damage the case or other components inside.
4. With the side panel removed, you now have access to the internal components of the computer. Take a moment to familiarize yourself with the layout and locate the hard drive. The hard drive is a rectangular-shaped device generally situated at the front or side of the case. It may be mounted vertically or horizontally, depending on the computer model.
By removing the computer case, you have gained access to the internal components, including the hard drive. In the next step, we will focus specifically on locating and removing the hard drive from the desktop computer. Remember to handle the computer case with care and keep the screws in a secure place for later reassembly.
Locate the hard drive
Now that the computer case is removed, it’s time to locate the hard drive inside your desktop computer. The hard drive is the storage device where all your data, files, and operating system are stored. Here’s how you can easily locate the hard drive:
1. Take a look inside the computer case and identify the different components. The hard drive can usually be found towards the front or side of the case, attached to mounting brackets or bays.
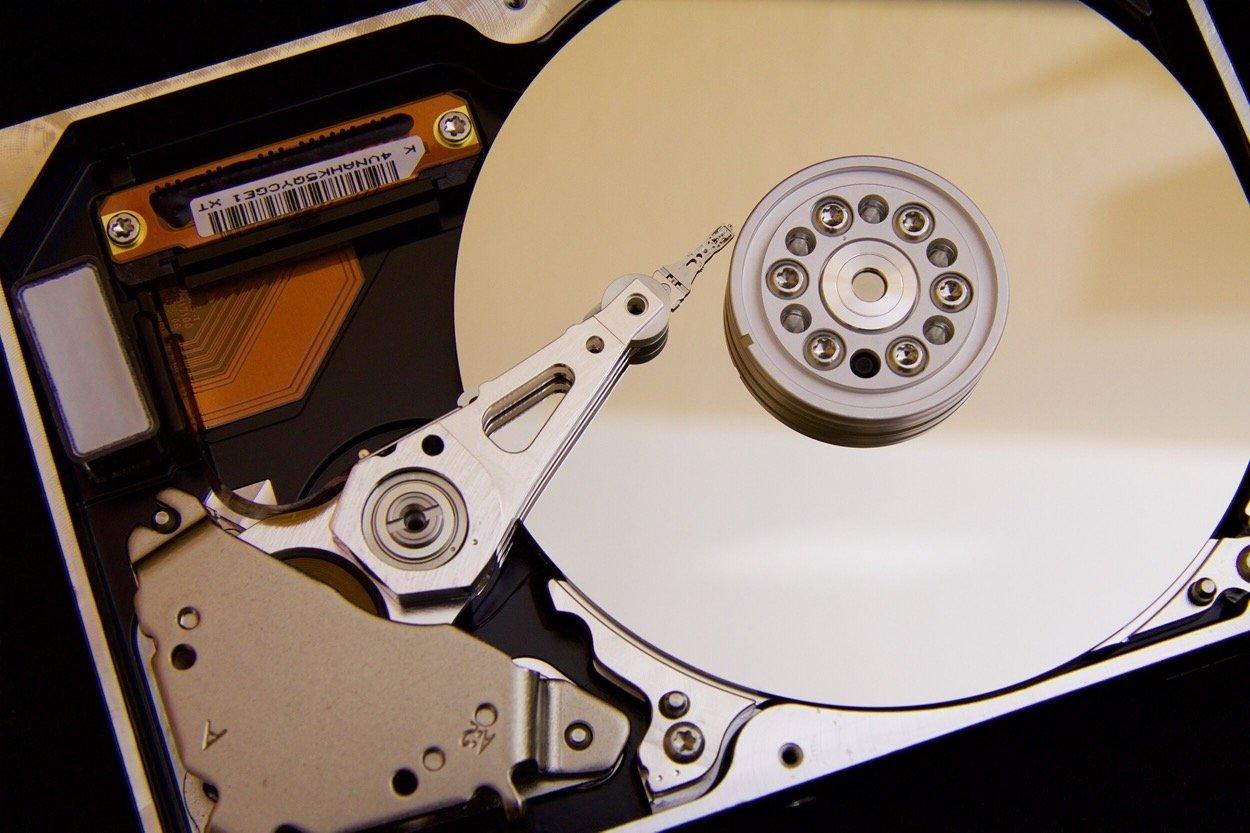
2. Look for a rectangular-shaped device with a circuit board on one side and a metal casing covering the other side. This is the hard drive. It may be labeled with manufacturer logos or stickers indicating its capacity and specifications.
3. Depending on the computer model and configuration, you may have multiple hard drives or other storage devices. Take note of which one is the target hard drive that you want to remove.
4. If you have trouble locating the hard drive, you can refer to the computer’s user manual or search for online resources specific to your computer model. Additionally, a quick internet search with the model name and “hard drive location” can provide you with useful visual guides or tutorials.
By following these steps, you should be able to locate the hard drive inside your desktop computer. Take your time to ensure that you’ve correctly identified the target hard drive for removal. Once you’ve located the hard drive, you’re ready to move on to the next step: disconnecting the power and data cables.
Disconnect the power and data cables
Now that you have located the hard drive inside your desktop computer, it’s time to disconnect the power and data cables attached to it. These cables provide the necessary connections for the hard drive to communicate with the motherboard and receive power. Follow these steps to disconnect the cables:
1. Identify the power cable connected to the hard drive. This cable typically has a wide, rectangular connector with multiple pins. Gently grasp the connector and pull it straight out from the hard drive. Avoid tugging on the cables or pulling at an angle to prevent damage to the connectors.
2. Locate the data cable connected to the hard drive. This cable is usually a flat ribbon-like cable or a thin, narrow cable with a smaller connector. There may be a latch or clip securing the cable to the hard drive. Release the latch or gently squeeze the clip to loosen the connection. Once loosened, carefully pull the data cable out of the hard drive.
3. If your hard drive has multiple data cables connected to it, note down which cables are connected and their respective positions. This information will be useful when reconnecting the cables later, ensuring proper data transfer and functionality.
4. Take a moment to inspect the connectors and cables for any signs of damage or loose connections. If you notice any issues, such as bent pins or frayed cables, you may need to replace the cables before proceeding. It’s important to ensure a secure and reliable connection for the hard drive.
By following these steps, you have successfully disconnected the power and data cables from the hard drive. Take care to handle the cables and connectors gently to avoid any damage. In the next step, we will focus on removing any screws securing the hard drive in place.
Remove any screws securing the hard drive
With the power and data cables disconnected from the hard drive, it’s time to remove any screws that are securing the hard drive in place. These screws are used to secure the hard drive to the mounting brackets or bays inside the computer case. Follow these steps to remove the screws:
1. Take a close look at the area surrounding the hard drive and locate the screws holding it in place. The number of screws may vary depending on the computer model and mounting configuration. Commonly, you will find screws on the sides or bottom of the hard drive.
2. Carefully use a screwdriver with the appropriate size and type (usually Phillips head) to unscrew and remove any screws that are securing the hard drive. Keep the screws in a safe place as you will need them later for reinstallation or if you want to reuse them for a different purpose.
3. Some computers may utilize tool-less mechanisms or trays to secure the hard drive without the need for screws. If your computer features such a mechanism, follow the manufacturer’s instructions to release or unlock the mounting mechanisms. Once released, you will be able to pull the hard drive out of its mounting brackets or trays.
4. As you remove the screws or release the mounting mechanisms, be observant and support the hard drive with your other hand. This prevents the hard drive from accidentally falling or moving abruptly once it is no longer secured.
By following these steps, you have successfully removed the screws or released the mounting mechanisms that were securing the hard drive in place. The hard drive is now ready to be removed from the computer case. Remember to handle the screws and hard drive with care to avoid any damage. In the next step, we will focus on how to gently pull the hard drive out of its mounting brackets.
Gently pull the hard drive out of its mounting brackets
Now that the screws securing the hard drive have been removed, it’s time to gently pull the hard drive out of its mounting brackets or trays. The mounting brackets hold the hard drive securely in place inside the computer case. Follow these steps to remove the hard drive:
1. Hold the hard drive firmly with one hand while using your other hand to support and stabilize the surrounding components, cables, and other hardware inside the computer case. This ensures that nothing interferes with the smooth removal of the hard drive.
2. Slowly and carefully pull the hard drive straight out from the mounting brackets or trays. Keep a steady and controlled pace to avoid any sudden movements that could damage the hard drive or other components.
3. If you encounter any resistance while pulling out the hard drive, double-check for any cables, connectors, or other obstructions that may still be attached. Make sure all cables are disconnected and any clips or latches are released before continuing.
4. Once the hard drive is free from the mounting brackets, gently guide it out of the computer case, taking care not to bump or scrape against any other components. Keep a firm yet gentle grip on the hard drive to prevent accidental drops.
5. Place the removed hard drive on an anti-static surface or in an anti-static bag to protect it from any potential static electricity discharge. This step is important to ensure the safety and integrity of the hard drive’s sensitive internal components.
By following these steps, you have successfully removed the hard drive from its mounting brackets or trays. Take a moment to inspect the hard drive for any visible damage or signs of wear. If you plan to replace the hard drive, now is the time to install the new one. Otherwise, you can proceed to reassemble the computer case and reconnect the necessary cables. In the next step, we will focus on replacing the computer case.
Replace the computer case
After removing the hard drive, it’s time to reassemble and replace the computer case. The case protects the internal components and ensures their proper functioning. Follow these steps to replace the computer case:
1. Place the computer case cover or side panel back into position. Align the panel with the screw holes and gently slide it into place. Ensure that it fits snugly and securely.
2. Take the screws that were previously removed to secure the computer case. Insert them into the screw holes and use a screwdriver to tighten them. Start by loosely tightening the screws and then go back to tighten them fully, alternating between screws to ensure even pressure.
3. Double-check that all screws are securely tightened, but be careful not to overtighten them, as this could damage the case or strip the screw holes.
4. Once the computer case is securely fastened, take a moment to ensure that all cables, connectors, and components are properly situated and organized inside the case.
5. Remove any cable ties or twist ties that were used to secure cables during the removal process. Ensure that all cables are neatly arranged and not obstructing any fans or components inside the case.
6. If your computer case has any additional features, such as dust filters or side panels with ventilation, make sure these are in their proper positions and secure as well.
By following these steps, you have successfully replaced the computer case. The internal components, including the hard drive, are now safely enclosed within the case. Now, it’s time to move on to reconnecting the necessary cables and peripherals as we prepare to power on the computer once again.
Plug the computer back in
Now that you have replaced the computer case and ensured that everything is securely fastened, it’s time to plug the computer back in and prepare it for use. Follow these steps to properly connect the computer to the power source:
1. Locate the power cord that you previously disconnected from the back of the computer. Align the prongs of the power cord with the power outlet and gently push it in until it is fully inserted. Ensure that the connection is secure.
2. Double-check that all other cables, such as monitor cables, keyboard, mouse, and any peripherals, are properly connected to their respective ports. Inspect the cables for any damage or loose connections and address any issues as necessary.
3. Take a moment to ensure that all cable connections are organized and free from any obstructions or tangles. Ensure that there is adequate airflow around the computer to prevent overheating.
4. Once everything is connected, carefully press the power button on the front or top of the computer case to turn it on. Listen for any startup sounds or check if the lights on the computer case illuminate. If the computer does not power on, double-check the power connections and troubleshoot any issues that may be preventing it from starting up.
5. Wait for the computer to boot up and reach the desktop or login screen. Check if all peripherals, including the monitor, keyboard, and mouse, are functioning properly. If any issues arise, try reconnecting the necessary cables or troubleshooting the specific devices.
By following these steps, you have successfully plugged the computer back in and powered it on. Take a moment to ensure that everything is functioning as expected before proceeding further. In the next step, we will check if the hard drive has been removed successfully from the computer.
Start the computer and check if the hard drive has been removed successfully
Now that you have plugged the computer back in and powered it on, it’s time to verify if the hard drive has been successfully removed from the system. Follow these steps to check the status of the hard drive:
1. Allow the computer to fully boot up and reach the desktop or login screen. This may take a few moments depending on the speed of your system.
2. Once the computer has fully booted, navigate to “My Computer” (on Windows) or “Finder” (on macOS) and see if the hard drive that you removed is no longer listed. If it was the main system drive, the operating system may not load properly, indicating a successful removal.
3. If you had other hard drives or storage devices connected to your computer, make sure those drives are still recognized and accessible. This will ensure that you haven’t accidentally removed any other drives during the process.
4. Open file explorer or file manager and check if the files and folders that were stored on the removed hard drive are no longer accessible. This will confirm that the hard drive has been successfully disconnected and is no longer functioning as part of your computer system.
5. If you had any specific software or applications installed on the hard drive, try launching those programs and verify if they are no longer operational. You may encounter error messages or notices indicating that the required files or drive cannot be found.
By following these steps, you can determine if the hard drive has been removed successfully from your computer. If the hard drive is no longer listed, inaccessible, or causing errors, you can be confident that it has been disconnected properly. Remember to store the removed hard drive in a safe place if you plan to reuse or repurpose it. If you encounter any issues or unexpected behaviors, you may need to consult a professional or refer to specific troubleshooting guides for further assistance.