
Why Would You Want to Print an Outlook Email in a Different Font Size?
Printing an Outlook email in a different font size can be beneficial for various reasons. One common reason is readability. Sometimes, the default font size of an email may be too small or too large for comfortable reading. By printing the email in a different font size, you can adjust it to your preferences and ensure that the text is easily legible.
Another reason for printing an Outlook email in a different font size is to save space. Certain emails can be lengthy and contain multiple paragraphs or attachments. By reducing the font size, you can fit more content on a single page, making it easier to reference or share the printed copy.
In some cases, you may need to print an Outlook email for professional purposes, such as for a meeting or presentation. Adjusting the font size can help enhance the visual appeal and professionalism of the printed document. It allows you to create a polished and customized printout that aligns with your specific needs.
Furthermore, printing an Outlook email in a different font size can be useful if you want to highlight specific information or make certain sections stand out. By enlarging or shrinking the font size, you can draw attention to crucial details or make the content more concise.
Lastly, there may be instances where you want to print an Outlook email in a different font size for accessibility reasons. Individuals with visual impairments or specific reading needs may require a larger font size to comfortably read the content. Adjusting the font size when printing ensures that the email can be accessed and understood by a broader range of people.
Overall, being able to print an Outlook email in a different font size offers flexibility, customization, and improved readability. It allows you to optimize the viewing experience and tailor the printed copy to meet your specific requirements.
Step 1: Open the Email in Outlook
To print an Outlook email in a different font size, the first step is to open the email within the Outlook application. Follow the steps below:
- Launch the Outlook application on your computer.
- Navigate to the folder where the desired email is located.
- Double-click on the email to open it in a new window.
Once you have opened the email, you can proceed to the next steps to adjust the font size for printing.
It’s worth mentioning that if you wish to print multiple emails in Outlook, you can select and open them one by one before proceeding to change the font size. This way, you can adjust the font size for all the selected emails in a single printing session.
Now that you have opened the email within the Outlook application, you are ready to move on to the next step and adjust the zoom level to control the font size.
Step 2: Adjust Zoom Level in Outlook
After opening the email in Outlook, the next step is to adjust the zoom level to control the font size. Follow the instructions below:
- Within the opened email window, locate the toolbar at the top.
- Look for the “Zoom” option, which is usually represented by a magnifying glass icon.
- Click on the “Zoom” option to open the zoom settings.
- A pop-up window will appear, providing different zoom level options.
- Select the appropriate zoom percentage to adjust the font size according to your preference.
- Click on the “OK” button to apply the zoom level to the email.
By adjusting the zoom level, you can effectively control the font size within the email window. Increasing the zoom percentage will enlarge the font, making it easier to read, while decreasing the percentage will reduce the font size.
It’s important to note that adjusting the zoom level in Outlook will only affect the email’s display within the application. The actual printout may still have the default font size unless further adjustments are made specifically for printing, which will be covered in the subsequent steps.
With the desired zoom level set, you can proceed to the next step to adjust the page scaling, which will ensure that the entire content of the email is printed within the desired font size.
Step 3: Adjust Page Scaling in Outlook
Once you have adjusted the zoom level in Outlook, the next step is to adjust the page scaling settings to ensure that the entire content of the email is printed within the desired font size. Follow the steps below:
- Click on the “File” tab in the Outlook toolbar to access the dropdown menu.
- Select the “Print” option from the menu to open the print settings.
- In the print settings window, locate the “Page Scaling” option.
- Click on the drop-down menu next to “Page Scaling” to view the available options.
- Select the appropriate scaling option based on your preference.
- Options may include “Fit to Printable Area,” “Shrink to Fit,” or a specific percentage scaling.
- Ensure that the selected page scaling option accommodates the desired font size.
Adjusting the page scaling allows you to control how the email content is resized and fit onto the printed page. Selecting the appropriate scaling option will ensure that the font size remains consistent when printed.
It’s important to preview the printout before proceeding to ensure that the content is scaled correctly and the font size meets your expectations. If necessary, you can return to the page scaling settings and make further adjustments until the desired font size is achieved.
With the page scaling settings configured, you are now ready to move on to the next step and make additional font size changes specifically for printing.
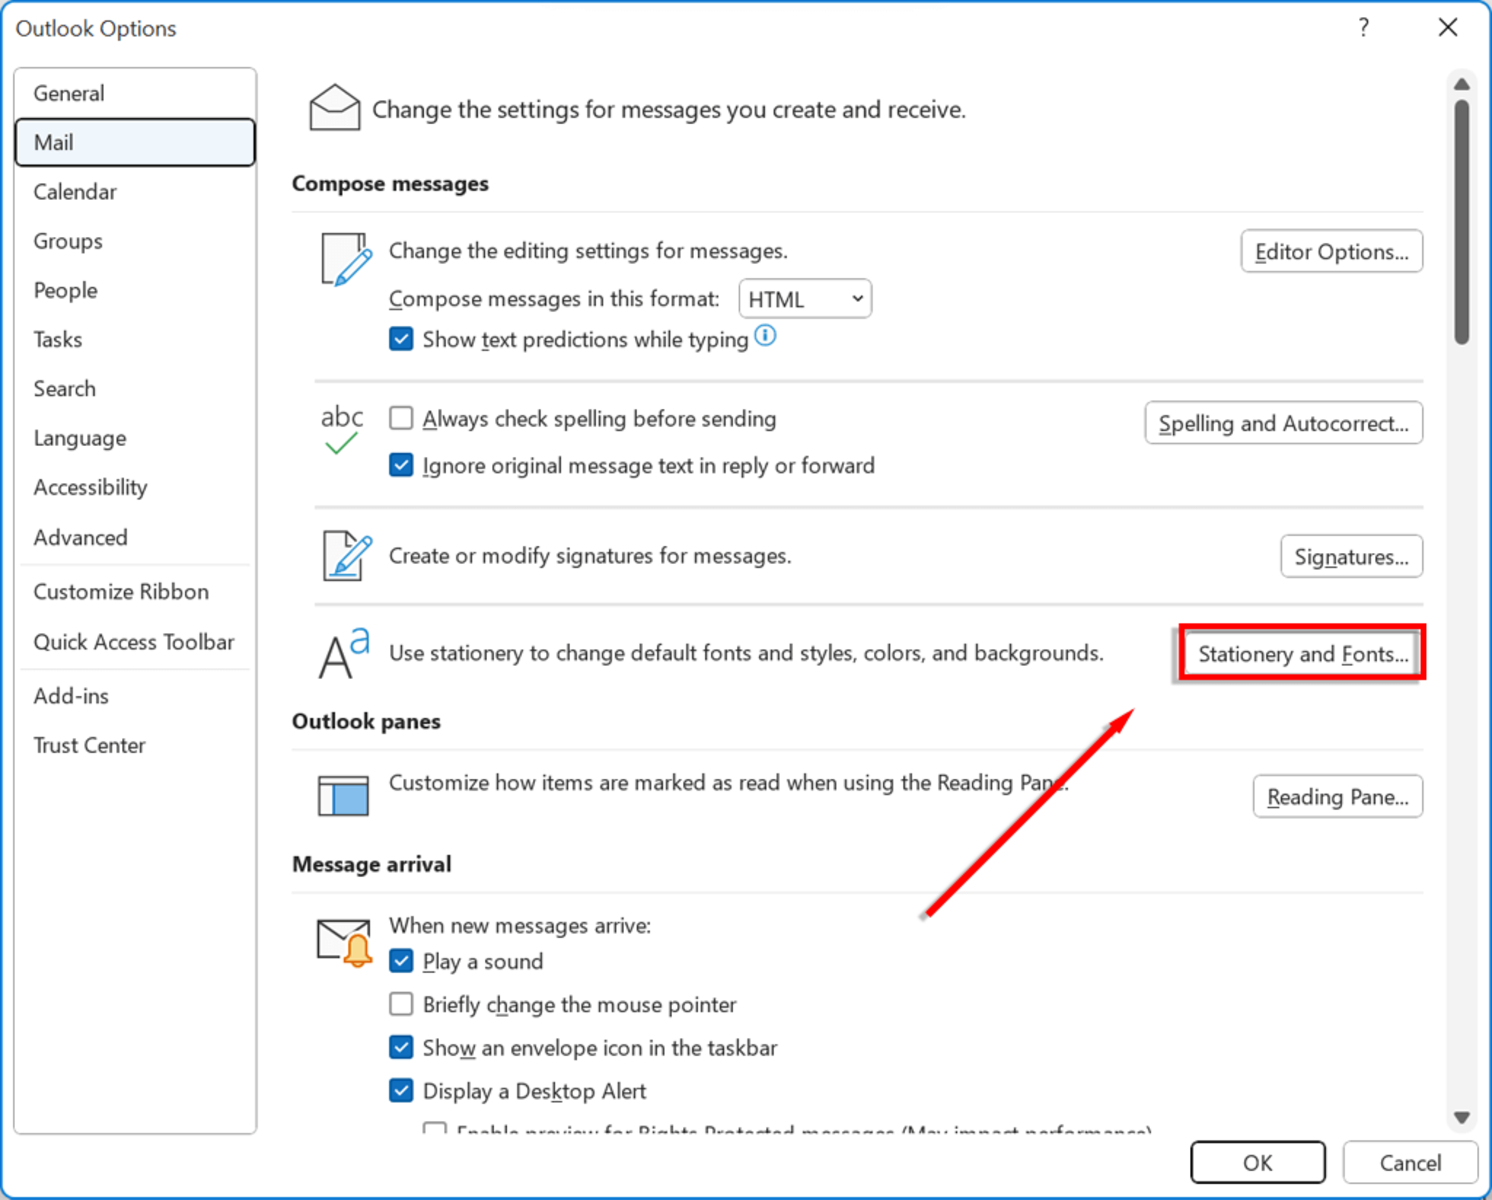
Step 4: Change Font Size in the Print Settings
After adjusting the page scaling, the next step is to make changes to the font size specifically for printing. Follow the steps below to modify the font size in the print settings:
- Click on the “File” tab in the Outlook toolbar to access the dropdown menu.
- Select the “Print” option from the menu to open the print settings.
- In the print settings window, locate the “Print Options” section.
- Look for the “Fonts” or “Font Size” option within the print options.
- Click on the “Fonts” or “Font Size” option to adjust the font settings.
- A dialog box will open, allowing you to select the desired font and font size.
- Select the appropriate font size that you want to use for printing the email.
- Click on the “OK” or “Print” button to apply the font size changes to the printout.
Changing the font size in the print settings ensures that the email is printed with the modified font size you specify. This step is crucial if you want the printed version to reflect the font size adjustments made within Outlook.
It’s important to note that the available font size options may vary depending on the printer and software you are using. Some printers may have specific limitations on the maximum or minimum font size that can be selected for printing. Additionally, not all printers may support changing the font size within the print settings.
With the font size changes applied in the print settings, you are now ready to proceed to the final step and print the email in the desired font size.
Step 5: Print the Email in the Desired Font Size
After making all the necessary adjustments to the font size settings and print options, you are now ready to print the email in the desired font size. Follow the steps below to initiate the printing process:
- Ensure that your printer is connected and turned on.
- Click on the “Print” button or select the “Print” option from the print settings window.
- In the print dialog box, review the printer settings and preferences.
- Verify that the correct printer is selected for printing.
- Double-check the page range and number of copies to be printed.
- Confirm that the desired font size adjustments are reflected in the print preview.
- Click on the “Print” button to begin printing the email.
- Wait for the printing process to complete.
- Retrieve the printed copy from the printer tray.
By following these steps, you will be able to print the email in the desired font size. Take a moment to examine the printed document and ensure that the font size matches your expectations. If needed, make adjustments to the font size or other settings and repeat the printing process until you are satisfied with the final result.
It’s important to note that the exact steps and options in the printing process may vary slightly depending on your operating system, printer model, and version of Outlook. If you encounter any difficulties during the printing process, consult the user manual or help documentation for your specific software and hardware setup.
Now that you have successfully printed the Outlook email in the desired font size, you can refer to the printed copy for easy reference, sharing, or archiving purposes.
Additional Tips for Printing Outlook Emails in a Different Font Size
While the previous steps have covered the primary process of printing Outlook emails in a different font size, here are some additional tips that can further enhance your experience:
- Consider the formatting: When adjusting the font size, pay attention to the overall formatting of the email. Some formatting elements, such as tables or images, may not scale perfectly with the font size changes. Ensure that the content layout remains intact and readable after modifying the font size.
- Preview before printing: Always preview the printout before initiating the print process. This allows you to check if the font size adjustments are as desired and if any additional changes need to be made to optimize the printout.
- Choose a legible font: When changing the font size for printing, select a font that is easy to read. Fonts like Arial, Times New Roman, or Calibri are commonly used as they offer clarity and readability at different sizes.
- Use bold or italics sparingly: If you want to emphasize specific words or sections within the email, consider using bold or italics. However, it’s recommended to use them sparingly to maintain readability and prevent the text from becoming too cluttered.
- Proofread before printing: Before printing the email, make sure to proofread the content for any errors or typos. Correcting mistakes beforehand will save you from reprints and ensure that the printed copy is accurate.
- Optimize paper and ink usage: To save paper and ink, consider printing multiple emails or pages on a single sheet of paper. Most printers offer options for printing multiple pages per sheet, which can be useful if you have several emails to print.
- Save as PDF: If you want to preserve the font size adjustments made in Outlook without printing, consider saving the email as a PDF file. This allows you to view or share the email digitally, ensuring that the font size remains consistent across different devices.
By following these additional tips, you can further enhance the process of printing Outlook emails in a different font size and achieve the desired results.