
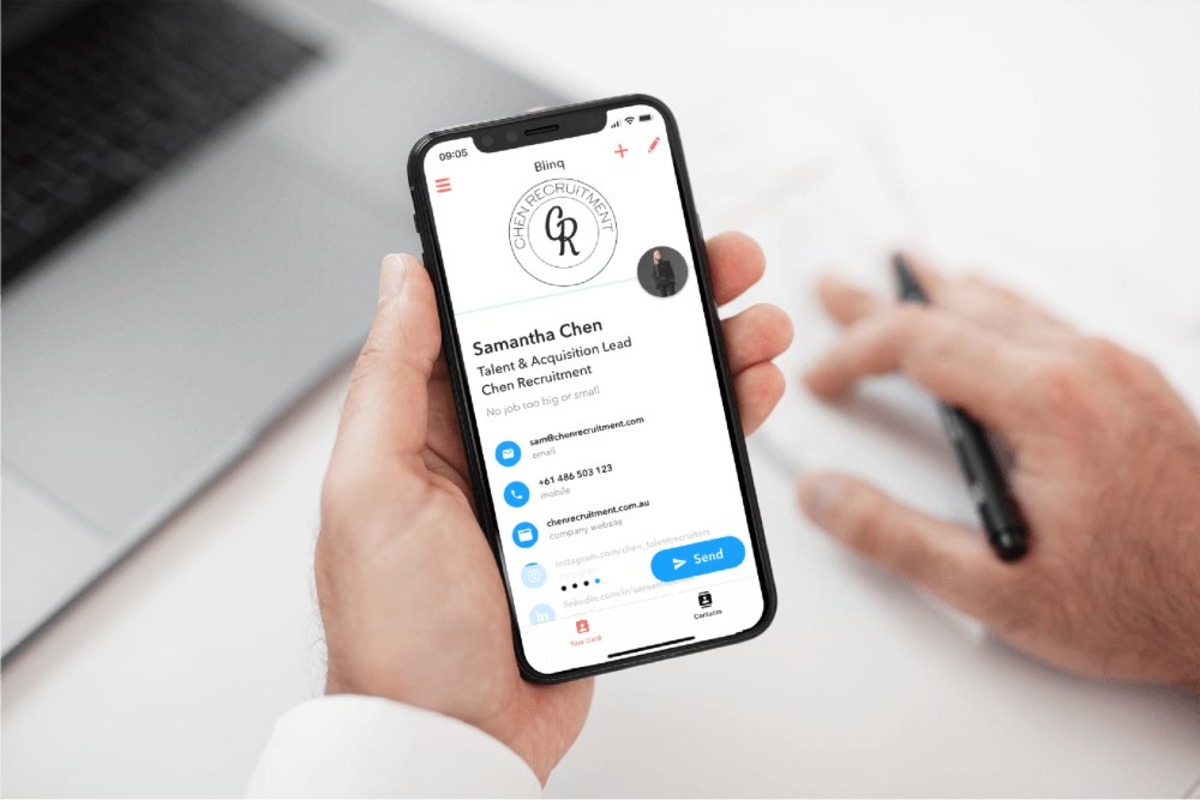
What is an electronic business card?
An electronic business card, also known as an e-business card or digital business card, is a modern and convenient way to share your professional contact information. It serves as a virtual representation of the traditional paper business card and can be easily exchanged through email or other digital platforms. Rather than carrying around a physical card, you can simply share your electronic business card with others, making it a more environmentally friendly and efficient option.
Electronic business cards are not only visually appealing but also offer several advantages over their paper counterparts. They are interactive, allowing recipients to directly click on the contact details to add them to their address book or easily reach out via email or phone. Additionally, electronic business cards can be customized to include dynamic elements such as clickable links to social media profiles, website URLs, or even multimedia content like videos or audio recordings.
Moreover, electronic business cards can be easily updated and shared with a broad audience with just a few clicks. This is especially beneficial for professionals who frequently change their contact details, such as job titles, phone numbers, or email addresses. Instead of reprinting stacks of traditional business cards, you can simply update the information on your electronic business card and distribute it digitally.
Overall, electronic business cards offer a modern and versatile solution for sharing professional contact information. They provide a seamless user experience, allowing easy access to the desired contact details and additional digital content. Whether you’re networking at an industry event or connecting with potential clients online, utilizing electronic business cards can help you make a lasting impression and simplify the process of exchanging contact information.
Step 1: Open Outlook and navigate to the Contacts section
To create an electronic business card in Outlook, you’ll need to start by opening the Outlook application on your computer. Once opened, navigate to the “Contacts” section, which is typically located in the navigation pane on the left-hand side of the screen.
If you’re using the latest version of Outlook, you might see the “People” tab instead of “Contacts.” Click on the “People” tab to access your contacts.
Alternatively, you can use the keyboard shortcut by pressing “Ctrl+3” to directly access the “Contacts” section in Outlook.
Once you’re in the “Contacts” section, you’ll be able to view and manage your existing contacts. This is where you’ll create and store your electronic business cards for easy access and sharing.
It’s worth noting that if you’re using Outlook as part of an email account or within an organization, you may need to have the necessary permissions to create and manage contacts. If you encounter any restrictions or issues, it’s advisable to reach out to your system administrator or IT department for assistance.
Now that you have successfully opened Outlook and navigated to the Contacts section, you’re ready to proceed to the next step: creating a new contact and filling in your contact details for the electronic business card.
Step 2: Create a new contact
Once you have opened Outlook and landed in the Contacts section, you can begin creating a new contact to serve as your electronic business card. Creating a new contact in Outlook is a straightforward process.
To create a new contact, look for the “New Contact” button or option within the interface. It is usually located in the toolbar or the menu section. Click on this button to initiate the creation of a new contact.
Upon clicking the “New Contact” button, a blank form will appear where you can input your contact details. Outlook provides various fields to enter information such as name, job title, company, phone number, email address, website, and more.
Start by entering your full name in the appropriate field. This will be the primary identifier for your electronic business card. Next, fill in your job title and company information according to your professional details.
Make sure to provide accurate and up-to-date contact information. Include your phone number, email address, and any other relevant contact details that you want to share with others.
Remember, the purpose of an electronic business card is to allow recipients to easily reach out to you. Therefore, it’s important to provide valid and regularly monitored contact information.
Additionally, Outlook may offer additional fields or customization options, such as categories, notes, or personal details. Feel free to fill these out as desired, but remember to prioritize the essential contact information.
Once you have entered all the necessary details for your electronic business card, you can proceed to the next step: customizing the design and appearance of your electronic business card.
Step 3: Fill in the contact details
Now that you have created a new contact in Outlook, it’s time to fill in the contact details to complete your electronic business card. Outlook provides various fields to input information, allowing you to provide comprehensive contact details for easy communication.
Start by filling in the basic contact information such as phone number and email address. These are essential details that recipients will use to get in touch with you.
Make sure to provide accurate and up-to-date contact information. Double-check the phone number and email address to ensure they are correct. It is important to avoid typos or errors that could hinder communication.
In addition to the phone number and email address, you can also include other contact details such as a work address, website, or additional phone numbers. Only include the information you are comfortable sharing with others and that is relevant to your professional identity.
Outlook may also include fields for social media profiles, such as LinkedIn, Twitter, or Facebook. If you maintain a professional presence on these platforms, it can be valuable to include the URLs to your profiles. This allows recipients to easily connect with you on social media and learn more about your professional background.
Furthermore, if you have a company logo or a profile picture that you would like to include in your electronic business card, check if Outlook offers an option to upload or link to these visual elements. Having a visual component can enhance the visual appeal and branding of your electronic business card.
Lastly, take some time to review and proofread the contact details you have entered. Ensure that all the information is accurate and correctly spelled. This will help you maintain a professional image and ensure that recipients can reach out to you without any errors or confusion.
Once you have filled in all the necessary contact details and reviewed them, you are ready to proceed to the next step: customizing the design and appearance of your electronic business card.
Step 4: Customize the electronic business card
After filling in the contact details, it’s time to customize the design and appearance of your electronic business card in Outlook. Customization options allow you to create a visually appealing and personalized card that reflects your professional identity.
Outlook provides various customization features to help you make your electronic business card stand out. These include options to choose a background color, font style, font size, and layout.
Start by selecting a background color that complements your personal or company branding. You can choose from a range of pre-set colors or input a specific color code to match your desired scheme. Consider using colors that align with your existing branding or personal preference.
Next, select an appropriate font style and font size. The font should be legible and professional, making it easy for recipients to read your contact details. Consider using a clean, sans-serif font for best readability.
In addition to the background color and font style, you can also customize the layout of your electronic business card. Outlook may offer different options, such as a horizontal or vertical layout. Select the one that suits your design preferences and effectively displays your contact information.
Furthermore, Outlook may provide options to add a company logo, a profile picture, or custom graphics to your electronic business card. If applicable, incorporate these visual elements to enhance brand recognition and personalization. Ensure that any images you use are of high quality and properly sized for optimal display.
Additionally, Outlook may offer the ability to include clickable links to your website, social media profiles, or other relevant online platforms. Utilize these options to make it easier for recipients to access more information about you and your business.
Take your time to experiment with different customization options until you achieve a design that reflects your professional identity and suits your personal style. Remember, the goal is to create a visually appealing and memorable electronic business card that stands out to recipients.
Once you are satisfied with the customization, proceed to the next step: saving the electronic business card in Outlook.
Step 5: Save the electronic business card
After customizing the design of your electronic business card in Outlook, it’s time to save your creation. Saving the electronic business card will ensure that it is readily accessible and can be easily shared with others when needed.
To save the electronic business card, look for the “Save” or “Save & Close” button within the interface. This button is typically located in the toolbar or menu section. Clicking on it will save your electronic business card and close the editing window.
Alternatively, you might have an auto-save function in Outlook, which automatically saves any changes you make to a contact card. In this case, your electronic business card will be saved automatically without the need for manual intervention.
When saving the electronic business card, make sure to choose a name that accurately represents the contact. You may use your own name or any other relevant identifier to easily recognize the contact in your address book.
It’s advisable to keep your electronic business card organized by creating a specific category or group for your own contacts. This makes it easier to locate and manage your electronic business cards, especially if you have a large number of contacts.
Furthermore, consider adding any relevant keywords or tags to the electronic business card. These keywords can be used for easy searching and filtering when you’re looking for specific contacts in the future.
By saving the electronic business card, you ensure that it is securely stored in Outlook and readily available for sharing or updating. So, once you’ve saved your electronic business card, you can proceed to the next step: exporting the electronic business card for external use.
Step 6: Export the electronic business card
In order to easily share your electronic business card with others, you’ll need to export it from Outlook. Exporting the electronic business card allows you to save it as a separate file that can be attached to emails, shared digitally, or even printed if needed.
To export the electronic business card from Outlook, follow these steps:
- Open the contact or electronic business card that you want to export.
- Go to the “File” menu in Outlook.
- Select the “Save As” or “Export” option, depending on the version of Outlook you are using.
- Choose the desired export format for your electronic business card. Common options include vCard (.vcf) or Business Card (.msg).
- Specify the location where you want to save the exported file. Consider choosing a location that is easily accessible and organized for future use.
- Click on the “Save” or “Export” button to begin the export process.
Once the export process is complete, you will have a separate file that contains your electronic business card. This file can be easily shared with others through email attachments or other digital platforms.
It’s recommended to test the exported electronic business card file to ensure that it opens correctly and displays all the necessary information. Check that the contact details are accurately preserved and easily readable in the exported format.
Keep in mind that different platforms and email clients may have varying levels of support for different file formats. The vCard (.vcf) format is widely recognized and supported across various devices and applications.
Exporting your electronic business card allows you to share your contact information with colleagues, clients, or other networking contacts seamlessly. It simplifies the process of exchanging information and ensures that recipients have an easy way to add your details to their own address books.
Now that you have exported your electronic business card, you can move on to the next step: sharing the electronic business card with others.
Step 7: Share the electronic business card with others
Once you have successfully exported your electronic business card from Outlook, you can proceed to share it with others. Sharing your electronic business card allows you to quickly and efficiently provide your contact information to colleagues, clients, or potential business connections.
There are various methods you can use to share your electronic business card:
- Email attachment: Attach the exported electronic business card file (.vcf or .msg) to an email and send it to the recipient. They can then download and save the file to their own contacts.
- Digital platforms: If you are connected with the recipient on social media or digital platforms, you can send the electronic business card file directly through messaging or shared folders.
- Cloud storage: Upload the electronic business card file to cloud storage services like Google Drive, Dropbox, or OneDrive. Generate a shareable link and send it to the recipient for easy access and download.
- QR code: Create a QR code for your electronic business card and share it with others. They can scan the QR code using a smartphone or QR code reader to instantly save your contact information.
- Printed copy: If needed, you can also print the electronic business card and share it physically during networking events or business meetings.
When sharing your electronic business card, it’s important to provide clear instructions on how to save or import the contact information. This will ensure that the recipient can easily add your details to their address book without any confusion.
Consider including a brief message or introduction when sharing your electronic business card. This can serve as a personal touch and provide context for the recipient, especially if you have not met them before.
Remember to follow good email etiquette when sharing your electronic business card via email. Craft a professional and concise email message, introduce yourself if necessary, and express your desire to connect or stay in touch.
By sharing your electronic business card, you make it convenient for others to access and save your contact details. This simplifies the process of exchanging information and helps foster professional connections.
Now that you have successfully shared your electronic business card, you can move on to the final step: updating the electronic business card when necessary.
Step 8: Update the electronic business card when necessary
As your contact information or professional details change, it’s important to keep your electronic business card up to date. Updating your electronic business card ensures that the contact information you share with others remains accurate and relevant.
To update your electronic business card in Outlook, follow these steps:
- Locate the contact or electronic business card that you want to update.
- Edit the contact details directly in the fields provided. Update any changes to your name, job title, company, phone number, email address, or other relevant information.
- Review and double-check the updated information to ensure its accuracy. Pay attention to any formatting or spelling errors that may have occurred during the editing process.
- Save the changes made to the electronic business card in Outlook. This will automatically update the contact information stored in your address book.
- If you have previously exported the electronic business card file, remember to export it again to reflect the updated information. You can follow the same export process mentioned in step 6 to generate a new file with the updated details.
Once you have updated and saved your electronic business card, it’s important to distribute the updated version to any recipients who have your previous contact information. You can do this by following the sharing methods mentioned in step 7, such as emailing the updated file or uploading it to a cloud storage platform.
Additionally, if you have shared your electronic business card on social media platforms or included it on your website, ensure that the updated version is reflected in those locations as well. This will prevent others from accessing outdated information.
Regularly reviewing and updating your electronic business card is crucial for maintaining professional connections and making a good impression. It demonstrates your commitment to keeping your contact information accurate and up to date.
Remember to update your electronic business card whenever you have changes to your contact details, such as a new phone number, email address, or job title. By doing so, you ensure that others can easily reach you and stay connected.
Congratulations! By completing this final step, you have successfully learned how to update your electronic business card when necessary.